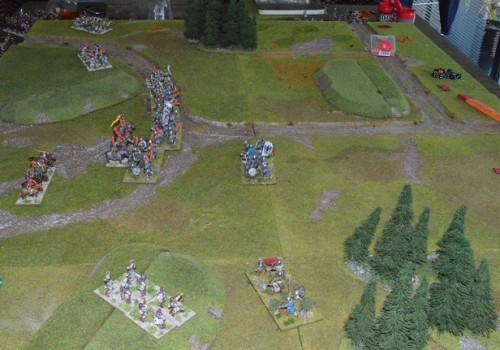
After a busy morning, pushing large amounts of Napoleonic flavoured lead around my kitchen table, it was time to retire to the lounge for a cold drink and a in-depth discussion on how one could best tweak the rules to one’s own advantage. With neither of us making much headway in the rule bartering department a second game was suggested. A small dessert game to follow the main course so to speak. A quick game of Dux would round off the days gaming nicely.
While rustling up the required figures the conversation turned to the fact that we only ever play this game in a standard battle format with minimal terrain. So it was duly decided that we would break from tradition and take the game to the next level. Galvanized into action at the thought of something new, one of us proceeded to read scenarios from the back of the book while the other rummaged around in terrain boxes. One hill and two trees later, with the afternoon sun starting to melt our brains and enthusiasm we declared operational success, honour was satisfied, it was time to deploy.

A Beginners guide on how NOT to deploy
Most people will tell you that there are a few basic things you should consider when deploying your troops on the table.
- Match ups: Matching your troops to that of the enemies in order to gain quick kills
- Terrain: Where is it on the board and what bearing will it have on the game?
- Opponent: His troop placements, play style and likely battle plan
- Plan: Have a battle plan (a bad plan is better than no plan)
This is all good advice. However, I prefer to use what’s called the “Poly universal shape system” or PUSS deployment for short. This generally involves ignoring all of the above points and picking one of the following deployment shapes
- Stretch-tangle (also referred to as a line): The straighter the better, good for maximising your SPF (shield pattern frontage)
- Square (or box): Also good, keeps everything close and easy to find.
- Open ellipse (Slow curve): Not a favourite, but still good in tricky terrain situations.
- Double square (buddy box): For experienced players only
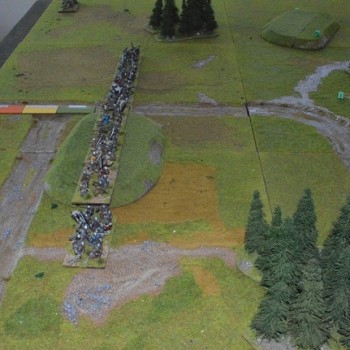
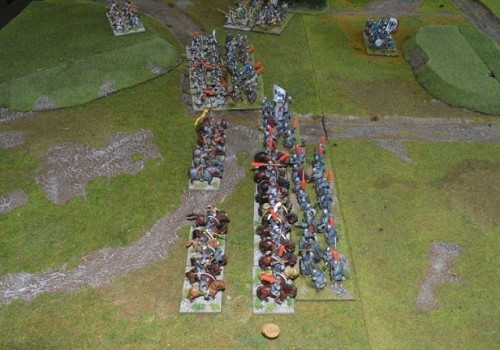
In this photo you can clearly see the classic stretch-tangle deployment in its full glory.
Starting at the far end of the line
- Skirmishers (not shown in this photo) will make for the trees and hide.
- Next, two stands of noble warriors and my generals base. No real plan or reason for these going here at this stage other than to maintain the integrity of the SPF and it’s the middle.
- Bordering the general’s stand, we have three bases of bulk standard, Johnny soft pants warriors. Safe on the high ground even though they are spontaneous and will charge off at the first sign of provocation.
- Finally my last stand of noble warriors is anchoring this end of the line and protecting the Johnny warriors from those menacing looking trees in the foreground.
Turn Two
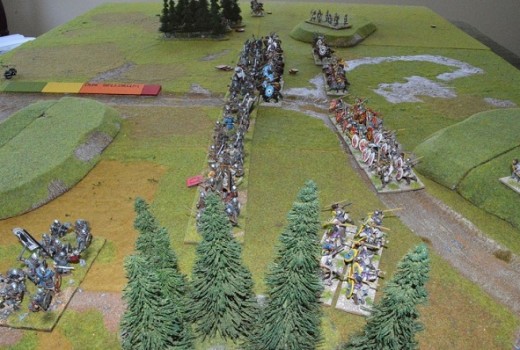
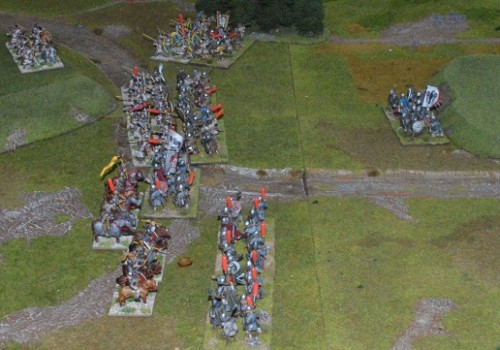
Loaded with pips and safely hidden in the far trees my skirmishers just watch while the centre is charged by three stands of cavalry.
The post-deployment plan, now in place (charge anything with everything). I cross the centre line with my Johnny soft pants warriors in an effort to catch the shield wall before they can leave the support range of their archers on the hill. Confident that the trees in the foreground now pose little threat I begin to think about moving the noble warriors closer to the action.
Turn Three
Success! The warriors manage to crash into the shield wall before they get too far from their supporting archers.Thus, forcing the archers to stay on the hill and shoot me repeatedly. In the centre it’s a pip shuffling, dice rolling, smack talking slog fest.
Top right you can see my noble warriors slowly edging away from the trees while skilfully maintaining their distance from the enemy.
Turn four
The two stands of noble warriors in the foreground, finally dispatch the cavalry units to their front. This comes at a great personal cost as both now only have one life left to give. Next, in the centre we have the obligatory dice marathon, general versus general. The archer’s accurate bow fire continues to syphon pips off my warriors and thereby lessening the burden of command. “No pips, no tricky decisions, no worries”.
Having astronomically aligned my uncommitted nobles with the centre of a hill I now pause to consider their options.
Turn Five
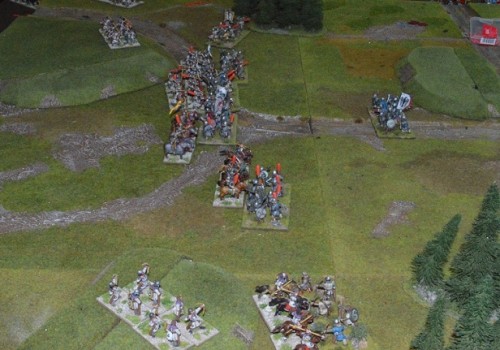
At the top of the picture one of the shield wall finally fall to the warriors, who now set their sights on the soft bellied archers. The main scrum breeds yet another round of inconclusive dice rolling, while centre screen a fresh stand of Roman cavalry dispatches one of my noble bases. Seizing the moment my skirmishers leap boldly from betwixt the trees, charging into the light horse they fail to score a single hit.
All the while my lone stand of noble warriors (middle right) continues their crab dancing impersonation. Shuffling ever closer to trees at the opposite end of the table.
Turn Six
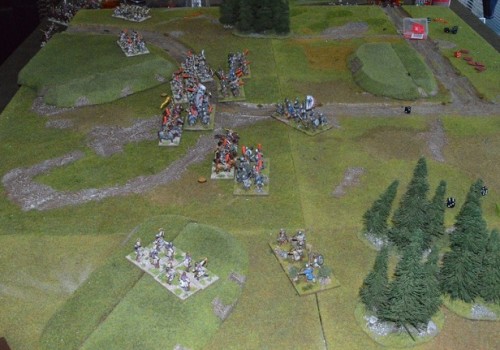
My warriors (that were at the top of the screen) charge the soft bellied archers on the hill and die. The fight in the centre is still going on and on and on, although finding a spare weapon to slip a casualty cap on, is fast becoming a game within a game. In the foreground I load my skirmishers up with pips and they manage to dispatch the light horse.
My God the nobles at the back of the field are trying a new movement strategy, it’s called advance.
Turn seven
With the loss of over half the Roman army, it is forced to roll morale tests for each stand at the start of the turn. Three more stands fail this test and are removed from play. Most of the army now gone the Romans concede defeat.
All in all a very close game, if I hadn’t deployed so well (bah!) things could have gone awry for me here.
