A Lazy man’s guide to building a bog for 28mm wargames
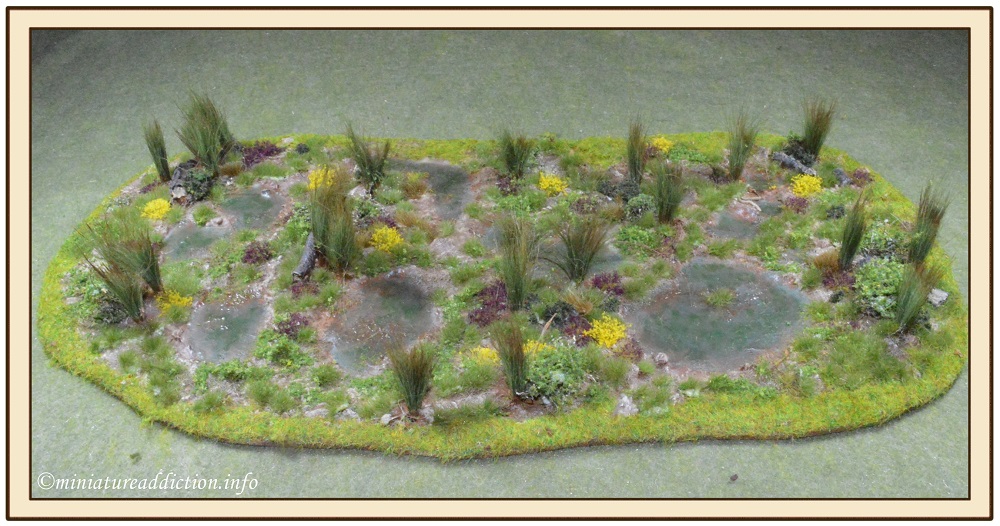
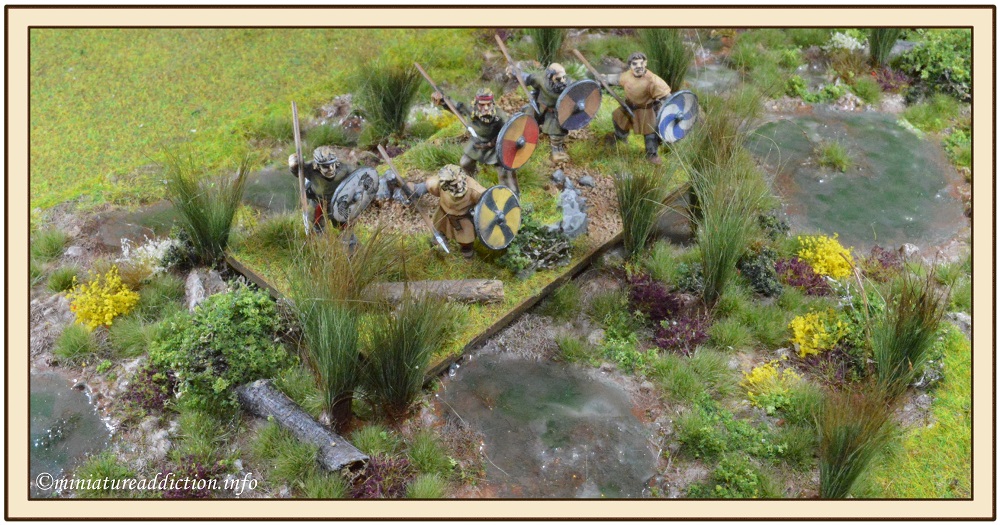
Recently I’ve been making groups of broken ground markers. These individually based rock and scrub counters are great for skirmish games, but when you group them together to depict a pre-prescribed area of broken ground their lack of a border can prove problematic. How for instance, can you tell when a unit is fully in or out of this area if it doesn’t have a continuous edge? So with this in mind I decided to make some larger bases of broken ground to use in games that need clearly denoted borders on each terrain piece. First up is a bog as I don’t have one of these at present.
My aim as always was to build something that would look good, but take next to no time or effort to complete. What I got looked reasonable (IMO) and took about three to fours hours across the length of a day to finish.
Base Design
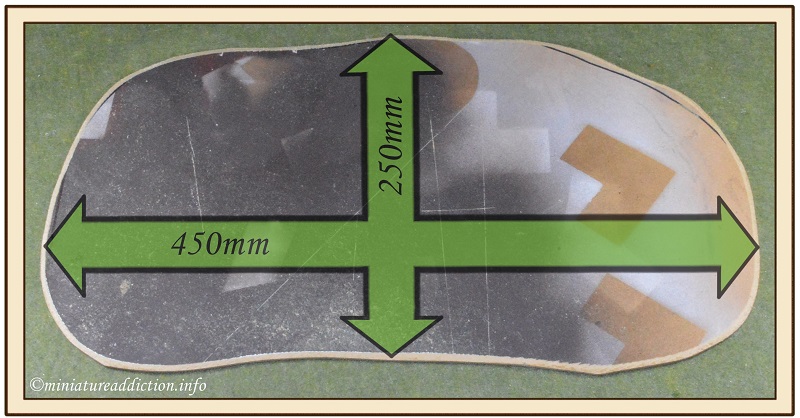
After a quick read of the terrain sections in both the Dux-Bellorum and Impetus ancient rule books I came up with the basic dimensions for the bog. Using a jig saw to cut the base from an old sheet of 3mm custom wood, I then spent a minute or two rounding off the edges with a wood file.
Spacing
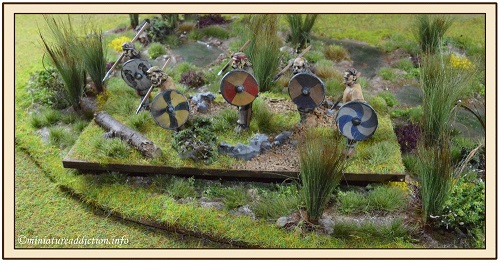
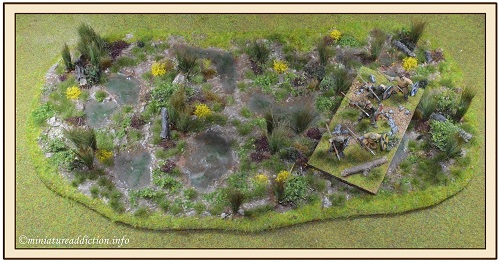
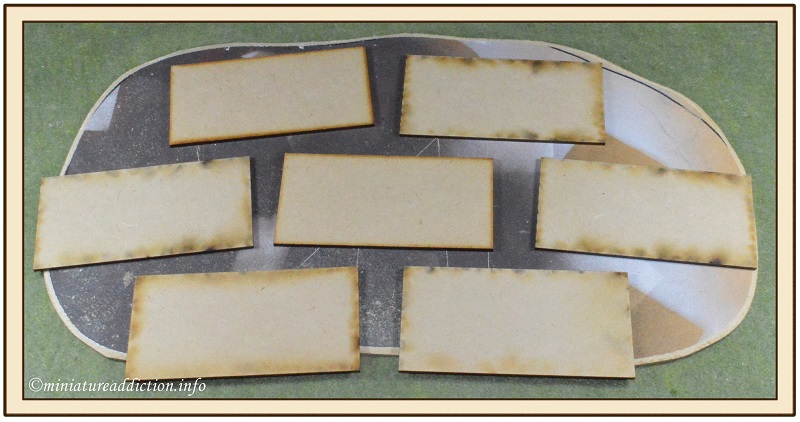
Next I arranged troop stands on the cut out to plan what spaces would be available for scenic items. I wanted to add tall reeds,logs and shrubs to this base and it was important to leave enough room for troop stands to sit flat within the bog.
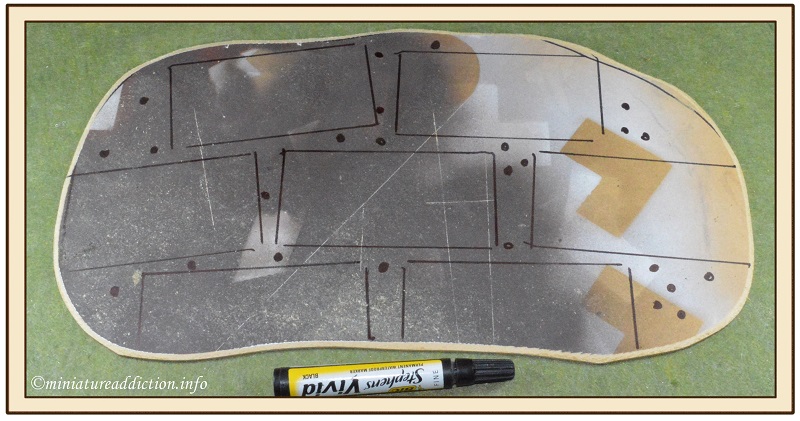
Mark & Drill
Between the troop stands I drilled a series of 3mm holes in which I planned to place reeds. After drilling the holes it’s a good idea to clear the edges of each hole with a hobby knife. Two minutes spent here making sure each hole is free of blockages will save you time in the next phase of the operation.
Reeds
To fit the horse hair reeds a small piece of string is first doubled over and then pushed through one of the holes to form a loop. Next place a small bundle of horse hair in the loop before pulling the string back through the hole.
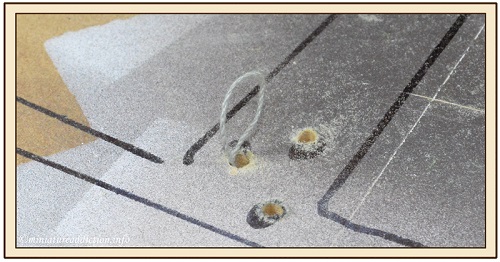
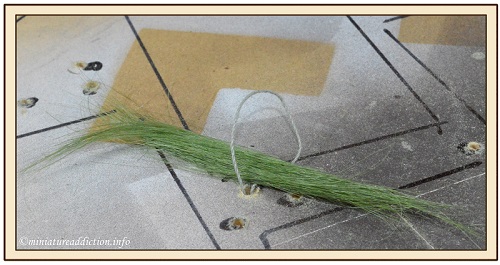
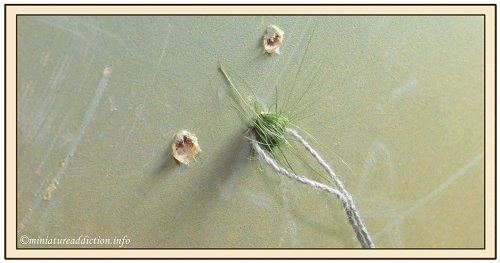
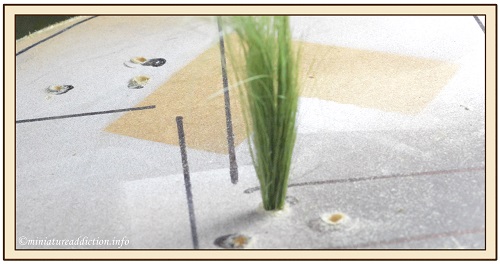
Once the horse hair reeds are in place I removed the string before sealing each side of the hole/horse hair with super glue. The thin super glue binds all the horse hairs together within the hole. There is a little trial and error needed here to get the right amount of horse hair in each bundle. Too much and it won’t pull through the hole, while too little will sit loosely in the hole.
After the glue has dried the unwanted loops are cut off the underside of the base with flush cutters before re-sealing the holes with more super glue.
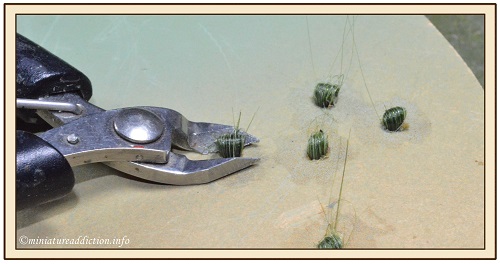
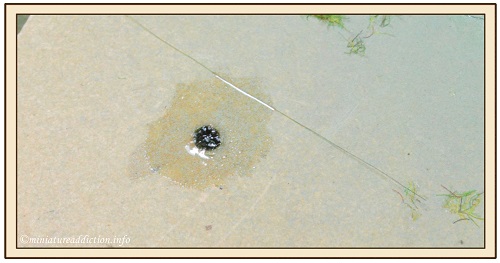
Base Texture
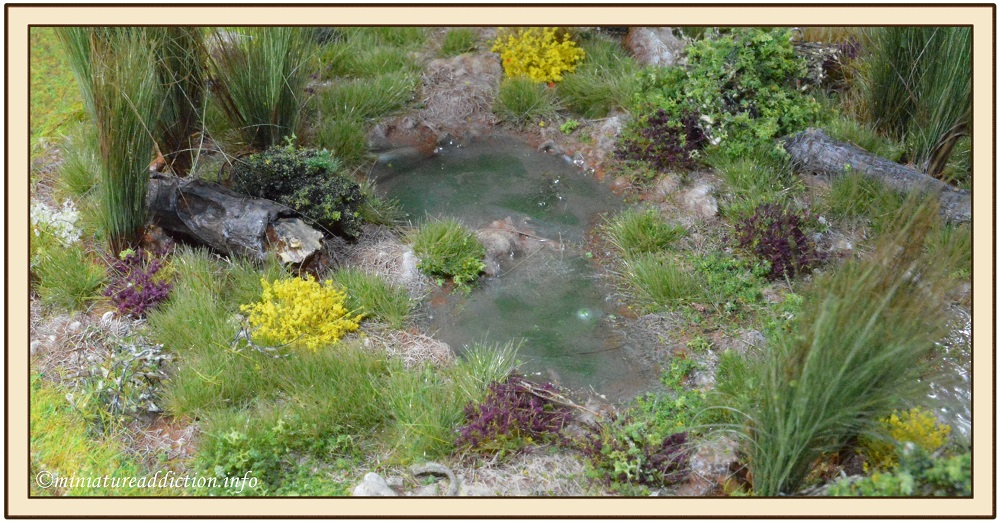
With all the reeds glued in-place the next step was to add some texture to the surface of the bog. For this I mixed PVA glue with ploy-filler, some grit, flock and a little water. This paste was then smoothed onto the base taking care to leave some areas clear to represent small pools of water. This method of adding textured ground to the base is a bit random but it doesn’t take long to get a reasonable result.
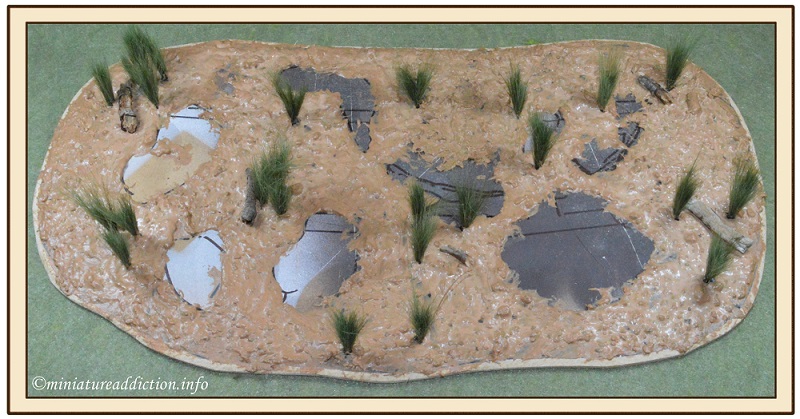
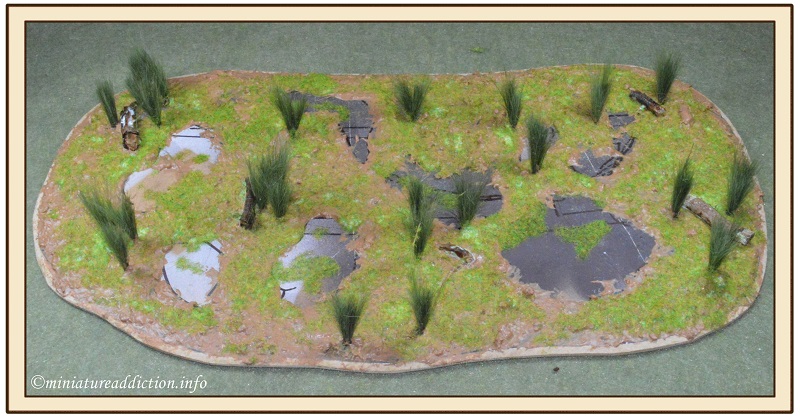
Before Painting
Once the basing texture had fully dried I then added a small amount of flock to a few areas before painting. The odd log was also glued in place at this time. Remembering to leave the main areas clear for models to occupy during games the logs were placed close to the reeds
Painting
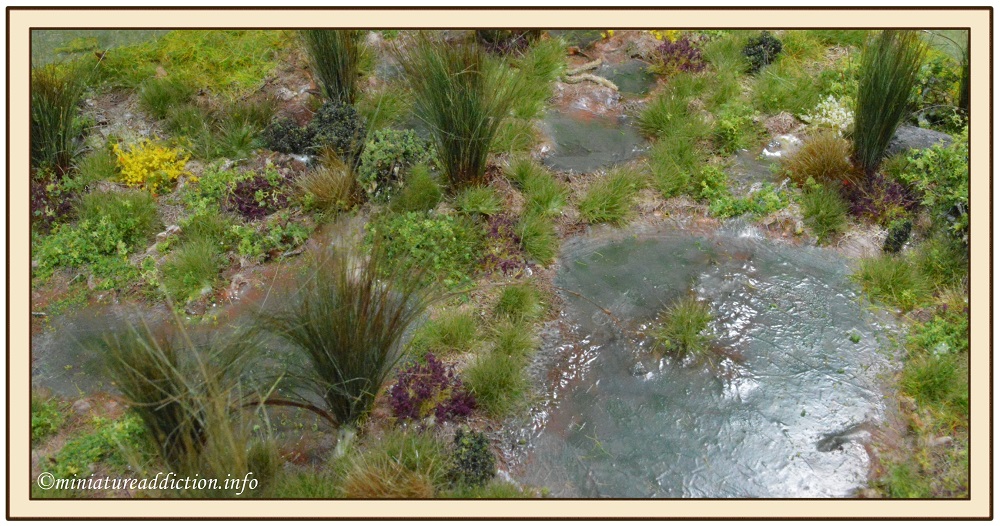
The main base was undercoated dark brown, while the flat pond areas were painted various shades of green. Once dry I added a couple of layers of a PVA glue/water mix to the ponds to give them some depth and shine. You could use any of the resin based scenic water products here, but for me the PVA glue is quick, mess free and gives a fair result.
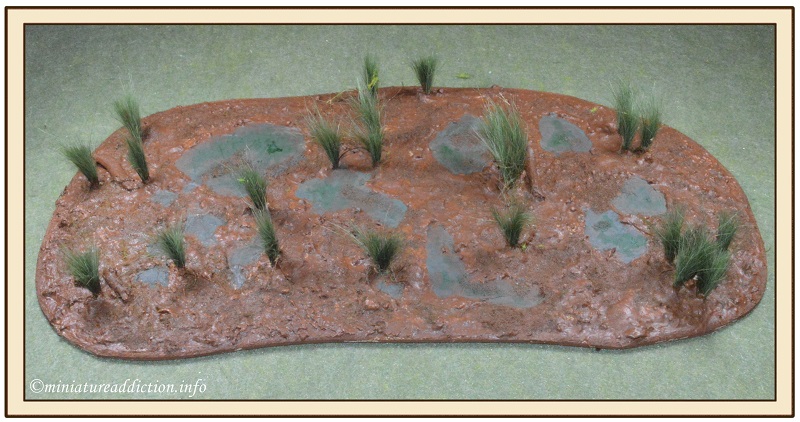
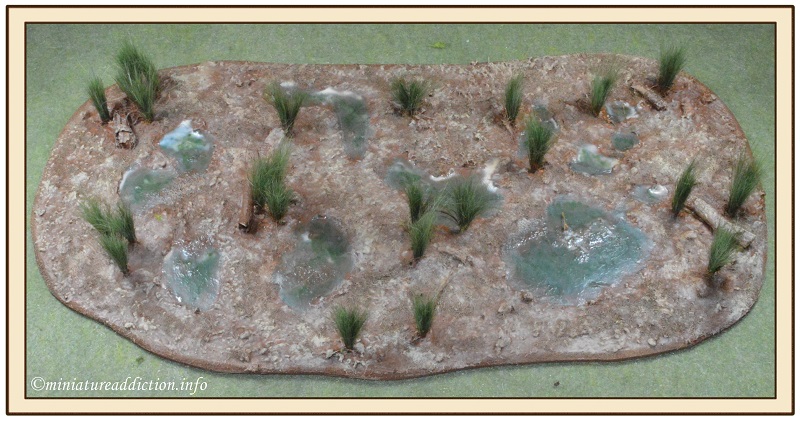
Dry Brush
The whole base is now dry brushed with progressively lighter shades of brown, while the ponds are given another coat of the PVA glue/water mix.
Tip. When painting the ponds with the PVA/water mixture I use a quick set PVA and tend to keep the coats fairly thin to aid drying time.
Flock
The final stage (before a quick spray with vanish) is of course the flock. Around the edges I used static grass in order to match my gaming tiles. The centre was a mix of MiniNatur grass tufts, Heki flower tufts and what ever else I could find in my hobby room at the time. As a last touch I brushed the tops of the reeds with brown paint before spraying the whole thing with a quick coat of matt vanish.
