Briefing
The following article is based on a multiplayer run through of Peter Pig’s AWC rule system “Civil War Battles”. Played sometime ago now I’m a bit shady on what happened on the table top and can’t clearly remember who won. Never the less I thought it would be a good opportunity to cover how “CWB” goes about its campaign style of game set up.
Pre Battle Activities
Civil War Battles (like other PP systems) has a very interesting way of generating a unique game every time. Broken down into seventeen easy steps which cover everything from list composition, road, scenery and objective placement, right through to deployment. Other steps in this process include simple dice rolls to determine things like officer command values or flank road ownership. The addition of war points in the pre game setup also allows each player the opportunity to alter their army’s overall situation before the game gets under way.
Originally I thought this setup system was a bit convoluted and not really worth the trouble. However, after trying it a couple of times now, I’m really starting to enjoy this style of game.
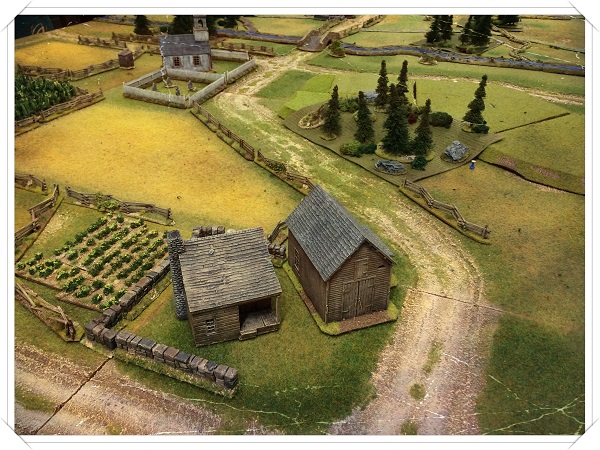
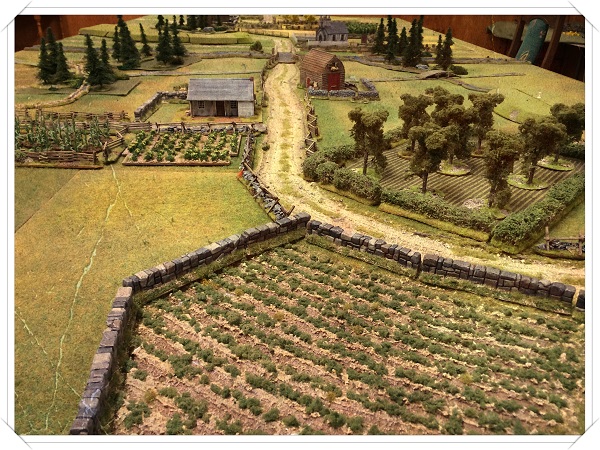
Below: Shows the 16/6 foot basic table layout.
Above: Looks west down the old church road.
Below: Looking East towards the river.
Victory Conditions.
Victory conditions in this game are for a large part made up from D6 rolls. For example, when the time clock counts out and finishes the game, all objectives, flank roads and destroyed enemy units add anything from 1D6 to 9D6 worth of victory points to your total score. This makes for very aggressive game play as you can only increase your chances of winning, but not guarantee it.
Time Clock
This system uses a twenty one point time clock that counts down 1D6 steps after both players have completed one full turn. In essence, this means both sides have no real idea how long they have to complete their master plan. For example, roll big (5’s & 6’s) in every time clock phase and the game will last just four short turns, conversely roll consistently low and it could stretch out to eight or nine turns. Thus, depending on how the game plays out you may very well find yourself praying for high or low rolls in the time clock phase.
War Points
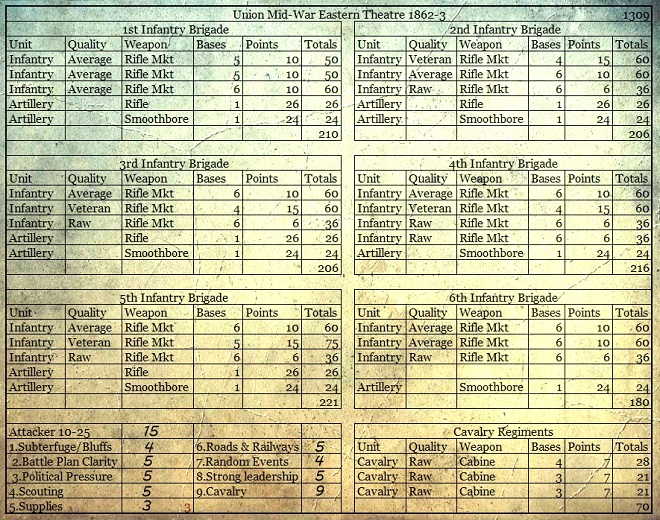
An important part of the pre game setup involves the use of war points. Each side begins the game with sixty war points (60x 1D6 rolls). Ten to twenty five of these point dice must be used to determine who will be defending and who will be attacking. The remaining points must then be spread between the nine categories in the campaign table.
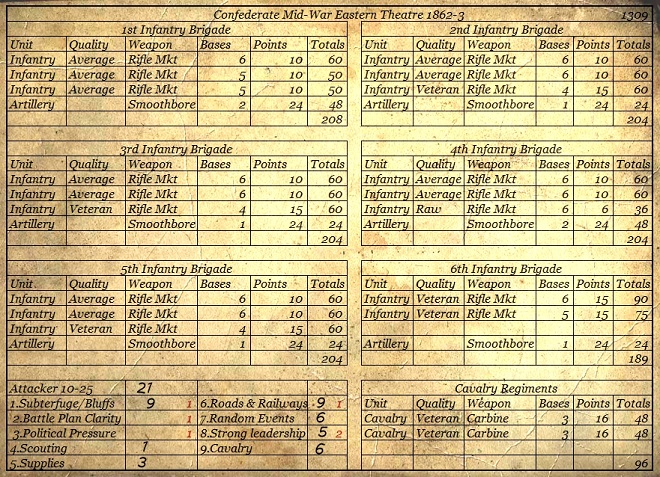
In our game the Confederate players dedicated 21 WP dice to winning the attacking roll. While the Union team allotted only fifteen WP dice to this cause. Preferring to save more dice for the campaign table (as noted on each OoB below). All attack/defend dice are then rolled, totaled (with fives and sixes equaling a success) and compared before deployment. The higher the difference between the totals the more likely the defender will have to remove deployed units into his reserve. Reserve units kept in play face possible late/loss base removals from their formation.
This can thin the defenders initial battle line considerably creating weak points for the attacker to exploit. To counteract this initial disadvantage the defender gains between 3 & 12 D6 victory points after the final whistle has been blown. The bigger the disadvantage the more D6 rolls he gets to add to his final score.
Order of Battle
A points based system CWB contains early, mid and late war lists for both eastern and western theatres. It also has lists for possible Colonial French and late war British intervention armies.
As these were new rules to most of the players in our game, I took the liberty of setting up the table and working out two simple mid war lists. In order for each of our six players to command a decent sized force I decided to double the total number of points recommended for a standard game.
Deployment
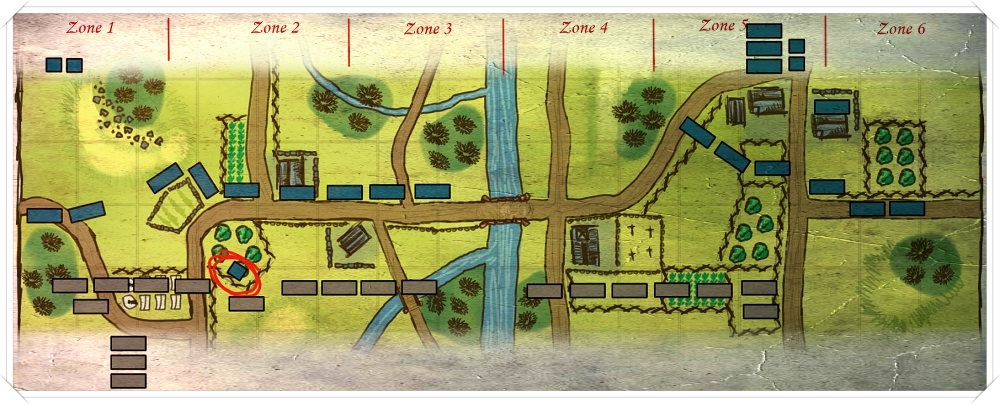
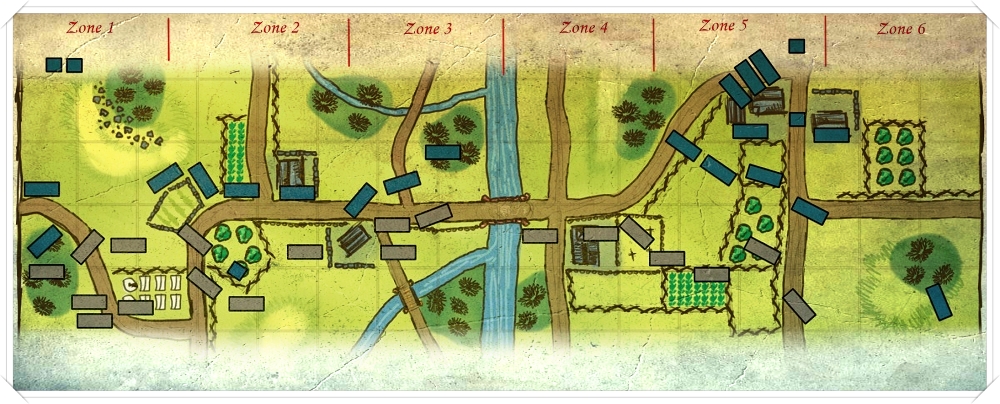
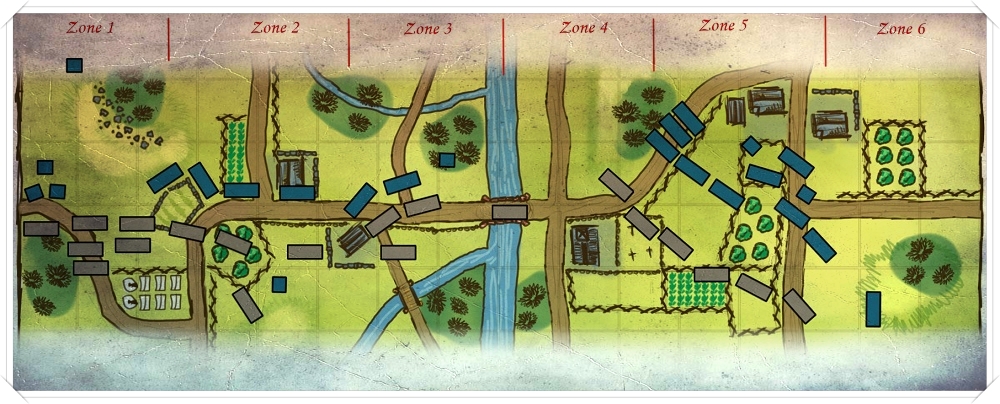
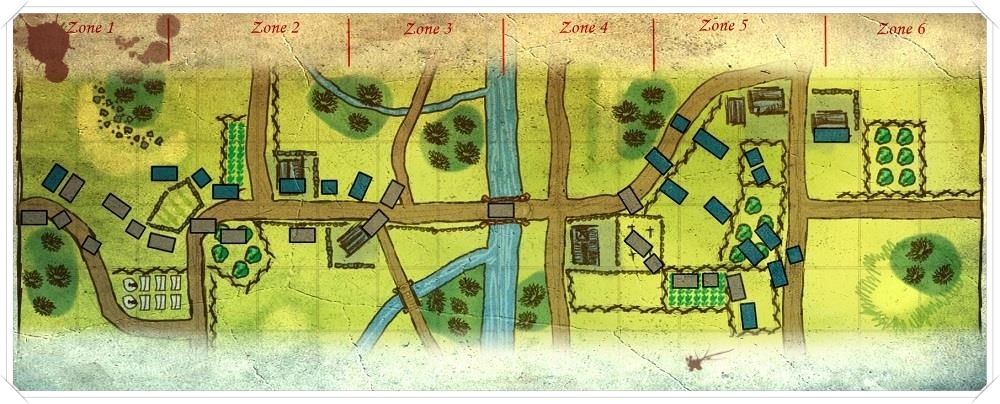
Each army was allowed to deploy only five of their six divisions on the table (with attached cavalry regiments). These divisions were to be placed in separate deployment zones (as per map). Their last division was to be kept in reserve and could roll to enter the table via a flank road (if owned) or any friendly zone on their side of the table.
Note: As the river was impassible this meant each team would have to split their respective forces leaving one side of the river weaker than the other. Before the first turn, the teams were required to write down which side of the river their reserve division would arrive on. This would allow teams to either reinforce their weak side of the river or bulk out their main attack.
▼The rebel’s left flank▼
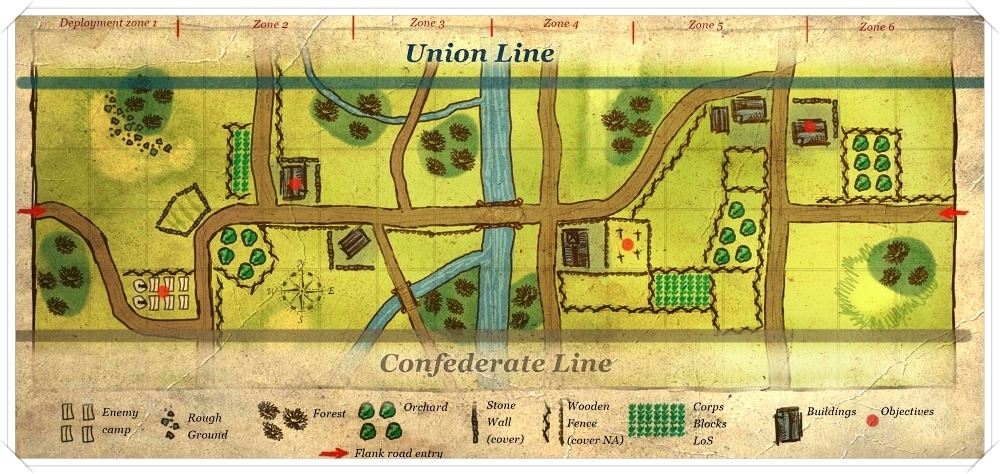
▲ Deployment map▲
▼Rebel battle plan▼
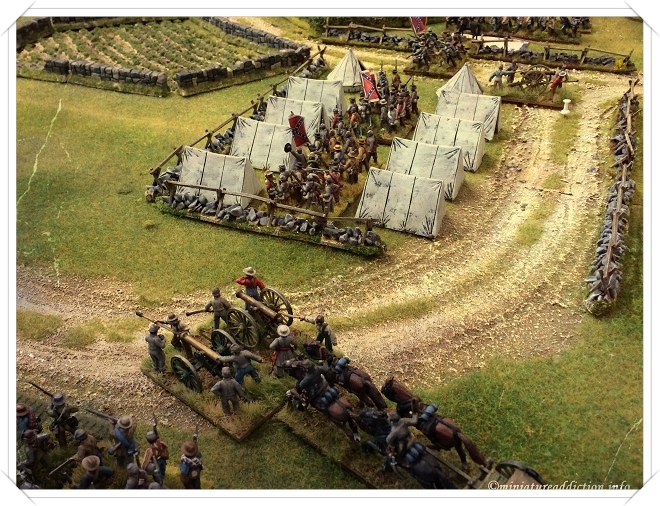
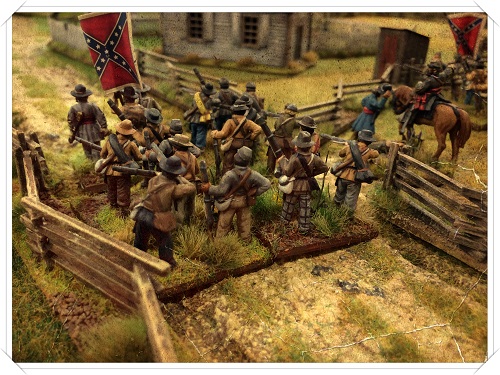
The Confederate plan for the coming battle was simple. The 1st and 2nd infantry divisions were to take and hold the church graveyard (6D6 objective pts) on the eastern side of the river. Meanwhile the main strength of the army would then be free to concentrate to the west where they believed the Union defenses would be weakest. Advancing through the camp (3D6 objective pts) towards the lone farmhouse (6D6 objective pts) on the old church road. However, circled in red on the deployment map is what would prove to be a major spanner in the works for the Rebels. Lining the edge of an orchard a single regiment of Union cavalry provides no end of problems for the Confederate troops.
▼Eastern cornfield ▼
▲ Union Left▲
▼Union battle plan▼
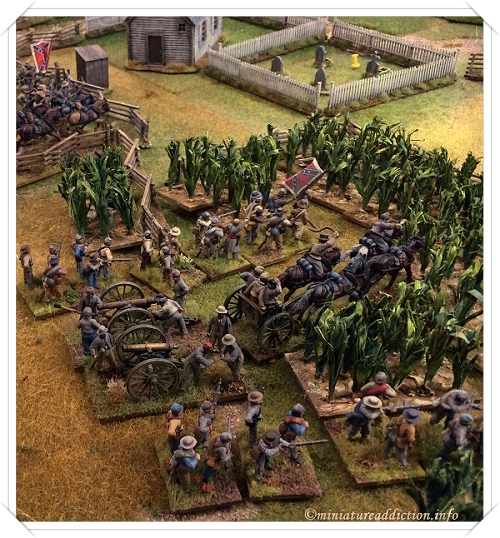
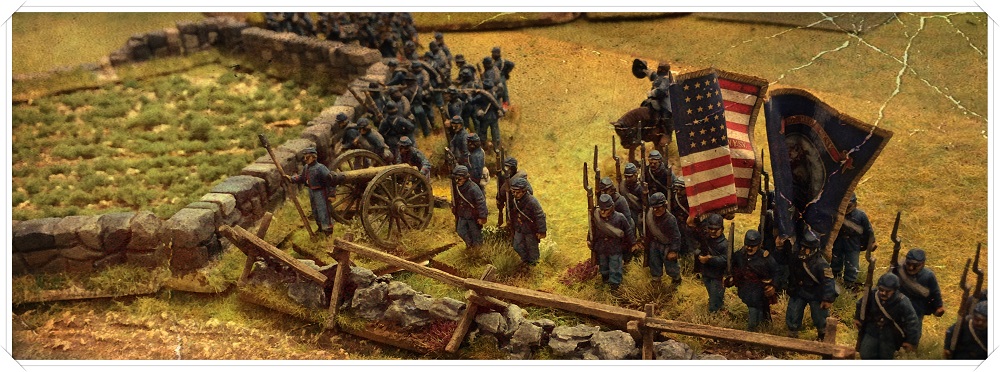
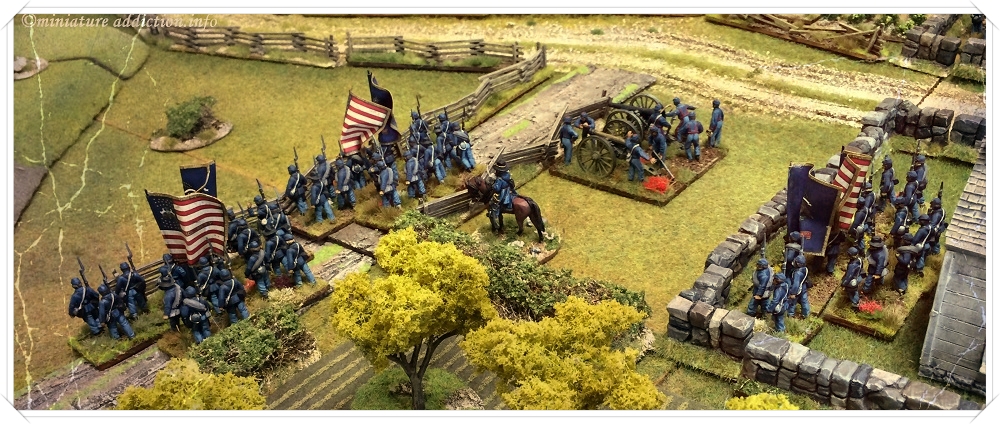
The Union team decided to split their army equally across both sides of the river. If they could take and hold the farmhouse (zone 2) and the graveyard (zone 4) while maintaining their grip on the second farmhouse (zone 6) they should have the game. This would give them 3D6 points per objective (9D6) plus 8D6 for late/loss defender rolls.
Late/loss rolls
Before play begins, the defending army must roll for every gun and infantry unit on the table. For infantry units this is a set number of dice calculated on the units grade and the difference between the attack/defend dice rolls. Any fails here and the defender must decide to either remove the unit to the reserve or roll again and risk losing between 0-3 stands from the unit. Guns roll just 1D6, with a five removing it to the reserve and a six removing it from play. This aspect of the game can be shocking (especially for new players). Sometimes a third or more of your force can simply disappear off the table leaving large gaps in your defensive line.
While I understand this will seem strange or even a little bit broken to some players out there, it does (IMO) add bags of flavor to each game. Indeed, one of the Union players on the day was not overly keen on this part of the proceedings. For me the sum of all the parts in this system add up to a great gaming experience. The total randomness of the time clock, late loss rolls, D6 victory points coupled with the campaign table rolls make for out standing replay ability.
Campaign table
The last step in setting up a game is to roll for and apply the results from the campaign table. Each of the nine categories on the campaign table together with the points each team chose to place in them can be found on the army list charts above. For time and space reasons I will only give details for our results in the last category of the list (cavalry). Here, the Union player out scored the Rebels by one point with the following effect (Quoted from the rule book).
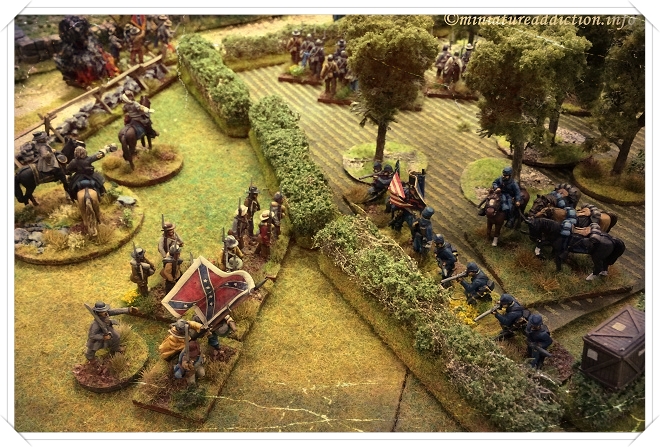
▲Early in the morning Baggley’s troopers seize the “Three Ribs” An own cavalry unit can be placed in any scenery piece. The cavalry can be mounted or dismounted. This scenery piece can be anywhere on the table presently not occupied by any enemy units.
▼Rebel Cavalry advance▼
▼The church yard is capture▼
▼The Union C-in-C Orders the attack▼
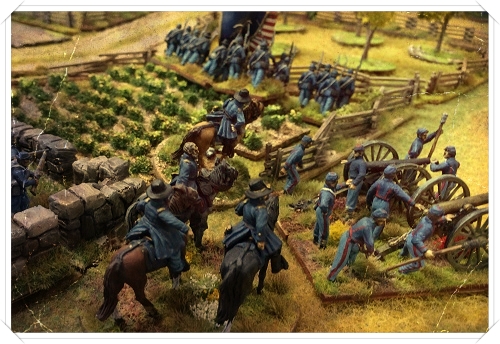
Phase 1: Early morning activity.
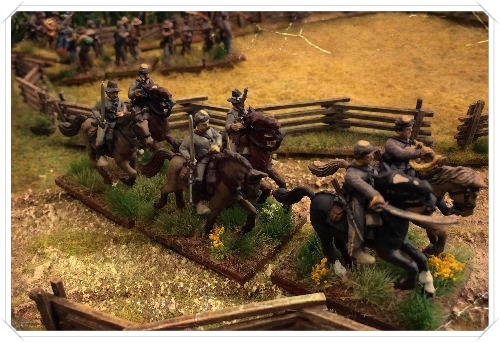
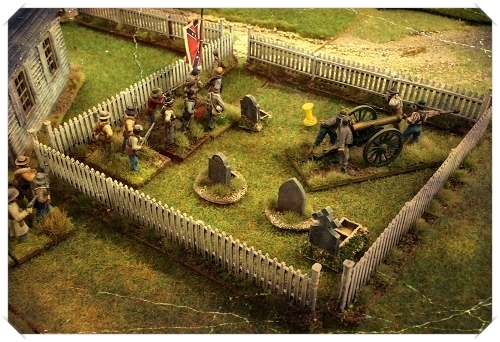
The Confederates push forward on the eastern side of the river quickly occupying the church yard. To the west their progress is hampered somewhat by a small unit of union cavalry deployed in the orchard near their camp. On the Union side of the table far less units have arrived at their allotted place in the battle line than were first expected. Indeed, large parts on their western flank are practically devoid of any troops whatsoever. Worst still, trouble on the approach road means much of the Corps artillery looks unlikely to put in an appearance at all. Any hope for a Union victory now lies with the quick success of their main attack massing east of the river.
▼Initial moves▼
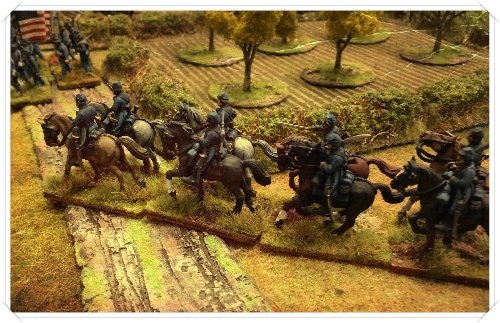
▼ Union cavalry and infantry move forward east of the river▼
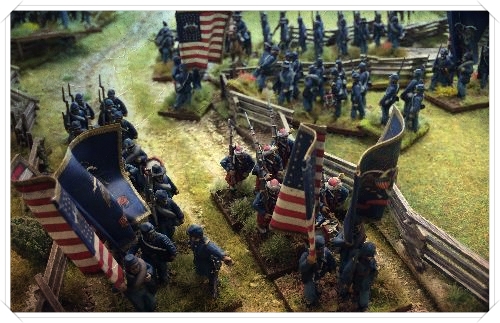
▼ Confederate forces mass near their encampment▼
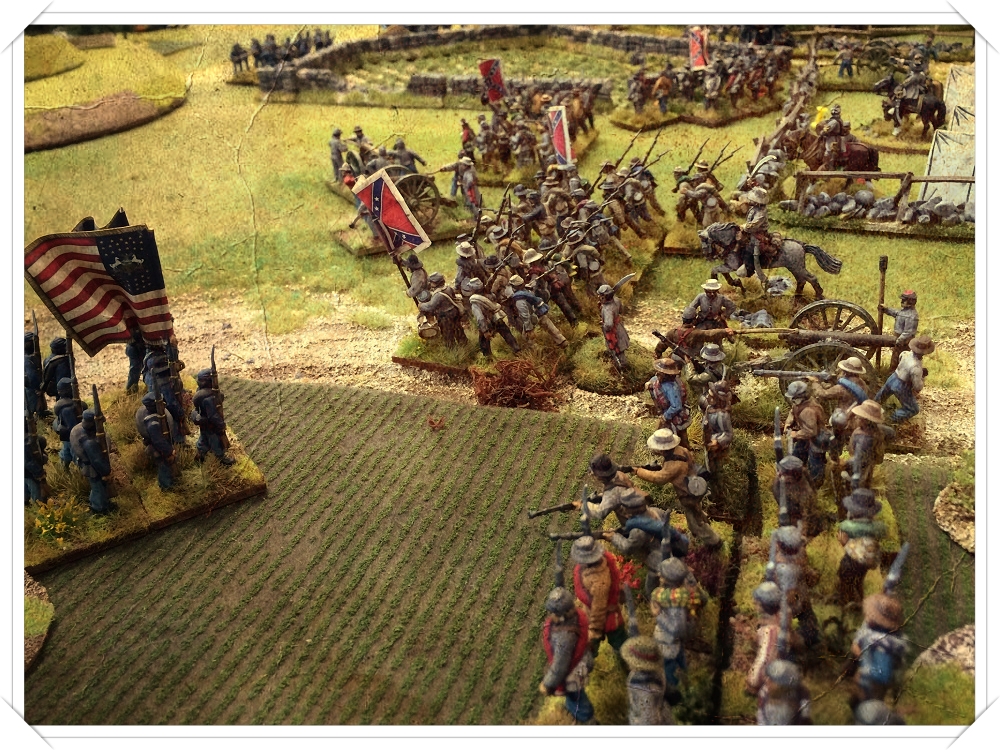
Phase 2: Mid morning mistakes
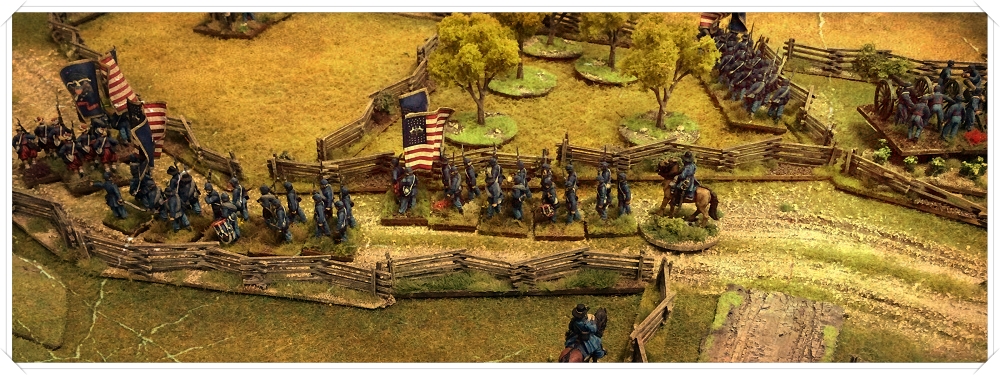
East of the river a somewhat overconfident rebel general pushes past his original objective of the church yard. Emerging from neighboring corn fields his small command runs headlong into the main Union attack forming up in front of his strung out regiments. The full gravity of the situation becomes apparent as Union cannon balls begin smashing holes in the startled rebel formations. West of the river Confederate progress is slow through the camp as the union troopers continue to hold out in the orchard. Meanwhile towards the center of the battlefield the intensity of a firefight steadily builds around some local farmsteads.
▼More troops are feed into the center▼
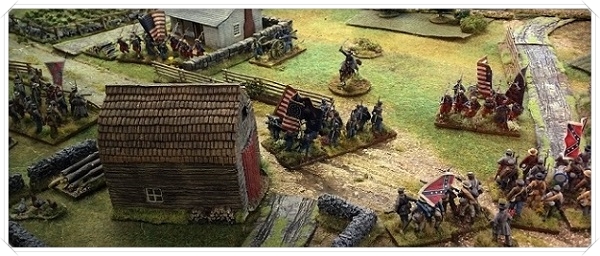
▲Phase 2 Movements▲
▼Union infantry flank march▼
Phase 3: Afternoon assaults.
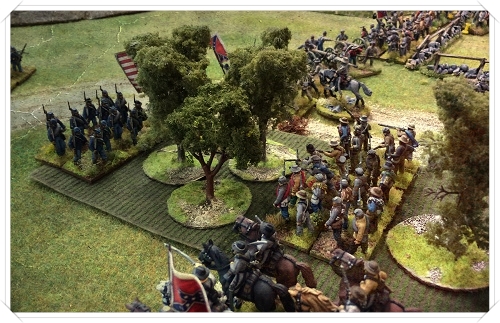
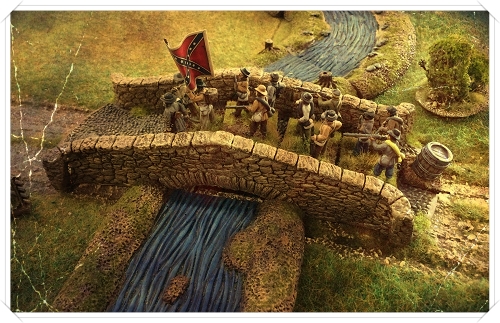
As precious time slips by both sides struggle to push home their main attacks. Last-minute changes to the angle of advance has caused costly delays to the Union assault. While the Confederates have faced dogged resistance from well placed Union troops in the woods about their western flank. Faced with overwhelming odds on their right the rebels seize the stone bridge gaining an extra avenue of retreat. Finally, the Union cavalry are pushed out of the orchard leaving the rebels free to concentrate on the main Union battle line.
▼The Rebel’s left flank attacks▼
▼Take the bridge▼
▼The Unions big push ▼
Final Phase: The time clock hits zero hour.
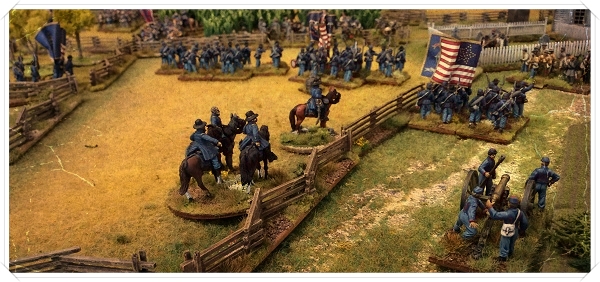
Low on ammo and exhausted the fighting dies away in the center of the battlefield. On the rebels left flank the well planned Union attack was on the point of success before fading light called a halt to the proceedings. Likewise on the right the rebels were too disordered to make the most of their local breakthrough. With the battle over both sides now withdraw to count their losses
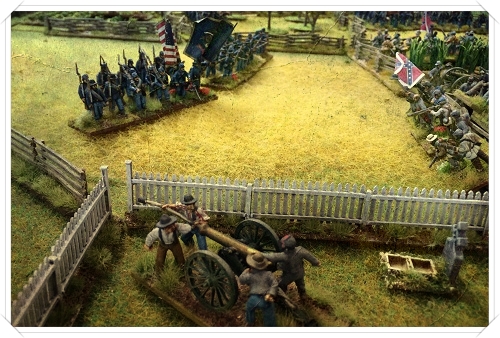
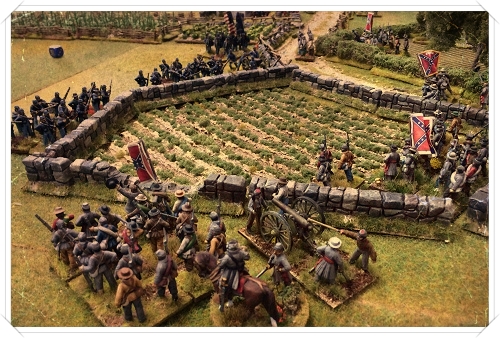
Oh the carnage.
After rolling all the victory dice and adding in the casualties, I believe this was a small or bloody win for the Rebels. I might be totally wrong here as this game took place some time ago now. All in all it was a great day’s gaming thanks in no small part to the excellent bunch of lads who took part. Many thanks to you all.
