Of all the theatres of war during the Napoleonic era, the Spanish ulcer is by far my favourite. So when I discovered Dave Brown had released a campaign supplement for GdA (General d’Amree) based in the Peninsular. I couldn’t wait to get my hands on it. Vitoria is a 45 page PDF available for download from the Too Fat Lardies website. Within its pages, you will find a short historical overview of Wellington’s 1813 campaign. The six scenarios that follow are based on the battle of Vitoria. Each scenario is linked to its predecessor. A French victory in a previous game may add a bonus formation to the following campaign battle.
Below is a solo playthrough of the first scenario in Dave’s Vitoria PDF “Combat at Osma”. I hope you enjoy reading this A.A.R. as much as I enjoyed playing through the scenario.
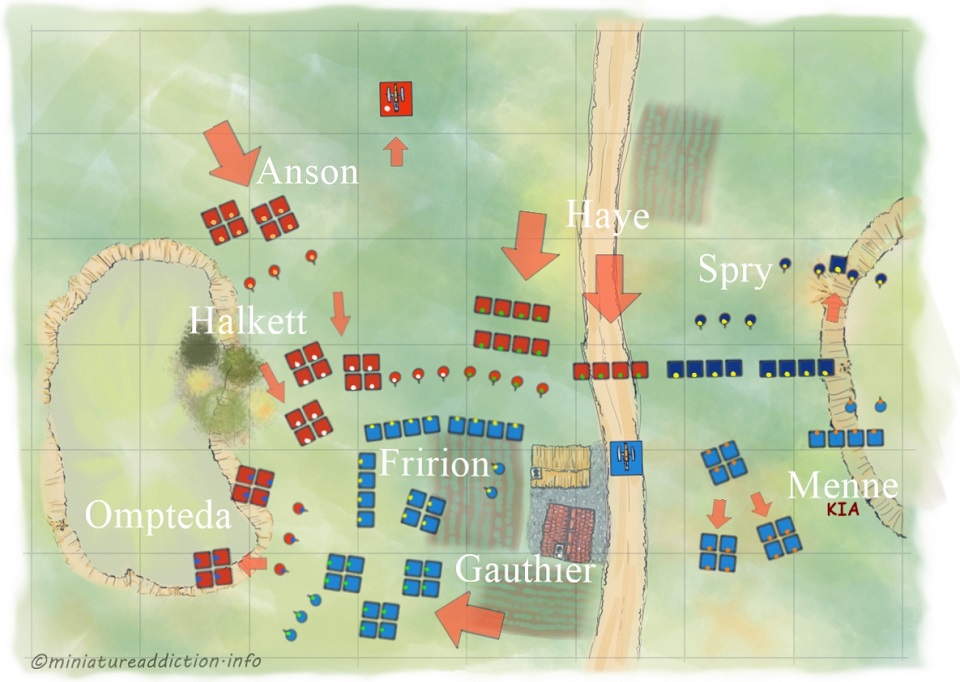
Deployment map
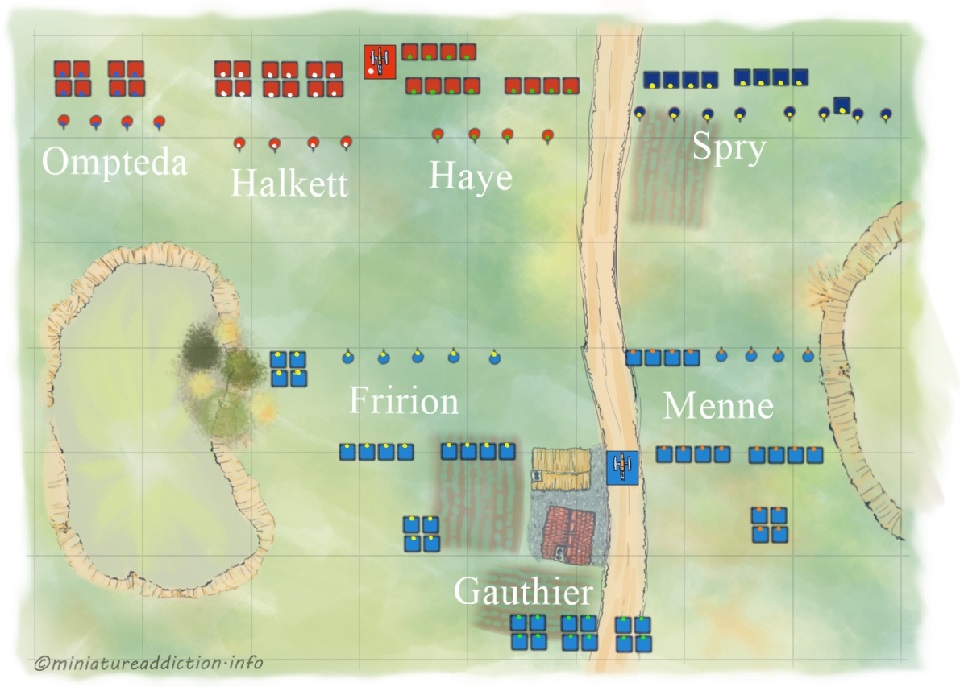
French plan
ADC availability during this game could become problematic for the French. If two of their three brigades should falter on the same turn, they might not have the ADC dice available to save them both. Minimizing the need to move troops about the table was going to be a key consideration when deploying here. In the opening stages of the battle, the French planned to sit tight and assign all available ADC’s to either artillery assault or skirmisher tasking. Once the enemy formations closed to within charge range, ADC tasking would switch to brigade rerolls. Hopefully, ensuring their brigade commanders don’t fail to activate at a critical stage of the battle. Gauthier’s reserve would be held back until the British intentions were clear.
British plan
Victory for the British in this scenario can only be achieved by breaking two of the French brigades before the end of turn ten. Anything else is considered a French victory. To this end, the British decided to concentrate their efforts on rolling up the French left flank. Therefore, Opmteda’s KGL would move with all haste around the woods to the left of the main French position. Halkett would support this attack by simultaneously engaging Fririon’s command frontally. Haye’s central command would advance in support of this attack. While Spry’s Portuguese troops would launch continuous skirmisher attacks on the opposite flank.
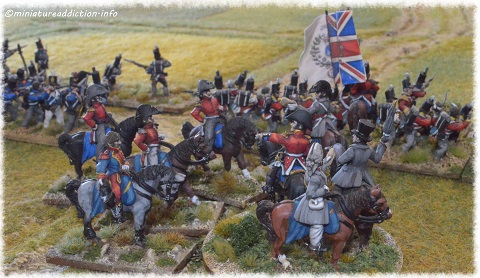
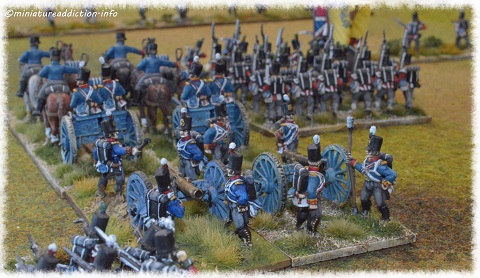
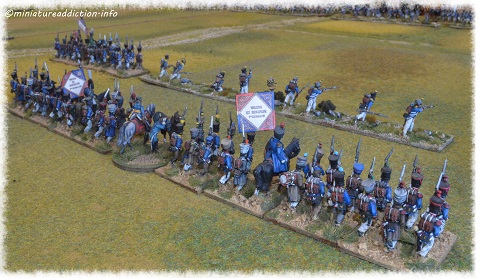
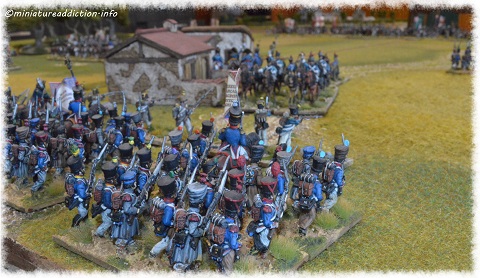
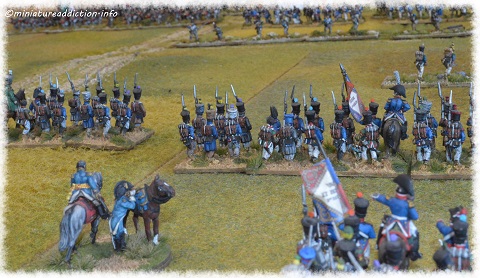
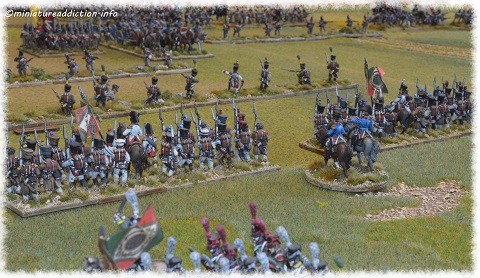
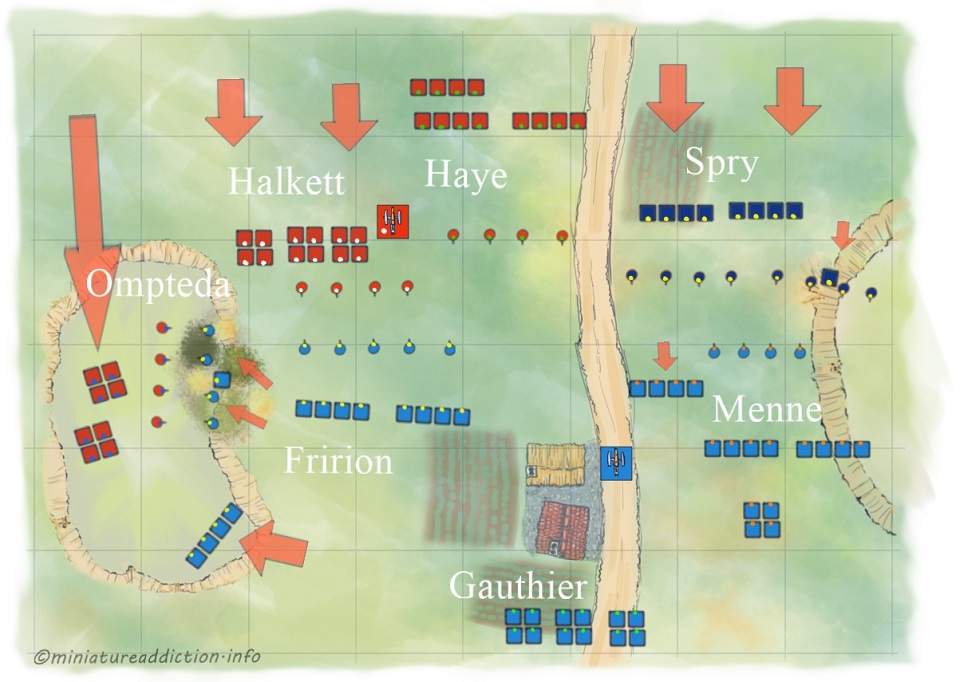
Morning developments from the French perspective.
General Fririon opened proceedings by redeploying his leading (light) battalion into open order (‘skirmisher tasking’). The primary role of his newly formed skirmish line would be to cover the high ground beyond the woodlands. On the right flank, Menne’s lead battalion was pulled back towards the main battle line. An ‘Artillery assault order’ allowed the French six-pounders to concentrate their fire on Haye’s approaching formations. Unfortunately, a low roll on the fire table saw this tactic backfire on the battery. In the end, their gun teams suffered just as much pain as they dished out.
Morning developments from the British perspective.
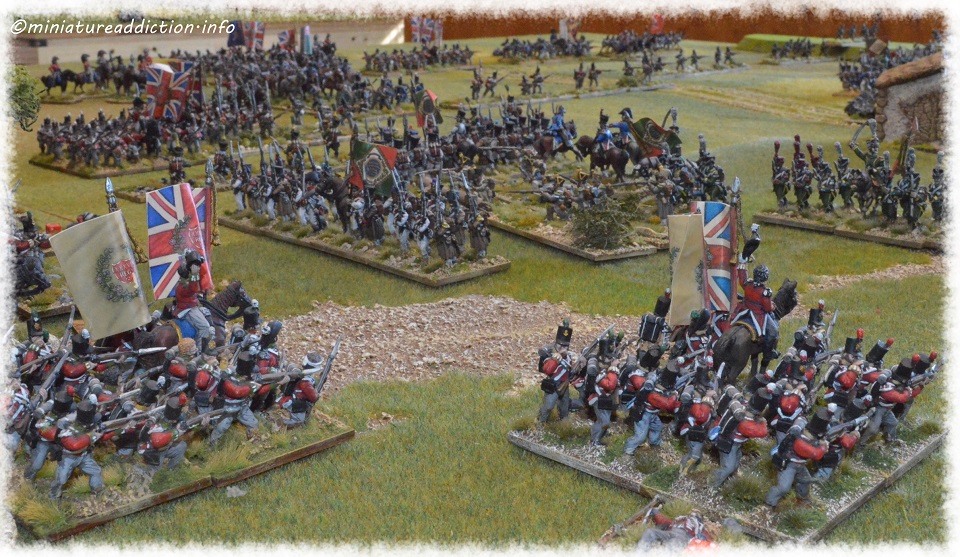
Tasked with enveloping the French left Ompteda quickly moves (Forwards tasking) his command onto the high ground beyond the woodlands. To cover this movement, Halkett and Haye’s men were ordered forward in the centre. However, when French cannonballs ploughed into Haye’s leading formations his advance stalled (hesitant). Deployed in slow-moving lines and under continual artillery fire Haye’s progress in the centre is painfully slow. On the British left, the Portuguese were to keep Menne’s soldiers in play until the French left flank could be dealt with.
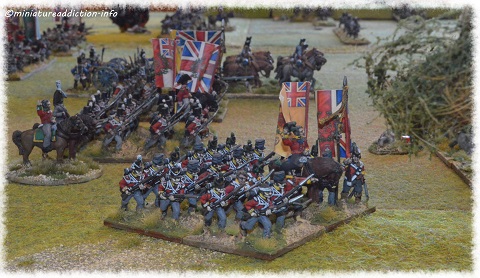
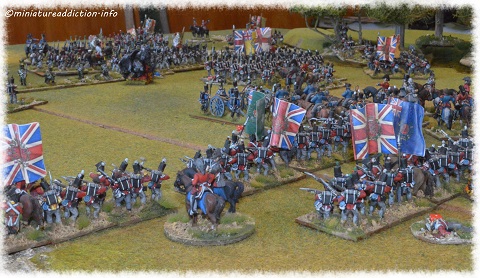
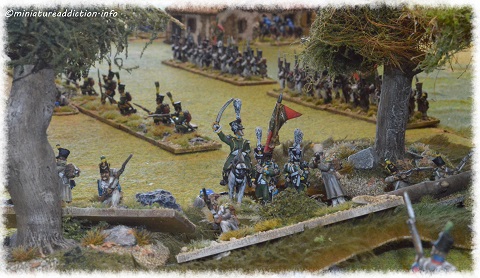
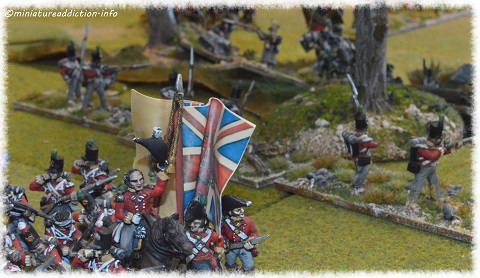

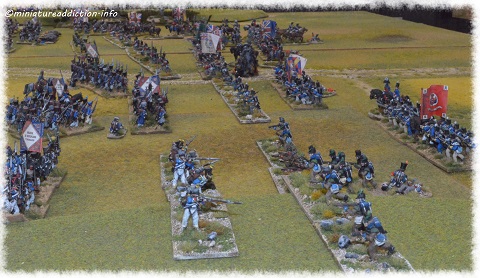
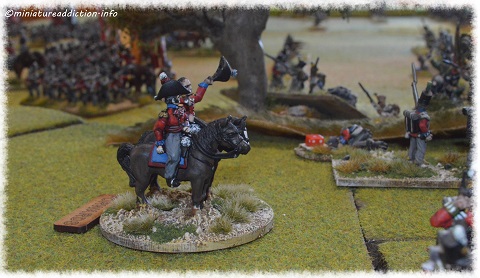
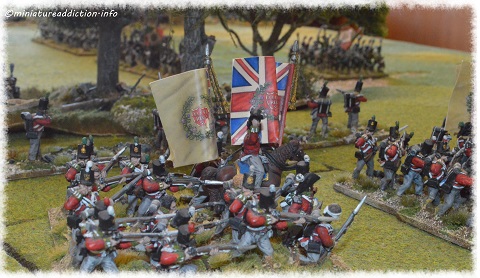

Afternoon developments from the French perspective.
Heavy fighting throughout the afternoon saw Fririon’s command sorely pushed. His light battalion had been evicted from the woods. While the brigade’s main skirmish line was steadily losing ground to their British counterparts. To make matters worse, Fririon had to commit his last reserve to counter the two KGL battalions that had appeared on the high ground beyond the woods.
Afternoon developments from the British perspective.
Apart from Haye’s brigade, the British had good reason to be happy with the day’s proceedings. Fririon’s brigade looked to be close to collapse. Ompteda’s men had taken heavy casualties, but in doing so they had thrown the French left flank into complete confusion. Anson’s fresh infantry brigade was now approaching the field. Would the British dedicate their limited pool of ADCs to maintaining the initiative (posting ADC rerolls) or should they call upon Anson’s fresh troops?
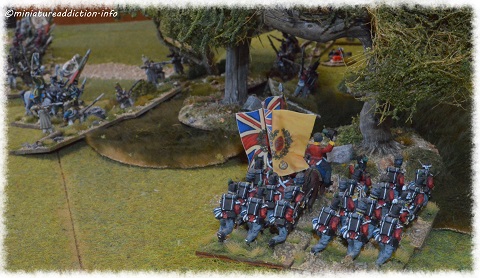

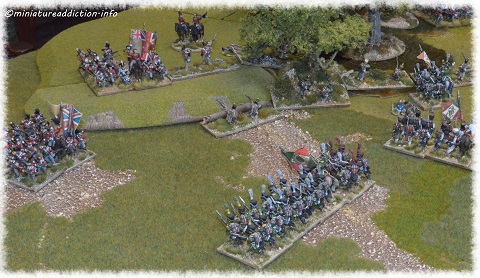
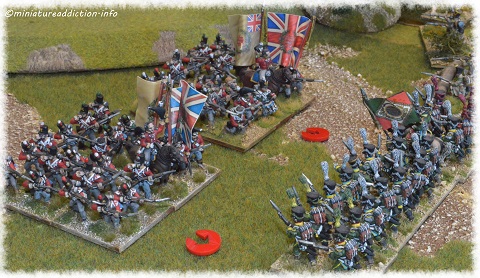
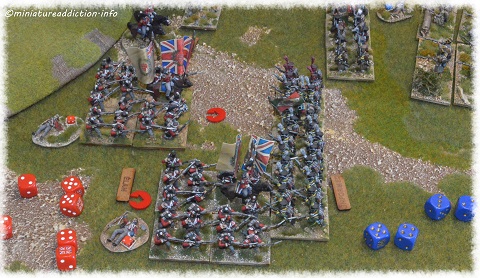

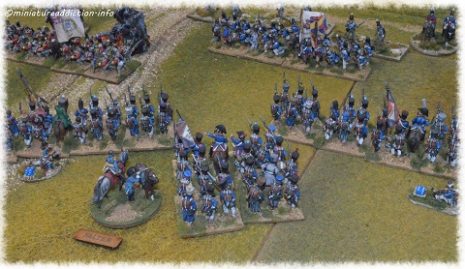
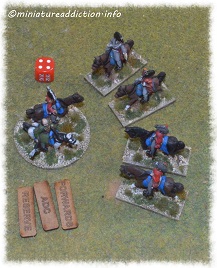
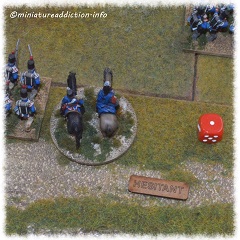
ADC tasking
With almost every available ADC off looking for Anson, the British attack suddenly came to a complete standstill (that was some bad rolling on my part). The French commanders catch their breath, reform the lines and send for Gauthier.
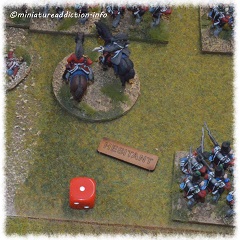
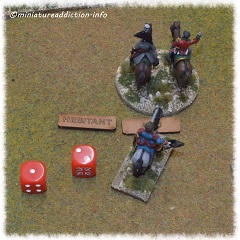
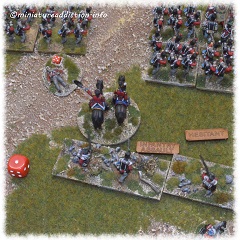
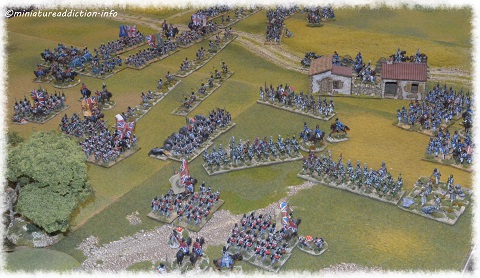

French summary
It’s late afternoon when Menne moves his last battalion forward to stabilize his line. A particularly devastating volley rakes the French troops as they move forward. When the smoke clears. Menne is found dead and his men begin to panic (Falter). Luckily his second in command quickly regains control of the brigade and the crisis is averted. On the left, Gauthier’s fresh troops force back Ompteda’s exhausted battalions. However, a final push along the entire British line proves too much for both Fririon and (the now dead) Menne’s soldiers. Although both brigades falter the collapse comes too late for the British cause. Night has fallen (turn 10) and they have failed to meet their victory conditions.
British summary
Anson’s arrival proved pointless for the British cause. Even with some hard marching, he failed to make contact with the French army. As it was, the Portuguese smashed Menne’s remaining troops. While Halkett and Haye convinced Fririon to withdraw his battered brigade from the field. With only three ADC dice it was doubtful the French could have saved both of their faulting brigades. Thankfully the light faded (last turn) and they never had to find out. Today’s win for the French lets them add Montfort’s infantry brigade to the next encounter. I think it would be fair to say that the mid-afternoon foul up with Anson’s brigade cost the British the battle.


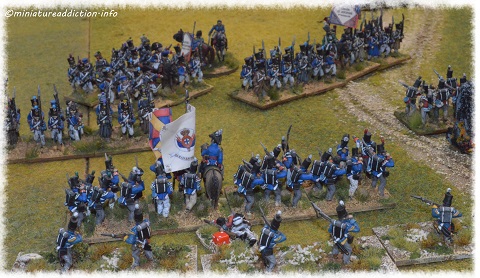
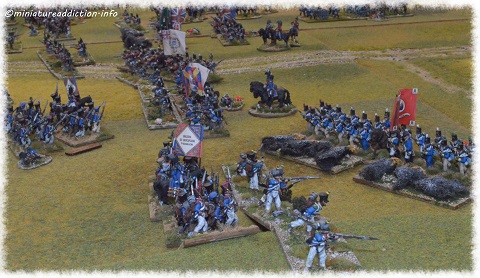
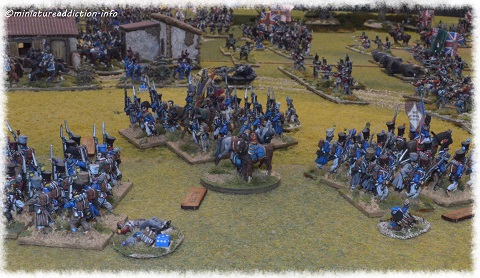
Final Thoughts.
I can’t sign off here without saying how much I really enjoy the ADC tasking aspect of this ruleset. They are unlike any other order system I have come across for gaming this period. Generally, when I think of orders, words like attack, defend, hold, engage or retreat all spring to mind. Each of these orders usually requires the issued formation to meet some basic conditions. For example, hold orders may limit a formations movement, while attack orders may compel the formation to move towards the nearest enemy.
ADC tasking is like the next level down from these “cover all-formation orders“. Skirmisher tasking, for example, allows a brigadier to re-enforce his skirmisher line, increase its rate of fire and break out light battalions into a skirmish line. None of which are compulsory actions just options for that turn. Placing a battery on “Artillery assault” will increase its rate of fire for a turn. This suits my preferred style of gaming down to a Tee. At this scale, infantry units represent battalions and skirmish lines are more than just an abstraction. A Fantastic set of rules IMO, check them out if you haven’t already.
