
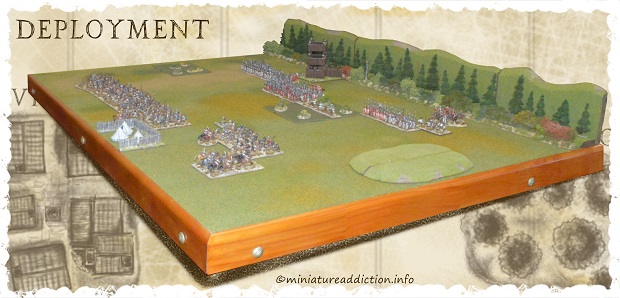
Bizarrely both sides rolled double sixes when dicing to decide who would be the attacker for this game. A double six on the army advantage chart allows a player to place one of his commands 2H (movement units) closer to the centre line when deploying his forces for battle. Both sides chose to take advantage of this option as detailed on the deployment map below.
Deployments and battle plans.
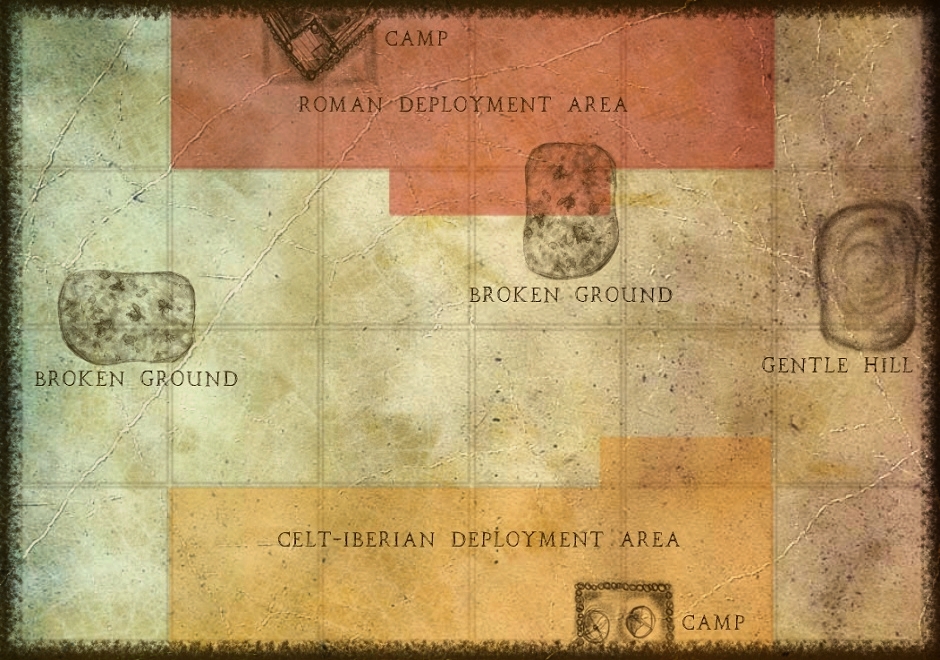
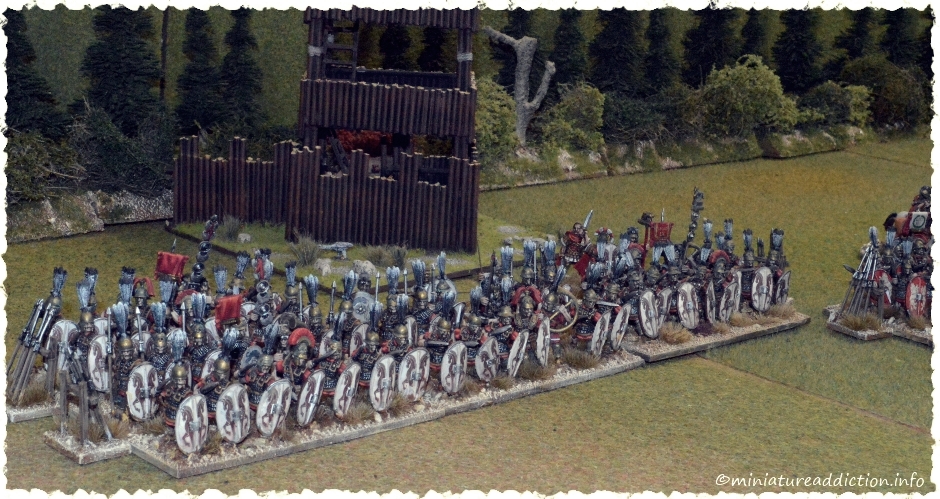
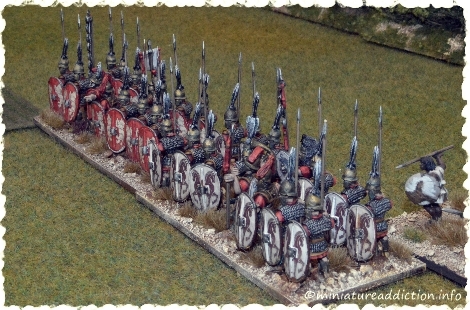
Rome: The placement of two small areas of broken ground on the field of battle could potentially restrict Roman movement in the coming fight. To this end both legions were deployed in double lines as far forward as possible. It was hoped they could force march past the broken terrain and quickly expand out into a full line of battle. Thereby denying the enemies superior light troops any chance of exploiting these areas. The medium cavalry supported by the Numidian foot would be tasked with taking and holding the gentle rise on the left flank. While the two elite units of Triarii would bridge the gap between the hill and the main Roman battle line.
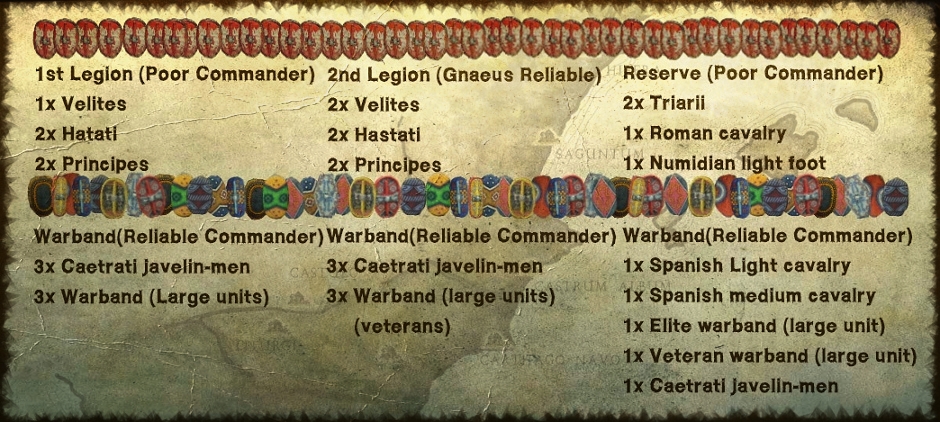

Spain: Placing their best troops opposite the Triarrii the Spanish hoped to hold this flank long enough to win the battle elsewhere on the table. In the centre the Caetati were to rush forward and cause as much disruption as possible with their javelins. This was intended to buy enough time for some Spanish light troops to circumnavigate the Roman’s open flank via the broken ground on the left.
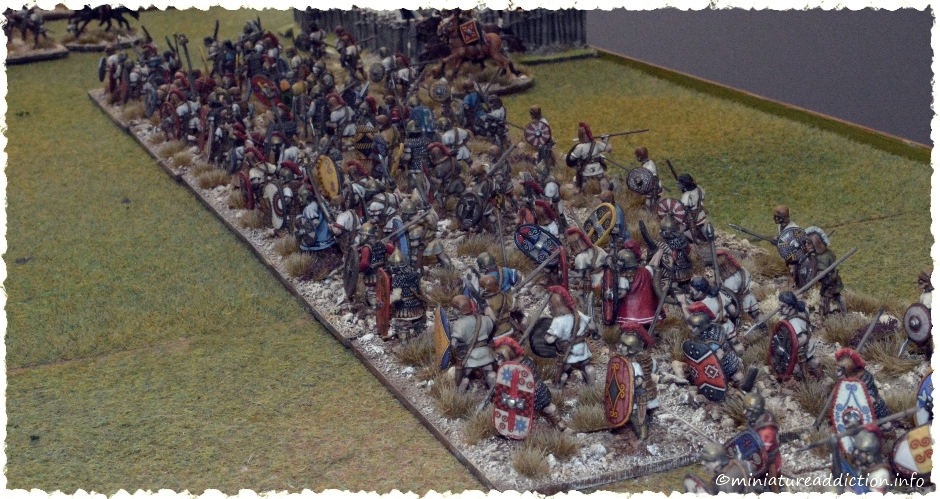

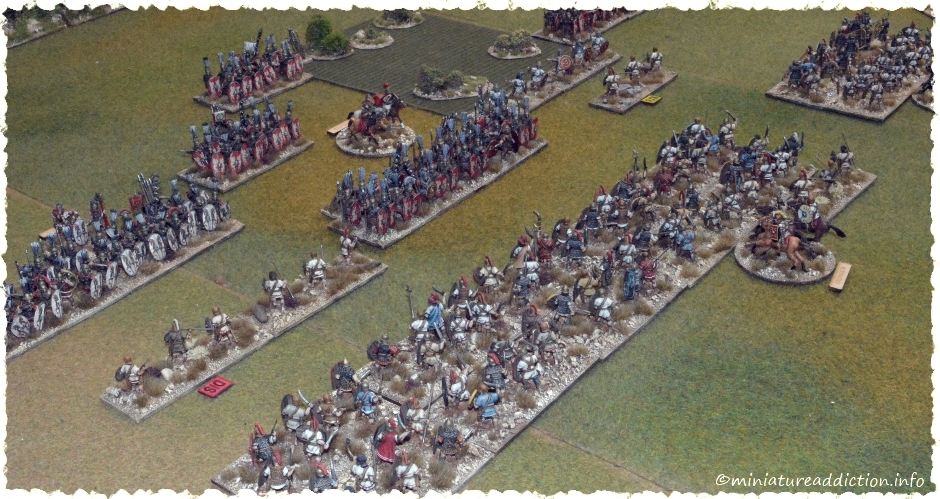

Turn one saw the Spanish army double move their light troops forward ready to pepper the Roman line with javelins. Reacting quickly the Roman heavy infantry charged the exposed Caetrati, catching and destroying two disordered units who failed to evade. On the left flank the Roman cavalry manage to gain the top of the hill in good order. Numidian light infantry were also pushed forward to support their claim.
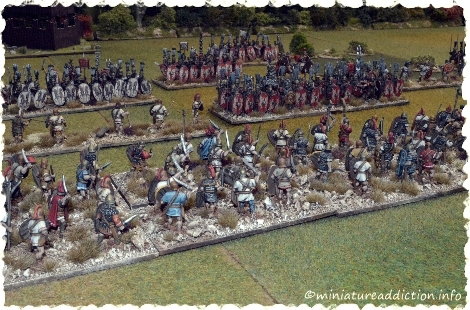
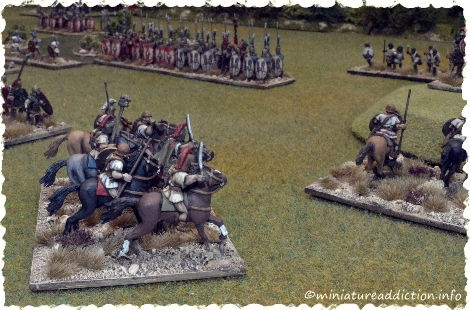
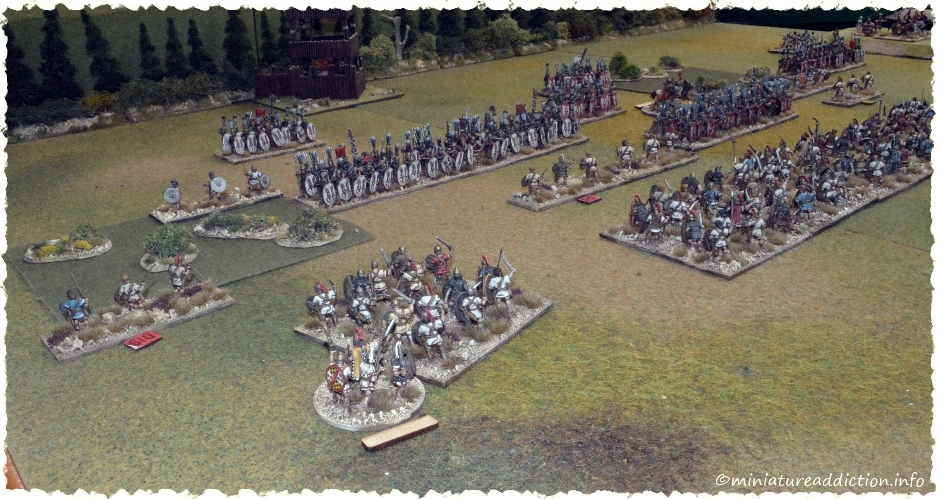

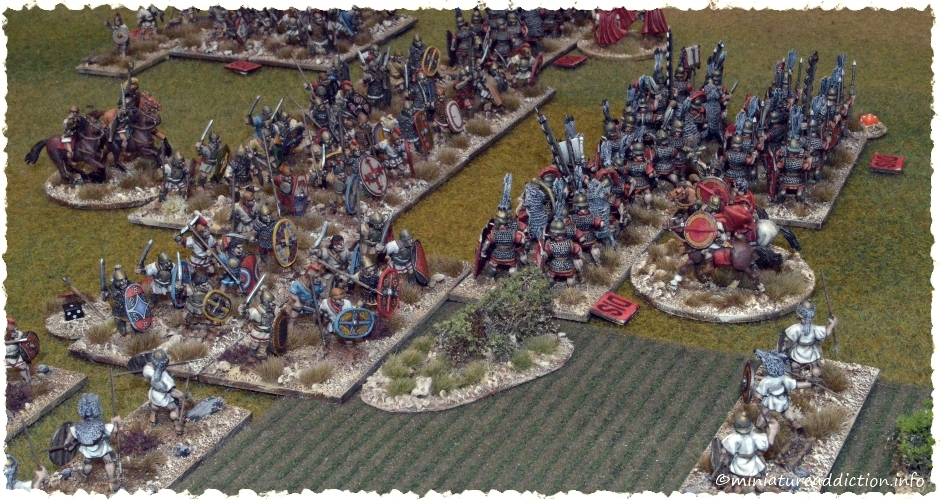
The time clock starts turn two with a five point drop. In their efforts to catch and destroy the Caetrati Rome’s heavy infantry have left themselves overexposed and vulnerable to a counter attack. Seizing this opportunity the CeltIberian war-bands rush forward in an uncoordinated charge. Despite the piecemeal nature of these attacks the Roman line suffers appalling losses and is lucky to finished the turn with all their units still on the table. Also attracting some unwelcome attention is the Roman cavalry stationed on the hill. It ends the turn in disorder and short two wounds.
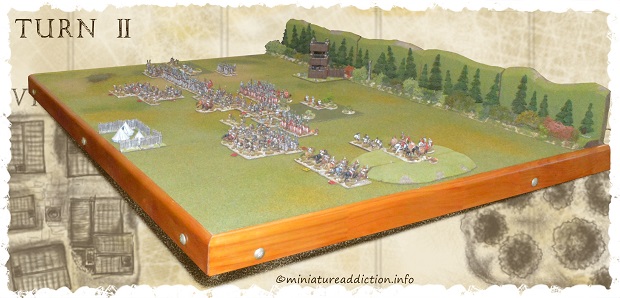


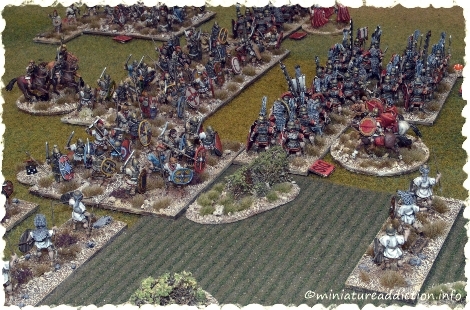

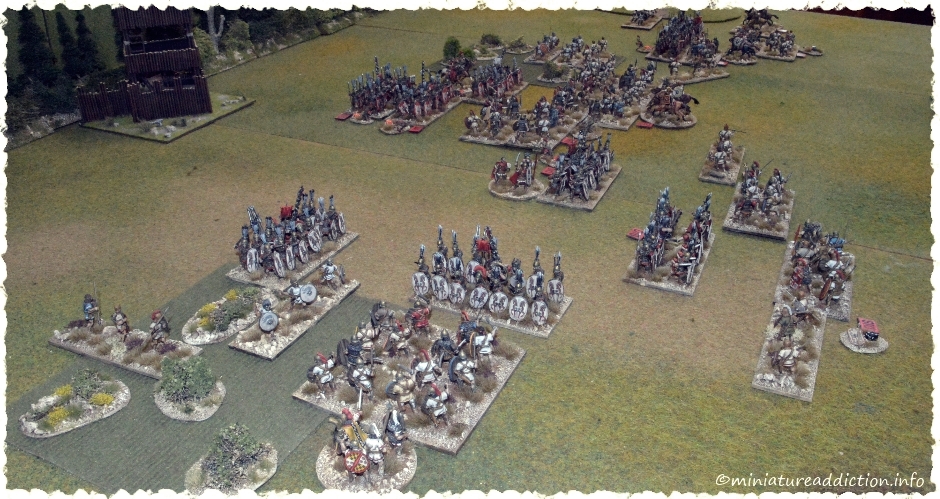

Another big roll on the time clock kicks off turn three. Rome’s second legion makes contact with the Celt’s left flank. Although numerous, this contingent of the Spanish army is of poor quality. It quickly falls before the unstoppable discipline of the Roman war machine. In the centre the Romans play the tactical card they received in their last battle (Iniziativa decisiva). This gives them an extra dice when rolling for the initiative. A win here would allow them to rally and reorganize their line before the Spanish could attack.
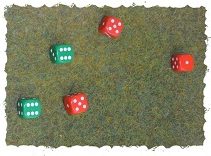
Alas it was not meant to be. Rolling a double six not only won the initiative for the Spanish, but also raised their general‘s rating to expert. Adding insult to injury his troops proceeded to rout all that stood before them. The central legion now gone, coupled with the loss of half their Triarii on the left-wing has the Roman army dangerously close to falling over.
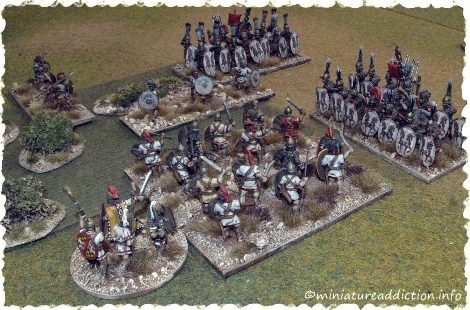

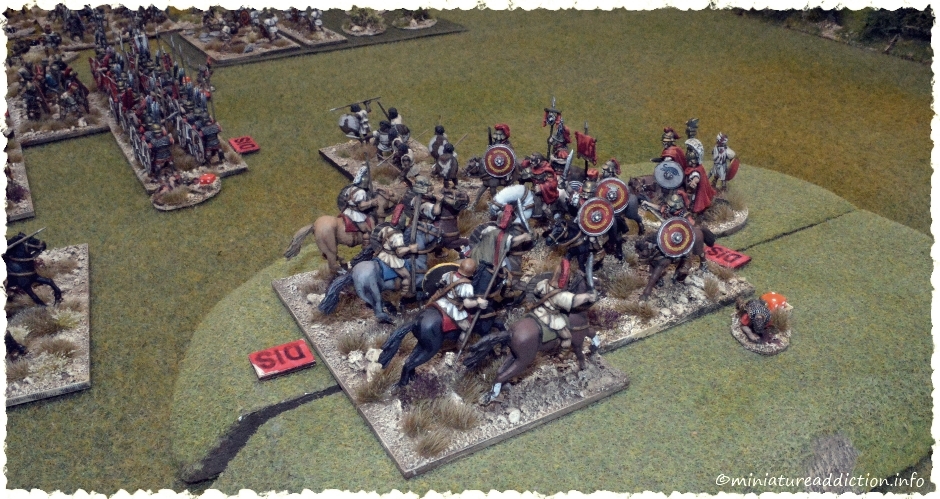

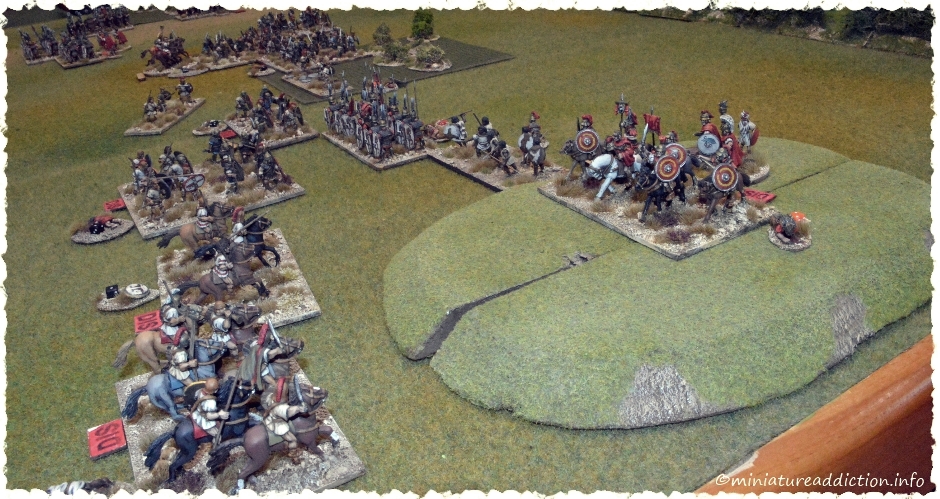
The time clock drops to just six points as yet another five is rolled this round. On the Spanish left flank the Romans make short work of the last intact war-band. Caught in the flank it is easily dispatched which is all to much for the remaining elements of that command. Before fleeing the field the accompanying Spanish general manages to roll double ones dropping his rating down a level. Note: Any commander’s rating can only shift up or down by one degree per game.
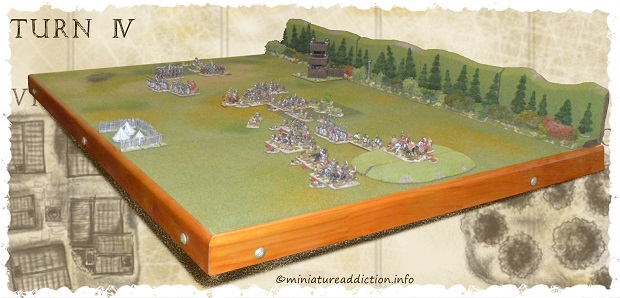
The Spanish centre stood in place having failed all attempts to rally. I forgot this general was now an expert and therefore should have rolled more rally dice. Fighting continued on the right, but no units were removed from play.
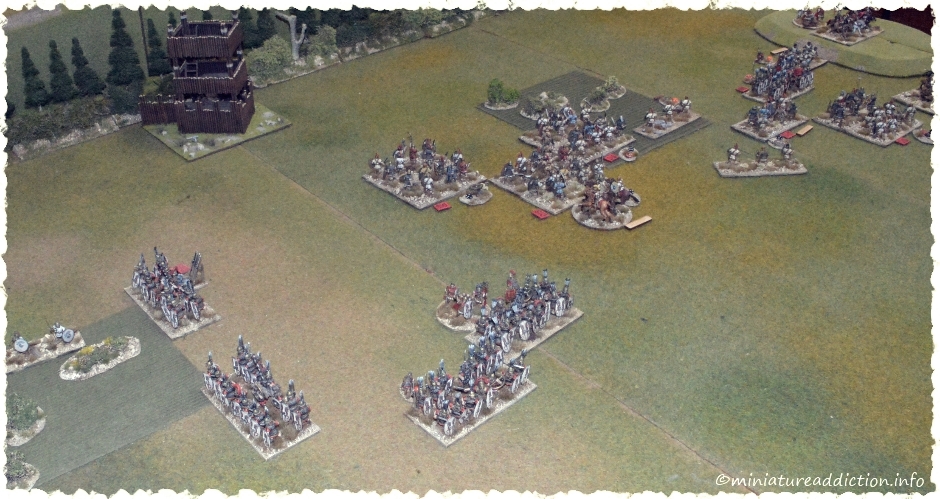

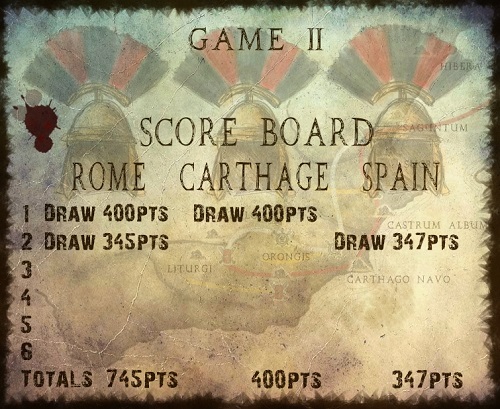
A time clock roll of six brings the game to a close. Although it was a bloodbath neither side quit the field resulting in a draw. However, as both sides managed to cause over 25% casualties to their opponent it becomes an “Honour on the field” result. This gives each player three hundred points plus a percentage in points of the damage they did to their enemy. The Romans for example destroyed forty five percent of the Spanish army so receive three hundred and forty five points. Each side may restore one commander back to his original level. So the Spanish finished the game with two reliable sub-commanders and a expert army commander. The Roman army started the game with two poor sub-commanders and a reliable army commander. However, in turn two the right-wing sub-commander managed to increase his rating to reliable. Both legions now have reliable commanders while the general in charge of the reserve has learnt nothing from the past battles.