The Sicily Campaign (Part 2).
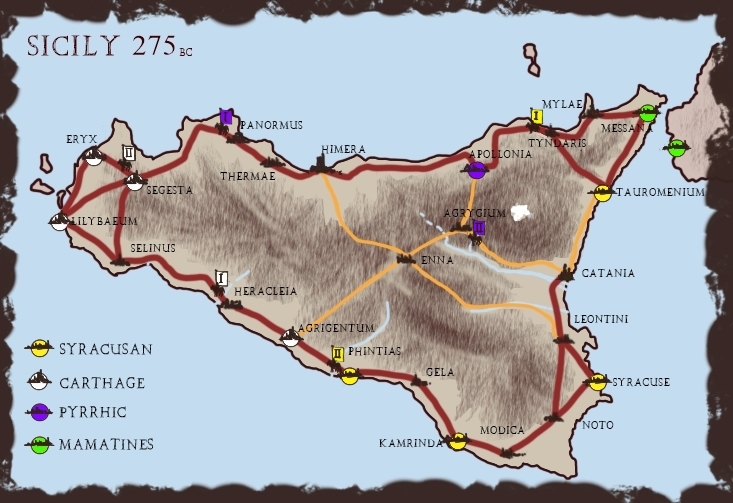
Before we dive into turns four and five of the campaign I think it may be helpful to do a short recap of previous events. Just to cover off who has what, where and so forth. With that in mind let’s take stock of each faction in turn.
Carthaginians: The first three turns went very well for this faction. A cautious start saw Michael establish a new (strength three) garrison at Segesta. He then surprised and crushed Rob’s Syracusan army at the battle of Heraclea on turn two. Turn three saw him defend his new holdings in Segesta by driving off my Pyrrhic army. With two wins, no losses and fifteen prestige points under his belt he is undoubtedly the man to beat.
Syracusans: The Drumming at Heracleia knocked the wind out of Rob’s sails for a bit. Nevertheless, venting his frustrations on my poor Pyrrhic troops at Tauromenium restored much of his lost honour (prestige points). He spent the remainder of his time installing a (strength three) garrison at Phintias and rebuilding his army at Tauromenium. Thus he finished up with a total of four prestige points while his armies muster in at forty-four and fifty strength points each.
Pyrrhic: Unfortunately, things didn’t go at all well for my faction. The gods have deserted my cause, damn it! My armies lay defeated and broken and I have no honour left to me (zero prestige). I needed to raise fresh troops fast, it was my only hope, but I even failed at that.
Campaign Turn Four
Initiative and Movement
- Rob’s 1st army installs a strength three garrison in Tauromenium.
- Michael’s 2nd army managed to recruit troops in Segesta (2 points).
- My 1st army managed to raise troops at Thermae (6 points).
- My 2nd army also recruited troops in Apollonia (4 points).
- Michael garrisoned Agrigentum (strength 4).
- Rob recruits in Phintias (4 points).

Very much a stop, think and rebuild the armies for me this turn. After gaining one prestige point in the initiative rolls I spent the time raising troops to patch up my battered armies. A couple of lucky rolls on the recruiting chart sees them back up to fifty points a piece.
Rob spends three prestige points to install a garrison in Tauromenium. He gains a free one in the initiative rolls and ends the turn with two prestige points. With his armies back up to full strength (fifty and a four-eight points) he seems set to resume hostilities.
Despite his earlier victories, Michael paused here as well. He installed a strength four garrison in Agrigentum and invested two more prestige points on a recruitment drive at Segesta. Ending the turn with nine prestige points, a forty-seven and a forty-nine point army.
Campaign Turn Five
Initiative and Movement
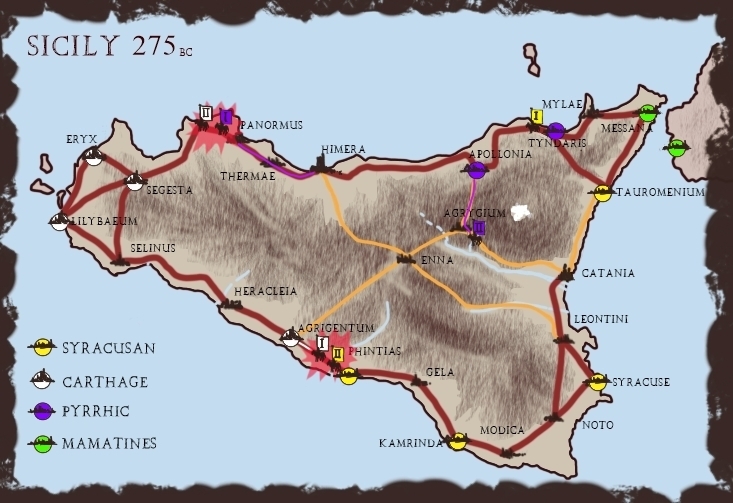
- The 2nd Pyrrhic army marches to Agryium.
- Michael’s 2nd Carthaginian army moves to Panormus.
- Rob’s 1st army marches on Tyndaris. When the city rejects his terms siege operations are commenced.
- Michael’s 1st army attacks the Syracusan army camped near Phintias.
- My 1st army marches on Panormus and attacks the newly arrived Carthaginian army.
- Rob defends Phintias with his 2nd army.
The tentative piece of turn four comes to a crashing end as fighting erupts across the island. In the initiative phase, everyone picked up a free prestige point. The Syracusans also managed to plant a spy into one of the other enemy camps (I know not whos at this stage).
For my part, I decided to take a chance by moving my second army from Apollonia to Agrygium. The plan was to force-march onto Catania which would hopefully persuade Rob to counter this move by pulling back his first army. However, I chickened out on my force-march test and stalled in Agrygium while Rob merrily looted Tyndaris.
Fully rested and resupplied Michael’s armies were on the move again. Unsurprisingly neither of these were to make much headway before meeting an enemy formation in the field. After all, Michael was holding a lot of juicy prestige points and Rob and I were keen to get our hands on them.

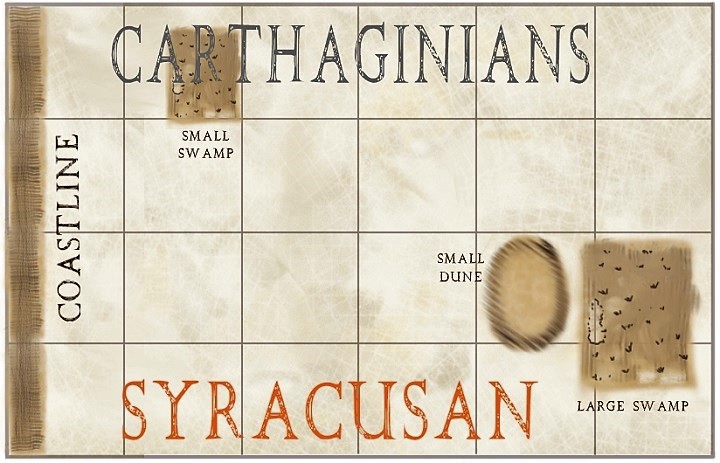
A cracker of a battle with the lion’s share of the action taking place on and around the small sand dune. Hence the name blood in the sand. You will of course note that none of the accompanying photos actually contain a sand dune. This is because we don’t currently have one in our terrain collections. So we made do with a small hill.
Army Lists
Michael’s first army of Carthage (totally 46 points of a possible 47)
- 5x Heavy foot
- 2x Spearmen
- 2x Jav Cav (General)
- 3x Light foot
- 3x Rabble
Rob’s 2nd army Syracuse ( totally 48 of a possible 50 points)
- 7x Heavy foot
- 1x Spearmen (General)
- 2x Jav Cav
- 2x Light foot
- 2x Skirmishers
- 1x Artillery
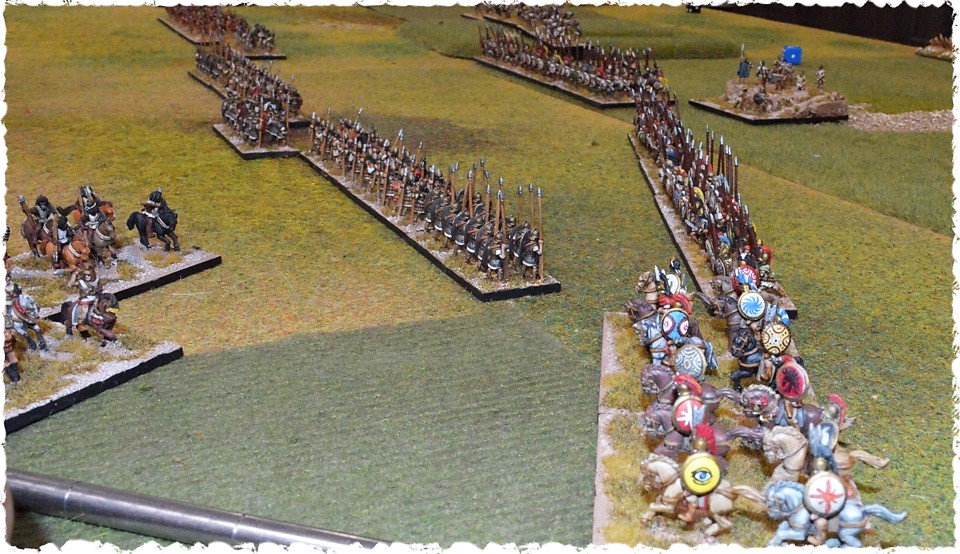
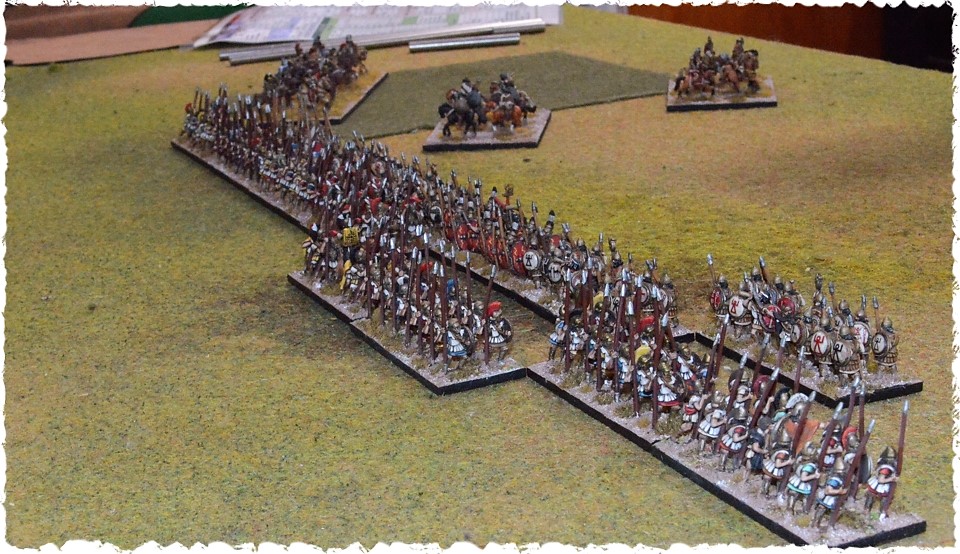
Deployment was a pretty standard a fare. Heavy infantry in the centre, cavalry and light foot to the sides. That said, the Syracusans placed a heavy bolt thrower in the middle of their hoplites. This was something that would prove to be problematic in the later stages of the battle. Rob’s two units of Javelin cavalry formed up on the left while his light foot and skirmishers covered the right.
The Carthaginians anchored the right of their line on the small swamp just in from the coastline. Placing their cavalry in reserve Michael stacked his left with a large number of light formations. Both sides were eyeing the small mound of sand which bordered a large inland swamp.
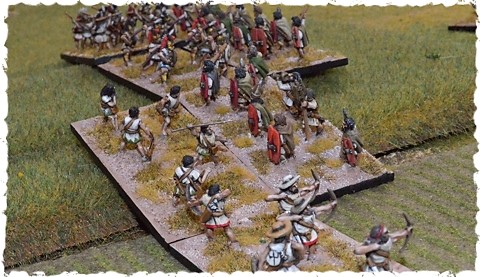
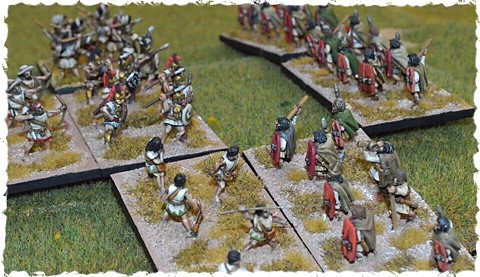
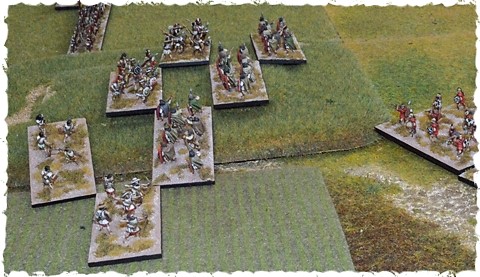

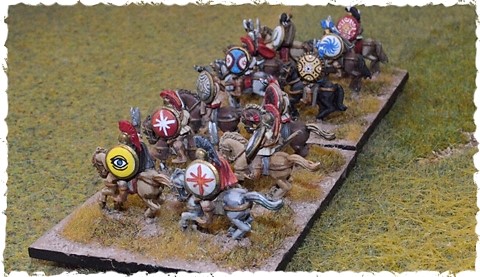
While the dice gods may have favoured Michael when we last met they had certainly deserted him today. Rob on the other hand was basking in all of their glory. It is my belief that the fight on the sand dune could have gone either way. Indeed even when Michael’s troops were forced back off the crest had he rolled better pip dice he still may have triumphed here. He had the numbers but just couldn’t bring them to bear.
With the collapse of the left, Michael was forced to spend what little pips he had trying to redress his lines. This handed the initiative to Rod’s Syracusans. Seeking to capitalize on his enemy’s disorder Rob rushes his main battle line forward.
Results to transfer to the campaign
Total battle casualties for the second army of Syracuse
- 1x Skirmishers (3 points)
- 3 points lost in total
Rob’s army remains at full strength after the battle as he did not sustain four or more points in casualties. He should gain thirteen prestige points from Michael for the win, but Michael only has nine to give.
Total battle casualties for the first army of Carthage
- 3x Light foot (9 points)
- 1x Spearmen (4 points)
- 1x Heavy foot (3 points)
- 16 points lost in total
These loses reduce the army by 4 points down from 47 to 43.

Michael’s second army of Carthage as deployed right to left
- 2x Rabble (4 points)
- 2x Light foot (6 points)
- 1x Gallic Warriors (3 points)
- 5x Heavy foot (15 points)
- 1x Gallic Warriors (3 point)
- 2x Chariots (8 points) General
- 2x Javelin Cavalry (8 points)
- Fortified camp
- 48 points of a possible 49
A pretty open battlefield this time around. Just one small village on my left flank. Michael stacked all of his mounted troops on his left while I split mine between my center left and the reserve. In the opening moves Michael raced around my open right with his Javelin cavalry and made a beeline for my unprotected camp. In a moment of broken deductive reasoning, I decided I was fine with losing the camp and sent my bad horse off to fight rabble on the opposite flank ???? Thankfully the brain cleared and I moved as many Pike men as I could to block his chariots and head off the light cavalry.
My first Pyrrhic army as deployed from (my) left to right
- 1x Light foot (3 points)
- 1x Pikemen (3 points)
- 1x Knight General (4 points)
- 1x Elephants (4 points)
- 7x Pikemen (21 points)
- 2x Bad Horse (6 points) second line
- 2x Skirmishers (6 points) behind Pike block.
- 47 points of a possible 50
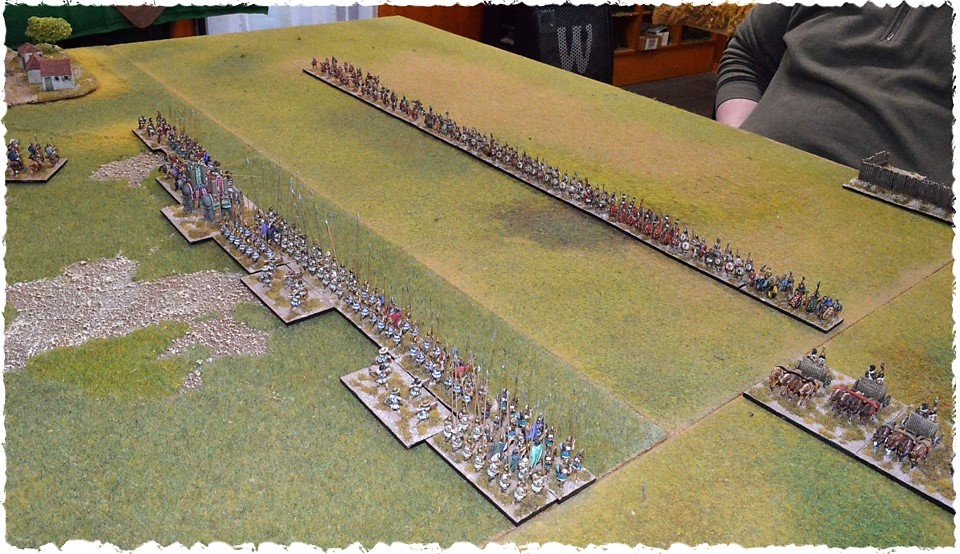
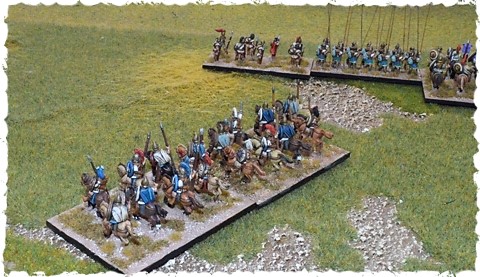
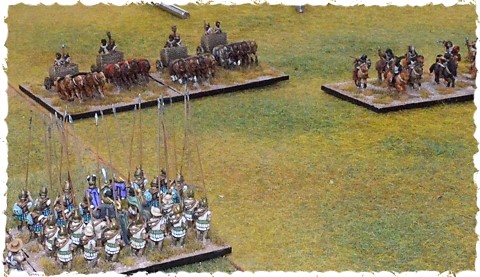
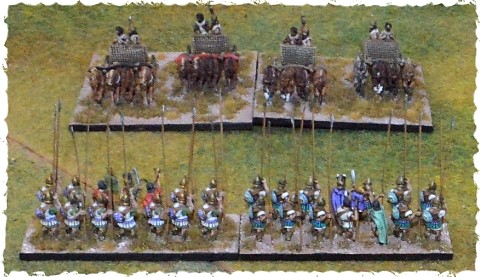
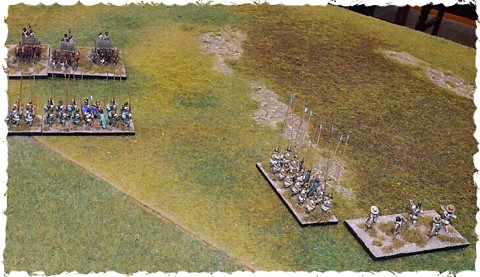
Having out deployed and maneuvered me in the opening turns the Carthaginians were set to deliver another crushing defeat to my Pyrrhic army. Luckily a single unit of pike-men just manage to intercept the Numidians as they raced towards my camp. With a poor pip roll, Michael had to decide between supporting his chariot general (now struggling to fight off yet more pike-men) or the Numidians. Deciding to save the General he moved up some Gallic warriors as I moved some skirmishers onto the flank of the Numidians. The dice went my way and both the Numidians and the warriors (who couldn’t withdraw) died. With that turn of events, the opportunity of a quick win for Michael slipped through his dodgy dice rolling fingers.
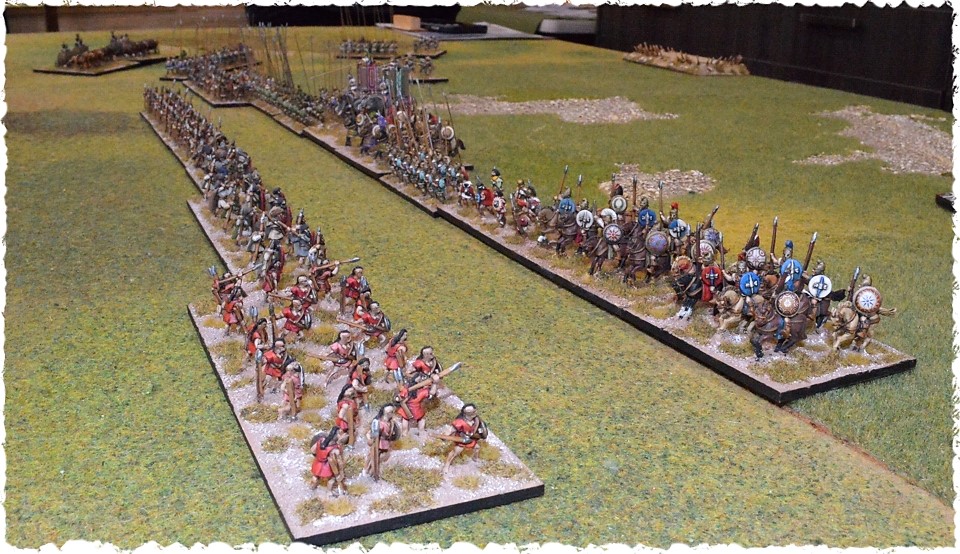

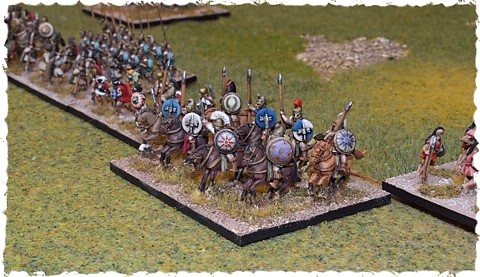
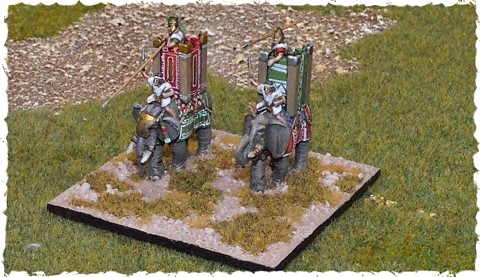
Our main battle lines now crashed together. Seemingly having failed to learn that bad horse are rubbish at fighting foot I continued to do just that. Game after game after game. This time Michael’s rabble go tit for tat with my bad horse. His heavy foot also drive off my elephants, but his second unit of warriors couldn’t stand against the Pyrrhic knights and were wiped out.
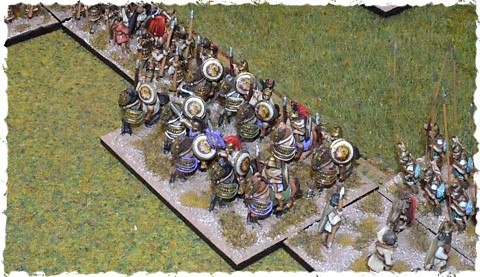
A lucky win for me I feel. If Michael’s Numidians had taken a slightly wider line toward my camp they wouldn’t have fallen into my ZOC (zone of control). For my part, as this unfolded I had already written off my camp. Believing (mistakenly) that apart from losing army break points this won’t affect my army’s campaign casualty count.
Results to transfer to the campaign.
Total battle casualties for the second army of Carthage
- 2x Javelin Cavalry (8 points)
- 2x Warriors (6 points)
- 1x Rabble (2 points)
- 16 points lost in total
Michael’s army is forced to retreat back to Segesta to lick its wounds. Losing four points it is reduced down to forty-five points.
Total battle casualties for the first Pyrrhic army.
- 1x Bad horse (3 points)
- Total 3 points
The army takes the port of Panormus but gains no prestige points. Rob’s Syracusans had already cleaned Michael out in the previous battle at Phintias.
The State of Play (campaign wise)
Carthage
- First army, 43 points, camped at Heracleia.
- Second army, 45 points, camped at Segesta.
- Zero Prestige
Syracuse
- First army, 50 points, looting at Tynaris.
- Second army, 48 points, camped at Phintias.
- 13 Prestige points.
Pyrrhic
- First army, 50 points, camped at Panormus.
- Second army, 48 points, camped at Agrygium.
- 1 prestige point.
