
Introduction
With the 200th anniversary of Napoleons final defeat clicking over in June 2015 several members of the Auckland war-gamers club decided to re-fight this epic battle. If you have never been involved in a large multi-player game before, I highly recommend it. Watching helplessly as your team mates do unexpected things gives you a real feel for just how hard it must have been to maintain command and control in any large battle.
Re-basing
Originally based on 1.5mm plastic card my French army used a system of colour coded lines painted on the back of the bases for unit identification. Casualties were recorded on a separate roster sheet marking off the relative losses by cross referencing the correct colour codes from unit to sheet.
There were however, a couple of problems with this type of basing. Namely with such thin bases you tend to move the elements by holding or pushing the figures rather than the base. This is of course not so good for such small figures. The roster sheet also proved to be problematic especially when recording casualties as the colour codes could easily get confused resulting in the wrong units losing strength points.
To this end I decided to re-base the entire army before the big game. Listed below are the main changes I decided to make to my original basing system.
- Firstly I switched to 3mm plywood to make the bases easier to move about the tabletop without damaging the figures
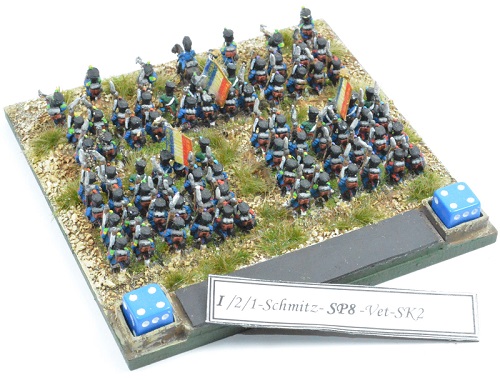
- Next I added a magnetic strip at the back of the base to which matching magnetic labels could then be attached. These labels are freely interchangeable making each unit more multi-purpose than in the old system.
- Lastly two plastic squares were glued into the rear corners of each infantry and cavalry base. Small dice could then be placed into the squares to keep track of unit casualties.
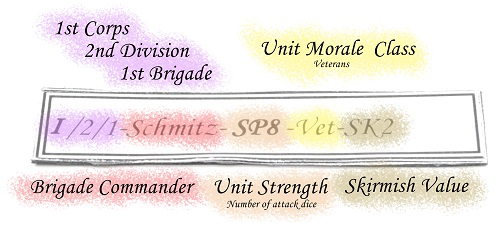
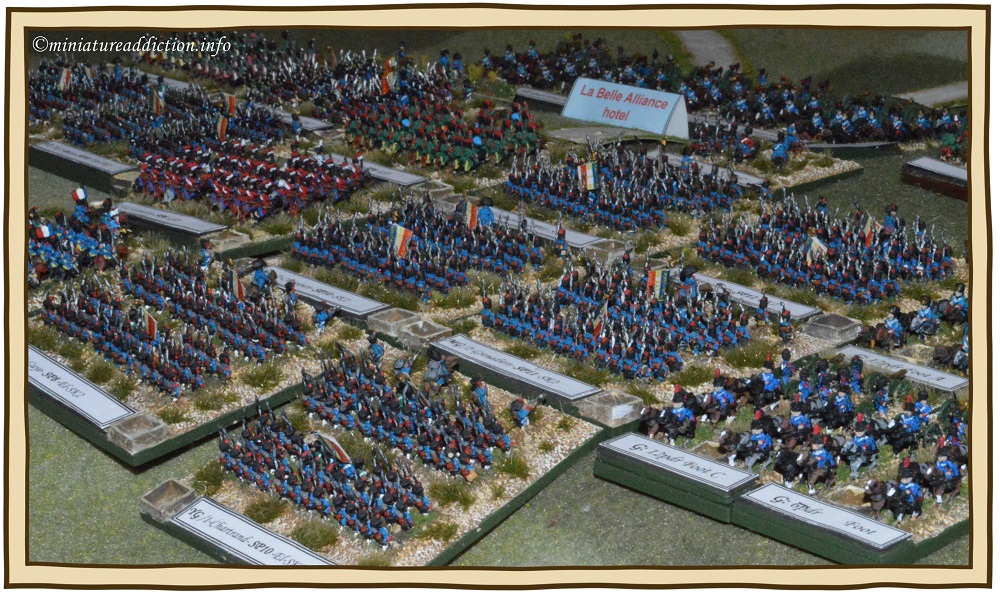
With the Magnetic labels (pictured above) and casualty dice holders, the need for an army roster sheet has all but disappeared.
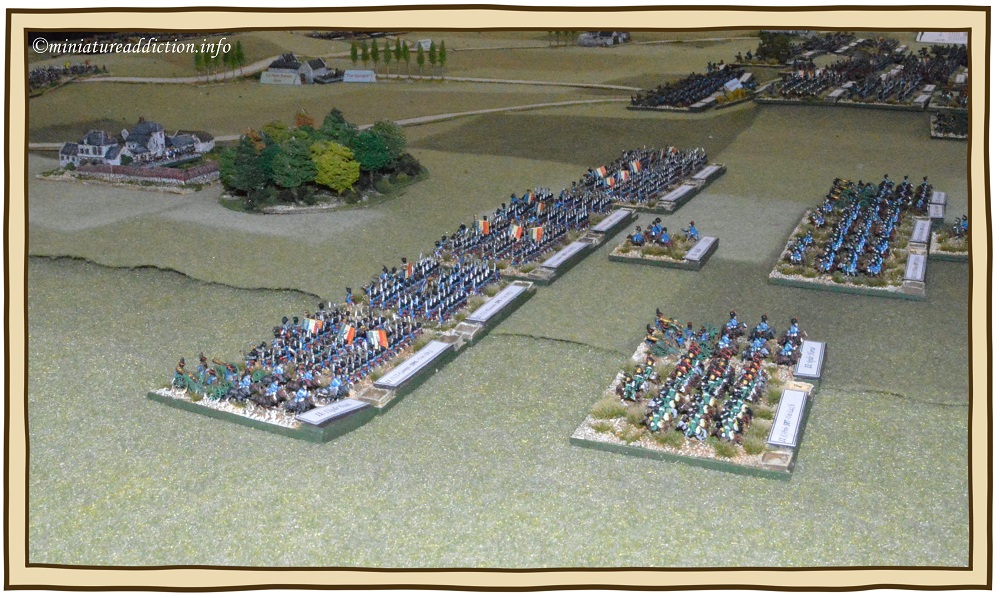
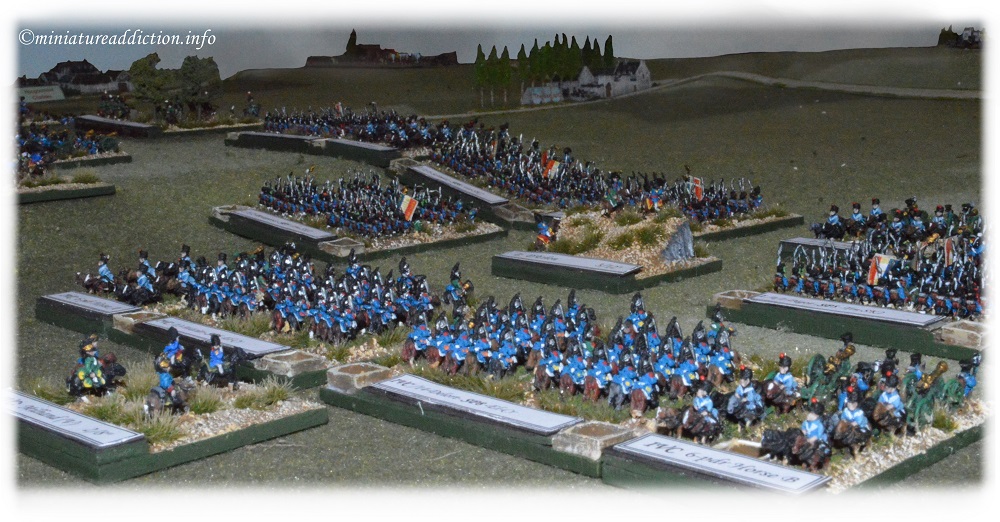
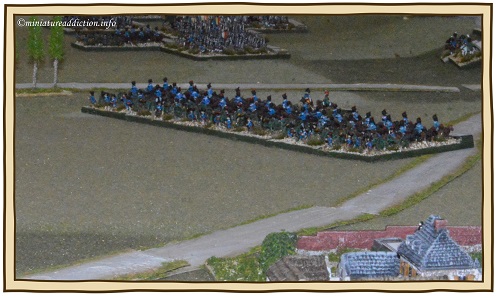
Reille’s II Corps deployed in front of Hougoumont
The Imperial guard stands ready for action.
Deployment
Players and command structure.
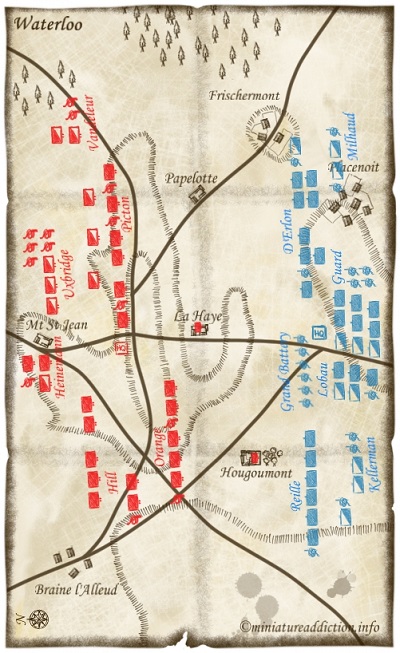
Lasting seven hours and played on a ten by six foot table with around 5000 6mm figures it would be impossible for me to cover every aspect of our game in any detail here. Instead I will give a brief overview of the events that unfolded through the eyes of Napoleon who I had the pleasure of being on the day.
Commanders: Kieran (AKA Wellington and Blucher later in the day) and Mike (AKA the Prince of Orange) controlled the allied army while Philby (AKA Ney), Nigel (AKA Reille) and me (AKA Napoleon) were in charge of the French.
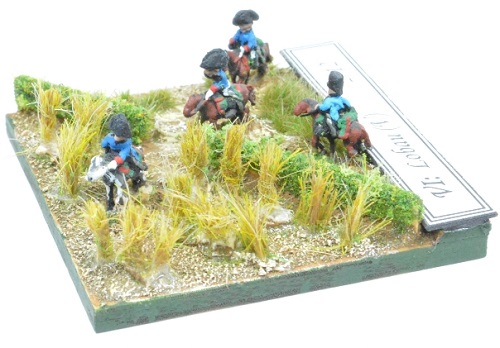
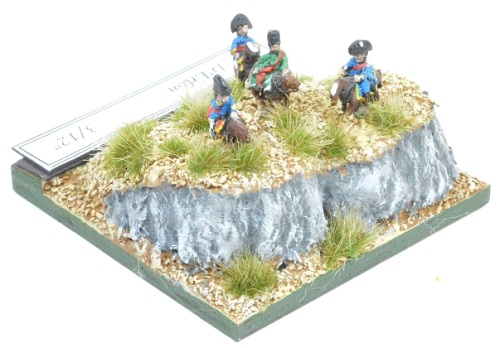
Labou’s IV Corps command stand.
The French right wing with Milhaud’s Cuirassiers in the foreground.
Opening moves
The French Plan
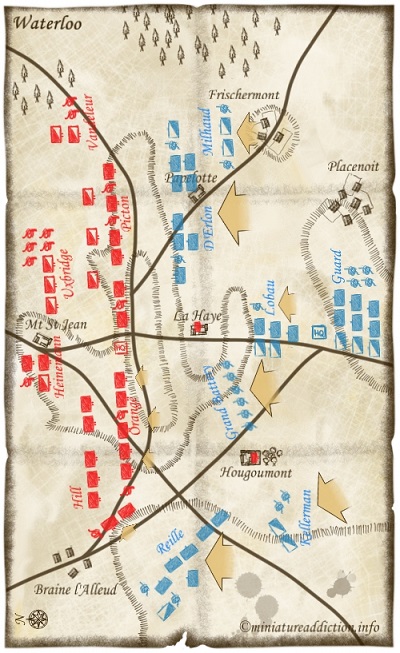
In an effort to crush the allied army before the dreaded Prussians arrived Ney would take command of the I corps and IV cavalry reserve with which he would attack Picton’s forces on the ridge line. I would support this attack with the VI corps and grand battery while Reille would swing around the left side of Hougoumont and engage the allied right.
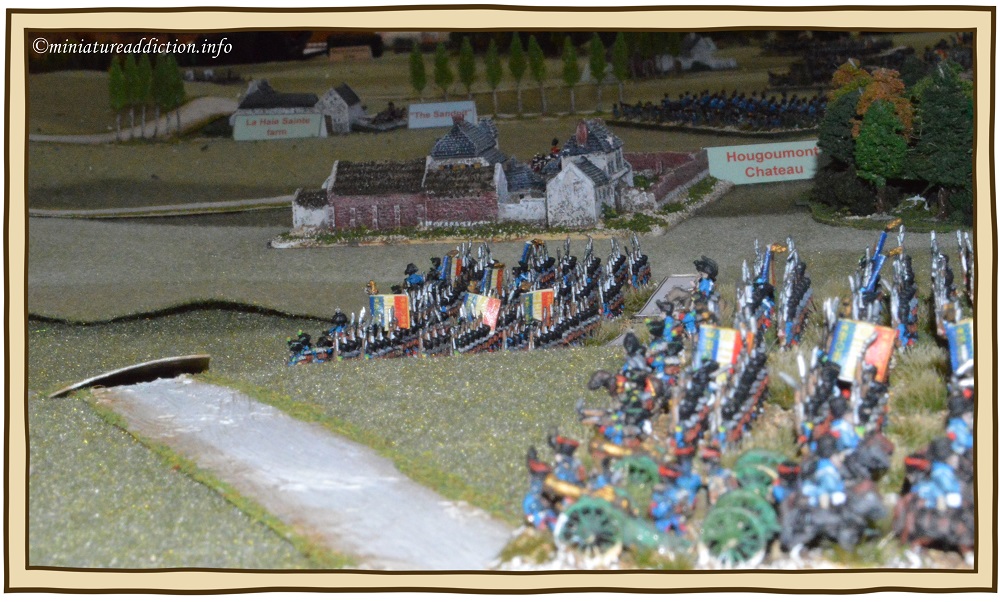
The French wing commanders begin their advance as I manoeuvre the grand battery forward between La Haye Saint and Hougoumont. Wellington remains anchored to his ridge line while the Prince of Orange pulls back onto the reverse slope in order to avoid unnecessary casualties.
Below: Reille’s infantry bypass Hougoumont.
Below: The grand battery advances in the centre.
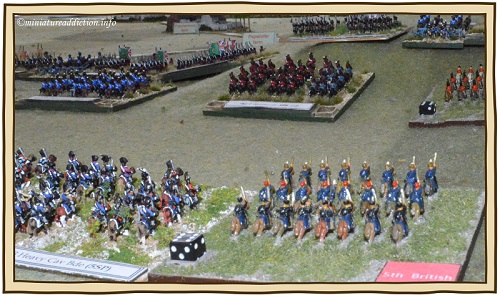
Above: The British heavy cavalry grows restless
Above: D’Erlon’s troops surge past Papelotte
Ney assaults the ridge line.
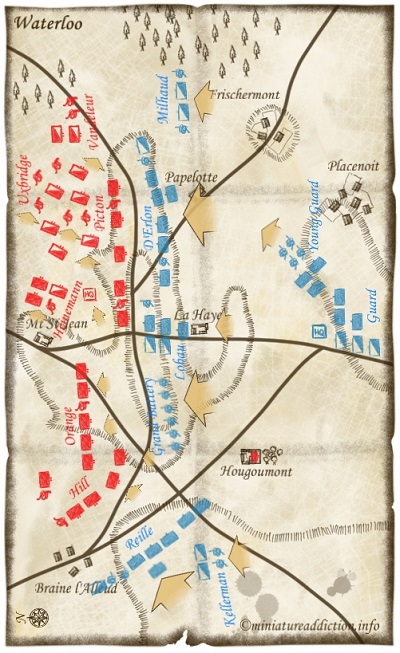
Philby who had embraced his role as Ney had unleashed his entire command on Picton’s reserve divisions and was now urging me to send in the guard. While to my left Nigel was yet to engage the Prince of Orange (AKA Mike)
With his right flank in no real danger Wellington (Kieran) began to move the Brunswick contingent up to support Picton’s embattled divisions. Lacking the command chits needed to control Uxbridge we all watched in disbelief as the British cavalry charged forward on its own accord. Wellington’s flank was now a seething mass of angry troops.
This fact didn’t seem to deter Ney from launching yet another attack with D’Erlon’s depleted divisions. Pausing only to ask me what was happening with the guard. With no command chits and bad dice rolling on my part nothing was happening with the guard.
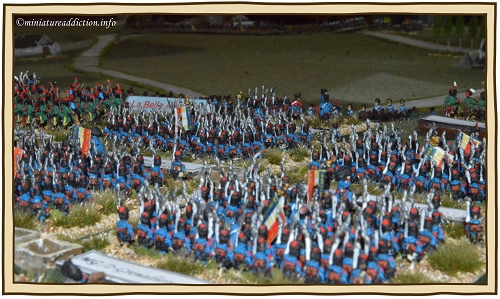
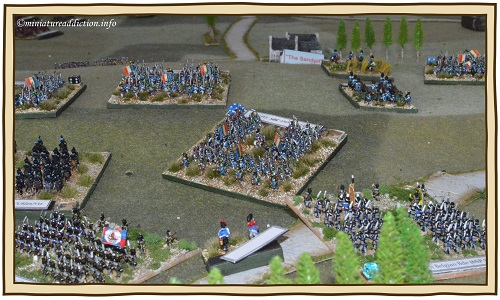
Taking La Haye Saint with the Sixth Corps I pushed on up the hill to support Ney as best I could before turning to enquire as to the whereabouts of the second Corps. “Just dressing the ranks ” I believe was Reilles (Nigel) reply.
The next phase of play saw Reille’s attack gain momentum while I (despite misgivings about the Prussians) dispatched the young guard with all my remaining artillery to support Ney. Wellington rained in his heavy cavalry and deployed his reserve batteries ready to unleash death upon Ney’s battered infantry divisions.
Below: Confusion rains behind Picton’s divisions
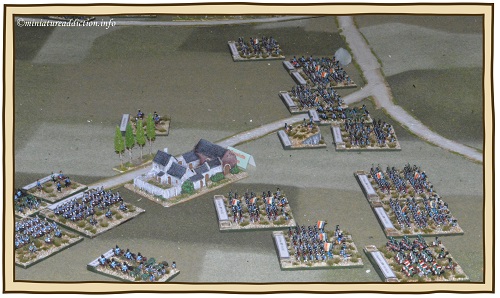
Below: The first assault on La Haye Saint is repulsed.
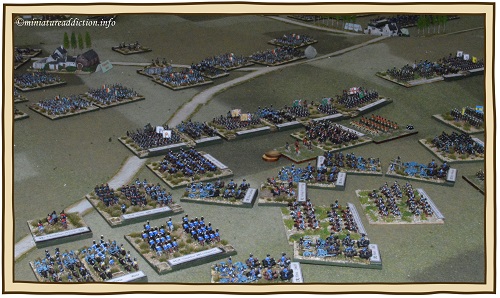
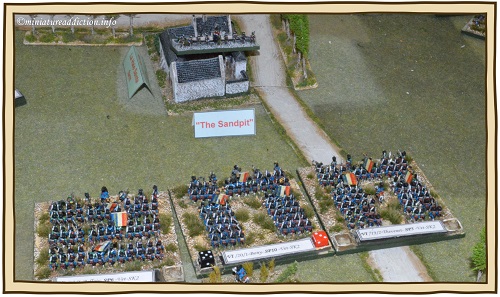
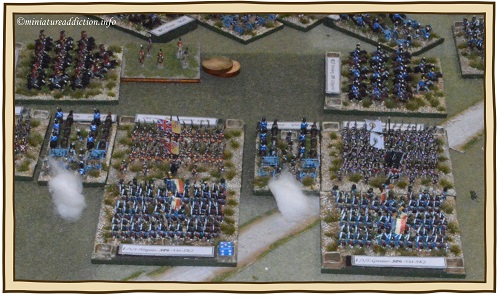
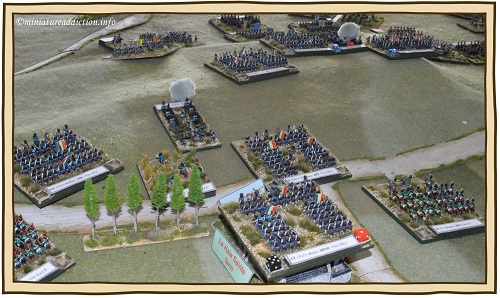
Above: D’Erlon’s troops brave the canister and charge home.
Above: La Haye Saint is finally taken by the French.
The Prussians arrive.
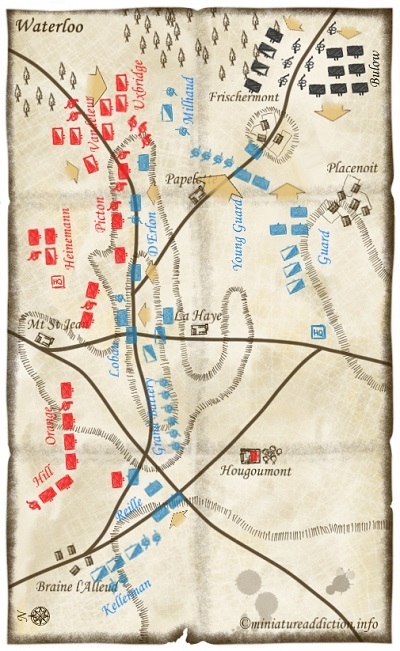
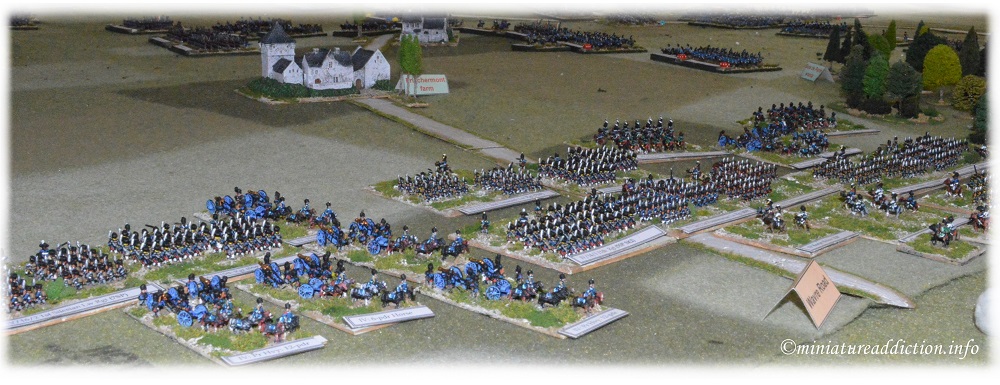
As the Young guard approached Papelotte the first Prussians appeared on the table below Bois de Paris. Quickly redeploying my elite infantry behind Frischermount with four heavy batteries in support, I then despatched the remaining guardsmen to help contain this new threat until the Allies could be dealt with. Ney’s remaining units fought on in the face of mounting odds, while in the centre Lobau’s infantry brigades clashed with Nassau and Dutch Belgian troops.On the French left flank both Reille’s Corps and the grand battery began to apply pressure to a new defensive line the Prince of Orange had formed near Mont.St. Jean
It was now late Sunday afternoon and as more Prussians poured onto the table we all began to check our watches (well mainly the French players). After some discussion it was reluctantly decided to call an end to the game here. I will leave you to decide who would have carried the day as it was too close for me to call.
Below: Bulow’s IV Korps marches onto the battlefield.
Above: Labou’s troops push on towards Mont St Jean.
For more photos and an AAR focusing on the Allied viewpoint click this LINK to Kieran’s excellent 6mm wargaming site.