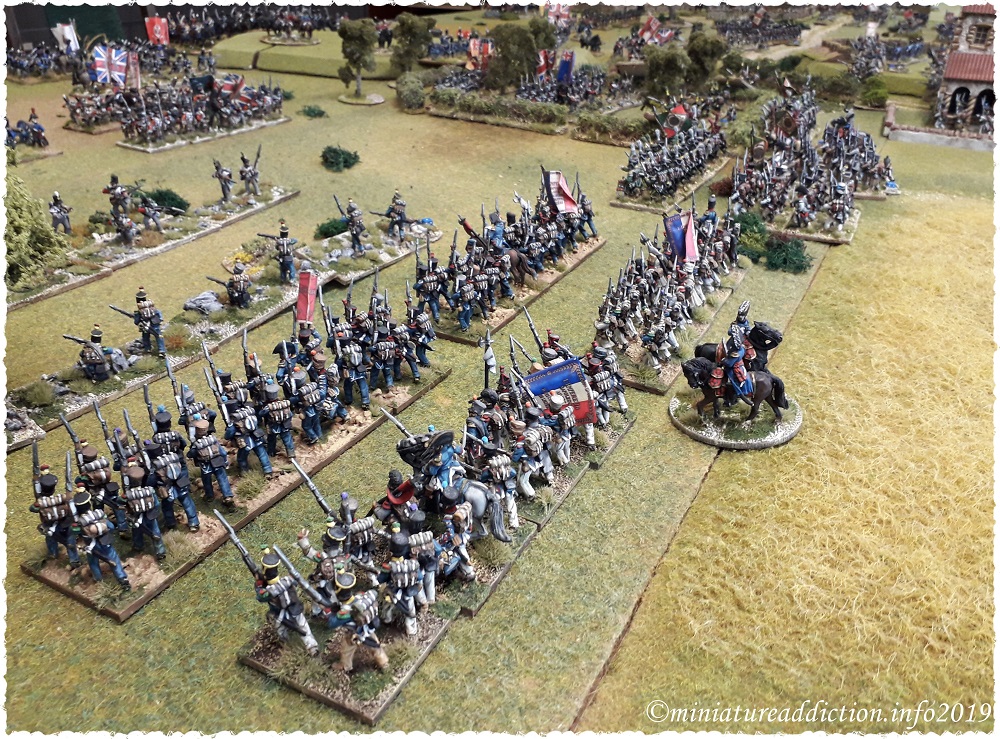
For Horse and Musket games
This article is a brief run down of an idea I had when sorting out two army lists for a big Napoleonic game. It all came about when I was trying to think of a better way to deploy troops onto the battlefield. I’ve never been a big fan of Fog of war cards, sketch maps or trying to build a wall of books across the middle of the table. So most of my games to date simply involved placing your brigades onto the table while trying not to look in your opponent’s direction. Quick, but not the greatest way to start an epic days gaming. The following suggestion tries to keep things quick while maintaining some semblance to the fog of war as you place your troops onto the table.
Now for those of you who spend countless hours trolling the net or own more rule books than I’ve had hot dinners it is quite possible this idea has been done to death elsewhere. I haven’t come across it anywhere and quite like the idea so I thought I’d share it on the off chance it has yet to grace the web.
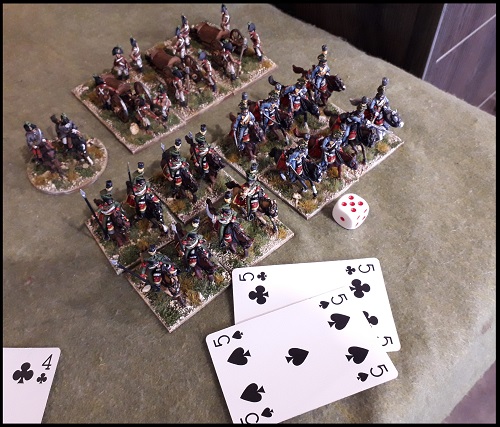
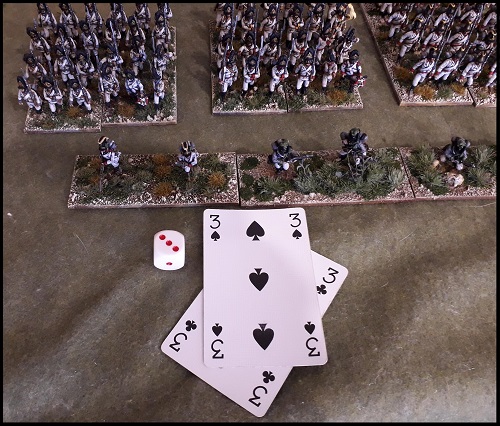
Step 1: (pictured right): Numerically number and give two correspondingly numbered playing cards to each of the various commands in your army. In this General de Armee example I’ve used dice to label each brigade in my Austrian army one through five with matching sets of black playing cards (my opponent has the red suits). You could equally just write these numbers next to the commands on your army list.
Pictured below is a close up of a light cavalry brigade containing a regiment of Hussars, Uhlans and a battery horse artillery (5). Right is one of the infantry brigades with attached skirmishers (3).
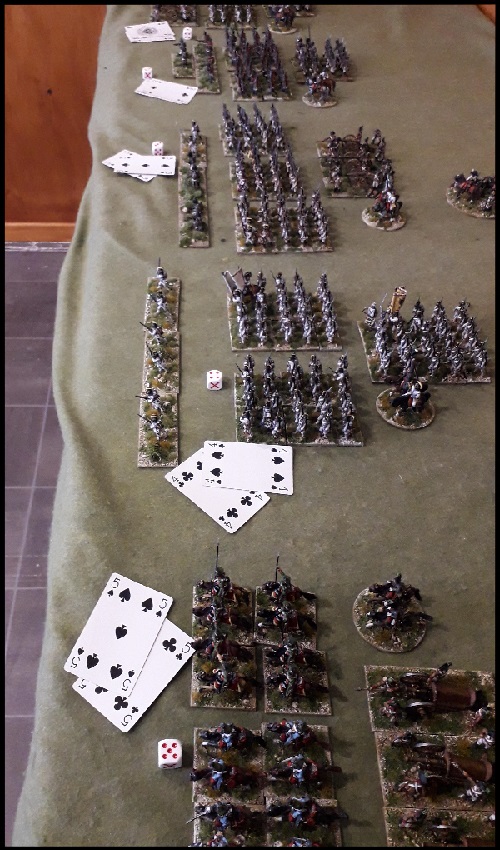
Step 2: Both players now use their playing cards to define the deployment areas for each of their formations on the table top. This is done by placing the cards face down in the sections of the battlefield they wish their correspondingly numbered formations to occupy.
Any two cards of a given formation may not be placed wider apart than their officer’s command radius. EG the two cards of a brigade commander with a 12″ radius cannot be more than 24″ apart.
Cards from different commands may not over lap each other, but they may be place behind or in front of another command. Pictured to the right is a colour coded overlay example of deployment areas depicted by card placement.
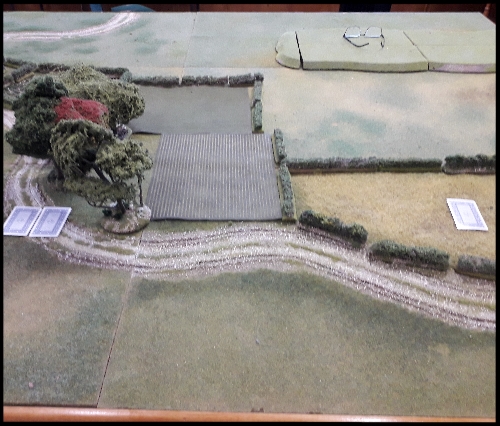
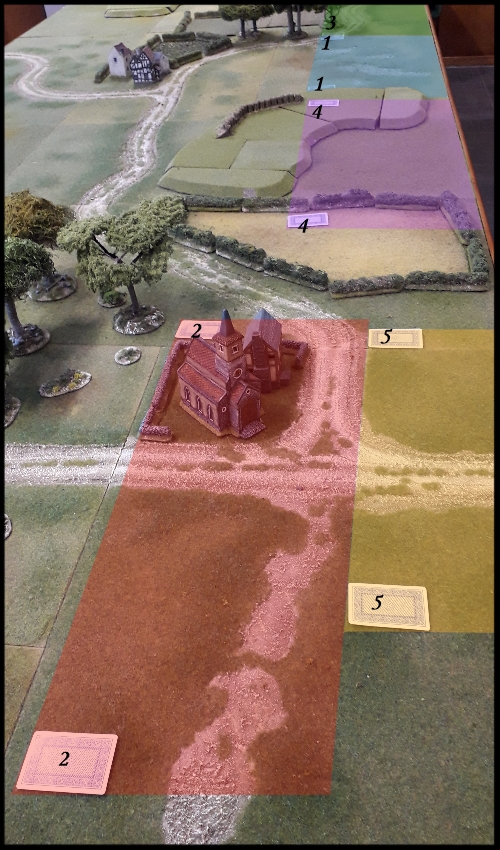
This gives each player a clearly defined area where their various formations may now be deployed. They will also see ruffly where their opponent will be placing his troops. However, they will have no real idea what the size or composition of each enemy formation will be in any given area.
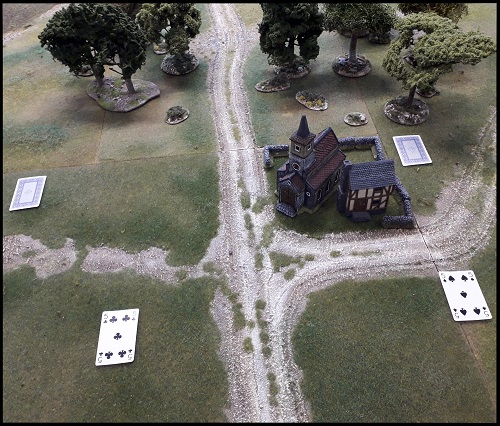
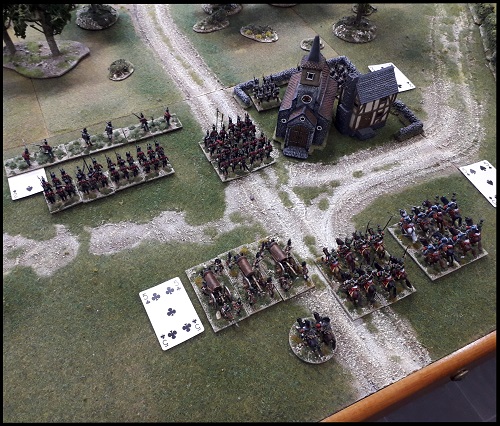
Step 3: Once all the cards have been placed on the table (face down) each player will then take it in turns to flip over a matching set. Starting with the defender’s first command (Aces) which is then followed by the attacker’s first, then the defender’s second command and so on. Troops for each command must be fully deployed in their depicted area before moving to your opponents turn. Depending on the card match ups sometimes you will see what a command will be facing before you have to deploy it and sometimes you won’t.
I have this a bit backwards in the pictures above. As it shows the fifth command deployed before the second, but hopefully you get the basic idea.
That my friends, is it in a nutshell. Quick and simple, give it a blast and see what you think. I’m currently finding it better than just throwing troops on the table, but I guess your mileage may vary.