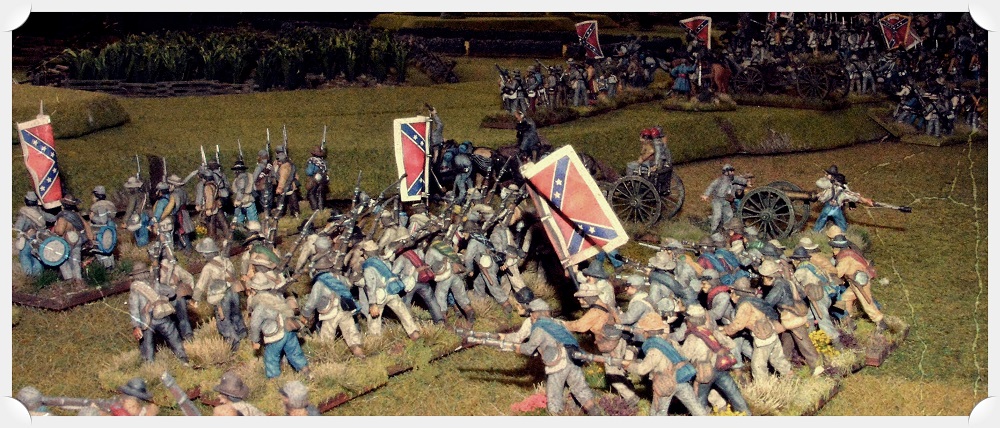
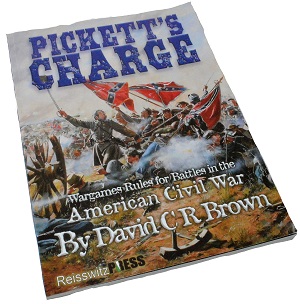
The following AAR details a solo play through of David Brown’s ACW rule system: Pickket’s Charge. I bought these rules sometime ago now, but have really only made the effort to play one quick game before getting distracted by their Napoleonic variant General d’ Arméé. Since then I’ve somehow managed to dive right into a new 28mm AWI project while also tackling several major jobs that have demanded my attention in the real world.
With the dust finally starting to settle here I decided to revisit Pickket’s Charge and put together a points based game that I could slowly work through over a few days. To help readers follow the action in this AAR I’ve added some random unit and place names to both the order of battle and the accompanying maps.
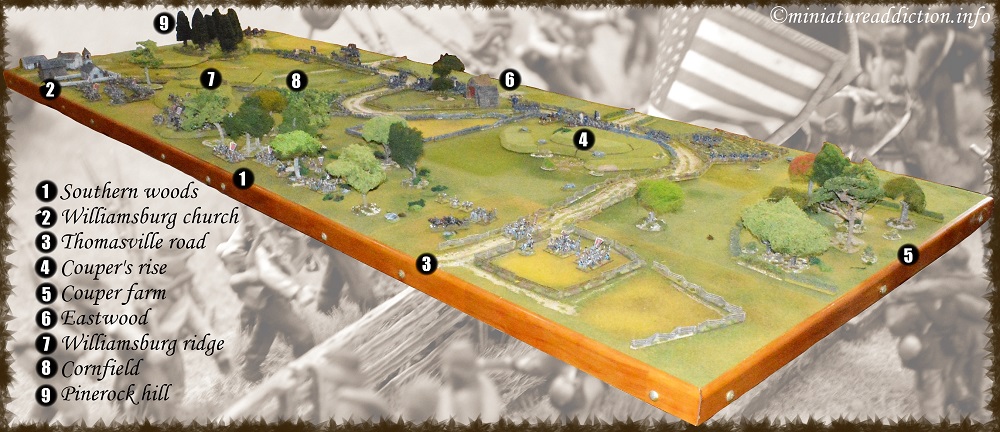
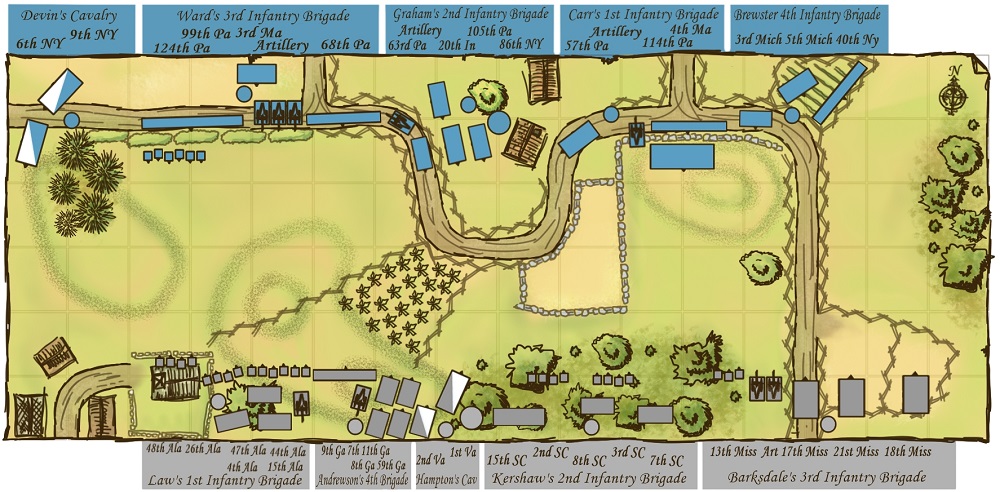
Listed below are some of the main landmarks on my fictitious battlefield
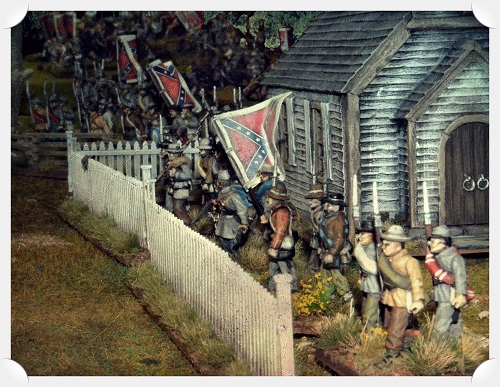
Below: Stationed in and around the Williamsburg church grounds Law’s Alabama boys stand ready to support Anderson’s attack
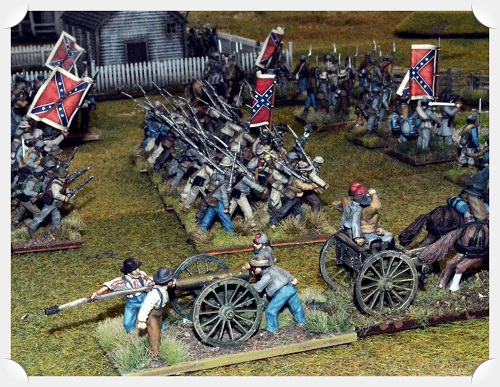
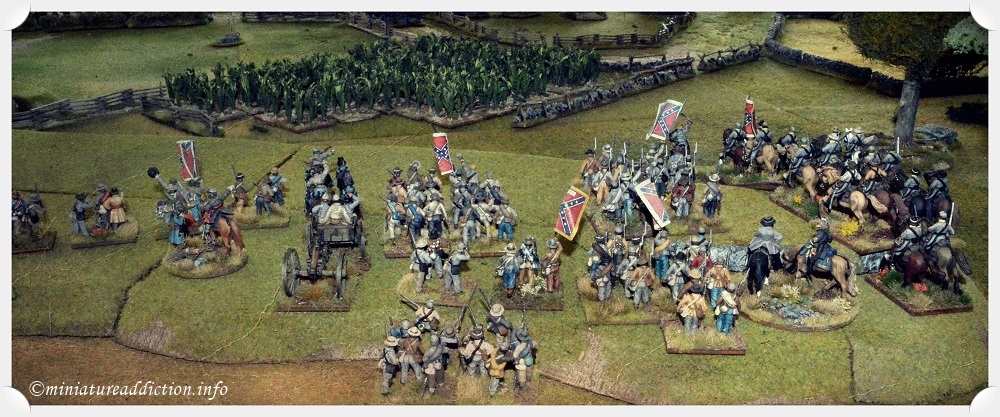
Above: Anderson’s infantry and Hampton’s cavalry advance towards the cornfields in the center of the battlefield.
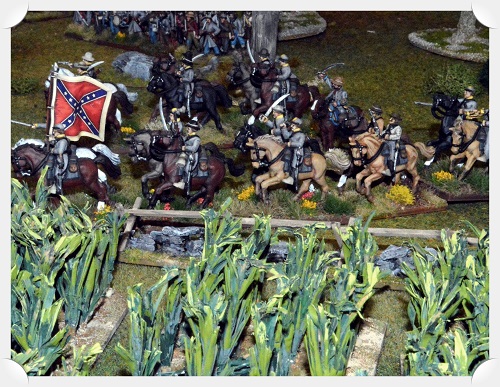
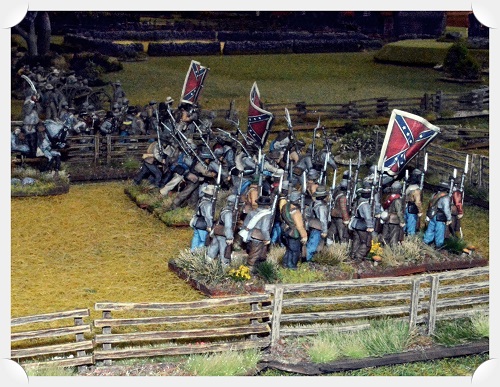
Below Left: Hampton’s 1st & 2nd Virginian cavalry Below Right: Barksdale’s Mississippi men move forward.
Played on a sixteen by six foot table with four infantry and one cavalry brigade per side this 28mm game was based more around what figures I had to hand rather than on any historical considerations
Both armies were balanced out at 1374 points each and if you would like to view the OoB’s in more detail just click either of the two buttons shown here.
As this was a solo game it seemed pretty pointless trying to use any of the rules pertaining to the fog of war cards. So instead I opted for the very straightforward deployment pictured on the map below. Humphrey’s Union division were defending and deployed up to eighteen inches in from their base line while the attacking Confederates could only place troops within twelve inches of their baseline.
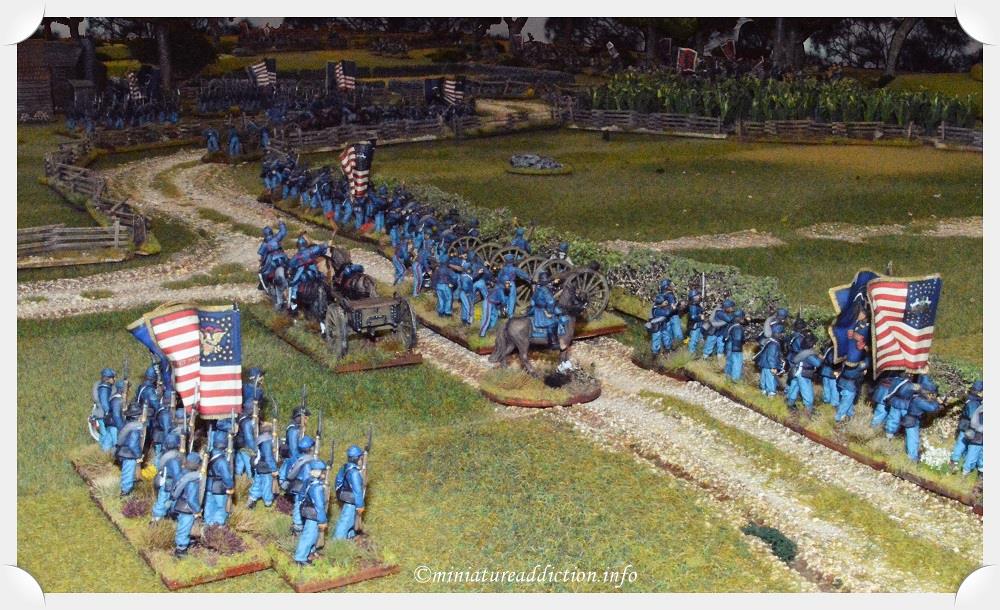
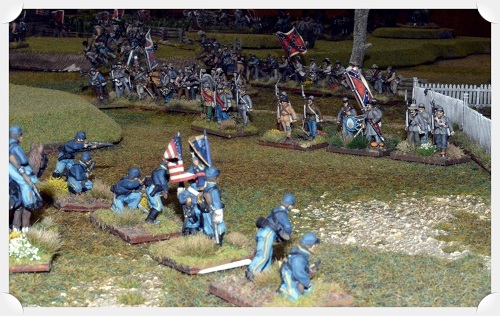
Pictured below: Is Ward’s 3rd infantry brigade deployed along the Thomasville road while in the background General Graham’s men can be seen moving toward the cornfields.
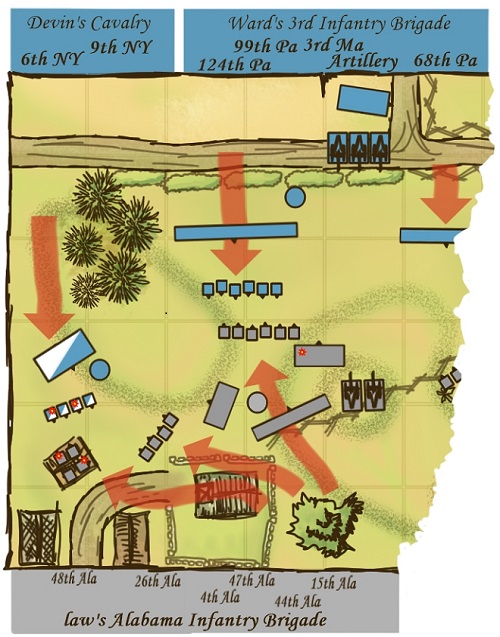
3:15pm (turn 3) Outside Williamsburg
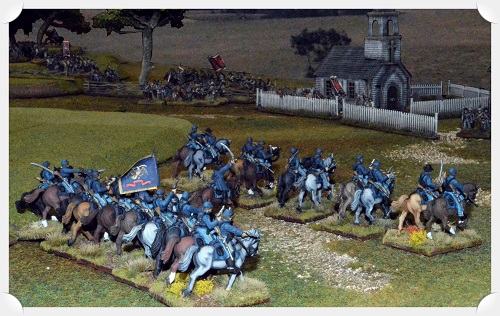
At around 3pm Devin’s two regiments of Union cavalry appear from behind Pine-Rock hill on the extreme left of the Rebel’s battle line. The 6th New York dismount and approach the town in open order from the North-west while the 9th regiment remain as a mounted reserve behind the 6th’s skirmish line.
The 48th Alabama take cover in the various houses and out buildings on the edge of town before engaging the Union troopers. Joined by the veteran 26th regiment who have moved up through the church yard they combine their firepower to finally curtail the Union’s advance. Both sides sustain some casualties in this initial firefight and a nervous General Law decides to commit more troops (4th Ala) to the area in an effort to drive off the Union horsemen.
From behind the hedge line on the Thomasville road general Ward watches as several rebel formations move off towards Williamsburg. The sound of distant musketry tells him that Devin’s cavalry must have engaged these troops somewhere near the old church yard. As the Union artillery seek to weaken the resolve of the remaining Confederate regiments Ward orders men to cross the hedge and advances toward the enemy lines.
The consequences of command (A closer look at the Confederates turn 3 command & initiative phase)
In the first step of this phase each army commander generates and rolls a pool of command dice. This consists of 1D6 for each infantry and cavalry brigade in their respective commands (5D6 in this case). Ones and twos are fails while threes, fours, fives and sixes each generate one ADC with double sixes adding a bonus ADC to this total. Pictured to the right is Hood’s dice scores for his third turn (2,3,3,6,6) which gives him a pool of five ADC for the turn. These ADC are now assigned to individual brigade commanders to ensure the C-in-C’s overall battle plan is executed without delay.
Before rolling for initiative, both sides must roll 1D6 for each brigade commander in their army. Rolling a one or two here means the brigade commander is confused or has misunderstood his orders in some way and his troops will remain stationary with limited fighting capabilities for this turn while he seeks to clarify his role in the battle. The risk of hesitation can be minimized by assigning an ADC from your command pool to any brigade commander. This ADC reinforces the C-in-C’s orders represented here in the form of a brigade activation re-roll dice.
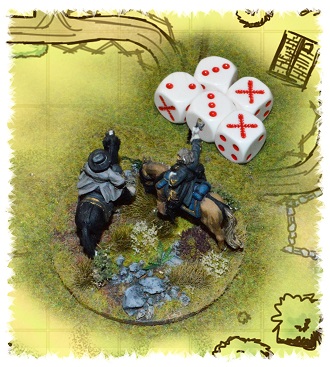
Below Brigade unit markers

Command considerations: Hood planned to concentrate his efforts on quickly crushing the Union center with a combined attack by the brigades of Generals Anderson, Hampton and Kershaw. Unfortunately the previous turn saw General Kershaw’s command lost in the southern woods and unable to push forward (rolling a one for brigade activation his command became hesitant). In order to rectify this situation Hood dispatches one of his five ADC’s to Kershaw (giving him an activation re-roll). Next Hood turned his attention to Anderson’s command where he sent three ADC’s with orders to push forward (activation re-roll: 1ADC) while re-doubling his artillery’s rate of fire (assault fire: 2ADC’s). With only one remaining ADC general Hood decides to make sure Law’s Alabama regiments are free to counter the advance of Devin’s Union cavalry
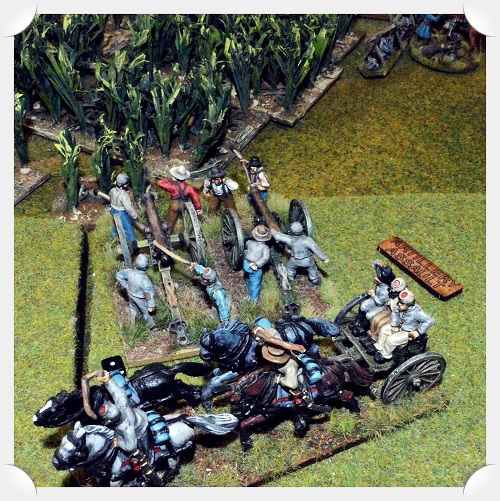
Anderson’s 12 pounders
How it played out: Law, Anderson, Kershaw and Barksdale all past their command rolls and perform as intended, however Hampton’s cavalry who up to this point were leading the Rebel assault only manage to roll a two and with no re-rolls they remained in-place as the battle raged about them (hesitant damn it). This failure on the part of Hampton had a knock on effect when it came to rolling for the turn initiative as each hesitant brigade subtracts one pip off your 2D6 initiative dice. Which unfortunately in this case was just enough to hand the initiative to the Union commander.
Artillery Assault Fire: Placing your gun batteries on assault fire allows their crews to increase their rate of fire for short periods of time (one game turn). This adds a 50% chance of scoring two extra casualties when the guns are activated in the fire phase. There is however, a downside here. Score too low (either with bad dice or too many negative modifiers) when rolling your artillery dice and you will pick up a fatigue marker (gun casualty). Anderson’s gun crew not only fail to find their target but also wore themselves out trying, picking up two fatigue markers (doubled when on assault fire).
Approximate unit locations at around 3:50pm (turn 4)
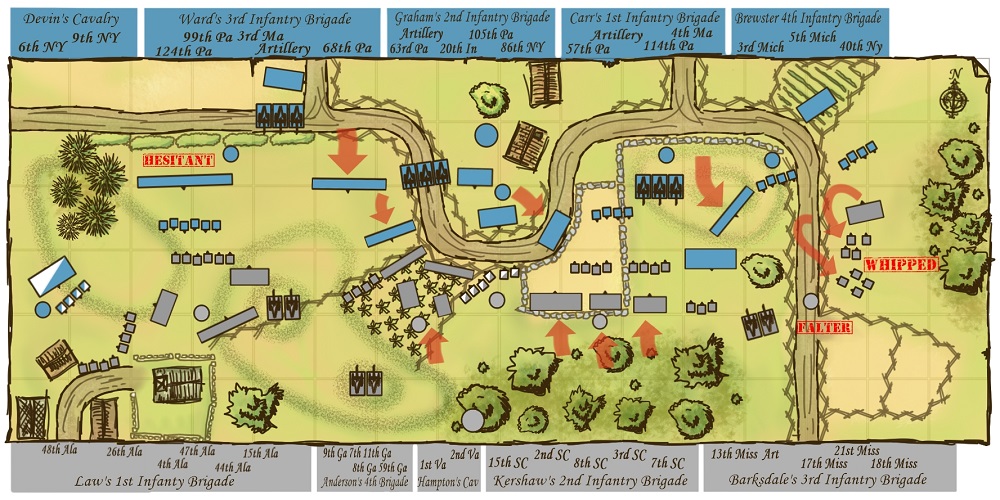
Turn four: Saw the focus of the battle shift from the outskirts of Williamsburg to the open fields near Coupers farm. Here, Barksdale’s Mississippians suffered a bloody repulse after advancing quickly up the Thomasville road. Hood was forced to dispatch one of his best ADC’s to help the 3rd Brigade’s commander restore order to this rattled troops. In the center Hampton’s dismounted cavalry begin skirmishing with the 20th Indiana while Kershaw and Anderson rush their infantry regiments forward into the cornfield.
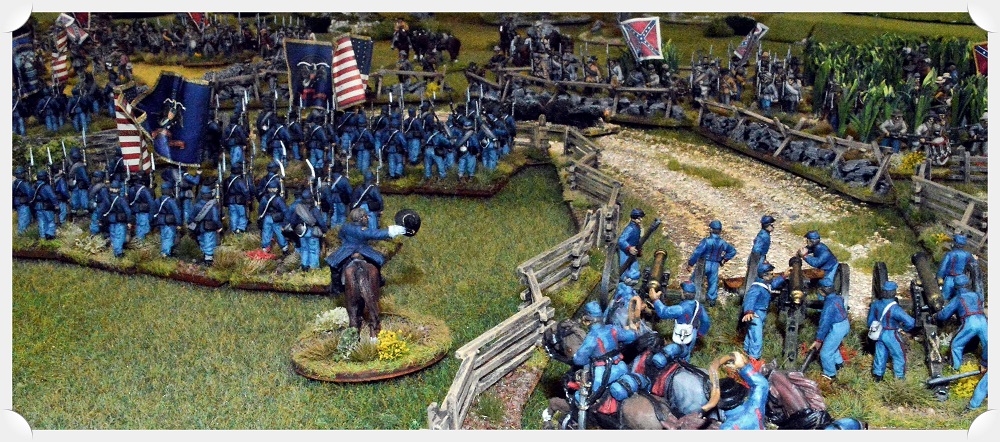
Above: General Graham deploys his Artillery on the Thomasville road where they can deliver murderous amounts of canister into the cornfield. Below: Here the 2nd, 8th and 15th South Carolina regiments can be seen moving across the hay field towards Couper’s Farm.
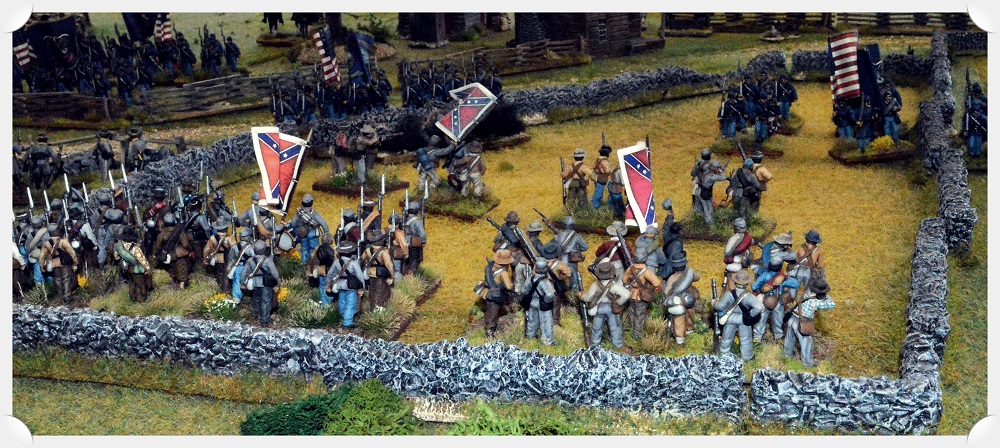
Below: Hampton’s dismounted cavalry keep any Union troops from crossing the road.
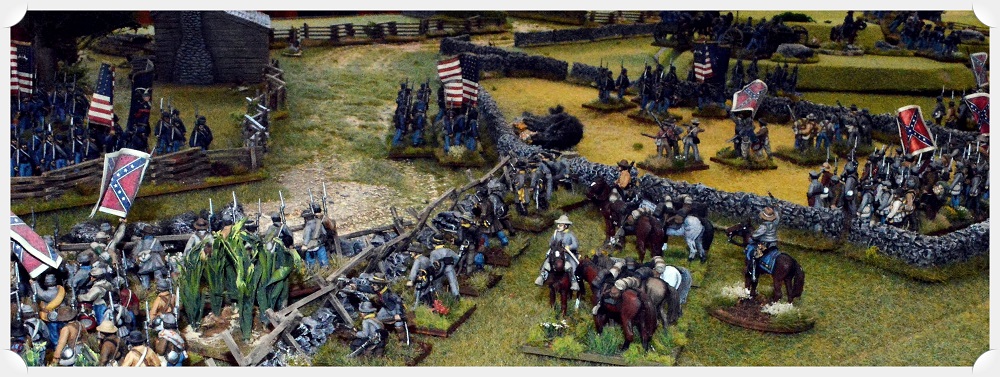
(turn 6) Devin’s charge
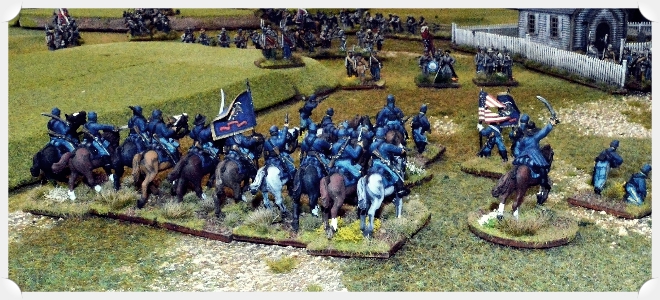
A little after 4pm General Devin launches his reserve cavalry regiment forward. The enemy’s skirmish line scatters before the horsemen can reach them leaving the 9th New Yorkers searching for a new target. Re-forming in the church yard the 26th watch as the 4th Alabama receives the Union’s full attention. After a short and bloody fight, the rebel infantry break and run leaving the cavalry to rein in their blown mounts at the base of Pine Rock hill.
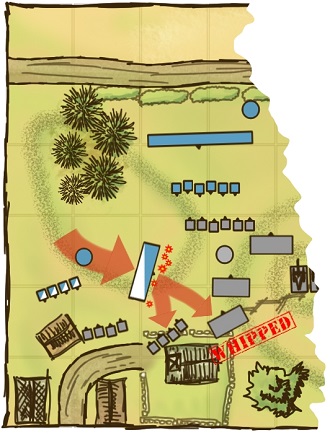
Approximate troop dispositions at around 5:20pm (turn 7)
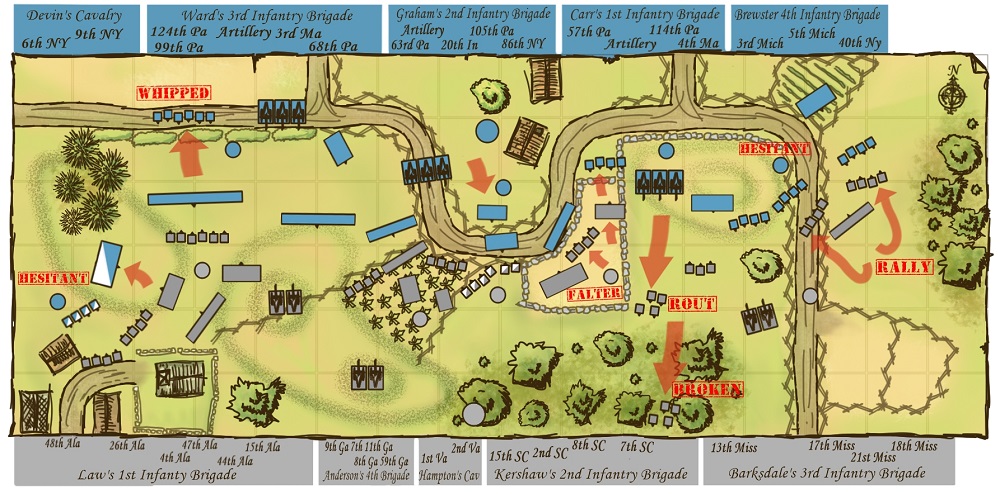
Turn seven. Intense fighting up and down the lines produced a mixed bag of localized successes for both commanders at this stage of the action. On the west flank General Devin temporarily loses his nerve and calls a halt to all forward moment, despite repeated pleas from his ADC (rolling a one for brigade activation followed by a re-roll of one}. Exploiting the enemy’s inactivity Law’s infantry quickly restore their lines and force the Union horsemen to retire. Ward’s 3rd brigade is also in trouble on this flank. Battered by continuous artillery and small arms fire his leading regiments begin to buckle as their losses mount
In the center it is the Confederate generals who are struggling to maintain order. Raked by canister the cornfield is now a bloody mess of broken bodies while further east Kershaw’s command is in danger of quitting the field altogether. Crucially on the Union’s left flank Brewster’s counter attack stalled giving the Confederates time to regroup and stabilize this sector of the battlefield.
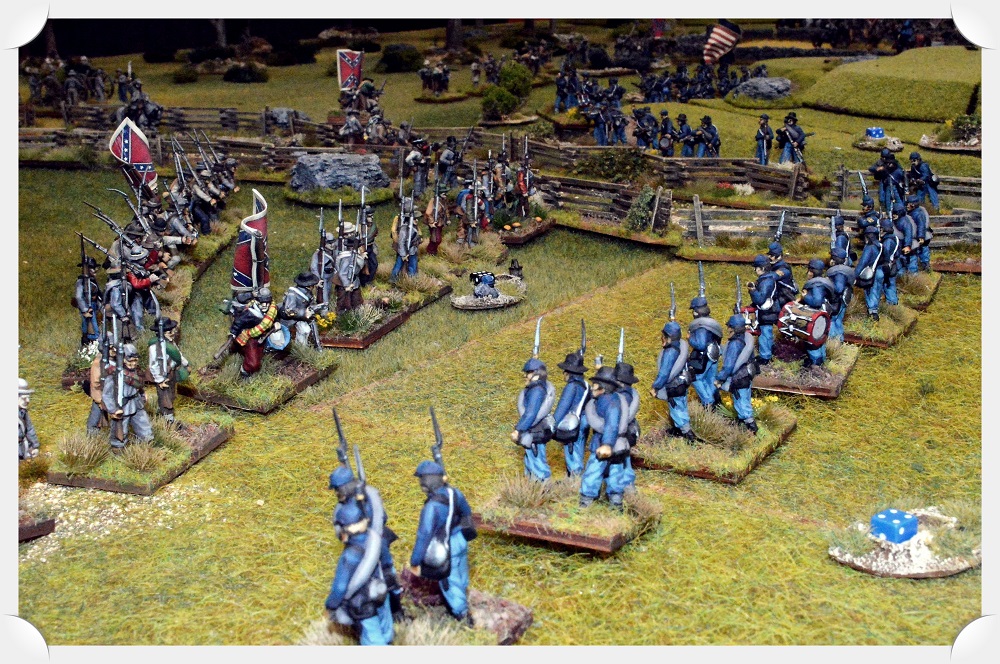
Above the 40th New York faces off against the 18th Mississippi while below Graham’s men cross the Thomasville road
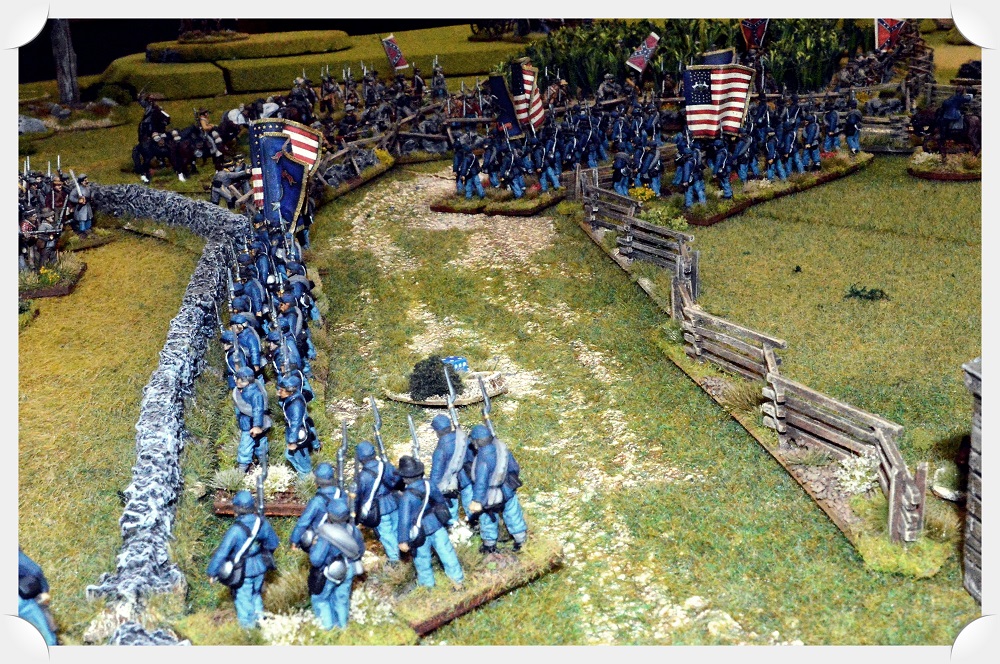
Turns 8 to 10: In the early stages of the engagement Devin’s small cavalry brigade had bested Law’s Alabama regiments throwing the Confederate left flank into some disorder. However, after a long afternoons fighting the outnumbered Union troopers are slowly pushed back around Pine-Rock hill towards the Thomasville road. Ward’s 3rd infantry brigade was also struggling on this flank. Pounded by two Rebel batteries stationed on the Wiliamsburg ridge line while simultaneously peppered with musket fire from the cornfield proving too much for the 68th Pennsylvanians who broke and ran forcing Wards entire command to falter.
Graham’s brigade on the other hand was holding up very well in the center. Closely supported by their artillery they had fought the rebels to a stalemate in and around the Couper’s cornfield. Only the 8th South Carolinian regiment had managed any measure of success here by chasing 57th Pennsylvanian from the field. Their successful charge now exposed the flank of Generals Carr’s 1st infantry brigade causing his men to falter.
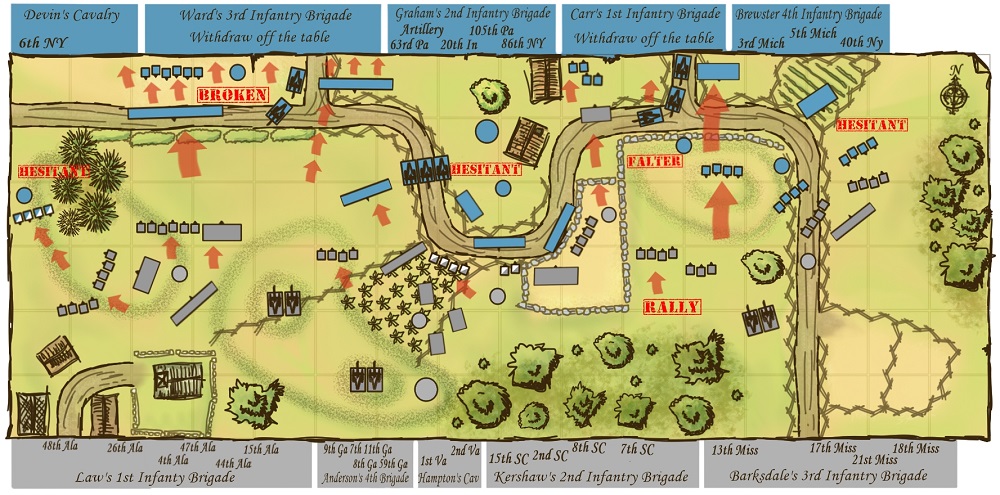
Turn 11: From his command-post near the Couper’s farmhouse general Humphreys consults his junior officers. The situation looks bleak, both Ward and Carr’s brigades have succumb to confederate pressure and quit the field. The three remaining brigades (all rolling badly) look to him for new orders as the Union line falls apart. With the sun now setting the remaining Union brigades are ordered to break contact leaving the exhausted confederate forces to count the cost of victory.
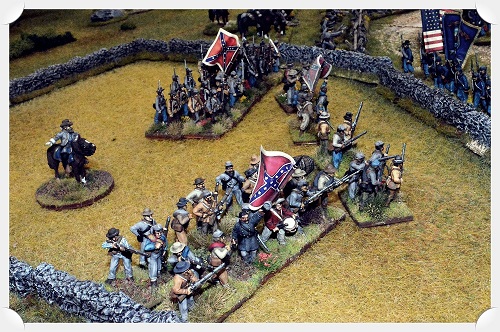
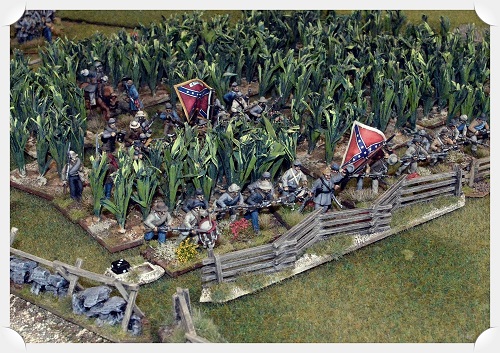
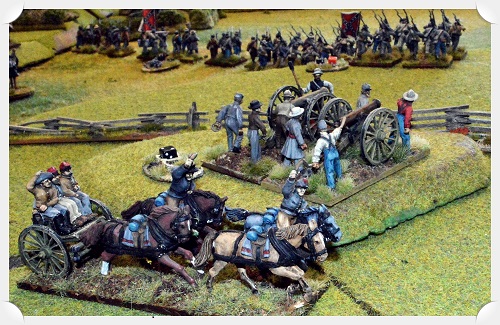
Closing Thoughts: While not really a tactical masterpiece the game for me was enjoyable and more about learning the basic rule mechanics than maximizing game play opportunities (it was a solo game after all). As mentioned above I didn’t use the fog of war cards and also elected not to field any snipers not that I could find a point costing for them anywhere. At the end of the day, even though I missed, messed up or clean forgot many rules throughout the game I still had a lot of fun with this system and will definitely be giving it another go.
I hope you enjoyed this report.