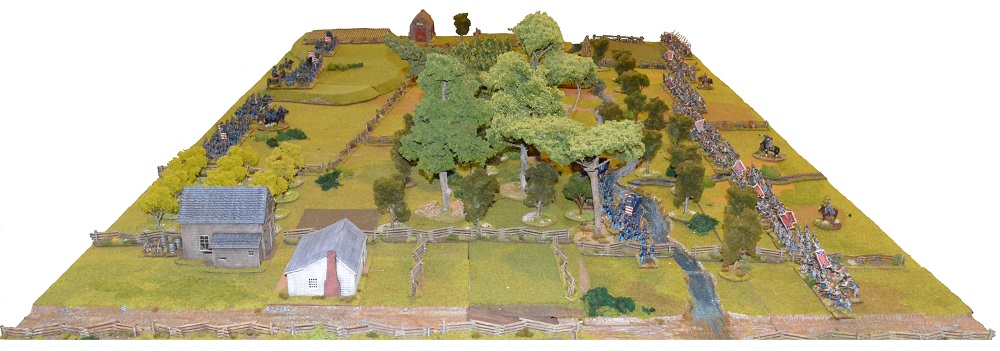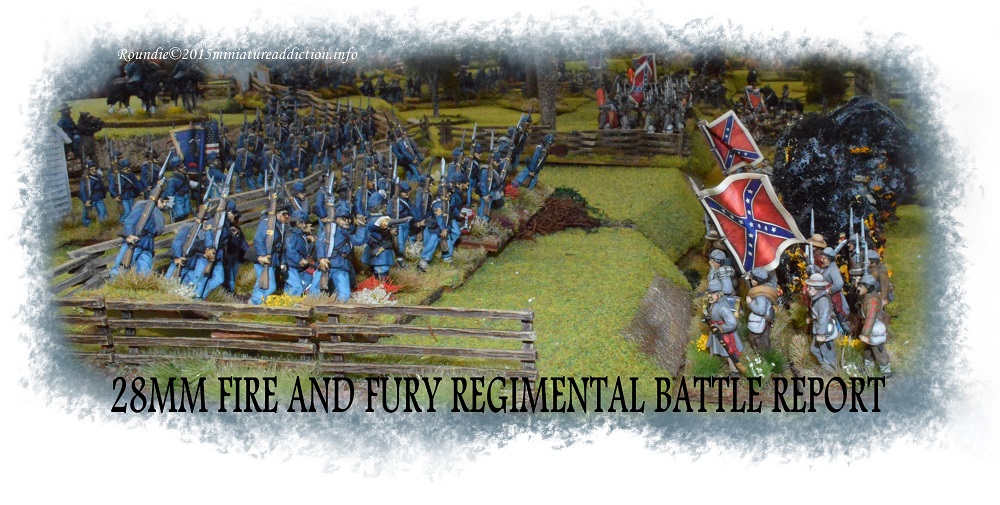
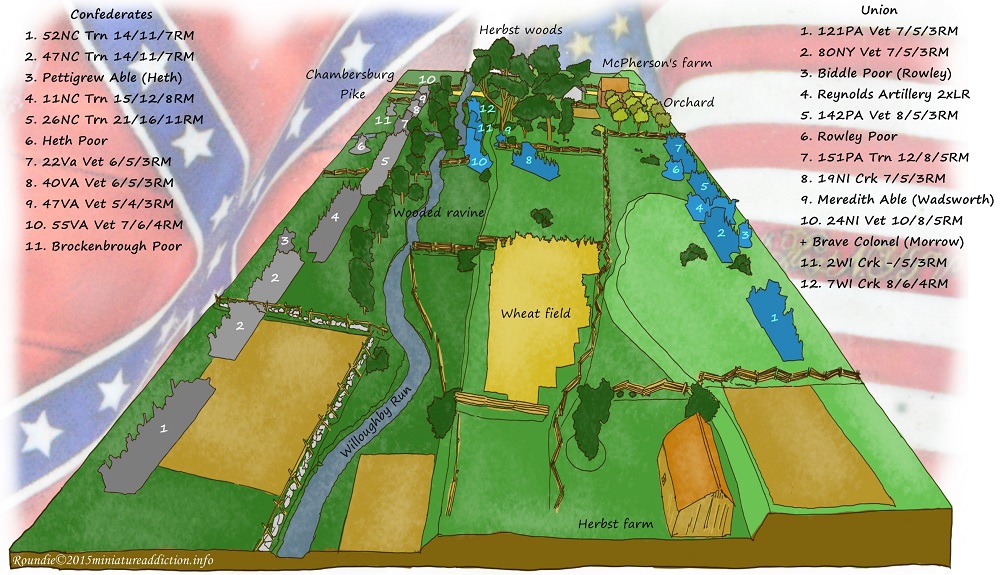
 This Battle report takes a look at the Confederates (Heth’s division) attack on the eastern side of McPherson ridge. Played at home on an eight by five foot table it took the best part of a day to set up, play and pack away. Sketched below is a rough map of the battlefield, it covers the ground extending from the Chambersburg Pike down to Herbst Farm. Also shown is the initial deployments of both forces along with their respective unit strengths listed on each side of the map. This particular scenario is the 5th in a series of nine written by Mike Evans and Don Effinger for the Wargames Soldiers & Strategy magazine (issue 66). Volume 2 of the Regimental Fire and Fury scenario series also covers this engagement in the second of two excellent scenarios which encapsulates these initial attacks at the battle of Gettysburg. Larger in scope than Mike and Don’s scenario the Fire and Fury (afternoon) battle focuses on both sides of the Chambersburg Pike and is therefore probably better suited to a 15mm figure scale.
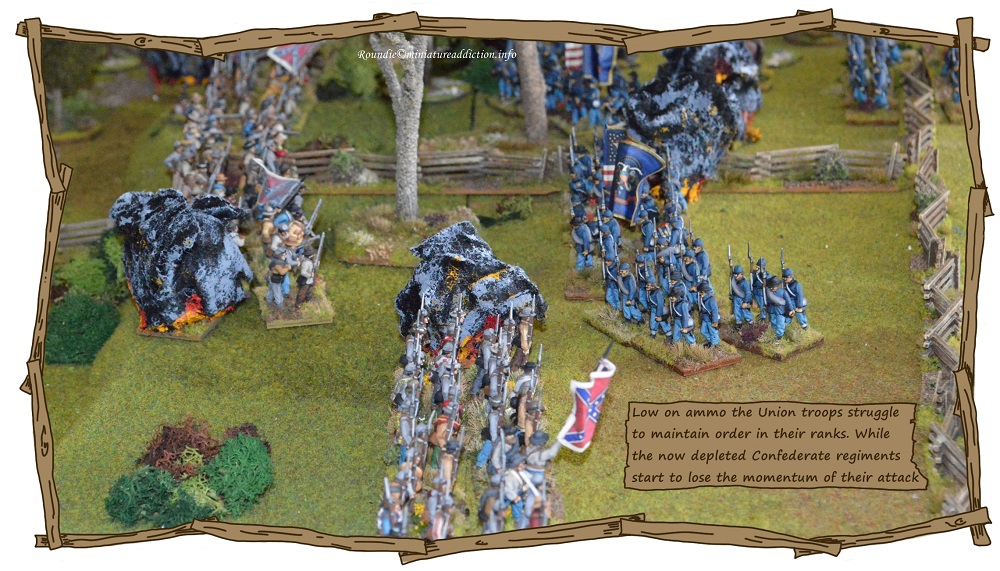
With limited table space for this game we opted to use the standard 15mm movement and weapon ranges. Personally I like the look and feel of these measurements with 28mm figures and see no need to increase anything but the command radius by 150%. Lastly if you were wondering why there are large black and grey puffs of smoke (explosion markers) beside many of the units throughout this report, they represent a disordered status for that particular regiment.
2:45-3:15pm The Confederate battle line advances.
3:15-4:30pm The Union right flank comes under pressure.
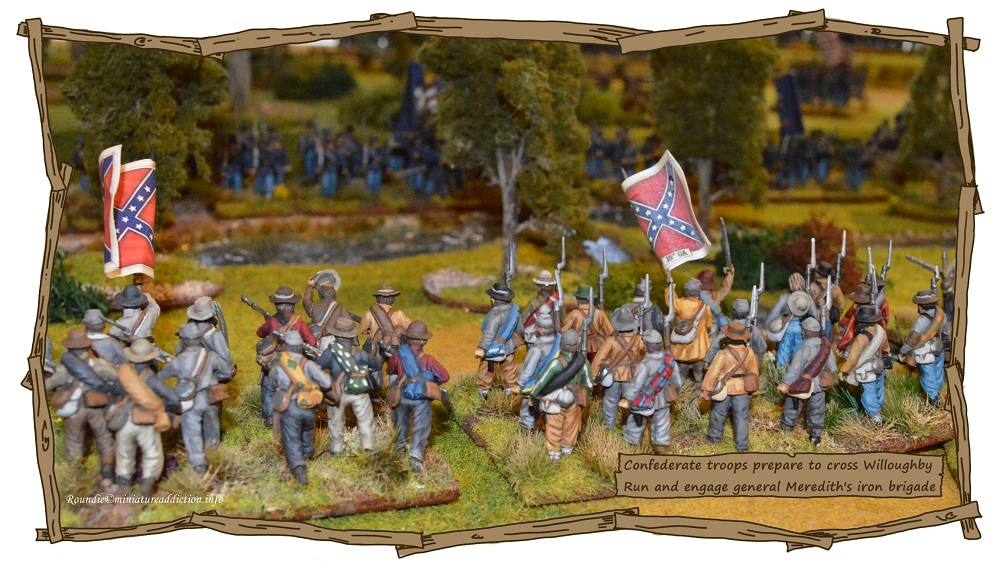
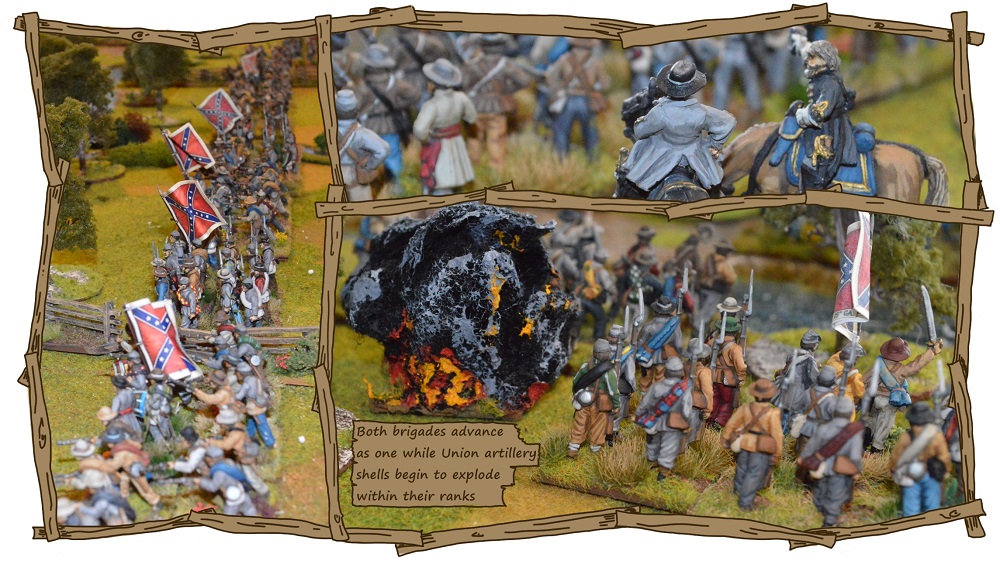
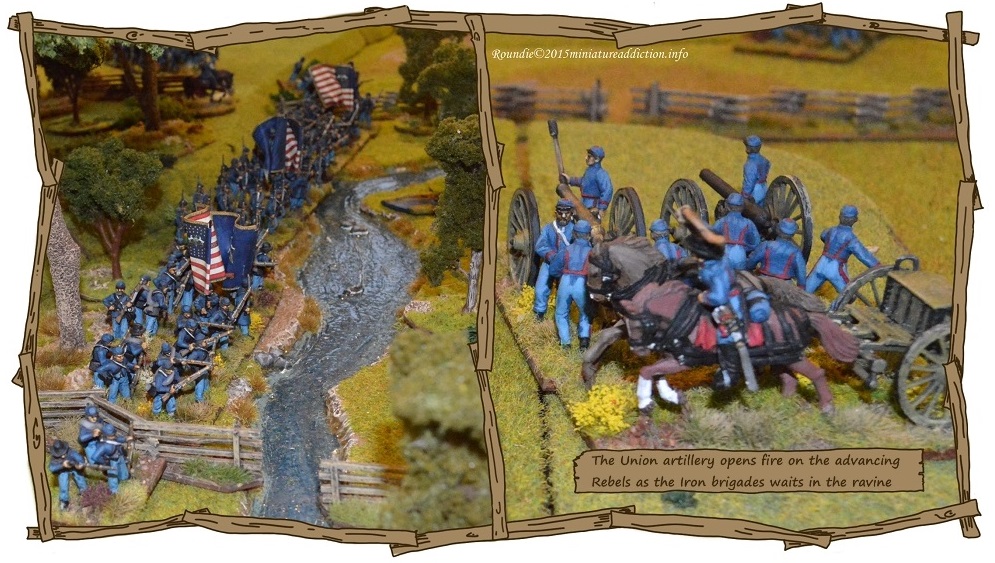
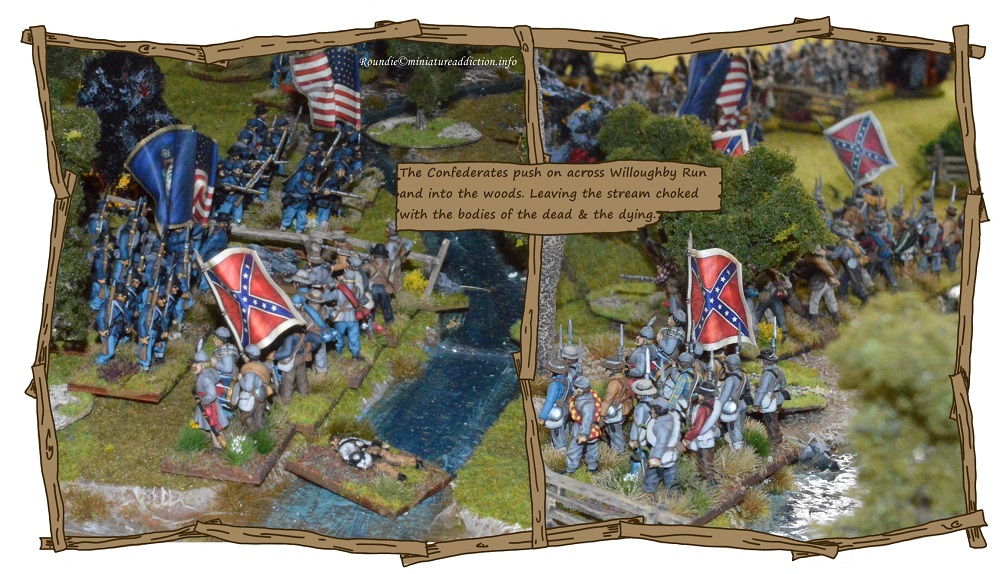
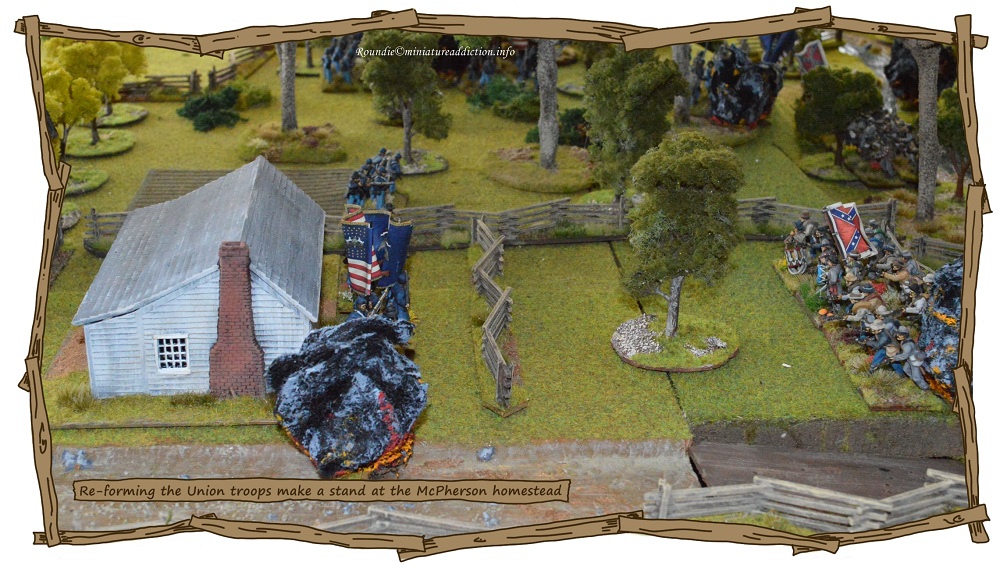
Dropping down into the wooded ravine Brockenbrough’s Confederate troops cross Willoughby Run which marks the edge of Herbst wood. Here the Virginian regiments slam into the Unions right flank. The size and speed of the Confederate attack takes the Iron brigade by surprise, after only a brief fire fight Meredith’s disordered Wisconsin regiments retire into the woods. Near the top of the ridge line they rally and quickly forming a new line running from the McPherson homestead along the rear of Herbst. Reformed and ready these veteran troopers concentrate their fire and finally put pay to the rebels relentless advance.
3:15-4:30pm Tension builds in the centre and on the left flank
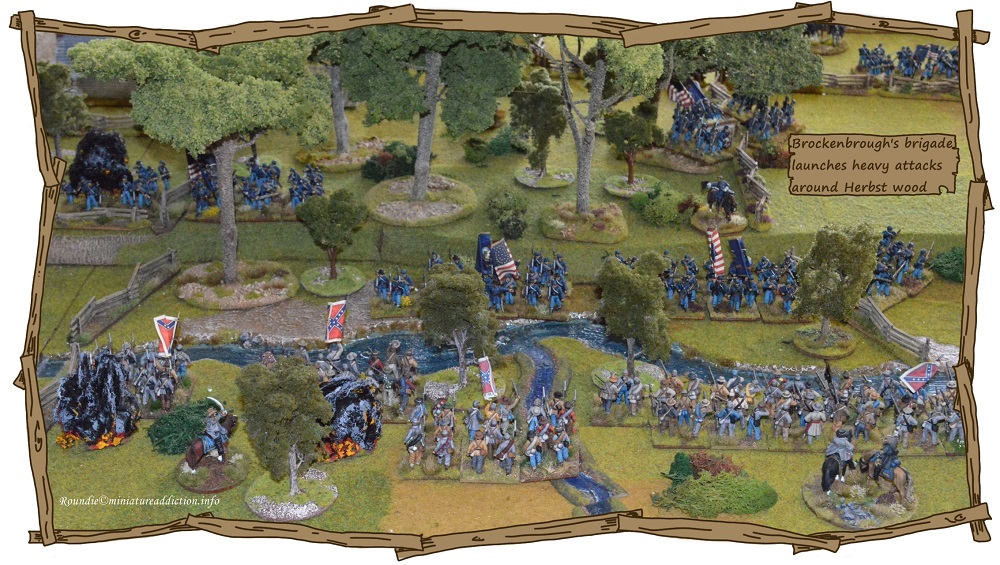
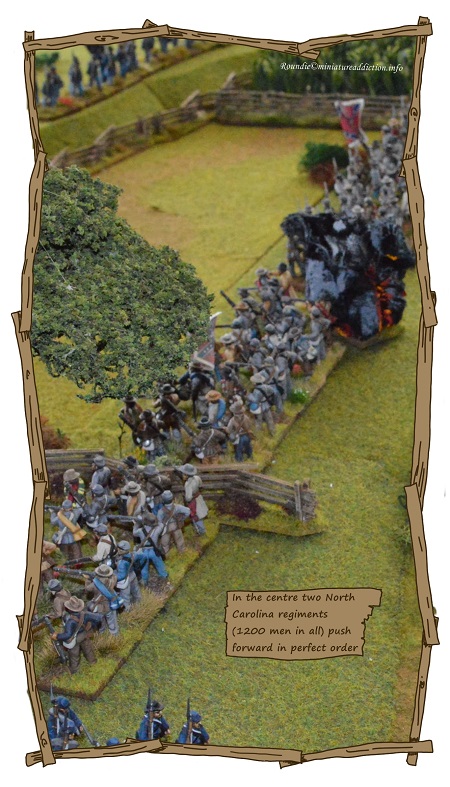
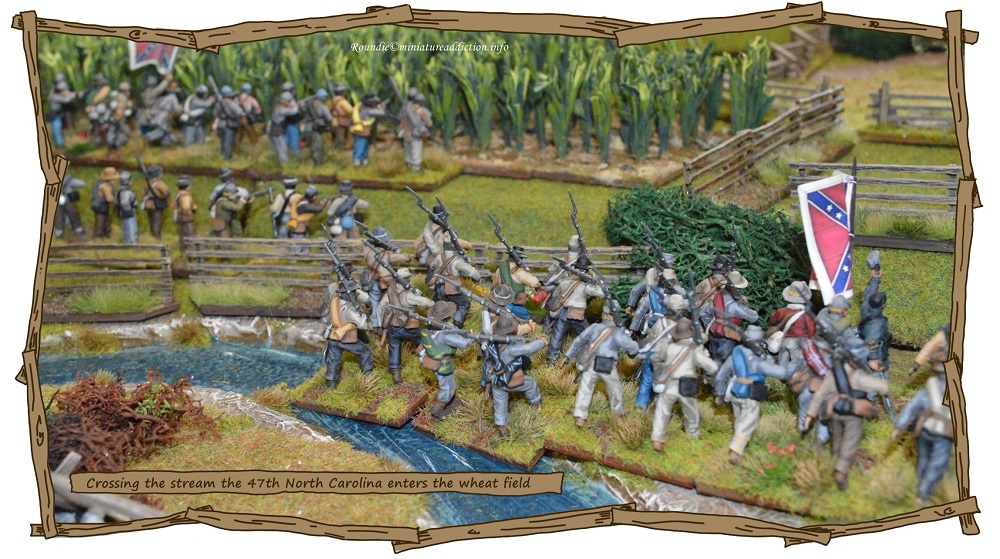
With the sound of gunfire coming from the woods, General Pettigrew’s North Carolina regiments cross the stream and move out into the open fields beyond. Weathering a storm of shot and shell from both the 19th Indiana and captain Reynold’s gun Battery the 26th and 11th North Carolina regiments push on towards the high ground. Meanwhile the 47th and 52nd regiments move through the wheat field to engage the left flank of Biddle’s command.
4:30-5:15 The Final stages.
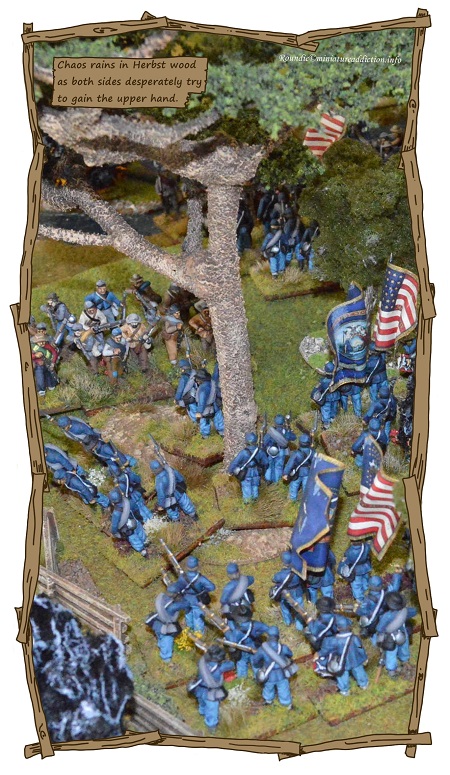
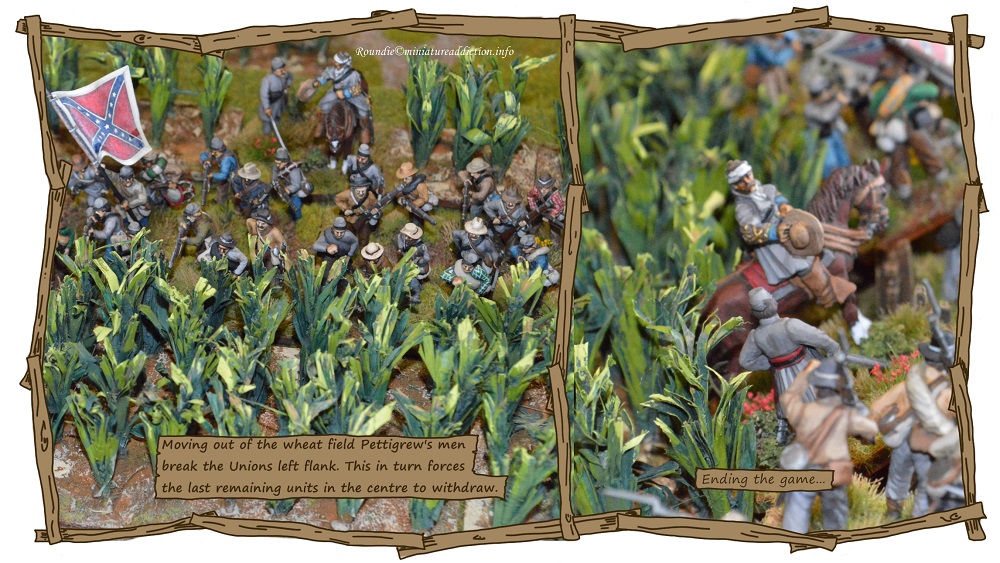
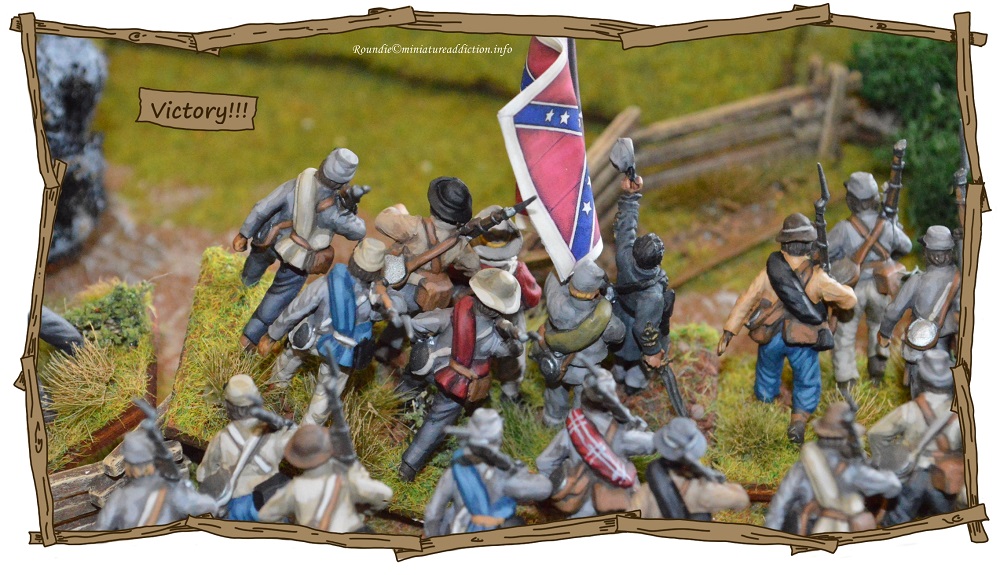
By 4:30 most regiments in the centre and around Herbst wood are all but spent, low on ammo, disordered and reduced in strength neither side can gain an advantage here. Only after a brutal fire fight on the Unions left flank does the battle shift in the Confederates favour as Biddle’s command begins to give way. First the 121st Pennsylvania followed by the 80th New York succumb to disciplined volleys from the 47th and 52nd North Carolina regiments. With their left flank turned the Union commander concedes defeat and we call an end to the game here.
Notes on figures and terrain.
The large trees, hills, terrain boards and most of the fences were all scratch built. The wheat field was also scratch built and I have posted a short tutorial on how to go about this in the DIY section of the web site or just click this link Wheat field. The barn and house that represent the McPherson farmstead are from the Perry brothers plastic range as are all the figures (there is a few metal command sets in there). Herbst barn at the far end of the battlefield is an old resin casting. Unfortunately the manufacturer is unknown to me. There is also a short step by step guide on how I went about basing these troops in the DIY section or click this link Basing if this interests you.
