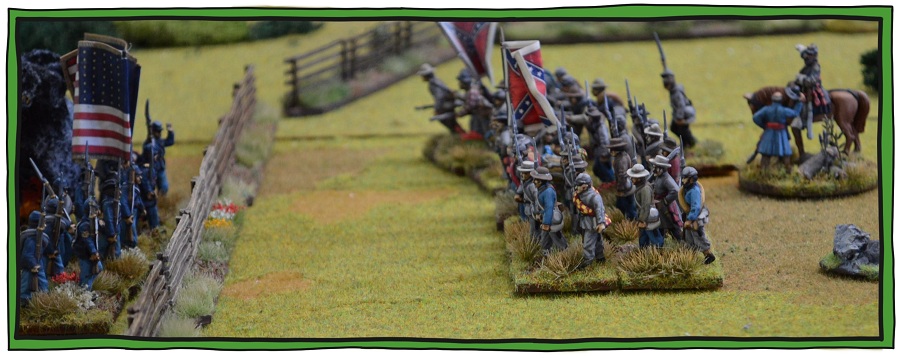
Intro
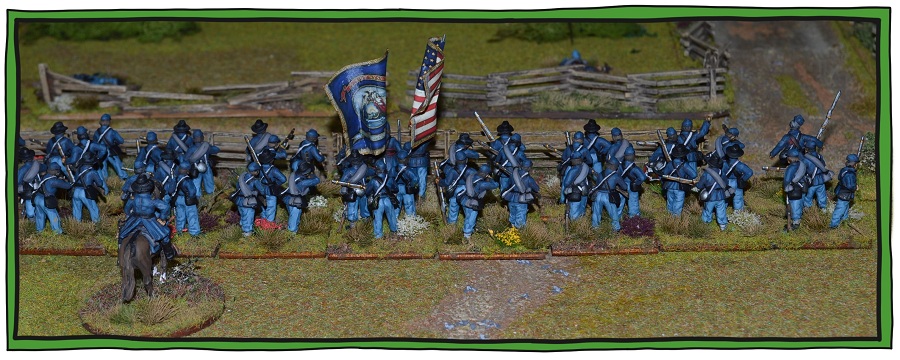
The purchase and painting of my 28mm ACW armies coincided nicely with (among other scenic gems) the discovery of grass and flower tufts at my local model railway shop. As you can see in the above photo these tufts play a large part in this particular basing concept. The positive side to this type of basing system is that from start to finish it is a relatively quick undertaking . The down side however, is the high price of the grass and flower tufts used to complete this look.
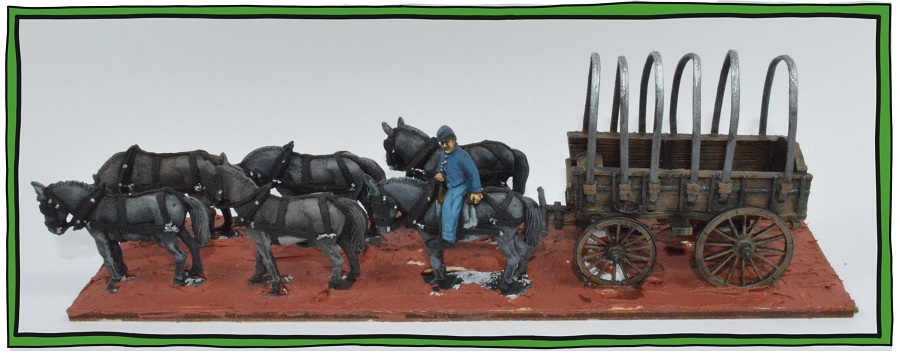
Steps 1 and 2
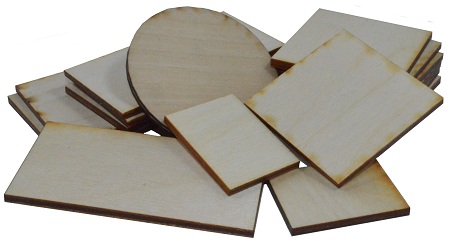
Mount figures and caulk base.
Step 1- Glue figures in place. It pays to pre-paint all multi figure stands before you start basing them.
Step 2– Caulking. As a general rule I like to apply a thin layer of “no more gaps” to help hide the joins between the base and each figure that has been attached to it.
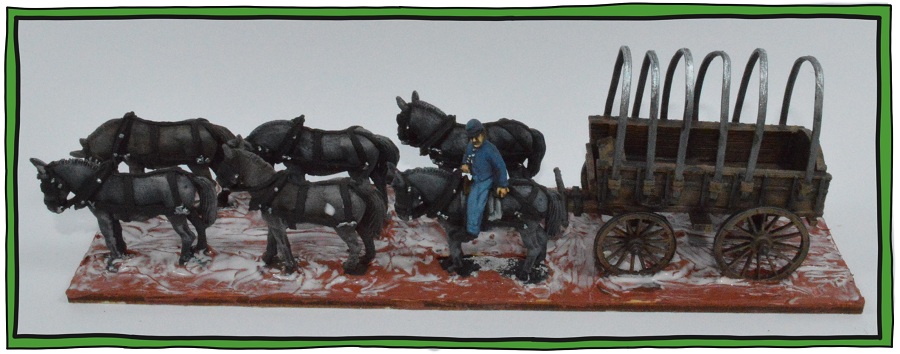
Step 3
Sealant- This is another basing standard for me as I find that paint adheres better to the “no more gaps” if it has first been sealed with a layer of PVA glue. A 50/50 mix of PVA and water works well here.
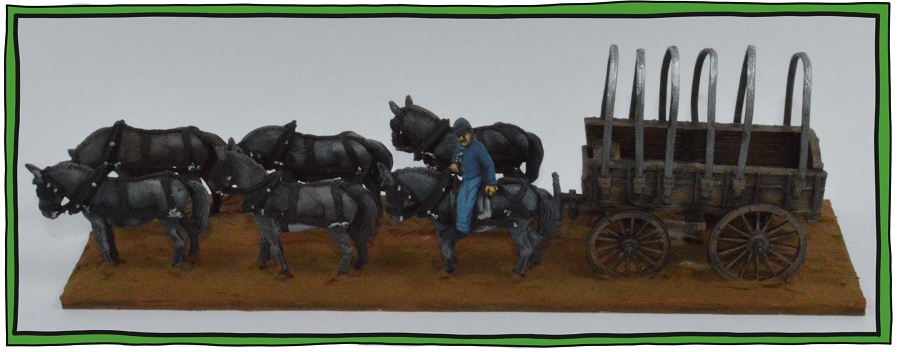
Step 4
Undercoat- This is now applied to the base before flocking. You can use this coat to cover any parts of the base not yet hidden by the caulk. As in the first basing guide I have used a less expensive craft paint Kaiser colour “Mud Puddle” instead of the more expensive hobby brands.
Step 5
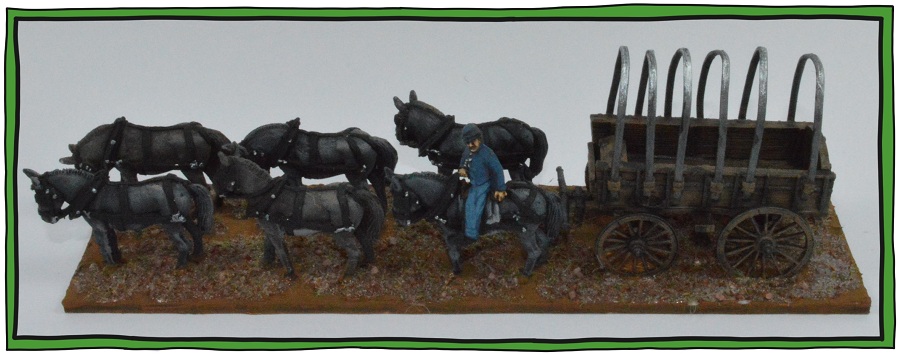
Ground cover- Here I have used a premixed base course to act as a basic ground cover instead of the dry brushing technique used in the previous guide. If you would like to add any rocks or logs to your base, these are best glued in place and painted before (step 3) adding any flock.
Step 6
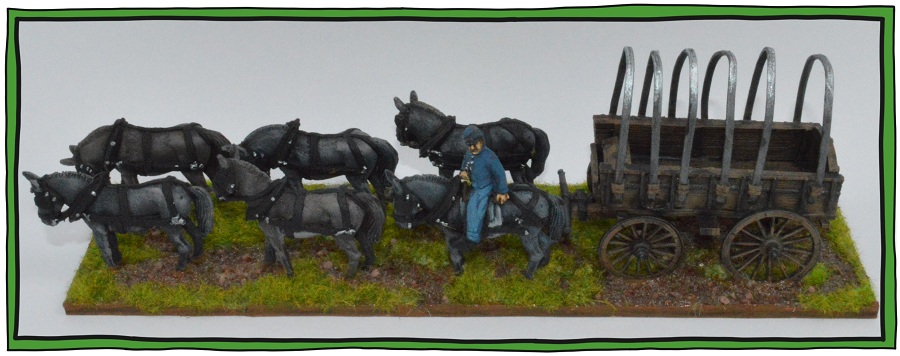
Flock with static grass- The last open areas of the base are now covered with static grass

Step 7
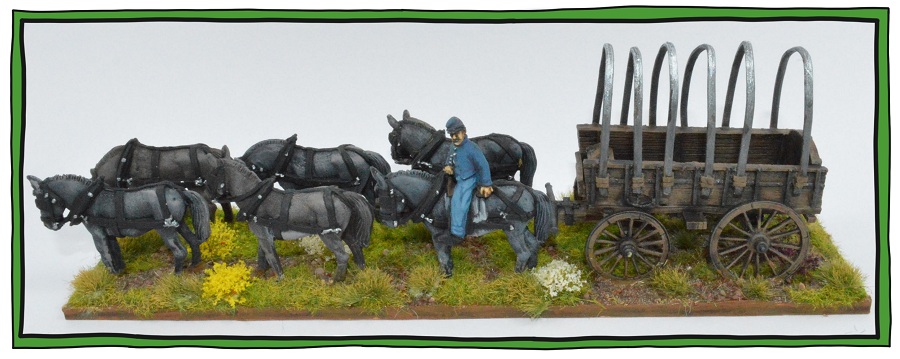
Adding Tufts- With the basic look of the stand now in place, it is time to add some detail or flavour in the form of various flowers and grass tufts. The flowers are made by Heki where as the grass tufts are from MiniNatur.
Step 8
Dry brush- At this stage I like to give some of the larger grass tufts a light dry brush with “Buckskin pale” from the Reaper Master Series.
Step 9
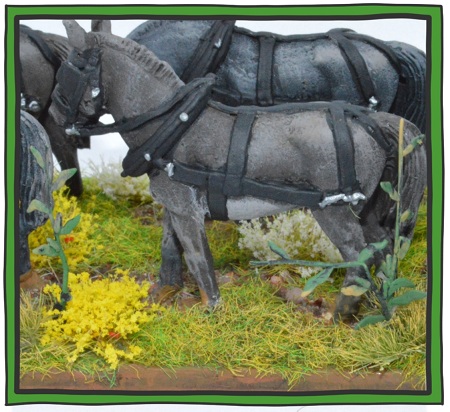
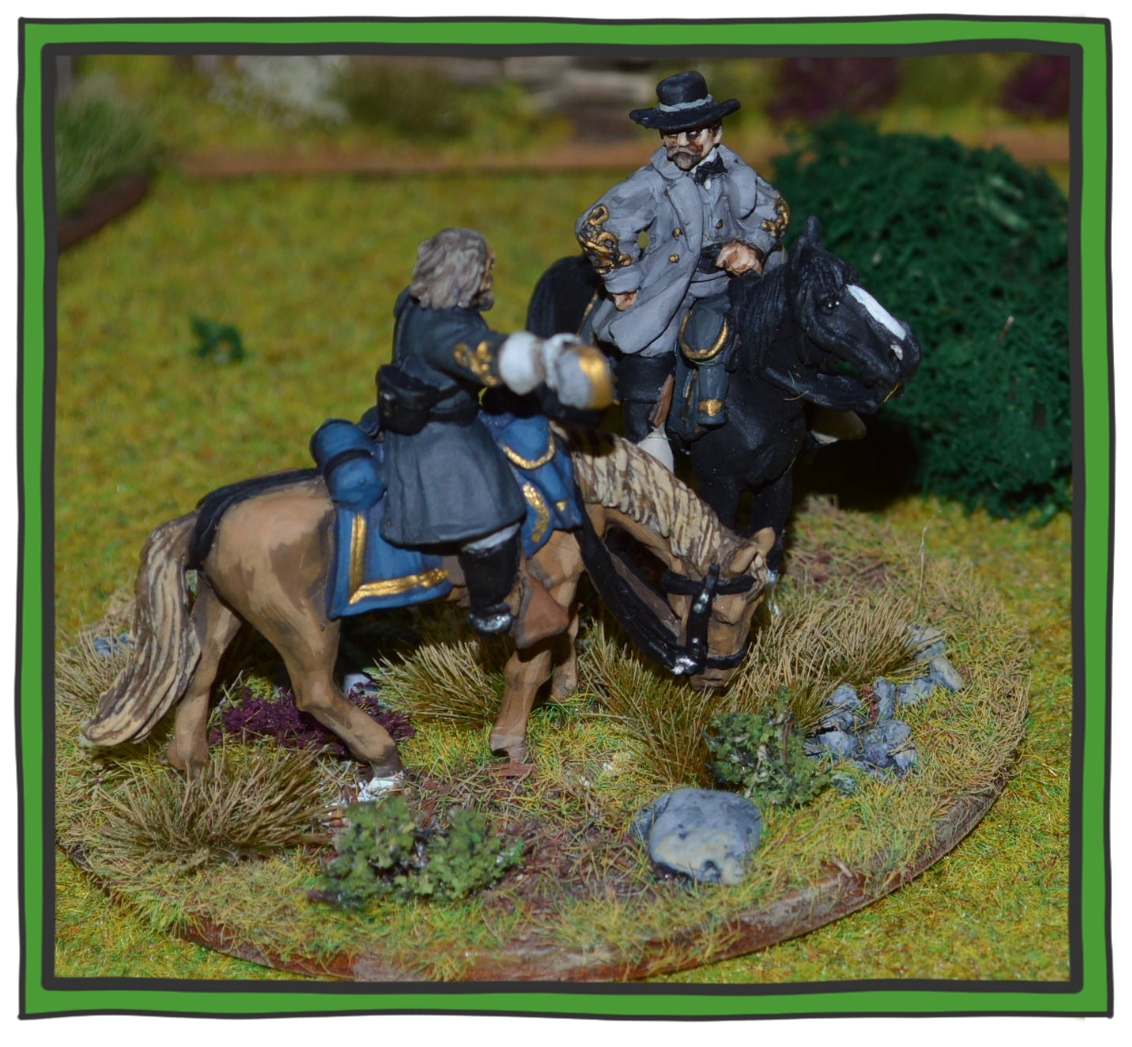
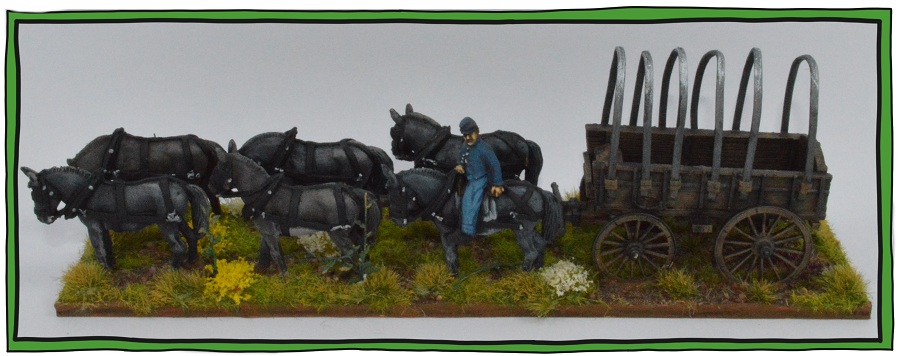
Finishing touches- Lastly some taller vegetation has be glued in place. A little hard to spot in this photo, these were glued in place at the rear of the first and second mules. The lower left photo shows this vegetation more clearly while the lower right photo showcases a base where rocks have been added.
