With Mr Brown’s new version of General d’Armee arriving in the post the other day. I keyed up a game with fellow napp-star, Rob. Using the army lists in the back of the book we through together a mid-sized game with five brigades a piece. I took the French while Rob defended the high ground with a mixed force of British and Portuguese.
The picture below shows our 10/6-foot table after we had completed our deployments. The British position is dominated by a long ridge line. Below this high ground sits a small village garrisoned by a battalion of Portuguese. On the opposite side of the road is a large orchard.
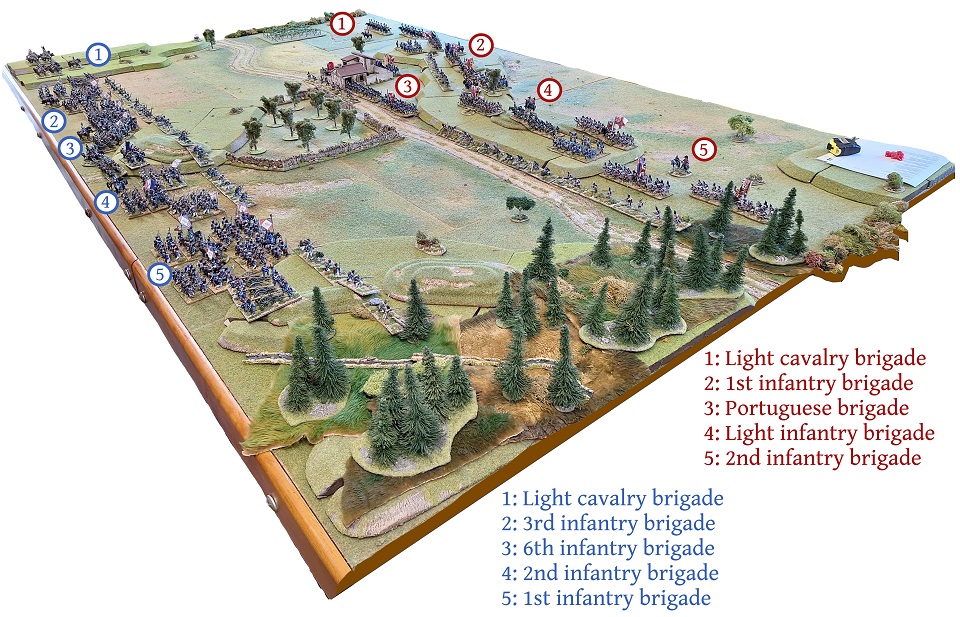
The new deployment rules were quick and easy. Which I found to be a big improvement on the blinds system. That said, I only managed to successfully scout and reveal Rob’s light brigade before having to deploy my entire army.
As denoted in the photo above, Rob had deployed his cavalry in the open ground on the right. His British brigades with attached artillery stretch out along the ridge line covering the rest of the table. The Portuguese were pushed forward of the main battle line and tasked with holding the village at the base of the foothills.
After studying the enemy’s positions I resolved to tease both of his flanks with skirmish and artillery fire. Hopefully keeping Rob’s best troops occupied while in the center I would launch my main effort. All seven battalions from my third and fourth infantry brigades would be committed to an attack on the poor Portuguese. If I could break that brigade the village would be mine. After which I could potentially push on up the hill and split Rob’s army in two.
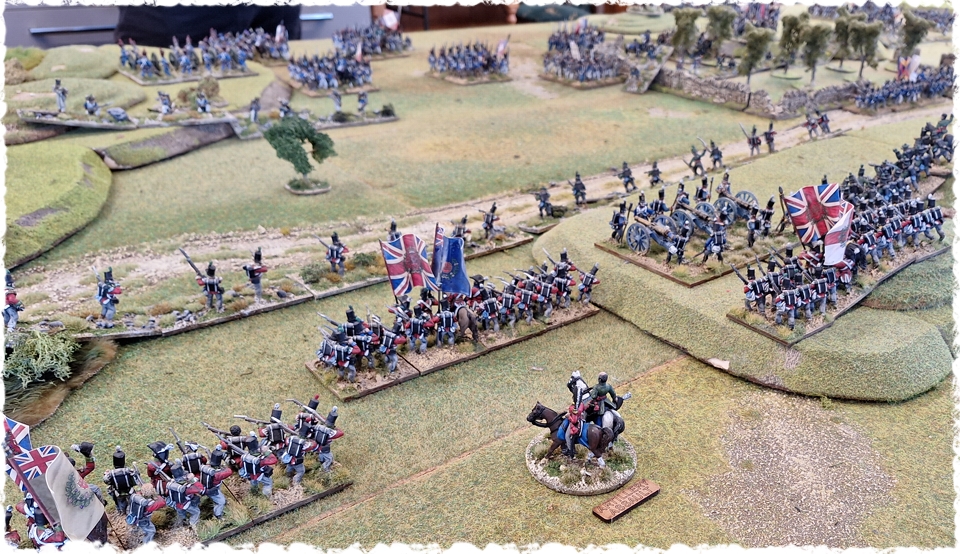
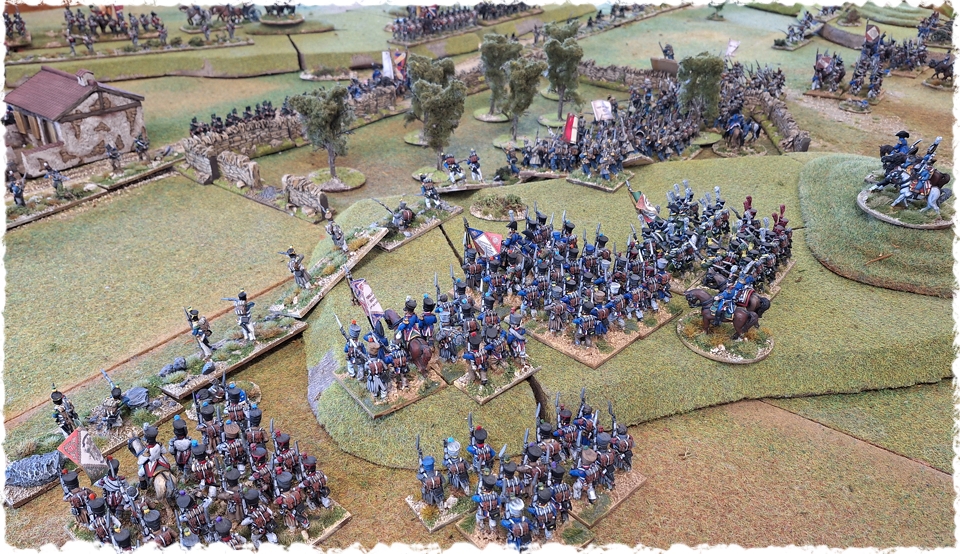
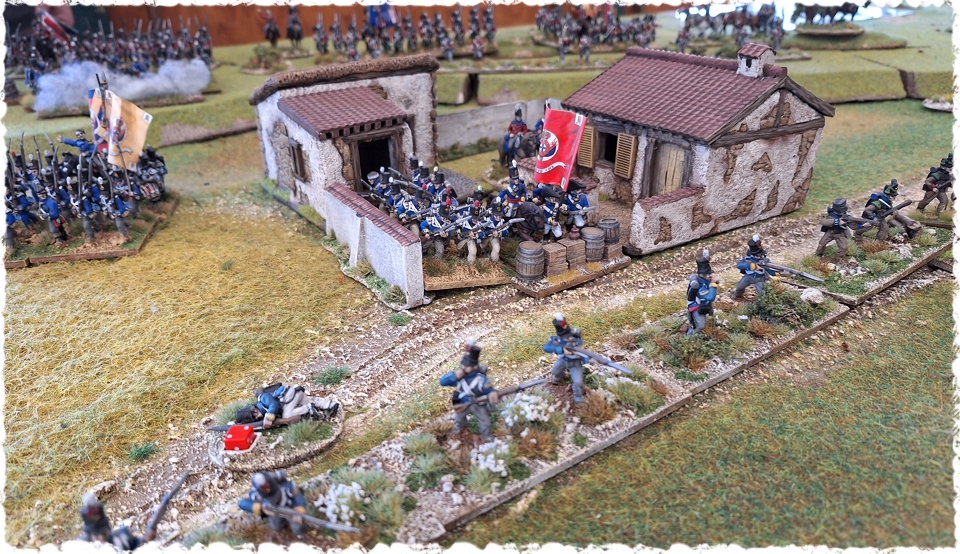
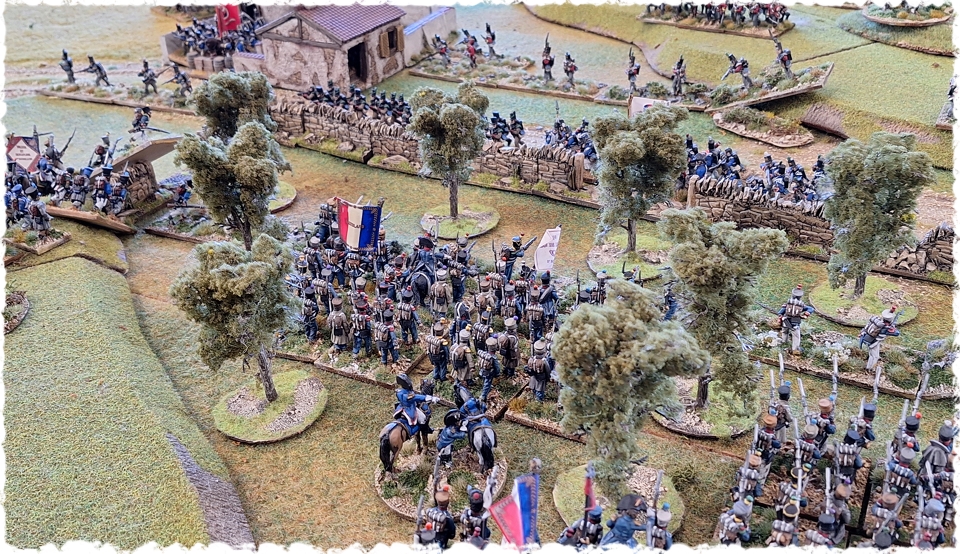
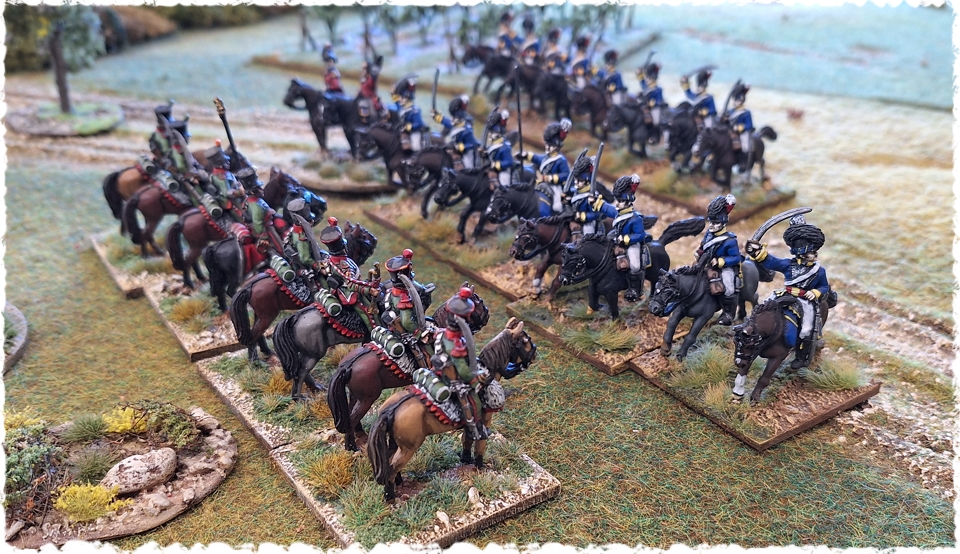
With pressure mounting on his centre, Rob decided to launch counterattacks on both French flanks. However, despite the battered condition of my fifth brigade his infantry on the left refused to advance off the hill. Bad command dice failing to issue the redeploy (counter-attack) order every time. The light cavalry on the other hand boldly charged across the open valley (once we worked out they didn’t need a redeploy order) catching my Chasseurs totally unprepared.
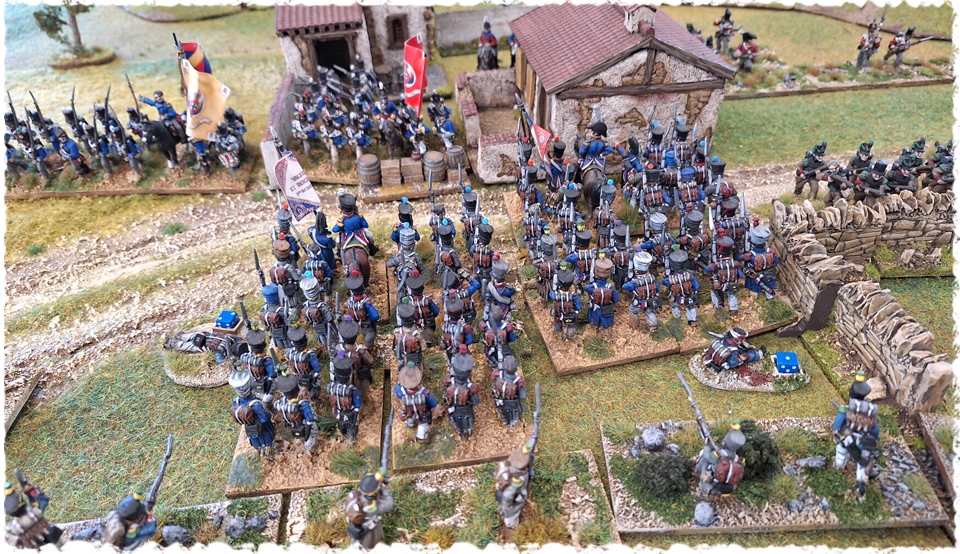
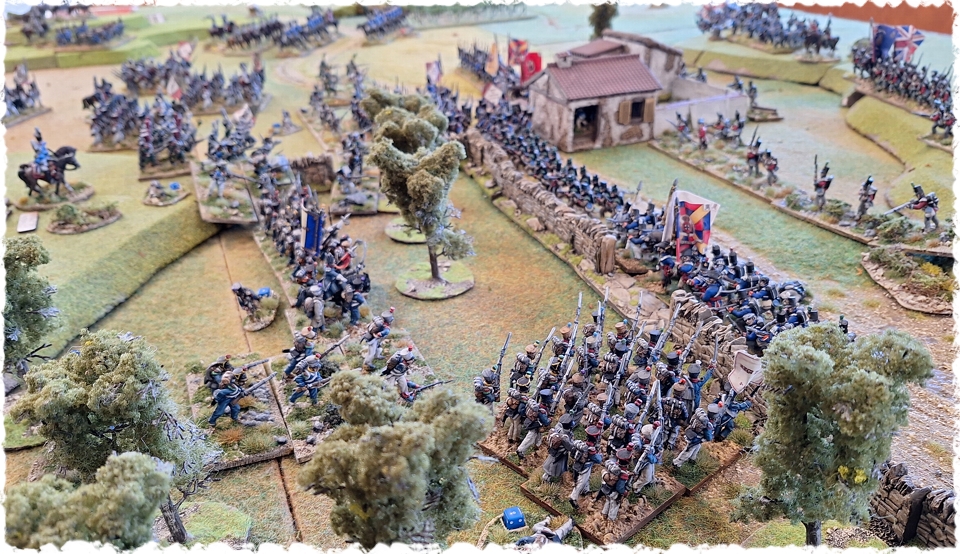
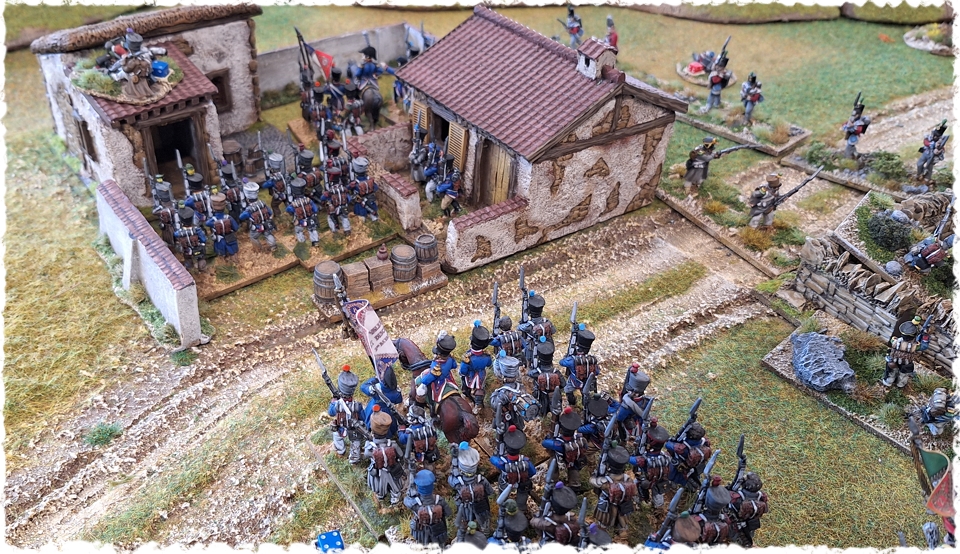
Both assaults are successful and the entire Portuguese brigade breaks and runs. They retreat up and over the hill gathering behind the Scottish battalions stationed on the ridge-line.
Now, Rob is a great gaming buddy who I always enjoy playing. However, he does tend to ride the highs and lows of every game to their fullest. This coupled with our lack of familiarity with the rules meant the Portuguese may have left the field a little prematurely. He did roll “Sauve Qui Peut” twice, but “Stand with me” would have saved the brigade here.
With the low point out of the way, Rob refocused and launched a devastating counterattack with his second line. A single veteran battalion from his light brigade retook the orchard wall in fine form. This was followed by an assault on the village with the Scottish troops from his 1st brigade.
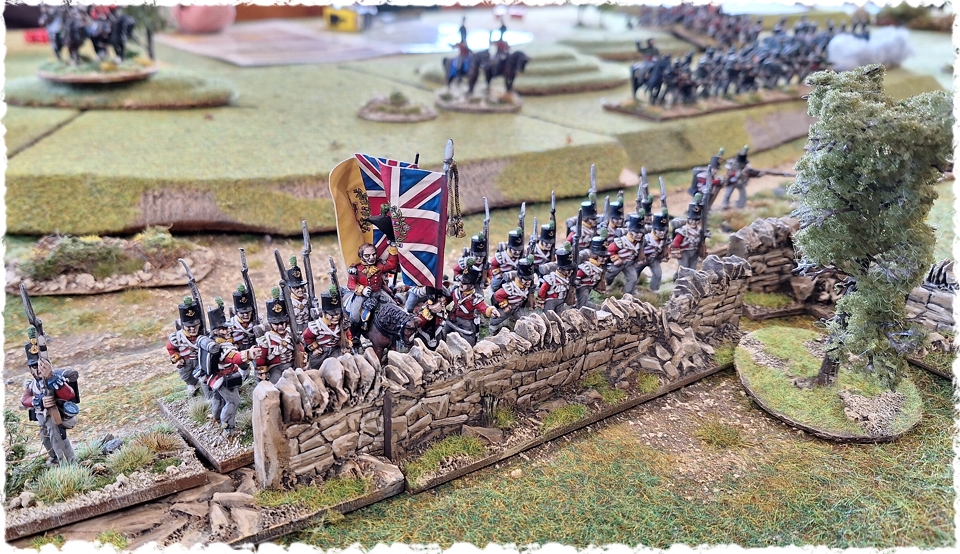
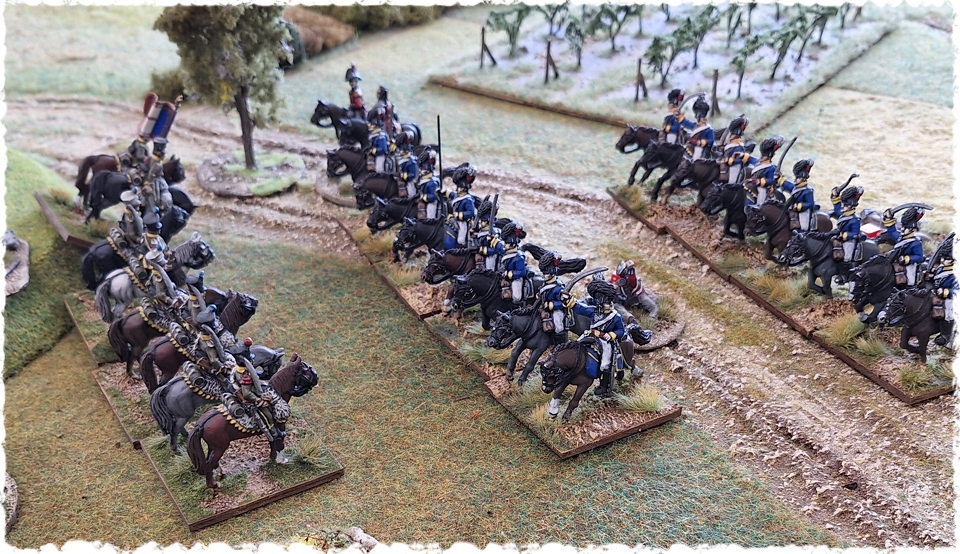
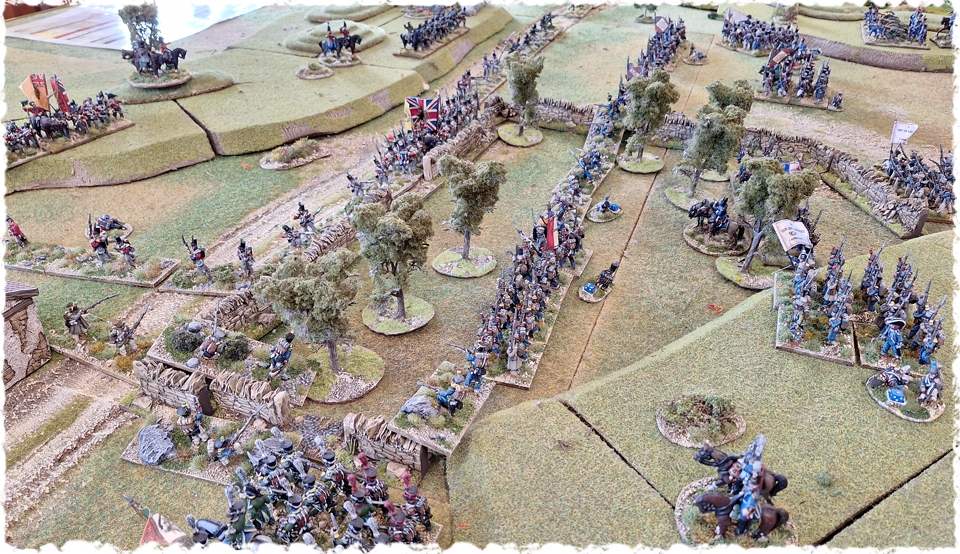
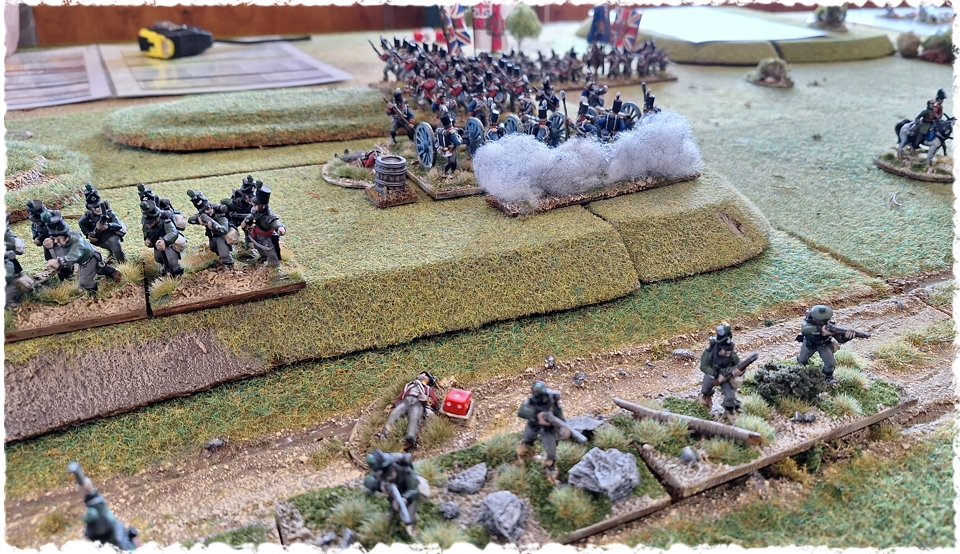
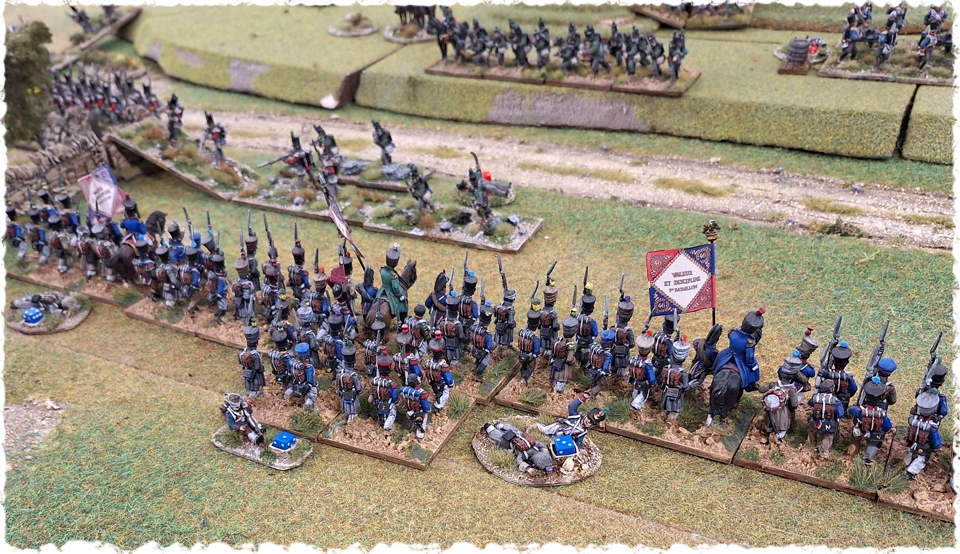
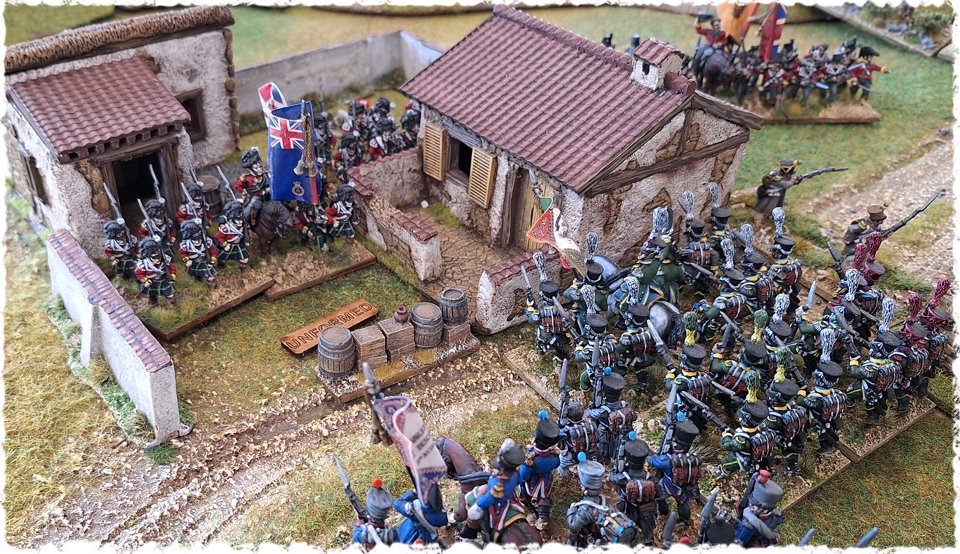
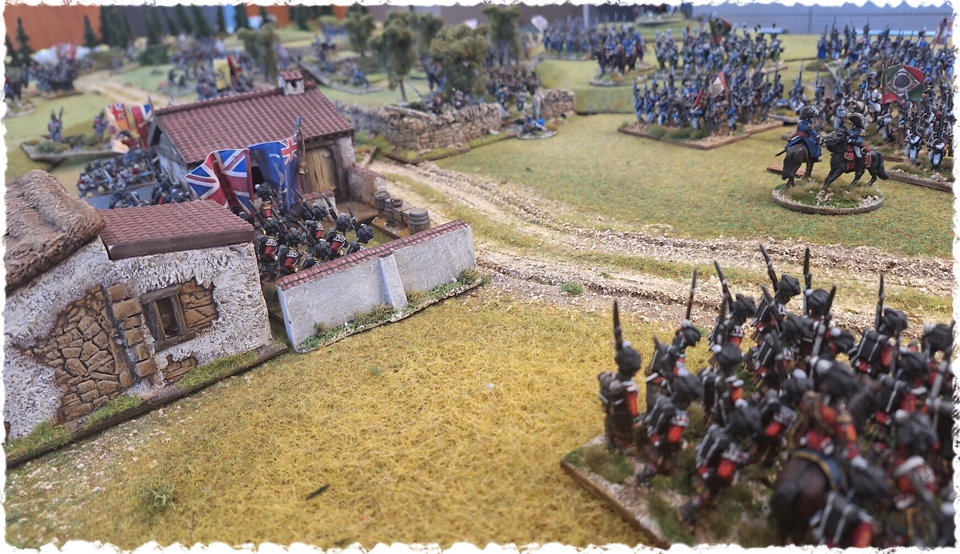
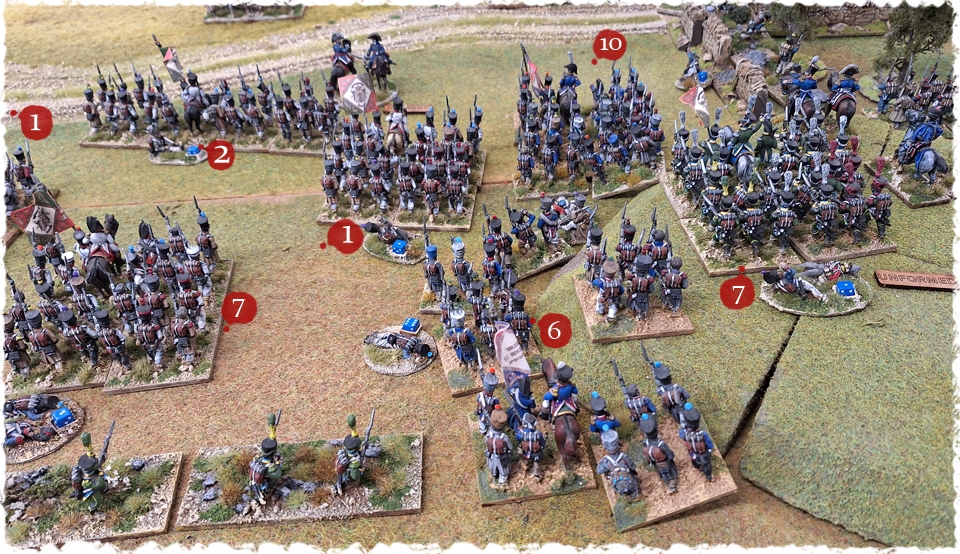
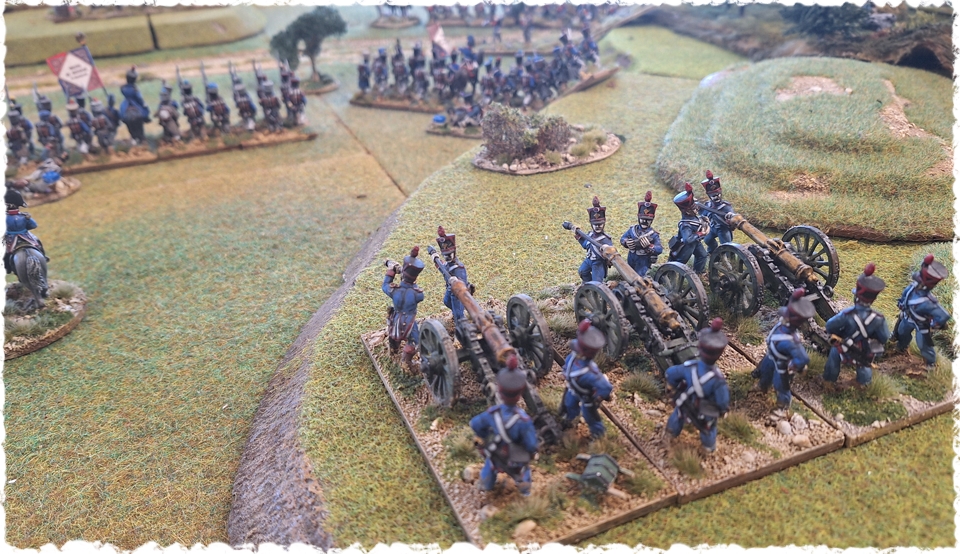
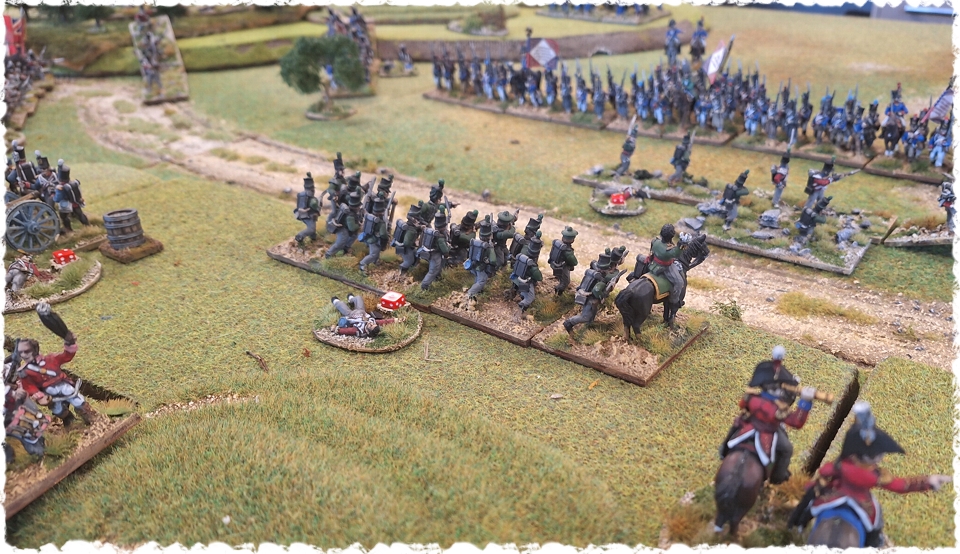
We called the game around turn 11 or 12. I’m not totally sure about this because I may have forgotten to move the turn counter once or twice. Anyhow a quick count up of the victory points gives the French a minor victory (5 to 3). This would most likely have ended in a draw had Rob not launched a “just for the hell of it” cavalry charge in the last turn.
All in all, I really like the new rules. Rob’s counterattack and subsequent recapturing of the village was the highlight of the game for me. I can’t recall a Napoleonic rule set/game I’ve played where anyone actually deploys in anything other than one long line.
It’s a double thumbs up from me.