This is in fact my third crack at “Palm off at Perbais”. I had to discount my second playthrough when I realized I had messed up far too many rules. So after rejigging the French support points and checking the rules for Heavy machine guns (to name a few) I was set to go again.
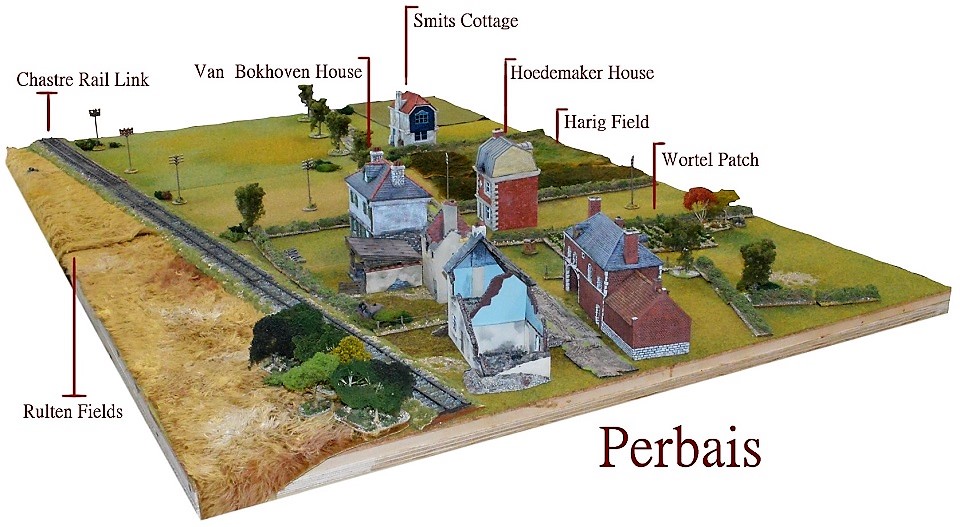
As per my first report (which can be found here) I have posted a picture of the battlefield with some of the landmarks labelled. Hopefully, this will clarify where troops are stationed or heading during the battle.
The Patrol Phase
Unfortunately, the Germans had another slow start to the patrol phase. Two of their jump-off points were confined to the area behind the Smits cottage. The third was placed across the rail line in Rulten’s field. The French stuck to what worked last game placing one point in the wortel patch and one in the Van Bokhoven house. Their last jump-off point ended up behind the woodshed to the rear of that very house.
 After the disastrous first attempt at clearing the French out of Perbais. The German officer will begin this battle with the opinion of his men and his superior commander falling to minus two. Not only does he need a victory here, but he’ll also need to keep the casualties low or risk losing the respect of his soldiers. To this end, he has used five of his support points to call up a fourth schützen squad. These will do the bulk of the fighting and thereby minimizing losses to his own platoon. The remaining points were spent on a pre-game barrage, a 7.5cm infantry gun and an adjutant.
 Despite a drop in support points, the French commander remains confident he can hold the Germans off for a second time. A quick headcount reveals all three squads are still at full strength. After resupplying, the men check their weapons and then make their way back to the appropriate jump-off point. Victory in the last encounter has had a positive effect on both the troops and the staff at Headquarters. This has moved their opinions up to a plus one. Three support points were spent on the newly repaired Panhard. The remaining points went towards extra ammo for three of the VB team members.
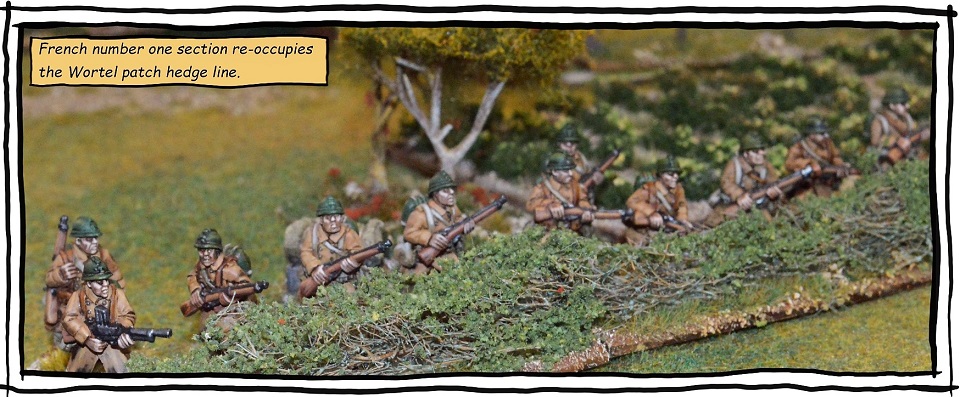
 Number two section was first onto the table followed shortly thereafter by the light mortar team. The battered remains of section one (top right picture) were told to set their MG34 up in Smits cottage. In order to cover the arrival of more troops into the area number two section was placed on over-watch. The plan was basically the same as last time, build a large firebase around the Smits cottage. Then send number four section (pawn sacrifice) up the rail line.
Hopefully, the pre-game barrage would disrupt French deployment plans, thus giving the Germans time to gain a strong foothold on the table.
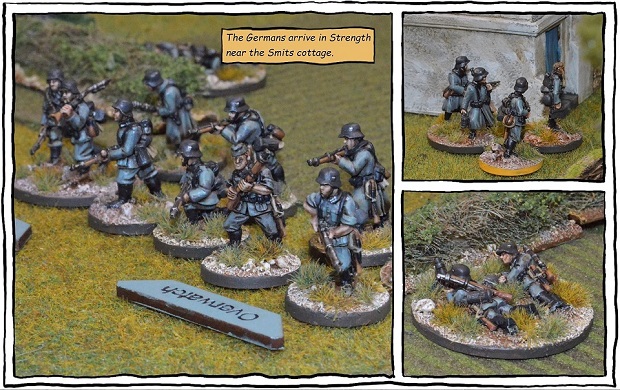
The rationale behind these opening moves was as follows. If the French deployed on the left they would come under heavy fire from the troops massed around the cottage. If they instead decided to deploy on the right. Number four-section would cross the rail line and make a run for the Van Bokhoven house.
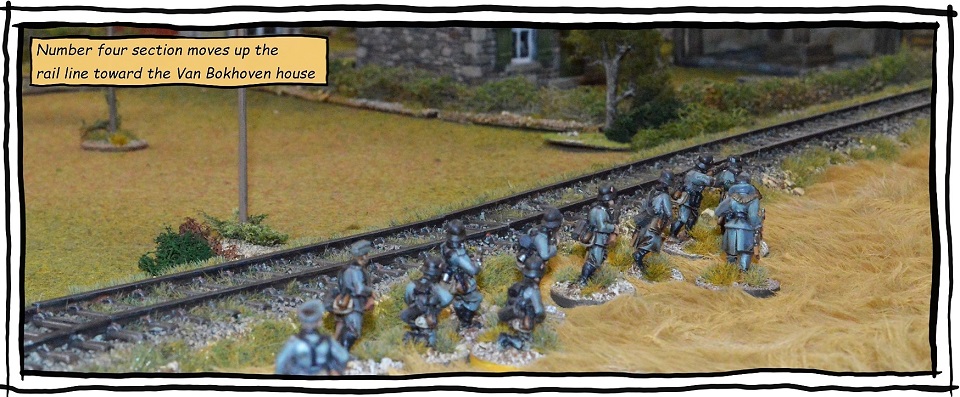
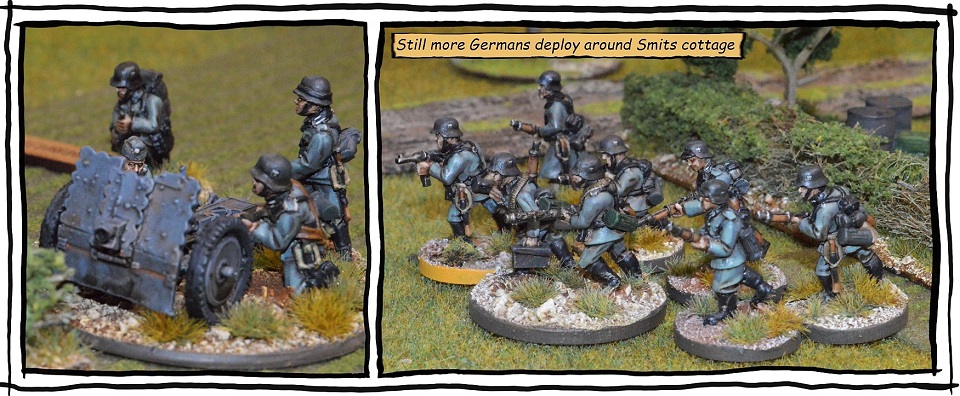
 The French watch with growing trepidation as the Germans continued to build up and consolidate units at the far end of Harig field. Poor dice had meant nothing more than a single infantry section along with the Panhard had made it through the pre-game barrage and onto the field. With the Germans closing in on the jump-off point in Van Bokhoven house. The French finally racked up their first chain of command dice which they immediately use to end the turn and therefore the bombardment.
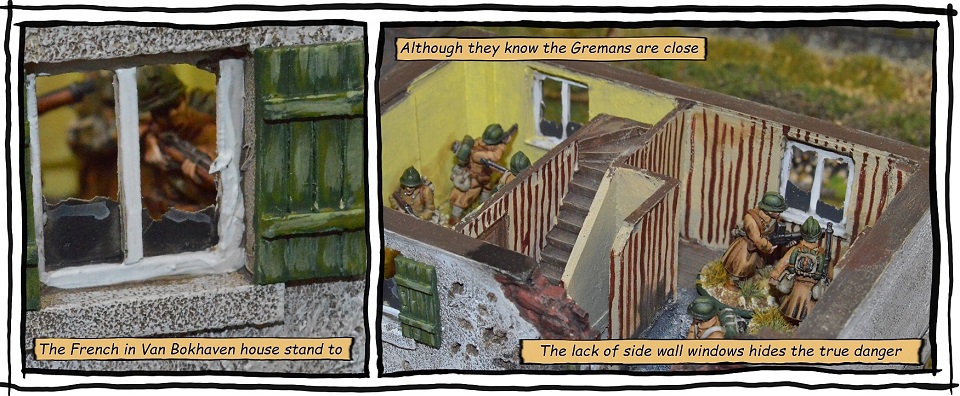
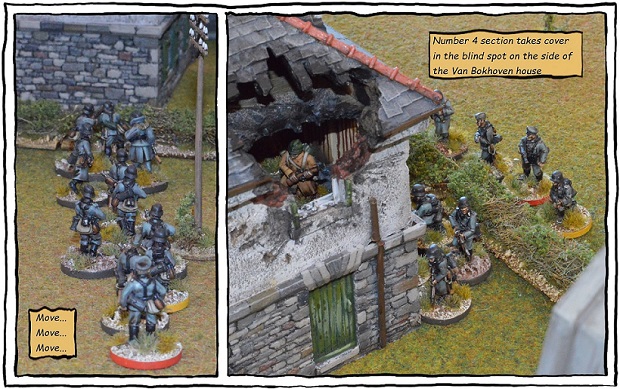
 Just as section four closes on the Van Bokhoven house the long-range artillery falls silent. French voices can now be heard in the windows of the second-floor while the sound of an approaching Panhard grows steadily louder. An assault on the jump-off point might still be possible through the rear door of the building (facing the rail line).
Meanwhile the remaining German squads along with the infantry gun set to work destroying the French troops cowering in the carrot patch. Three MG34 teams and an infantry gun hammer these poor souls with a constant barrage of small arms fire.
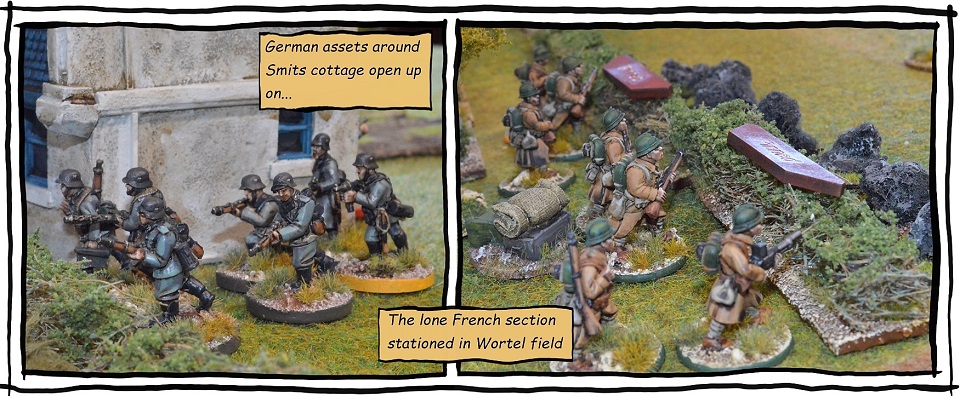
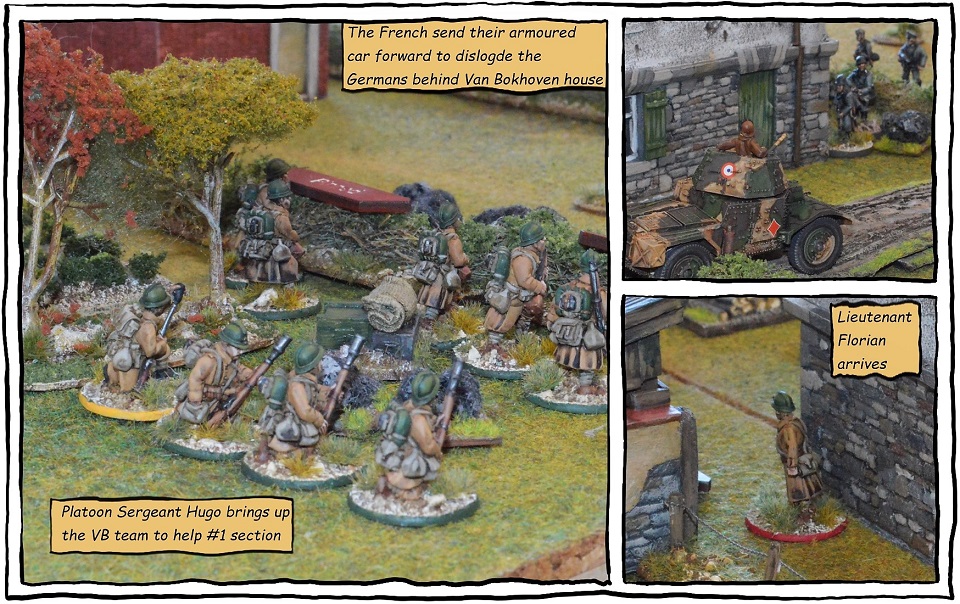
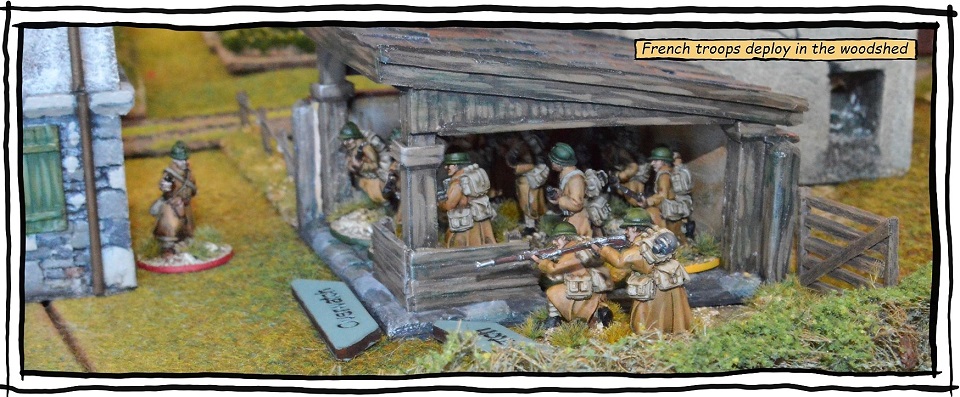
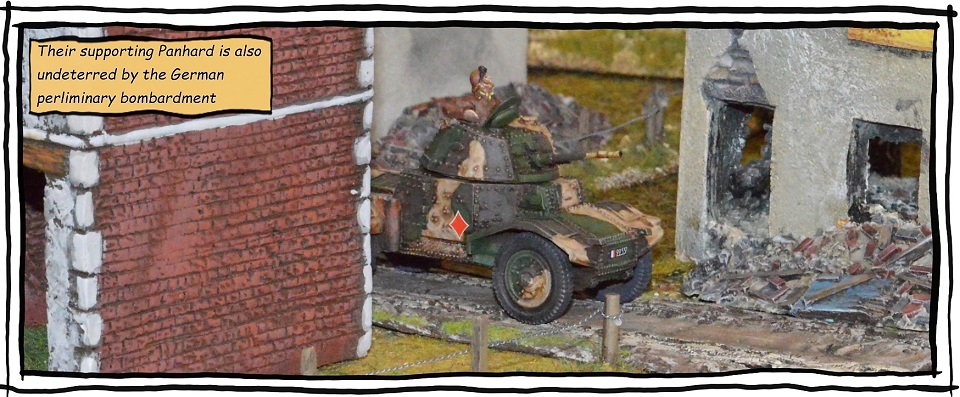
 The French position was starting to deteriorate. Outgunned on their right the troops in the carrot patch were now pinned down and close to breaking. They were joined by the VB team, but this small reinforcement can do little to readdress the balance of fire on this side of town. In the main street, the Panhard moves up and opens fire on the German’s 4th squad. They promptly “go to ground” (tactical) and thereby avoid the worst of what the armoured car dished out. In what can only be described as desperation the French commander orders a grenade attack on the Germans behind Van Bokhoven’s house. This fails when the grenades go wide and the men that through them are gunned down.
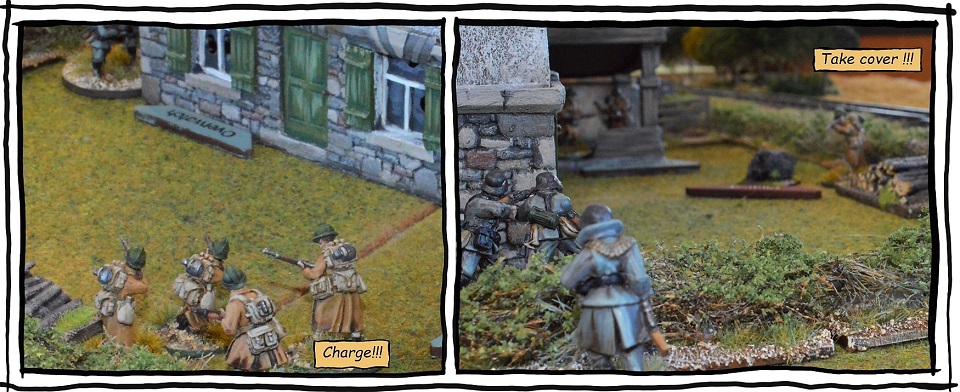
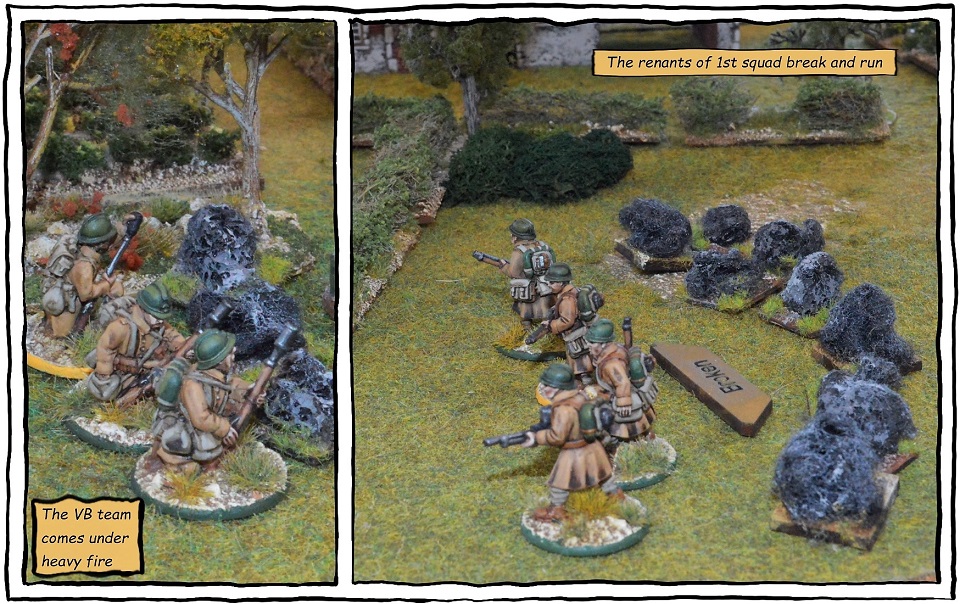
With one section gone and two other teams in trouble, the French morale drops to three and they call it a day. As per the previous game, the French had focused their defence around the Van Bokhoven house. Unfortunately for them, the Germans had adjusted their stratagem and successfully avoided the pitfalls of their last effort.
German losses
Commanders opinion: -1 (no effect)
Men’s Opinion: -1 (no effect)
Number two section
- 1 Rifleman KIA, Casualty negated by force moral difference
Number three section
- 3 Riflemen KIA. Casualties negated by force moral difference
Number four section
- 2 Riflemen KIA. Support troops (no effect)
French Losses
Commander’s Opinion: +1 (no change and no effect)
Men’s Opinion: -2 (no effect)
Number one section
- 4 Riflemen KIA, team one (no effect platoon retired)
- 3 Riflemen KIA, team two (no effect platoon retired)
- 1 Rifleman & MMG team rout (no effect platoon retired)
Number three section
- 3 Riflemen KIA (no effect platoon retired)
VB Team
- 1 Rifleman KIA (no effect platoon retired)