Introduction
Over the last year or so the lads and I have been thrashing Washington Grand’s (Triumph) rule system for refighting ancient battles. So much so in fact, that words like “campaign” were beginning to be bandied about the place on a regular basis. There is talk of just such a book on the WGC forum but, as of yet (May 2022) no release date has been given. Unfortunately, as none of us are well versed in the art of writing rules it was looking like pickup games only, for the foreseeable future at least.
However, while on one of those obligatory late-night painting/internet trolling sessions a couple of weeks ago. I stumbled across a playtest of “Baron’s Revolt” on the Dash of Elan channel. This set me rummaging through my old Impetus army books where I found the campaign in question (book five). A quick read had me wondering if I couldn’t somehow convert this into a little campaign for Triumph.
What followed was a week of hard thinking, internet googling and rule butchery which led to this, a short little semi-historical campaign based in Sicily. In this article, I will cover the first three turns in our twelve turn campaign. At the bottom of the page, I will also add a downloadable PDF of the campaign rules (with the map) for anyone who may be interested. I would stress that this is the first playtest of a very simple campaign system. There will be holes in this large enough for cruise ships to sail through and I’m not at all sure how it will pan out. That said the lads and I are keen to give it a crack anyhow.

Background and Map
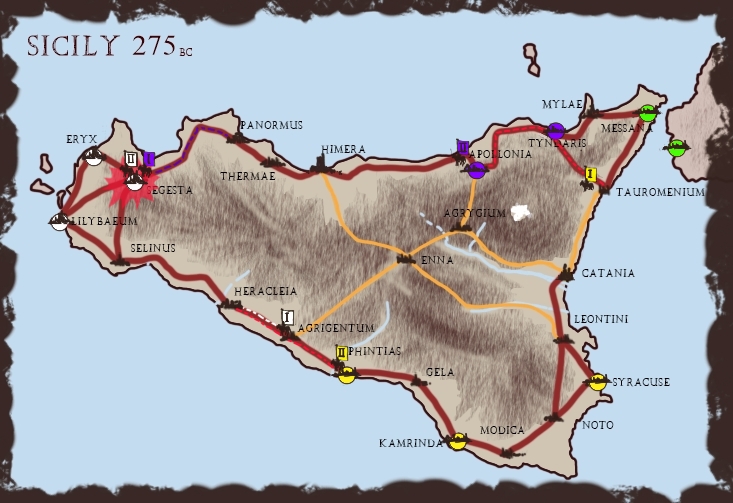
Pyrrhus (purple) has failed to evict the Carthaginians (white) from Lilybaem and they are now back in strength. Tarentine envoys have arrived bring news of Roman gains in Italy and call for his return. Worse still, the city of Syracuse (yellow) is in revolt and is busy raising troops to claim the island for itself. Which of these three nations will end the year’s campaigning with the highest prestige?
Each player starts the campaign in control of two cities marked on the map with their colour.
The green Mamatine city of Massena is garrisoned but, not controlled by any of the players. Red lines are classed as main roads and as such armies may move two links (between three cities) per phase. Yellow lines are secondary roads and movement is limited to just one link between two cities per campaign turn. In the interests of simplicity, no naval movement is permitted in this campaign.
Set up and Victory conditions
The campaign begins with each nation placing two field armies in their respective home cities. In our case Michael took command of the Carthaginians, Rob the Syracusans, leaving me with the mighty Pyrrhic pike blocks of doom.
Next, we all roll 1D6 and added this to our starting total of five prestige points. As a result, Michael began with seven points, Rob nine and I started with eight. At the end of twelve campaign turns the man with the most prestige will be deemed the victor. Prestige points can be won or lost in battles, spent on recruits or garrisons, gain by looting enemy cities etc.
Each nation now rolls 2D6 for every army under its command. This will determine the order in which armies are moved on the main map. Any sixes rolled here will add an extra prestige point to a nation’s total. While any doubles rolled will trigger an event.
Turn One
Rob the total jam sandwich got off to a flying start in the first campaign turn. Managing to roll a total of three sixes on his initiative dice he immediately increases his prestige rating to twelve. His second army also triggered the “early start” event by rolling double sixes. This allowed his army to make a free march move with no exhaustion test required.
Main map movement in order of initiative.
- The 2nd army of Syracuse moved from Kamrinda to Agrigentum via Gela and Phintias. (free march move)
- The 1st Pyrrhic Army moved from Apollonia to Himera.
- The 1st army of Syracuse moved from Syracuse to Catania via Leontini.
- The 1st army of Carthage Left Eyrx and marched to Segesta.
- The 2nd army of Carthage moved from Lilybaem to Selinus.
- The 2nd Pyrrhic army marched to Tauromenium.
A cautious start from both the Carthaginian and Pyrrhic forces meant there were no battles in turn one.
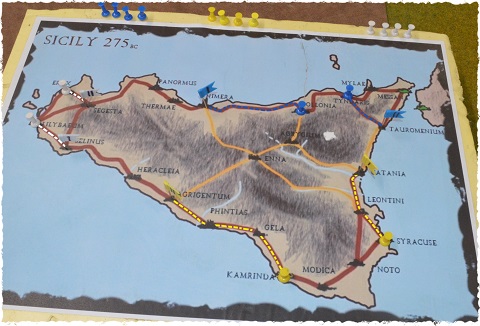
Top of Turn Two
Turn two saw the action on the main map really start to heat up. Rob’s Syracusans manage to catch my Pyrrhic force at Tauromenium before it could activate. Not at all confident about facing Rob’s army, I had hoped to place a garrison in this city before committing to a fight. Michael spent three Prestige points in Segesta doing what I had hoped to do at Tauromenium. His other army pushed forward from Selinus attacking Rob’s camp at Heracleia. There were no events of note this turn but, both Rob and I managed to roll sixes in the initiative phase. This increased our prestige totals to eleven and nine respectively. Michael’s prestige dropped to four as a result of installing the garrison.
Main map movement in order of initiative.
- The 2nd Army of Syracuse moves to Heracleia
- The 1st Pyrrhic army advances through Thermae and onto Panormus
- The 1st Army of Syracuse marches on Tauromenium catching the 2nd Pyrrhic army before it can activate.
- The 1st army of Carthage moves forward and attacks the Syracusans at Heracleia
- The 2nd army of Carthage camps at Segesta. It spends the time installing a garrison here.
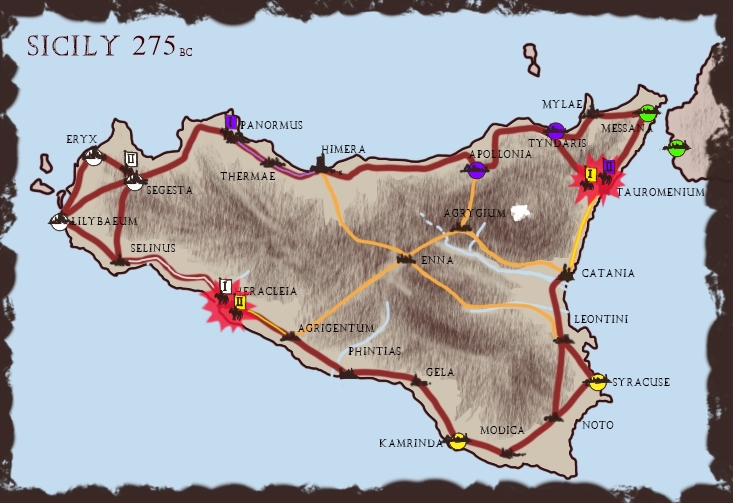

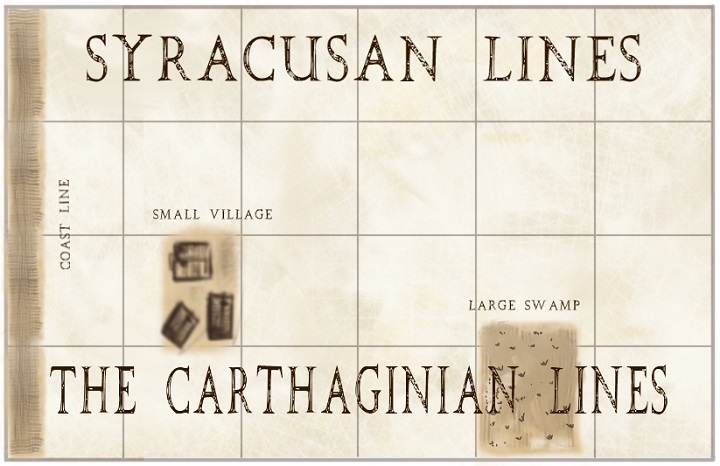
For the purpose of our campaign, any army moving into an occupied city area is deemed to be the attacker. Manoeuvre rolls and the terrain setup are as per normal (detailed in the Triumph rule book). However, when deciding the topography of a battlefield we used the choices listed in the campaign rules. Which in the case of Heracleia, was a delta.
Fought on an open plain near the coastline this battlefield was relatively free of terrain features. Apart from a large swamp on the Carthaginian’s right flank and a small village just forward of their initial battle-line. The swamp was to be of no consequence in the coming fight, whereas the village was to see much bloodshed in and around its streets.
Army lists
Michael’s Early Carthaginian list (*44 points)
- 4x Heavy foot
- 2x Jav Cav
- 2x Spearmen
- 2x Light foot
- 3x Rabble
- Fortified camp
Rob’s Syracusan list (48 points)
- 7x Heavy foot
- 1x spear (General)
- 2x Jav Cav
- 2x Skirmishers
- 2x Light foot
- 1x Artillery
*Michael forgot to bring his army lists along and looks to have sold himself short on the day.
Although four points short of a full army (something we didn’t pick up until writing this report) and technically on the defensive the Carthaginians came out swinging. On the Left, Michael sent his light foot into the village with a single element of cavalry in support. Simultaneously on the opposite flank, three elements of rabble emerged out of the swamp and moved towards the enemy lines.
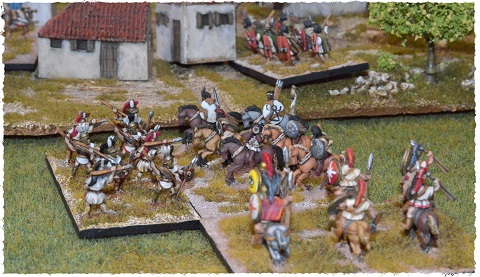
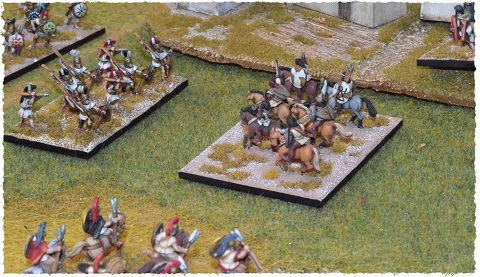
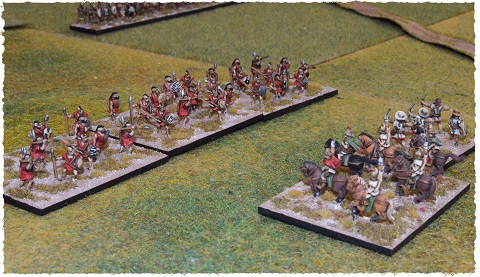
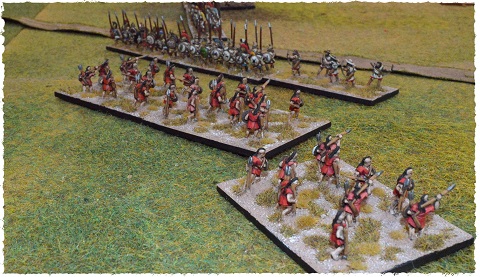
Maybe I should have called this fight the battle of two flanks. On the right, Michael’s Numidian horse caused Rob no end of frustration. Indeed he spent the entire game and a lot of pips trying to take them out but, ultimately failed. Forced to thin out his centre to contain the rabble currently overwhelming his left the advance of his main body stalled.
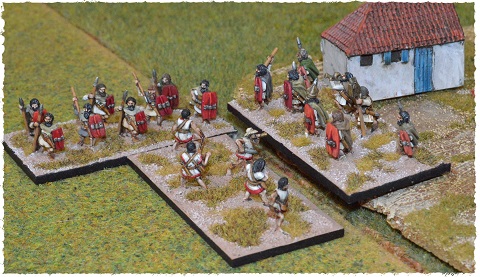
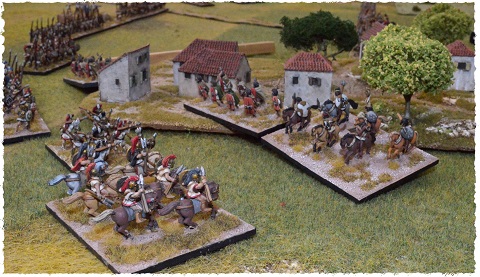
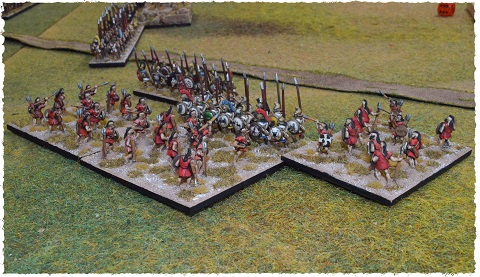
Incredibly the rabble went on to pony the two elements of heavy foot Rob sent to put them in their place. On the opposite flank, a third unit of heavy foot was dispatched by Michael’s light infantry and that ended the game. Although a well-deserved win it must be said that Michael’s combat rolls were on fire for most of the game.
Results transferred to the campaign
Total battle casualties for the 2nd army of Syracuse.
- 3x Heavy foot (nine points)
- 2x Skirmishers (six points)
- 1x Jav Cav (4 points)
- 19 points lost
For every full four points lost Rob’s army is reduced in campaign size by one point. So until he can raise more troops his field-able army now sits at forty-four points. Having lost the battle his army now retreats two sectors back to Phintias.
Total battle casualties for the 1st army of Carthage
- 2x light foot (six points)
- 6 points total
Michael’s army is reduced to forty-seven effective points and remains at Heracleia. He also gains the same number of prestige points (from Rob) as the difference in casualty points. This should be thirteen but, Rob only has eleven to give.

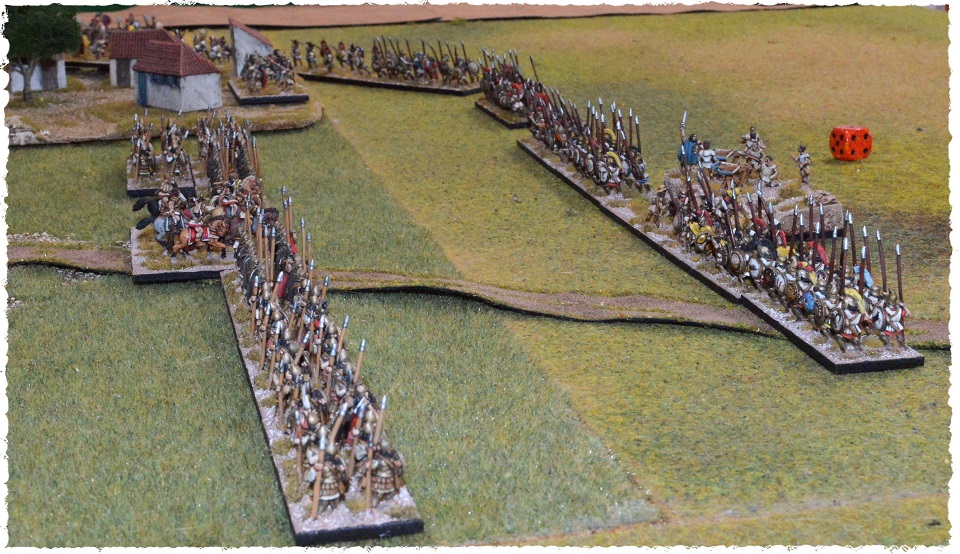
Unfortunately not so many pictures of this fight as I got lost in the action and forgot to take them. Winning the manoeuvre roll I chose to deploy the bulk of my Pyrrhic force between two wheat fields. Rob’s Syracusans formed up near the village on the opposite side of a small wood which dominated the centre of an otherwise featureless battlefield.
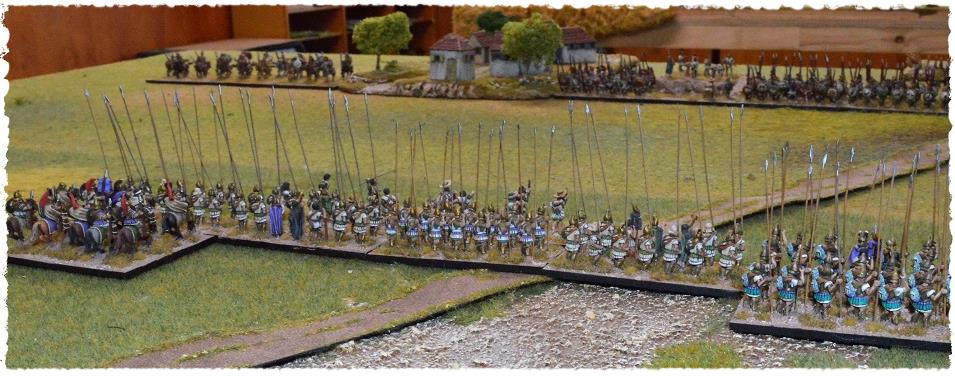
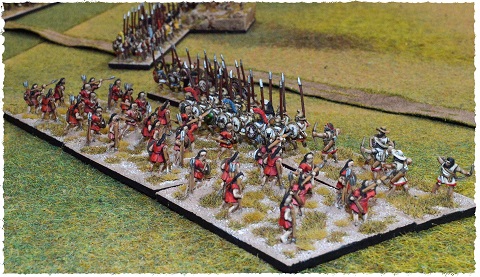
As customary both armies advanced toward each other looking for opportunities to score any early successes. Thinking I had spied just such an opportunity I rushed my light infantry forward into the woods to attack Rob’s skirmishers. If I could take these out the flank of his main battle line may be in trouble.
Army lists
Rob’s 1st Army of Syracuse (48 points)
- 3x Jav Cav (General)
- 6x Heavy foot
- 1x Warriors
- 2x Light foot
- 2x Skirmishers
- 1x Artillery
My 2nd Pyrrhic army (48 points)
- 8x Pikes (Elephant support)
- 2x Bad horse
- 1x Knight (General)
- 2x Light foot
- 2x Skirmishers
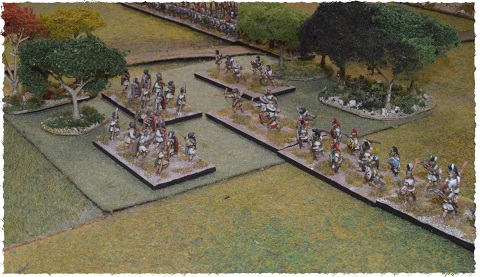
The fight in the woods didn’t go well for me. All I achieved was to push Rob’s skirmishers back in line with their supporting troops. In order to draw attention away from the debacle in the woods, I pressed forward with my horse on the left. Rob countered this move with his own cavalry while his artillery began to find its range. With neither of us willing to risk committing our horse to an even fight, it began a race to gain an edge by moving up reinforcements.
These moves opened a small gap in the Syracusan lines. Exploiting this my skirmishers rushed in and cut down Rob’s artillery. I’m not one hundred percent sure who initiated the cavalry clash that followed. However, I can say it was brutally short and swung the battle decisively in Rob’s favour.
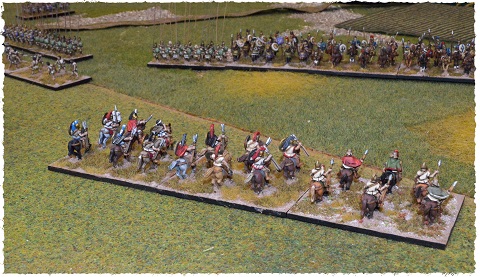
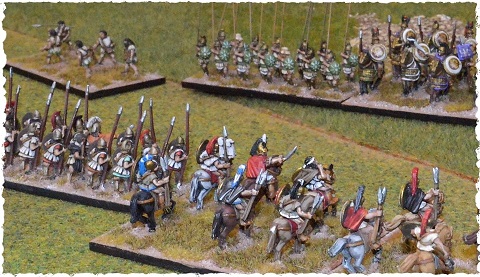
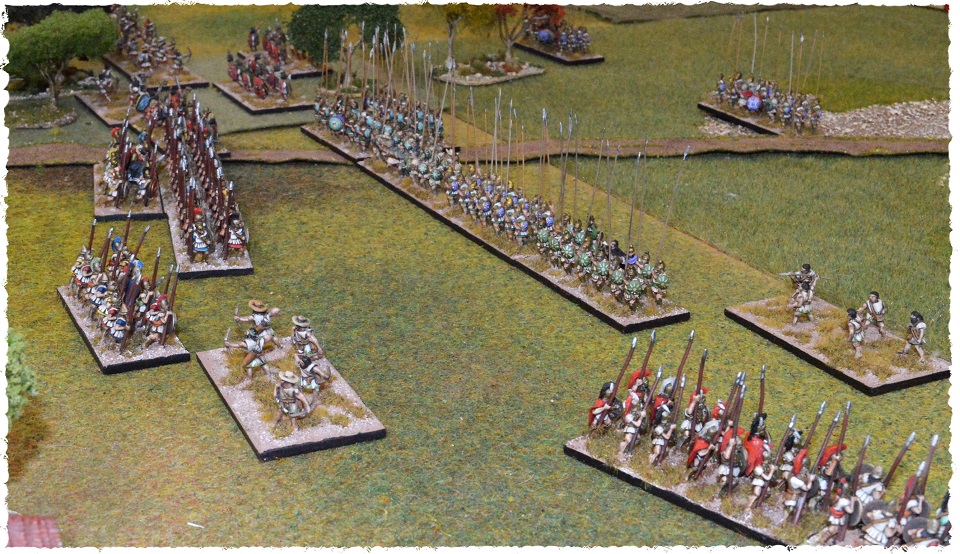
Although the odds were even Rob’s Javelin Cavalry made short work of my Bad horse. After which they quickly mob my knight general. He put up a brave fight but his death ended the game for me.
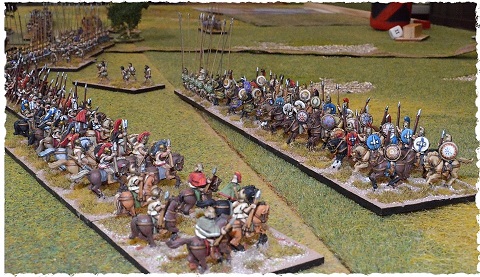
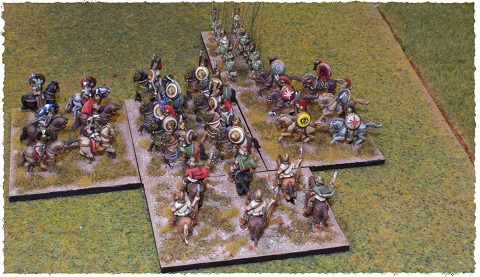
Results Transferred to the campaign.
Total battle casualties for the 1st army of Syracuse.
- 1x Artillery (3 points)
- 2x Heavy foot (6 points)
- 9 points lost
Winning the battle Rob’s army takes Tauromenium. His overall strength is reduced to forty-six points due to losses sustained while crushing the Pyrrhic army. With a difference in losses of ten army points, he takes all nine of my prestige points.
Total battle casualties for the 2nd Pyrrhic army.
- 2x Bad Horse (6 points)
- 2x Pike blocks (6 points)
- 1x Knight general (4 points)
- 1x Skirmisher (3 points)
- 19 points lost.
As a result of this drumming, my army is reduced to forty-four points and it is forced to fall back to Apollonia.
Turn Three
At the top of the third turn, Michael is clearly in the lead with no less than fifteen prestige points to Rob’s nine. I’m a solid last with no points at all. Interestingly, (to my mind anyhow) Michael is now the prime target. Defeating him decisively could net the biggest reward (prestige points-wise) at little risk to myself as I have no points to lose.
Initiative & Map Moves
- 1st Pyrrhic army marches on Segesta
- 2nd army of Carthage is attacked at Segesta before it can activate.
- 2nd Pyrrhic remains at Apollonia to raise fresh recruits
- 1st army of Carthage marches to Agrigentum.
- 1st army of Syracuse recruits troops in the area around Tauromenium
- 2nd army of Syracuse installs a garrisons at Phintias
I was the only one to roll a six in this initiative round. However, I quickly spent this free prestige point trying to boost my chances of recruiting troops for my depleted army in Apollonia. Anything but a one on a D6 would see fresh troops flock to my banner. Yup, anything but a one would have been good, damn it! Rob tried the same trick in Tauromenium but, he chipped in two prestige points before rolling the dice. Gaining four points of reinforcements he now has a fifty point army in Tauromenium. Rob also spent a further three points on his new Phintias garrison.

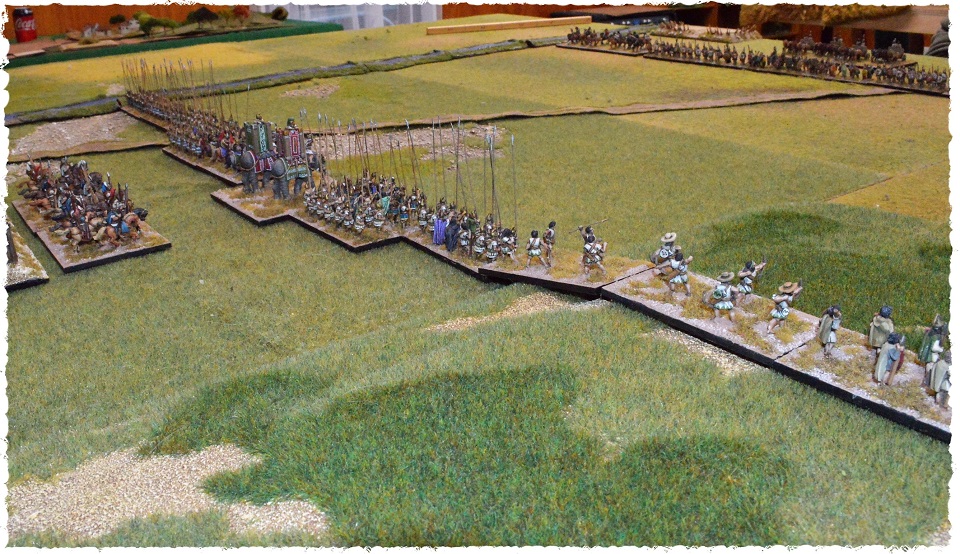
Game three sees Michael’s Carthaginians face my pike block in the hills outside Segesta. Once again I win the manoeuvre roll, but as in all our previous campaign games, we both roll very low dice for terrain generation. It would appear that my army has followed the river through the hills and is now descending down onto an open plain where the Carthaginian army is waiting to greet me. Needless to say, I need a win here and a big win at that. Michael has plenty of prestige to spare and I plan to get me some.
Army Lists
Michael’s 2nd army of Carthage (47 points)
- 2x Chariots
- 2x Jav Cav
- 2x Warriors
- 4x Heavy foot
- 3x Rabble
- 2x Light foot
- Fortified camp
My 1st Pyrrhic army (48 points)
- 8x Pikes
- 1x Elephant
- 2x Skirmishers
- 1x Knight (general)
- 1x Light foot
- 2x Bad horse
- Fortified camp
Michael deployed his cavalry next to the river with his heavy foot backed up by chariots in the centre. The light troops on the right were the first to move forward outpacing his main battle line.
For my part, I had covered the gap between the river and large hill with my pikes, knights and elephant. My light troops moved to meet Michael’s and I brought my cavalry up from the rear to help here.
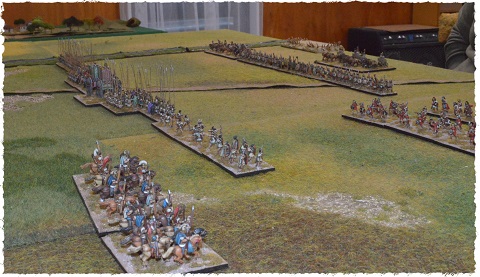
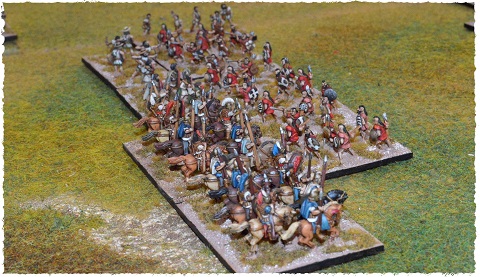
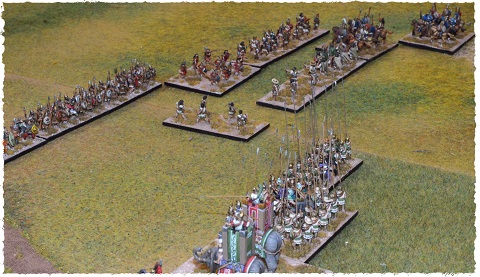
That his stage of the game, things look to be going well for me. I was starting to cut some serious holes in his light troops on the left. So much so that Michael decided to pull the Jav Cav from his right and race down behind his lines to support his left. However, this shortened his main battle line giving me an overlap opportunity I couldn’t refuse. Our two armies crash together in what was to be a titanic fight. I had the overlaps on the left, he was on the ropes on the right, only the dice Gods could save him now.
Well, the dice gods and a couple of cunning removes on Michael’s part.
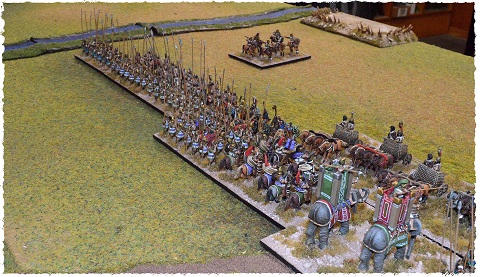
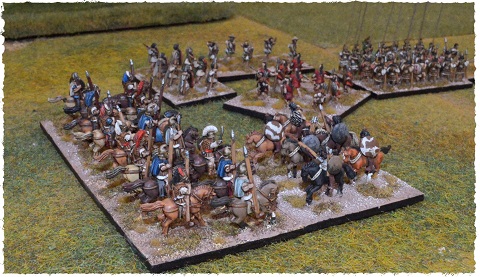
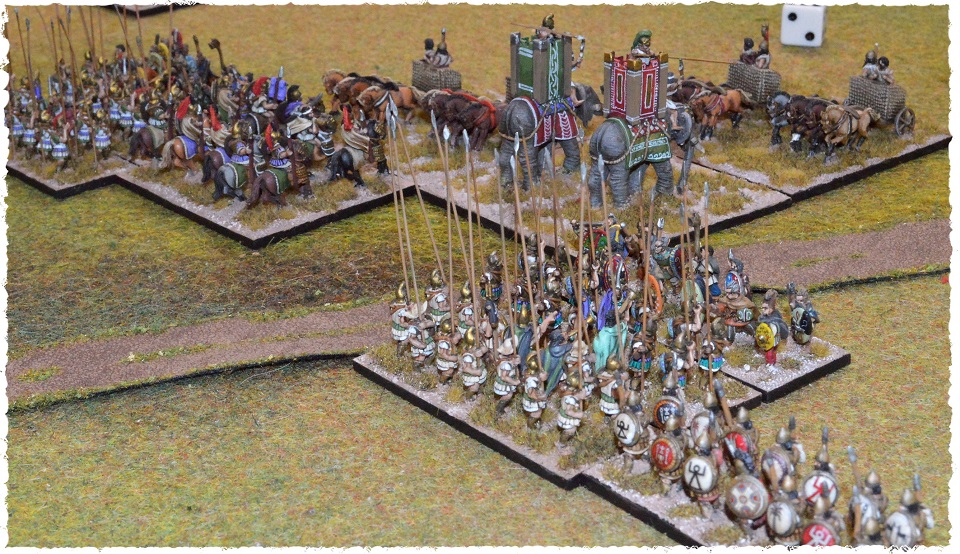
Oh dear, this one went down to the wire, but in the end, it was yet another victory for the Carthaginians. I can’t believe it I had factors of five to two and four to one in multiple matchups, but failed to kill anything. I think we counted Michael rolling six on the combat dice four times in a row at one stage. Truly blessed by the dice Gods that boy.
Results transferred to the campaign
Total battle casualties for the 2nd army of Carthage
- 3x Rabble (6 points)
- 2x Lightfoot (6 points)
- 1x Warriors (3 points)
- Total losses 15 points
Michael’s army holds Segesta and is now forty-five points strong.
Total battle casualties for the 2nd Pyrrhic army
- 4x Pike (12 points)
- 1x Knight General (4 points)
My army is reduced to forty-four points and must retreat to Thermae to regroup. Michael should take a prestige point from me, but with my reputation in tatters, I have none to give.
There you have it, the first three turns in our Sicily campaign are all done and dusted. Overall it went pretty well for a playtest I think. I did pick up one mistake we made in turn two. Initiative wise Rob should have fought and defeated me before facing Michael. This would have meant Rob should have lost the full thirteen prestige points to Michael after their battle.
Hope you enjoyed the read. All in all, it was a Sunday afternoon well-spent for us. I hope to add links here for the rest of the campaign as we play through it. I have also added a link to a PDF copy of the campaign rules as they stand at the moment.