Hello, and welcome to the first game in my solo run-through of “The Gembloux-Gap”. A pint-sized campaign from the “Too Fat Lardies” for their Chain of Command ruleset. I’m still very much a newbie to this system. So you will have to forgive the myriad of tactical blunders I’m sure to make as I work my way through each scenario.
Set in Belgian this campaign pits the 3rd Schützen regiment against the110e Régiment D’infanterie as they try to break through to the Dyle river. The first game (in this 10 game campaign) is “Palm-off at Perbais” where the Germans must clear the town before they can move their panzers forward.
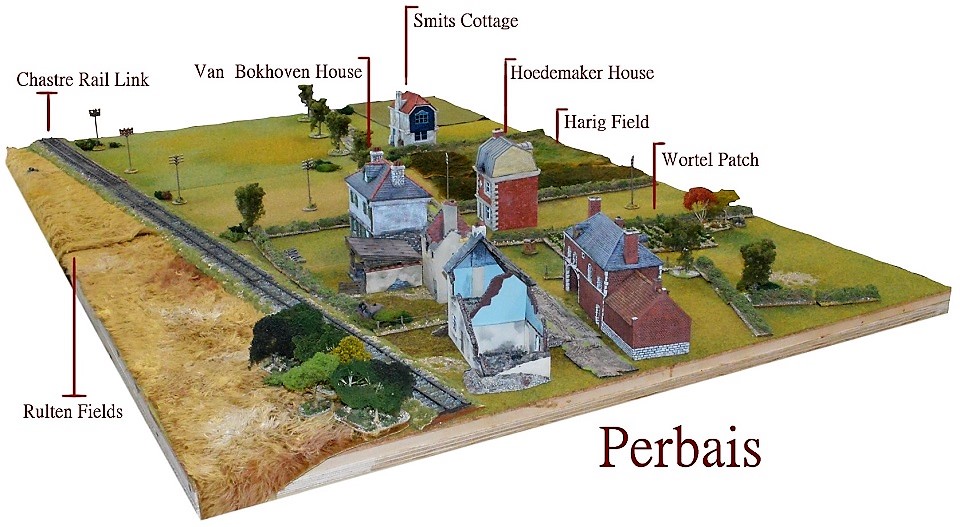
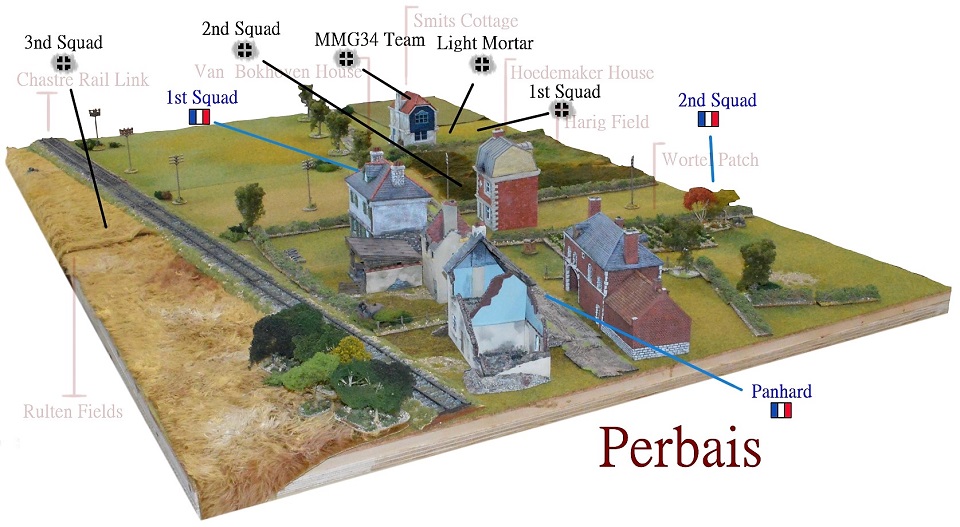
In order to help picture troop locations in my narrative, I have added names to some of the features present on the battlefield.
Germans: Force morale 9
- Headquarters
- 5cm Mortar
- Three full Squads
10 support points
- 7.5cm infantry gun
- Tripod mounted MG34
- Adjutant
- Red dice
French: Force morale 10
- Headquarters
- V-B team
- Three full combat groups
7 Support points
- Panhard 178 AMD
- Hotchkiss M1914 MMG team
Jump off points and opening moves
The Germans got off to a slow start in the patrol phase which allow the French to limit their progress down the table. Once everything had been locked down the French managed to place JP’s in the Van Bokhoven house, the wortel patch and behind Hoedemaker house. The Germans ended up with one in Rulten field (across the railway line) and two near Smits cottage.
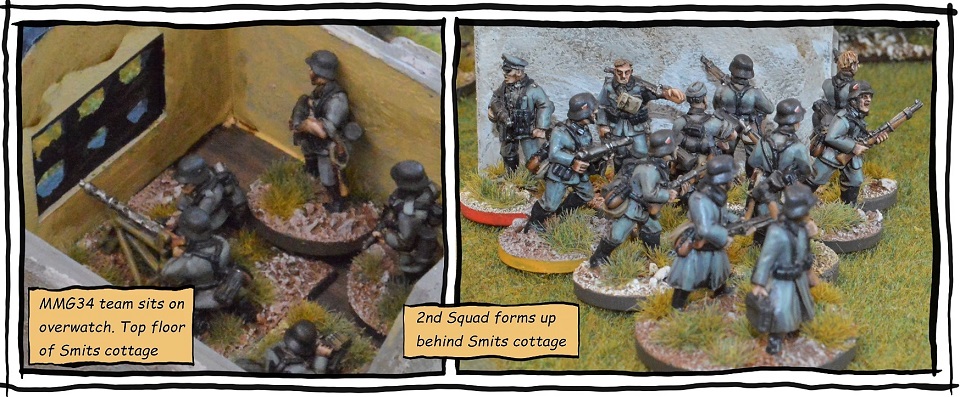
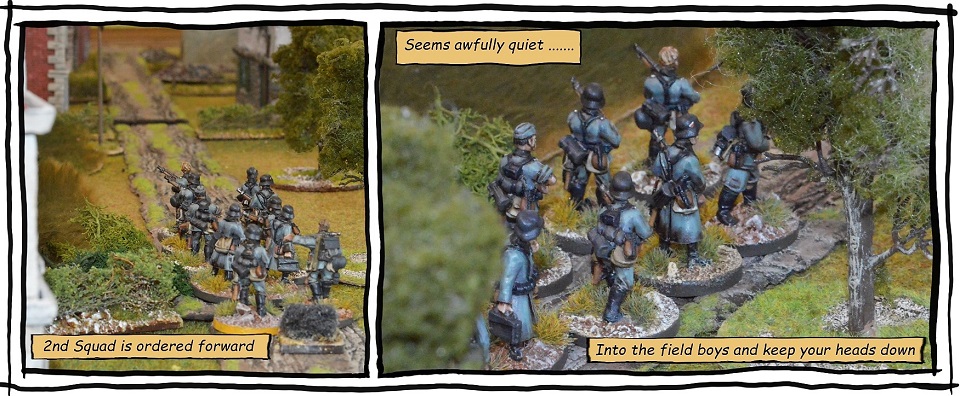
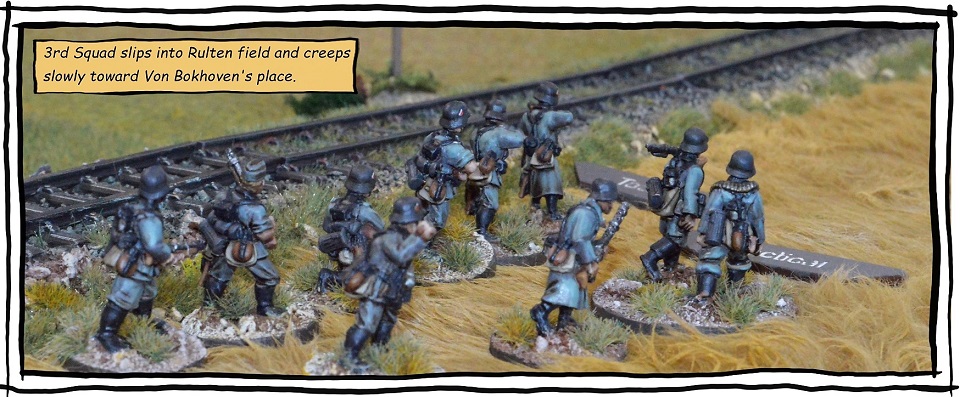
Things quickly swung back into the German’s favour during the initial phases of the game. Indeed by the fifth or sixth phase, the Germans had deployed on the table in strength. They had a full squad on over-watch lining the hedge of harig field. An MG34 in the upstairs room of Smits cottage (also on over-watch). A second squad was ready to move from behind the cottage. Number 3 squad had entered Rulten field and was advancing up the rail line.
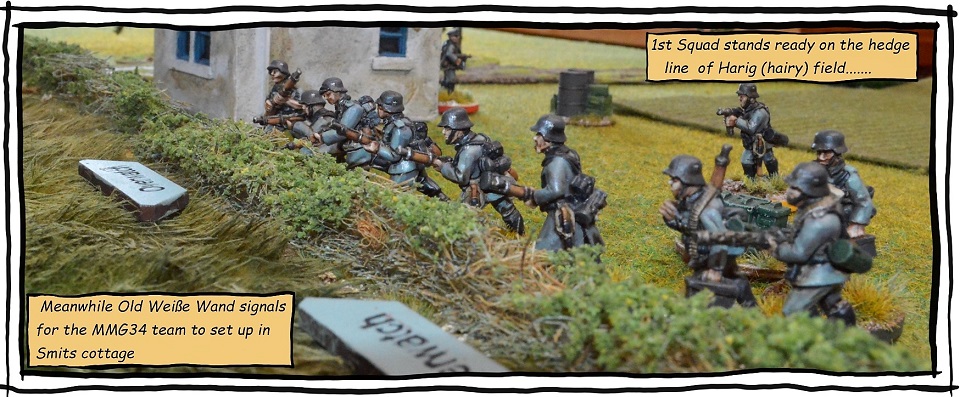
“Weiße Wand” is German for white wall, well according to google translator that is. Feldwebel (red base) is so named by his men because he has a tendency to hide behind such things whenever possible.
The French were in a bit of a bind by now. Poor dice had prevented them from deploying earlier in the proceeding and now there was a lot of German firepower on the table. For their part, the Germans were pushing squads forward-looking the shut down French jump-off points.
If the French didn’t get some troops on the board soon it would be too late. However, if they tried to commit units piecemeal with poor command dice rolls they would get cut to ribbons.
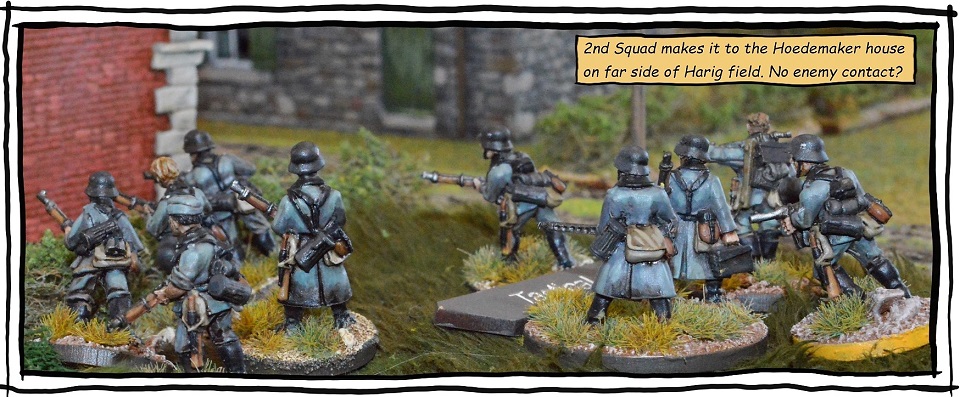
With immaculate timing, the French dice came right at last. They deployed a full squad in Van Bokhoven’s House who immediately hosed down the Germans stationed on the opposite side of the road (outside Hoedemaker house). The German Junior leader (wounded) along with three of his men were taken out of the fight within a blink of an eye.
A second French squad pops up in the wertol (carrot) patch and proceeds to open up with everything they have. Stunned, the Germans have barely enough time to catch their breath when a French armoured car races into view.
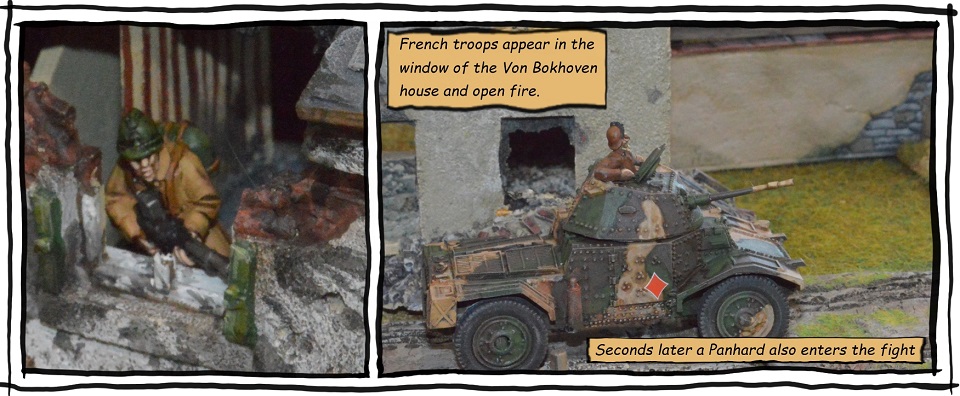
Here’s where I dropped the ball a bit tactically for the Germans. I had pushed the number two section a bit far forward, but they were (so I thought) well supported. However, when the French moved their Panhard up and fired into the squad they broke and ran. In the midst of this shocking turn of events, I had forgotten to use my chain of command dice. The MMG I had placed on the second floor of Smits cottage forgot to react. Old Weiße Wand was then sent forward to stabilize the situation but, rolled a one and merely moved an inch along his favourite wall.
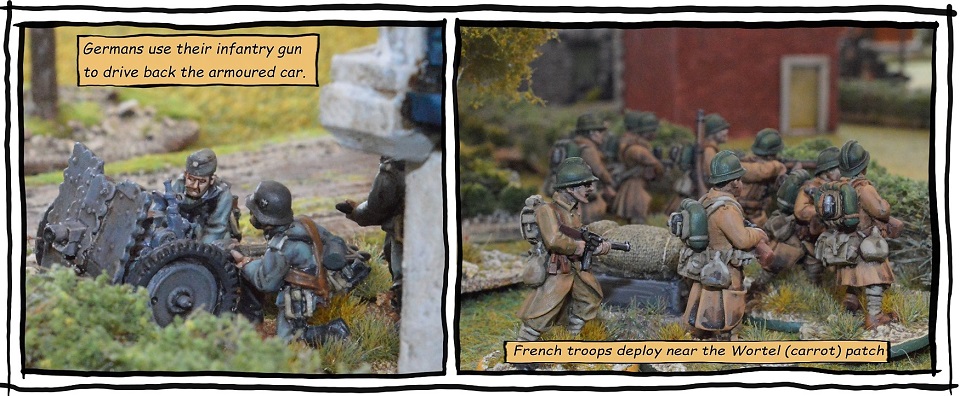
Deploying the 7.5cm infantry gun onto the table the Germans cracked a round off into the Panhard, but it bounce harmlessly off the frontal armour.
In their phase, the French used a Chain of Command dice to end the turn. This forced the remainder of the number two squad to flee the battle. Shell shocked I decided to stop for lunch before making a call on whether the Germans would withdraw or keep fighting.
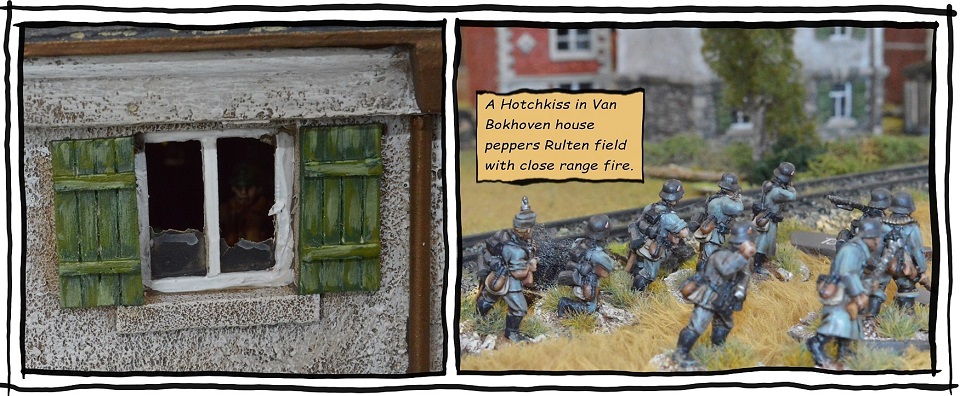
After lunch, I decided that the Germans were still in with a shot at winning this. If the 7.5cm gun could take out the Panhard and I concentrated all my remaining firepower on the Worlet patch. It may well blunt the French morale enough to swing the game back in favour of the Germans.
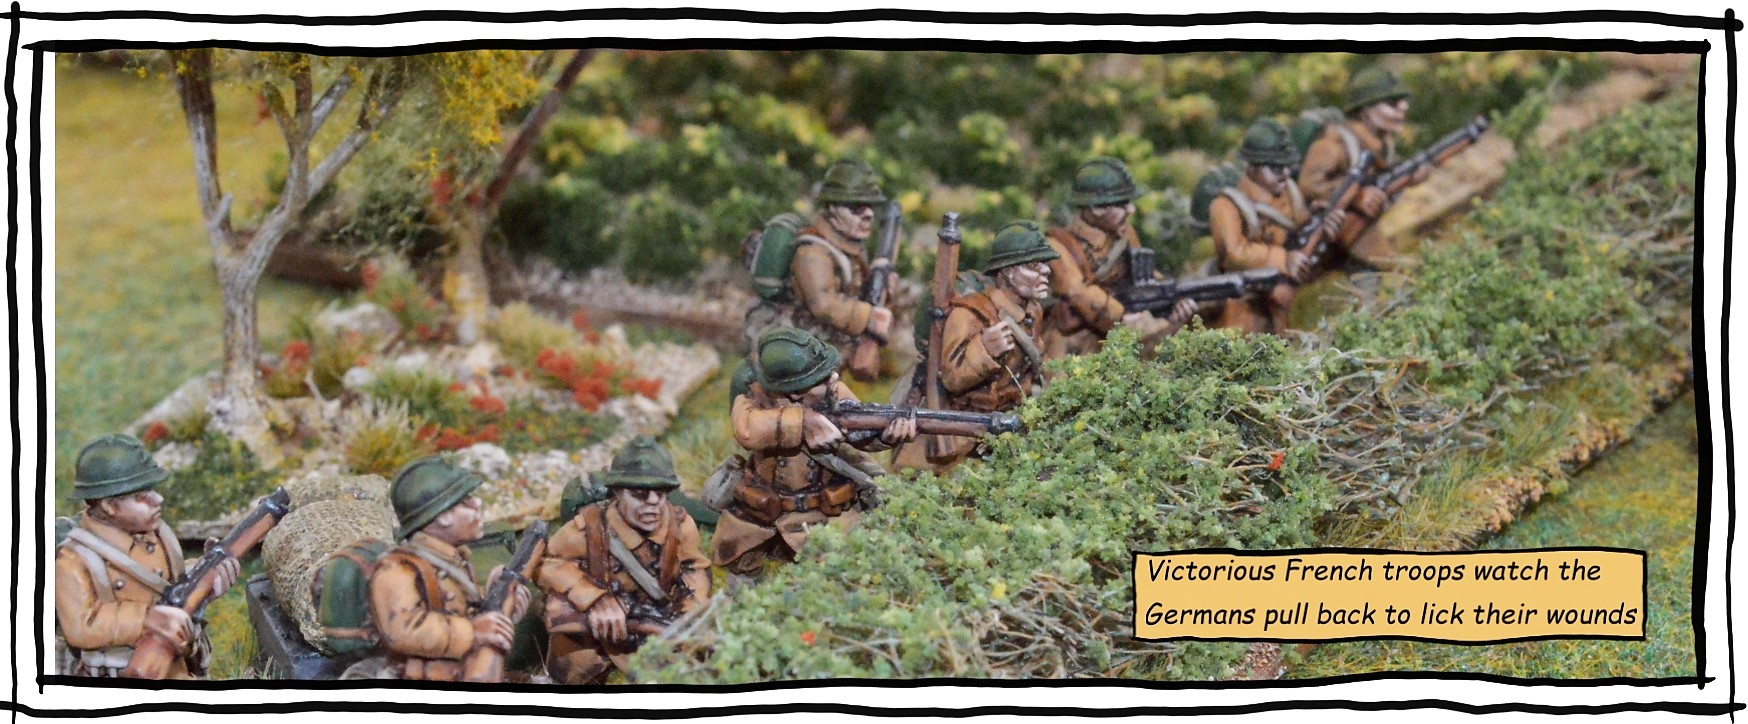
Alas, it was not to be. For although the infantry gun managed to damage the armoured car, it failed to take it out. Worst still as the number three section moved down the rail line they were hit by a hail of bullets from a well placed M1914 Hotchkiss. Raining death down upon them from a window on the second floor of Van Bokhaven’s house. There was now little the Germans could do, other than withdraw.
German losses
Commanders opinion: -2 (no effect)
Men’s opinion: -2 (no effect)
Number two section
- 4 Riflemen K.I.A
- 2 Wounded miss a game
- 1 light wound return to duty
Number three section
- 1 Rifleman K.I.A
- 1 LMG crew wounded miss a game
- 1 LMG crew light wound return to duty
French losses
Commanders opinion: +1 (no effect)
Men’s opinion: +1 (no effect)
Number one section
- 1 Rifleman casualty negated by force moral difference
Number two section
- 2 Riflemen casualties negated by force moral difference
Damage gun on Panhard (no effect)
There you have it, a setback for the Germans and a big win for the French. I really enjoy the overall feel of this game and I’m already making plans for round two of “Palm-off at Perbais”.
