
Introduction
Over the Christmas break, I dug out what remains of my old 28mm Assyrian army (for about the third or fourth time now). This was the first army I had ever painted back in the DBM days. After spending too many years in boxes I finally stripped down a bunch of the figures. Repainting and basing them as a Babylonian army for Triumph. However, a fair chunk of the collection still remained on DBM and Impetus bases or had been stashed in plastic containers.
High on sugar from too much Christmas pudding, I hit Mesh-Wesh to see what I could make with the last of these figures. Some fresh paint and bases saw enough elements come together to field the Late Sargonid Assyrian force taking part in this AAR.
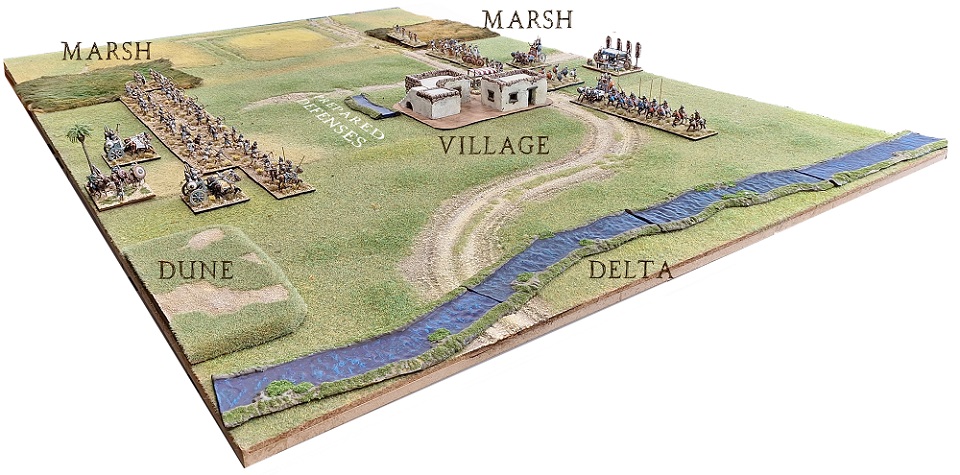
Early Neo- Babylonian Army
- 2x Heavy Chariot (8 points)
- 1x Bad Horse (3 points)
- 2x Light Foot (6 points)
- 15x Bow levy (30 points)
- 2x Prepared defences (1 point)
Note: The bad horse in this army is actually an element javelin cavalry as I haven’t managed to paint up any bad horse yet.
Later Sargonid Assyrian Army
- 2x Heavy Chariot (8 points)
- 2x Elite Horse (8 points)
- 1x Horse Bow (4 points)
- 1x Archers (4 points)
- 1x Spear-men (4 points)
- 3x Light Foot (9 points)
- 2x Skirmishers (6 points)
- 2x Horde (4 points)
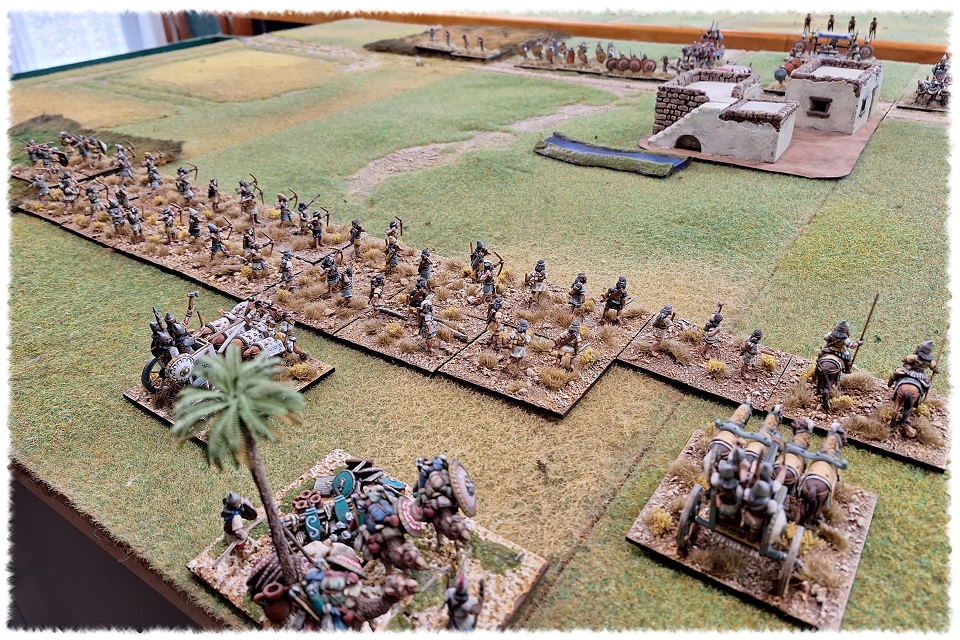
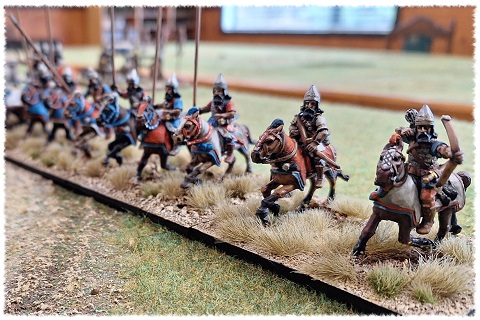
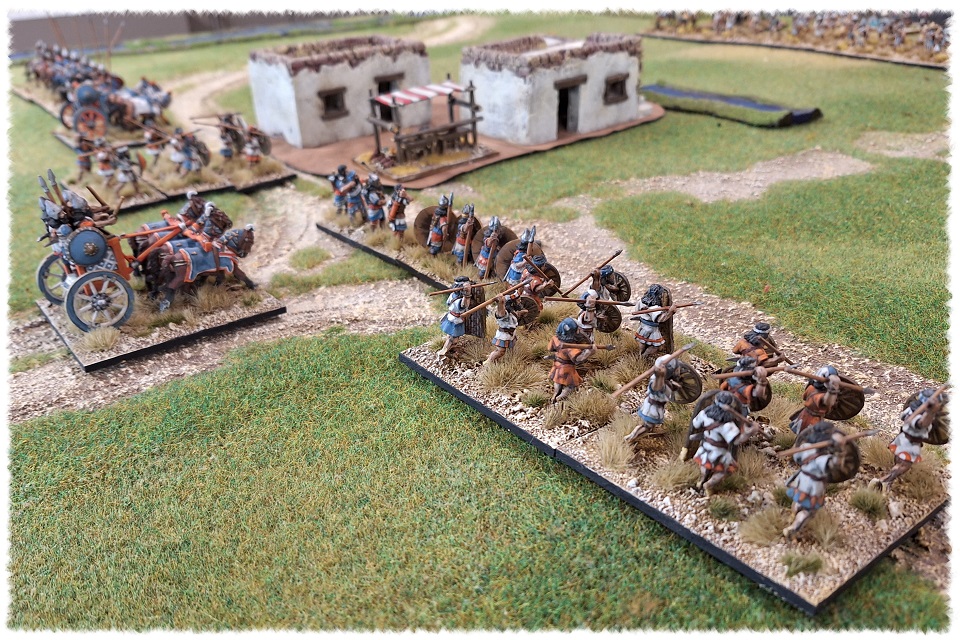
Turns 1-3
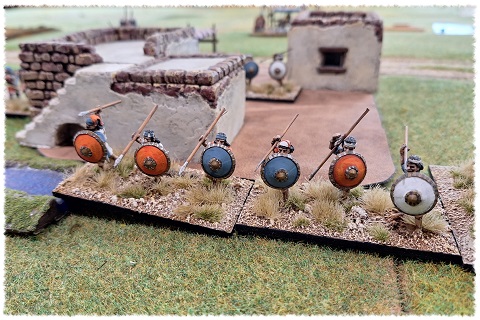
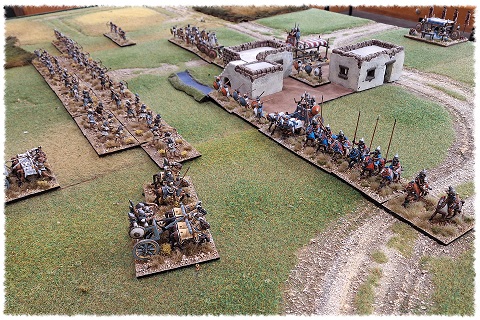
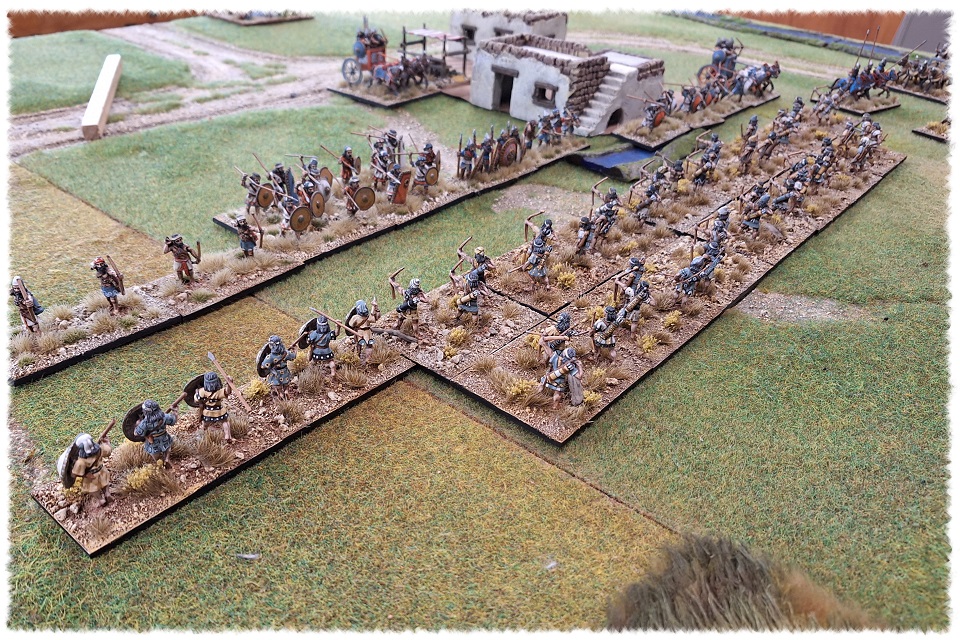
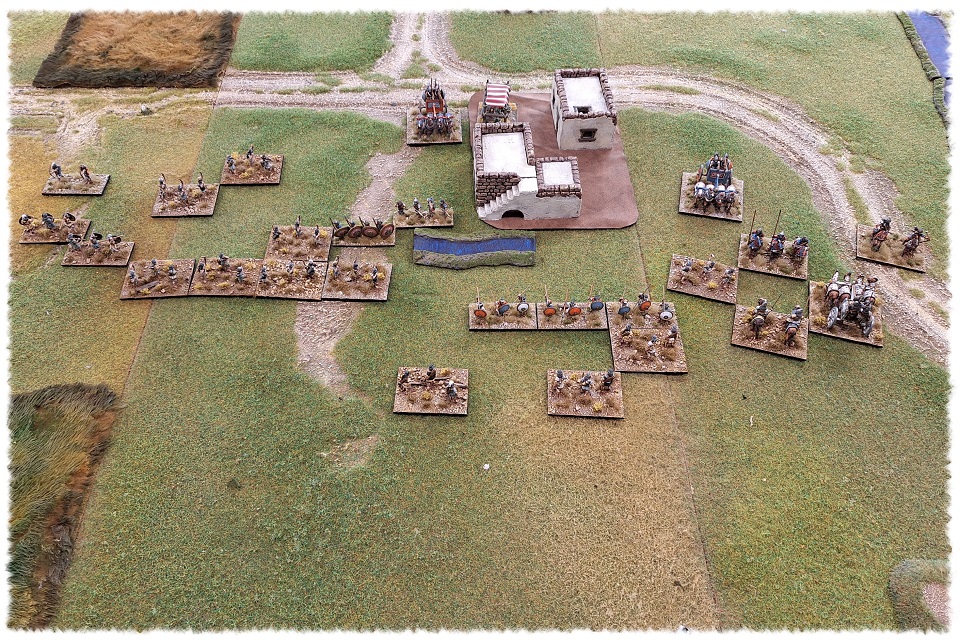
Both sides managed to throw good pip dice in the opening moves. Hoping to use the location of the village to their advantage the Babylonians rushed across the open ground. However, the slow-moving mass of bow levy somewhat curtailed their efforts. For their part, the Assyrians tried their best to bypass the buildings and reform in more open ground. Despite their high dice rolls they only just managed to clear the village before the Babylonian storm hit home.

Turn 4:
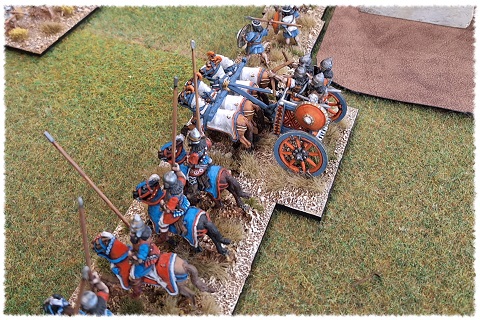
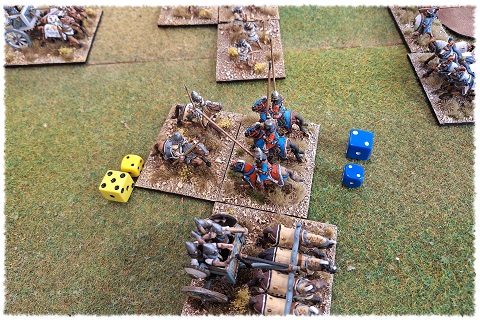
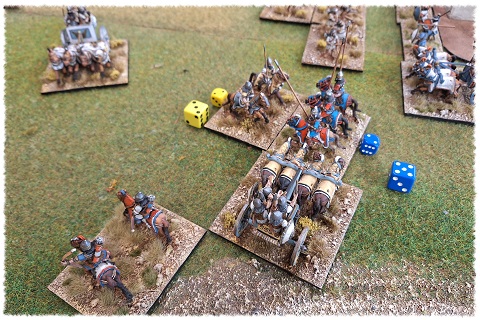
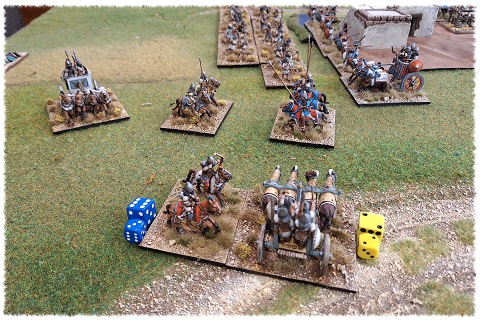
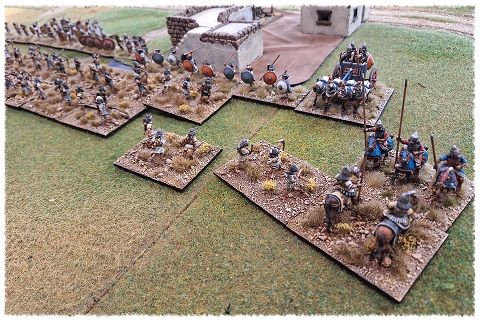
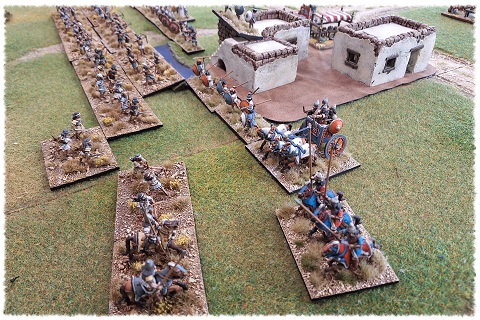
With numbers on their side, the Assyrians decide to charge in on the left. They have an overlap on the chariot and get to call the order of combats (what could go wrong?).
“Ashur my lord you have turned your back on us”.
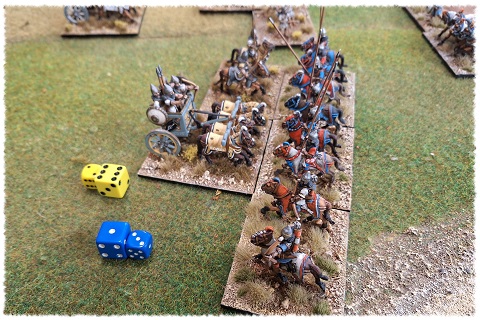
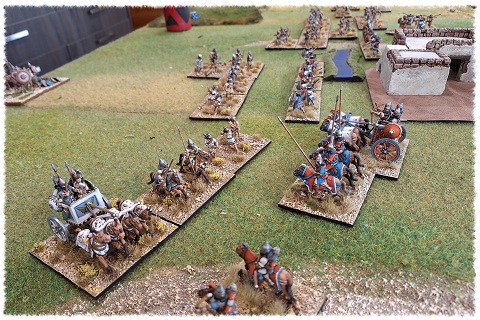
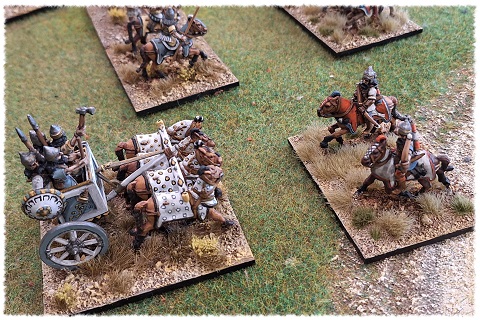
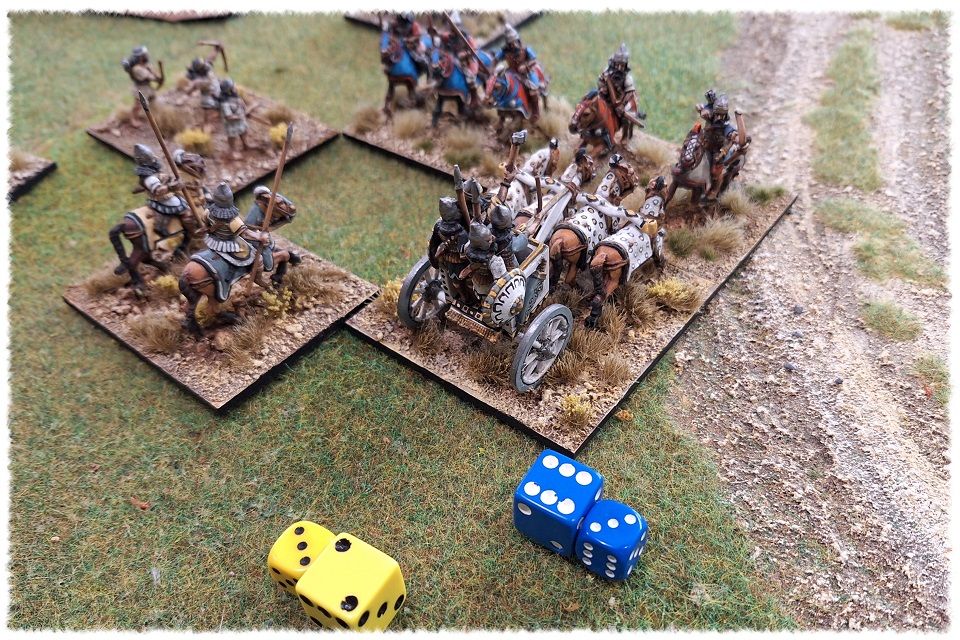
The Babylonian chariot smashes through the Assyrian elite horse. Emboldened by their charioteers the Babylonian (bad) horse force back their elite counterparts.
Turn 5:
With 5 pips the Assyrian horse bow dispatches the Babylonian chariot after it recoiled into their lap. This required two pips to complete due to the command issues created by the village. They used another pip to move the last light foot through the village and into line with his comrades. The over-exposed skirmishers were pulled back to join friends with the last two pips.
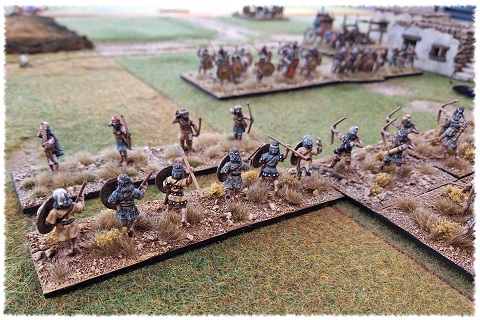
With the right flank in trouble, the Babylonians launch their bow levy into the Assyrian’s main battle line. Although outmatched by the enemy’s troops they hoped to take advantage of their incomplete line of battle.
Turn 6:
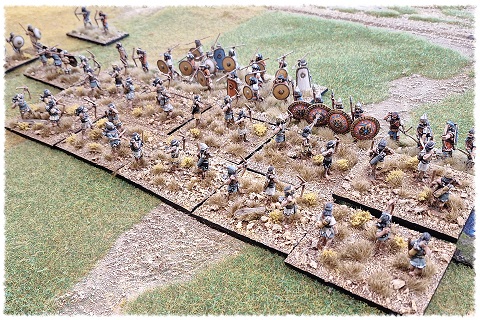
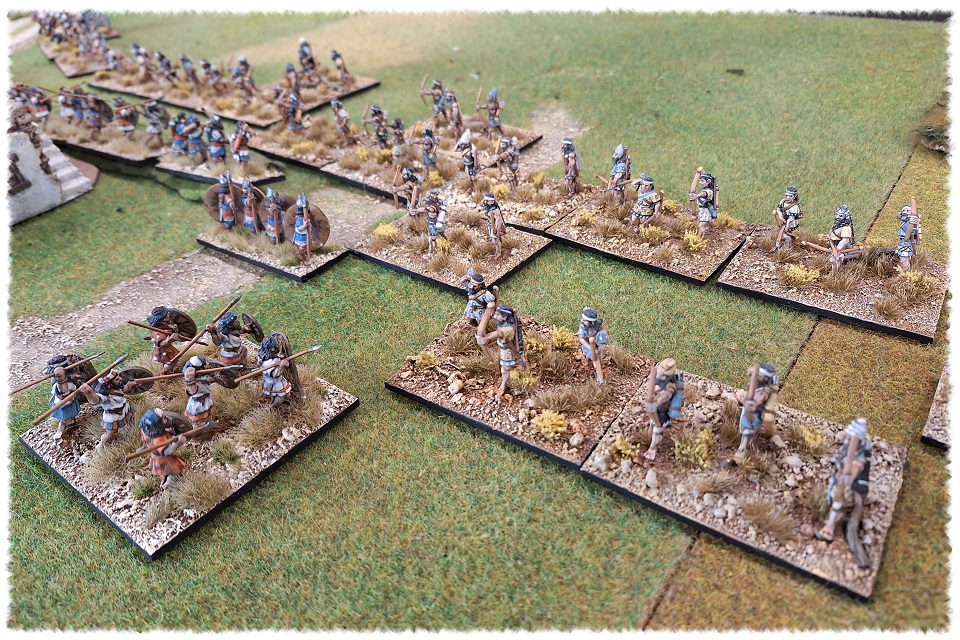
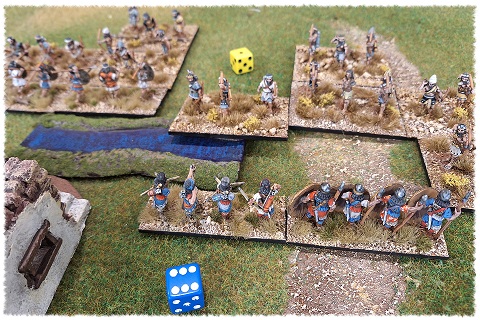
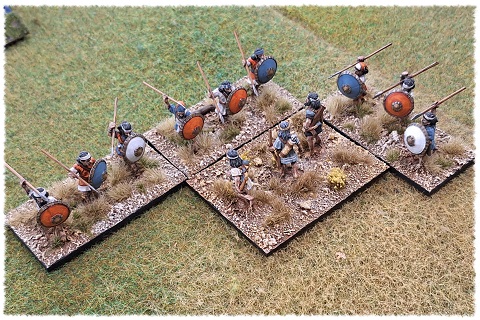
The bow levy charge into the Assyrian centre and do surprisingly well. They manage to dispatch an element of horde while recoiling a second. A single skirmisher’s stand also falls victim to the seething mass of Babylonian bowmen.
The Assyrian archers reply in kind, cutting down one stand of bow levy.
Turn 8ish (lost track about now)
The Babylonian general races to prop up his struggling right. However, this creates some command and control issues on the opposite flank. The command range of the Assyrian general was also being curtailed by the village.
Assyrian losses by this stage were 1x elite cavalry, 1x skirmisher and 2x horde for a total of 11 points lost.
While the Babylonians had lost, 1x chariot and 4x bow levy for a total of 12 points.
Turn 10/11??
In front of the village, the Assyrian light foot cleans up two more elements of bow levy. This takes the Babylonian losses to sixteen and ends the game. A hard fight for the Babylonians given they had so much bow levy. In retrospect maybe I should have placed their cavalry on the other flank and packed the right with bow levy.
All in all, it was a good game. Hopefully, I can bulk out these two armies and build an Urartrian list with my remaining spare figures.