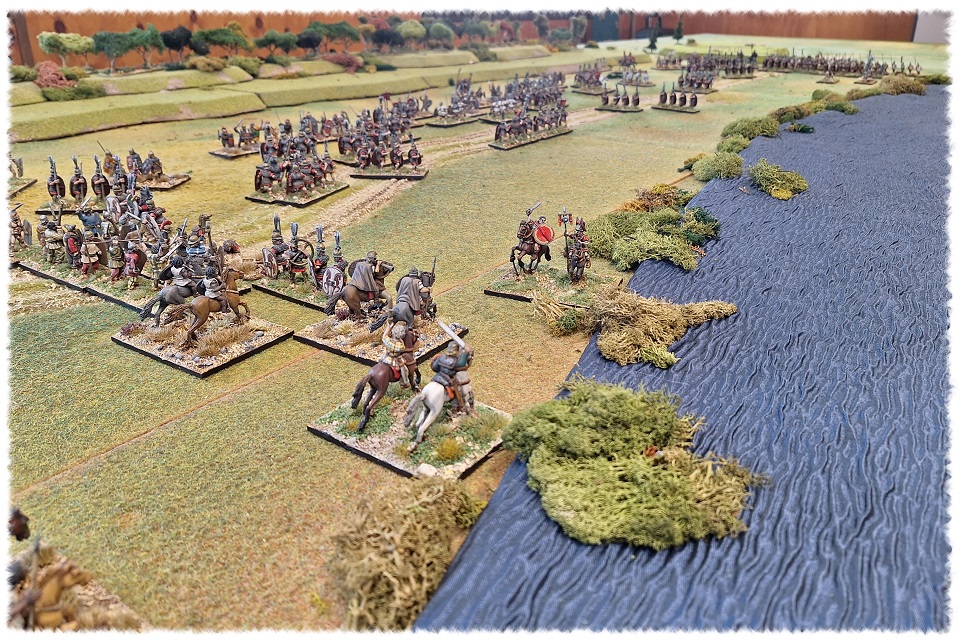
While scruffling about in the forums lately historical re-fights have caught my eye on more than one occasion. So much so in fact, that I stupidly decided to give designing one a crack. This post will detail the scenario setup and hopefully give you some insight into might thought process.
Where to Start.
This was a pretty easy problem to solve as it was entirely based on what armies and rule systems I currently have. I wanted a big game so I decided to use Grand Triumph based on a battle from the Second Punic War. Cannae, Cissa, Tribea, Metaurus, Zama, so many battles to choose from. In the end, I went with Hannibal’s ambush of Flaminius’s army on the shoreline of Lake Trasimene. I think this battle has a lot of potential to offer both players some interesting challenges.
Overview and table set up:
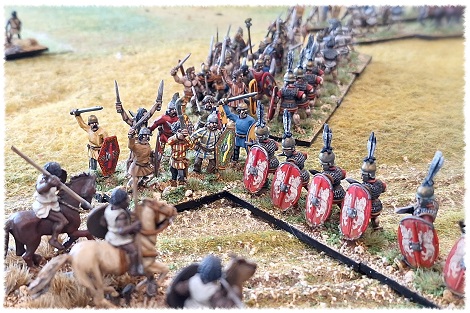
A quick search of YouTube will tell you everything you need to know about this battle. Needless to say, Flaminius walked straight into a trap as he marched his army along the shoreline of Lake Trasimene.
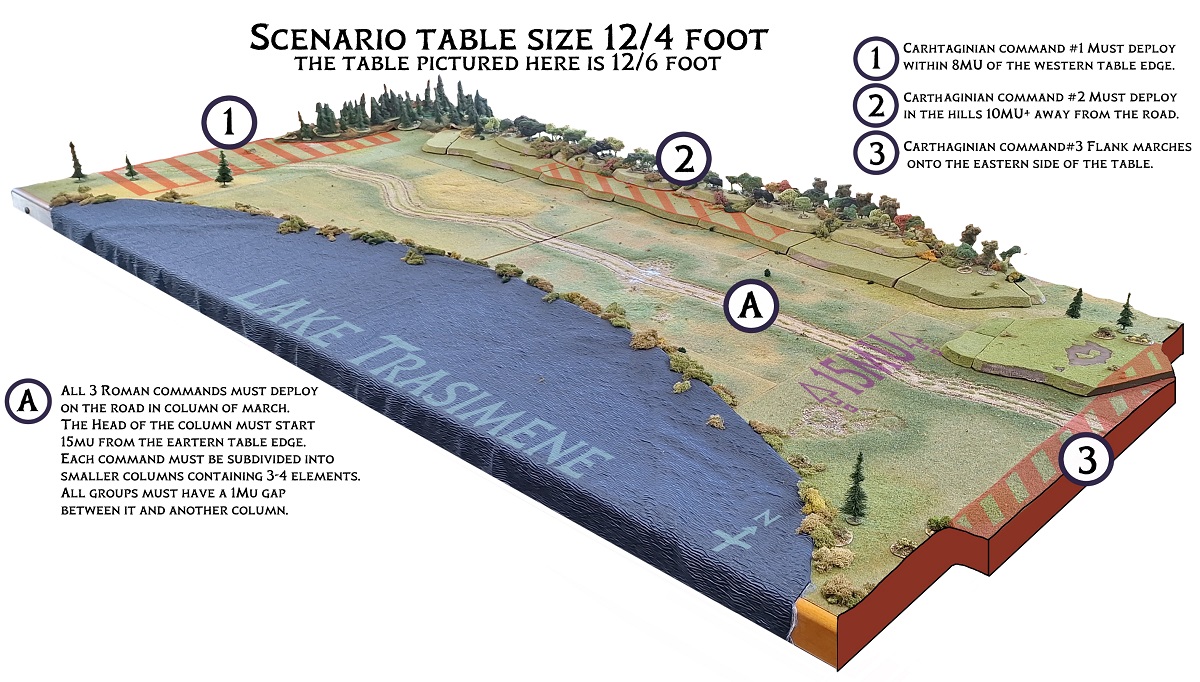
My scenario is based on (roughly) the standard-sized table recommended for Grand Triumph, 12/4 foot. Although the table pictured below is actually six feet wide. A good part of the lake as well as the trees on top of the ridge-line are just there to fill space. Both the eastern hill and the lower level of the ridge line are classed as gentle hills for game purposes. Units forced into the lake or the trees on top of the ridge are deemed to have left the table and are therefore counted as casualties.
Deployment:
Each army is divided into three commands. All of these must be deployed as per the above map and rules detailed below.
Romans:
- All three commands must be deployed on the road in a march column no wider than a single unit (stand).
- Units within a command must be grouped into columns of between three or four units with 1MU (movement unit) separating each group.
- Skirmisher elements may be added as a fifth stand to any of the columns within the same command.
- Units from different commands cannot be intermixed.
- The head of the columns cannot be placed closer than 15MU from the eastern end of the table.
- Command one, the veterans of Tribea must be the lead command.
- The Roman player may choose the order of his next two commands.
Hannibal’s Carthaginians:
- Each command must be placed as shown on the deployment map.
- Command 1 with the bulk of the cavalry and heavy Gallic infantry are placed at the western end of the battlefield.
- With most of the light troops, command two must sit on the lower level of the ridge. All of these troops must be deployed over 10MU from the outside edge of the lake road.
- All troops from these two commands are considered to be emerging from hiding. As such none can be placed in a formation wider than two units.
- Command three contains Hannibal’s heavy spear-men. This command marches onto the table from the eastern edge on turn one.

Army lists:
These are based on a mixture of three considerations. Available figures, Historical information (or lack thereof) and the army lists. Which can be found on Mesh-Wesh. These were the Polybian Roman and Hannibal in Italy lists. The last of these factors was of course balance of play…… Oh wait, four, yes four considerations were taken into…..
Romans:
Four legions, two Roman and two Italian ally legions, plus light troops and a small amount of cavalry. Something like 22000 heavy infantry, 3000 horse and around 2000 light troops (roughly, roughly, roughly). For historical flavour only, Flaminius should be the general of whichever command is placed behind the veterans.
1st (leading) Command
- 8x Elite foot (Veteran legionaries of Trebia
- 1x Javelin cavalry (General)
- 1x Skirmisher (Slingers or bowmen)
- 2x Light troops (Velites)
- 45 points (demoralized at 15pts lost)
2nd Command
- 15x Heavy foot (2x Allied legions)
- 1x Javelin cavalry (General)
- 1x Skirmisher (Slingers or bowmen)
- 52 points (demoralized at 18pts lost)
3rd Command
- 9x Heavy foot (Roman legionaries)
- 1x Javelin cavalry (General)
- 1x Skirmisher (Slingers or bowmen)
- 4x Light troops (Velites)
- 46 points 9demoralized when 16pts lost)
Carthaginians
Depending on where you look or what you read the Carthaginian army contains between 40 to 50,000 troops. 17,000 of these were Gauls, 10,000 were cavalry and the rest were a mix of Spanish, African heavy foot and Italian allies. Hannibal should be with the third command at the eastern end of the table.
Western 1st Command
- 5x Javelin cavalry, Gallic and Numidian horse (General).
- 4x Warriors (heavy Gallic foot)
- 4x Raiders (Retained Gallic infantry)
- 48 points (demoralized with 16pts lost)
Central 2nd Command
- 6x Raiders (Spanish Mercenaries)
- 8x Light-foot (Spanish light foot)
- 2x Skirmishers (Slingers or Javelin-men)
- 54 points (demoralized with 18pts lost)
Eastern (off table) 3rd Command
- 8x Heavy foot (African Spear-men)
- 1x Javelin cavalry (Carthaginian general)
- 3x Light foot (Spanish light troops)
- 2x Skirmishers (Slingers)
- 43 points (demoralized with 15pts lost)
Victory conditions:
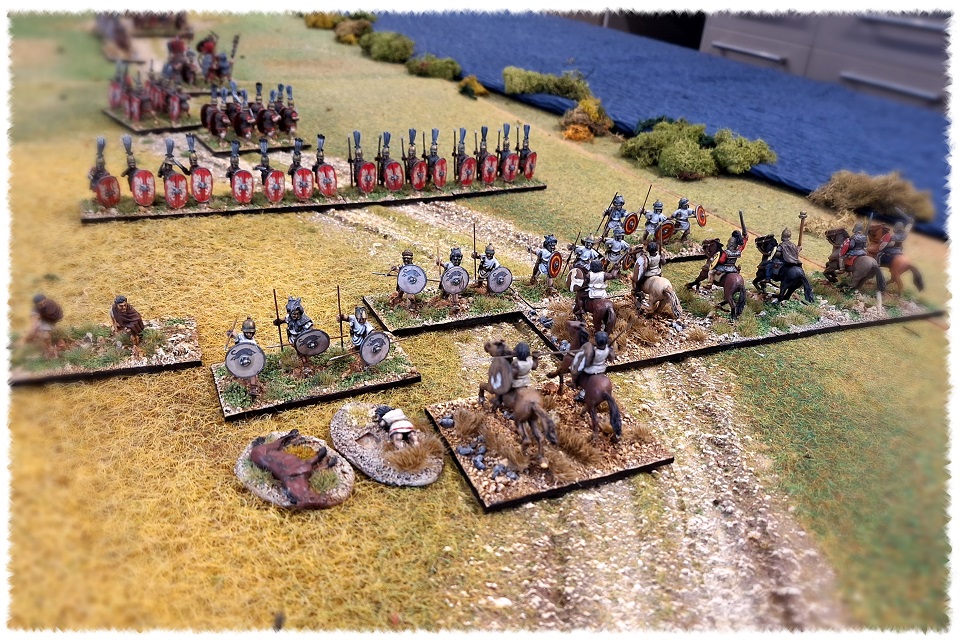
The victory conditions are as detailed in the Grand Triumph rules. That is to say, break your opponent’s army by destroying 50% of its point value (72 points).
Special scenario rules:
Roman units that are forced to rout will make for the lake (and jump in). Carthaginian troops forced to rout will make for the nearest table edge (other than the lake).
Roman units that manage to exit the table via the eastern edge are deemed to have cut their way out. These units are not counted as Roman losses. Instead, they add double their point value to the Carthaginian casualty total. For example, two Roman elite infantry (4 points each) exit the eastern table edge. The Carthaginians must now add 16 points to their total army losses.
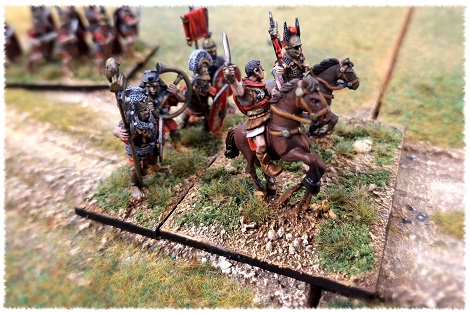
Roman Tactical considerations:
- Deploying all of your troops in blocks of four will shorten the overall length of your deployment. Thus increasing the distance between the rear of your column and the enemy’s western command. However, breaking troops out into a battle formation from these tightly pack columns will take careful planning.
Carthaginian Tactical considerations:
- Units from your central command are only three moves away from the enemy. Do you rush headlong down the hill and into the enemy in small groups? Or do you stop and take time to form a battle line before advancing?
I’ve only run the scenario in its current form three times so far. All three were wins for the Carthaginians (very historical). However, the first win was debatable as I messed up the army demoralization rules. I’ve since tweaked the Carthage lists a little and hope to give it another blast next weekend.
At this stage, my preferred tactic for the Carthaginians is to pin the Romans in place (but not engage too heavily) with the eastern and central commands. Then use the combined force of the Cavalry and Gauls to roll up the Romans from the rear.
The Romans I’m finding more troublesome, bad pip dice can be a nightmare for them. The best tactic here seems to be to hold at the back and cut your way through the front as quickly as possible.
