Moving into turn eight I find myself currently holding the reins of our campaign. This advantage is more a snapshot in time than an overall mastery of the games played to date. With two wins and two losses each, things appear to be pretty even in that respect. Indeed a quick look at the campaign map below will reveal that I’m far from dominating the island at this stage of the proceedings.
Bottled up in the top corner of the map, my exhausted armies brace themselves for those who will come to steal my glory.
Campaign turn 8
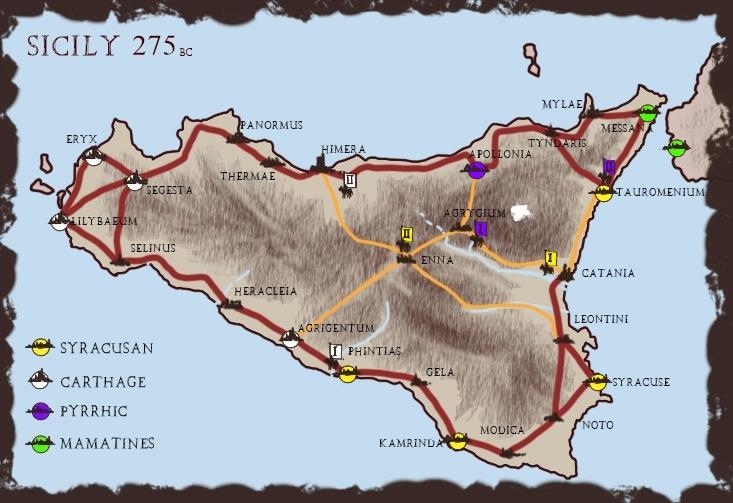
Turn 8: Initiative & Movement
- The Carthaginian’s 1st army marches from Agrigentum to attack the garrison of Phintias
- Michael then orders his 2nd army to force march up the coastline to Himera
- Rob’s 1st army spends the turn raising recruits in Catania
- His 2nd army also looks for new recruits in Enna
- The Pyrrhic 2nd army lays siege to Tauromenium
- Camped at Apollonia my 1st army moves inland to Agrygium
Seizing the initiative Michael successfully force marches his 2nd army up the coastline to the important crossroads at Himera. His under-strength 1st army attempts to take Phintias from the Syracusans, but the siege fails and his army is reduced down to just forty-three points.
Rob spent the turn rebuilding his armies at their fortified camps in Enna and Catania. The 1st army increased its size to fifty-one points by successfully adding five points of new recruits to its total. While the troops at Enna managed to add three more army points to their current total. As such it now weighs in at forty-eight points.
Neglecting the need for rest I drive my poor armies ever onwards. Recapturing Tauromnium with one army while the other moves inland to confront the Syracusans.
Campaign turn 9
Turn 9 Initiative & Movement
- The 1st Syracusan army rests and awaits developments at its camp in Catania
- Having failed to take Phintias Michael’s 1st army retires to Agrigentum
- Rob’s 2nd Syracusan army attacks the Pyrrhic force at Agrygium
- The 2nd Carthaginian army marches to Enna
- Shortly after arriving in Agrygium my 1st army is attacked by Rob’s troops
- Lastly, the 2nd Pyrrhic army installs a large garrison in Tauromenium
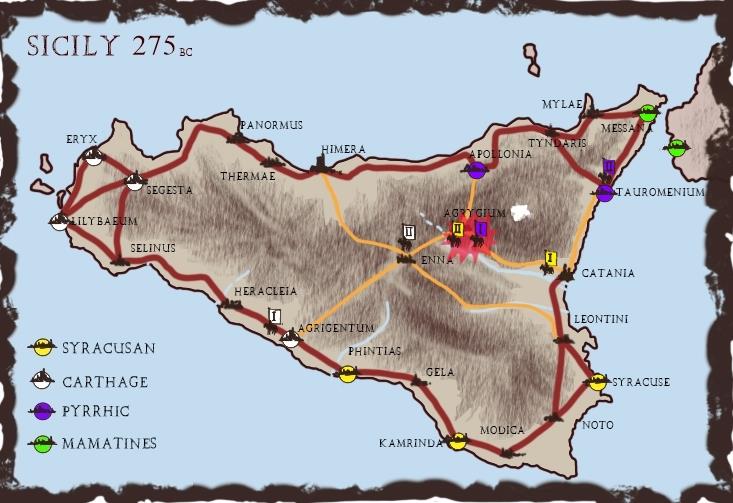
Narrowly avoiding Michael’s Carthaginians Rob’s second army pounces on my exhausted army in Agrygium. Keeping an eye on my troops at Tauromenium his first army remains at Catania. Stationed here it can also maintain the supply lines to the army fighting at Agrygium.
Occupying Enna Michael’s second army looks ready to smash the victor of the coming fight in Agrygium. His first army abandons the siege of Phintias and returns to Agrigentum presumably to collect fresh recruits.
For my part, I install another strong garrison (6 points) at Tauromenium. I now have two well-fortified cities to hide behind should things go badly. However, this cuts my total prestige points by half.

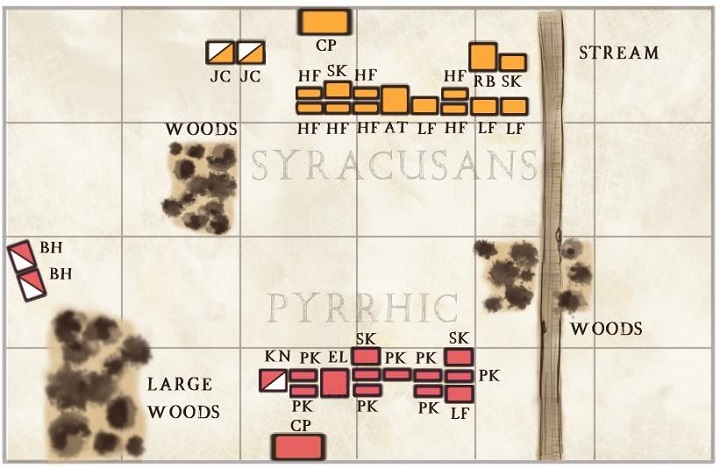
Deployment map and unit key
Syracusans 47 points; Note the heavy foot in front of the skirmishers was in fact spear-men
Pyrrhic 48 points
- SK: Skirmishers (3 pts)
- RB: Rabble (2 pts)
- LF: Lightfoot (3 pts)
- HF: Heavyfoot (3 pts)
- AT: Artillery (3 pts)
- PK: Pike-men (3 pts)
- EL: Elephants (4 pts)
- KN: Knights (4 pts)
- BH: Bad horse (3 pts)
- JC: Javelin cavalry (4 pts)
- CM: Camp Free
This time we met at Rob’s place to continue the campaign, hence the different coloured battlefield (which I must say I really like).
Winning the maneuver roll I decided to stack the table with as much terrain as the dice would allow. On reflection, I’m not entirely sure why I did this, given my total lack of light troops. My next bright idea was to throw Rob off his game by sending my bad horse off on a flank march. Again given the amount of wooded areas on the tabletop, was this such a smart idea.
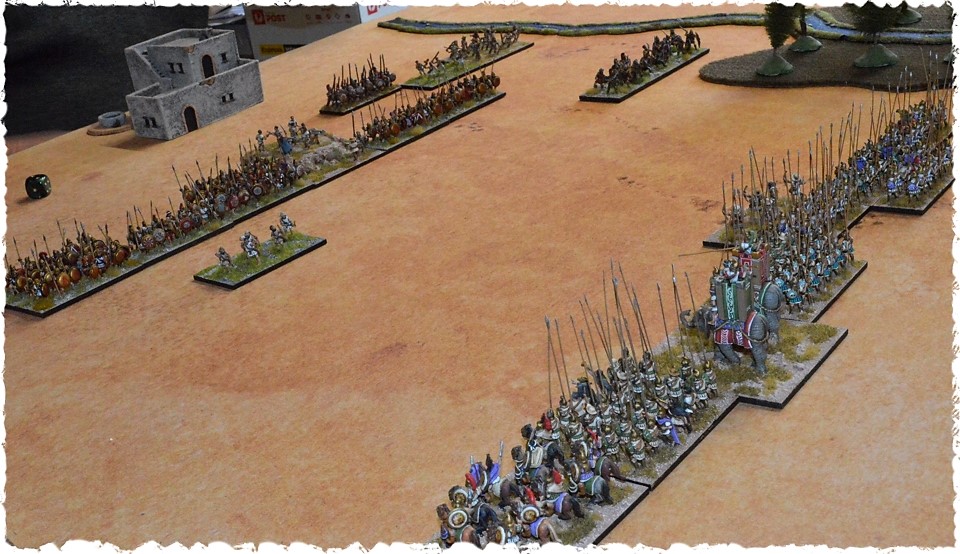
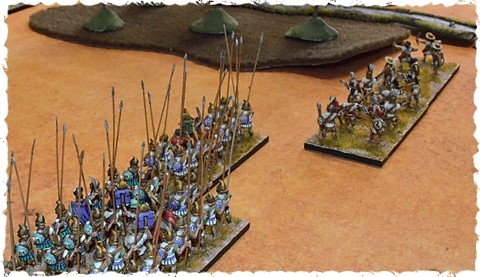
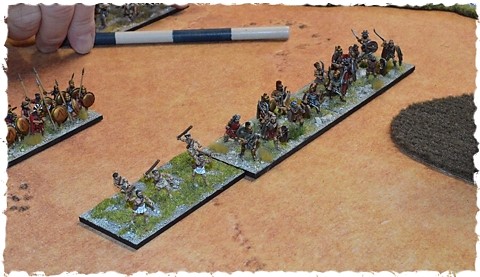
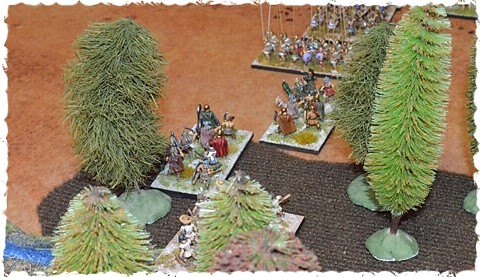
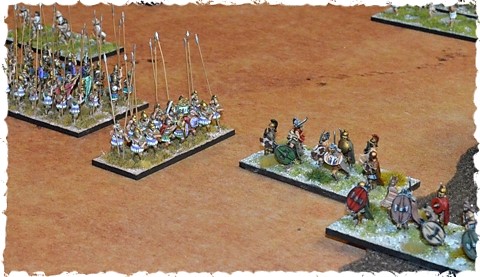
It’s about now when things started looking pretty grim for the Pyrrhic army. While the remains of my light troops were being butchered in the woods I also lose a skirmish fight in the centre. Three stands down with no losses to the enemy. The winds of fate were now filling Syracusan sails and not mine.
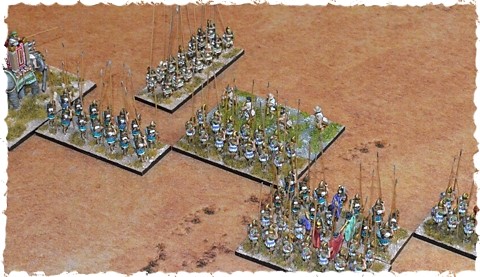
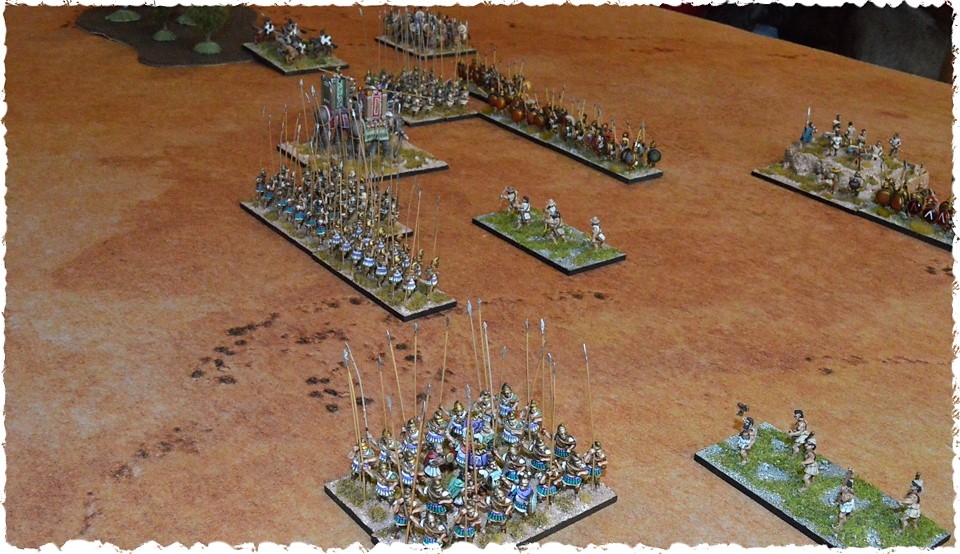
After vanquishing its foe in the centre. Rob’s jubilant silo finds itself unsupported before a mass of resolute pike-men. I charge in, lap the flank and roll the dice. Six-one, unbelievable another unit of mine leaves the table. Staring defeat in the face the mood on the Pyrrhic side of the table is best described as bleak.
Oh, but fickle are the (dicey) winds of fate. For on the right, although overlapped my pike-men manage to destroy a unit of light foot. This small victory was followed shortly after by the destruction of some heavy infantry. These poor fellows were marching up to help Rob’s beleaguered silo. Suddenly I’m back in the game.
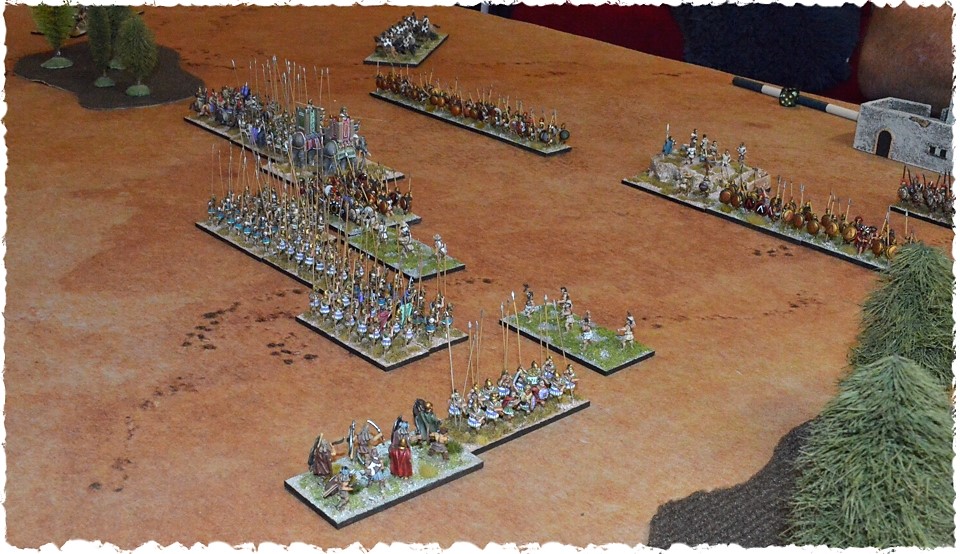

Not a lot of photos from here on in sorry. As usual, when the action gets tight I tend to forget about taking pictures. Unfortunately, the remainder of the battle turned out to be a travesty for the Syracusans. Just four points away from winning the game Rob through every unit he had into the mix. Somehow it all just imploded on him. “You diced yourself out of trouble again” I believe was his final comment to me about the game.
In the last few moves of the game, my Knight general fought off two javelin cavalry killing one in the process. My central pike block dispatched a second unit of heavy foot while on the right a jammy roll saw another unit of Rob’s light foot disappear.
Results transferred to the campaign
Total battle casualties for the 2nd army of Syracuse.
- 1x Javelin cavalry (4 points)
- 2x Heavy foot (6 points)
- 2x Lightfoot (6 points)
- 16 points total
Losing the battle Rob’s army can only retreat to Catania as Carthage holds Enna. His overall strength is reduced to forty-six points due to the losses sustained (1 per 4 points lost). With a difference in casualties of four army points, he loses both of his remaining prestige points.
Total battle casualties for the 1st Pyrrhic army.
- 2x Skirmishers (6 points)
- 1x Pike blocks (3 points)
- 1x Light-foot (3 points)
- 12 points lost.
Still exhausted from past march moves my army also sustains four casualties (1 for every 3 points lost). It holds onto Agrygium but is reduced to forty-five points and remains exhausted.
At first glance, this battle appears to be a clear win for the Pyrrhic cause. After all, the enemy’s resolve was broken and they were consequently driven from the field. However, when viewed strategically within the context of the campaign it is at best an onerous draw.
Rob’s army may have lost four army points, but so did mine as I have continually failed to let my armies rest. Worst still, while his army is now safely camped at Catania. My exhausted force is in real danger of having to face a fresh onslaught from the Carthaginians at Enna.
Prestige points-wise I gained only two points from Syracuse (as that’s all they had to give) and my army is now only Forty-five points strong.