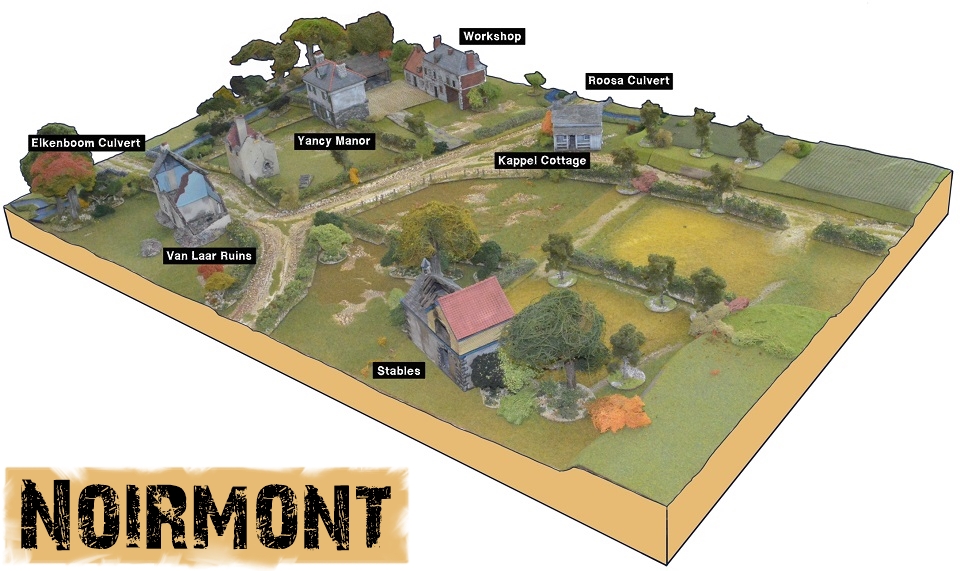
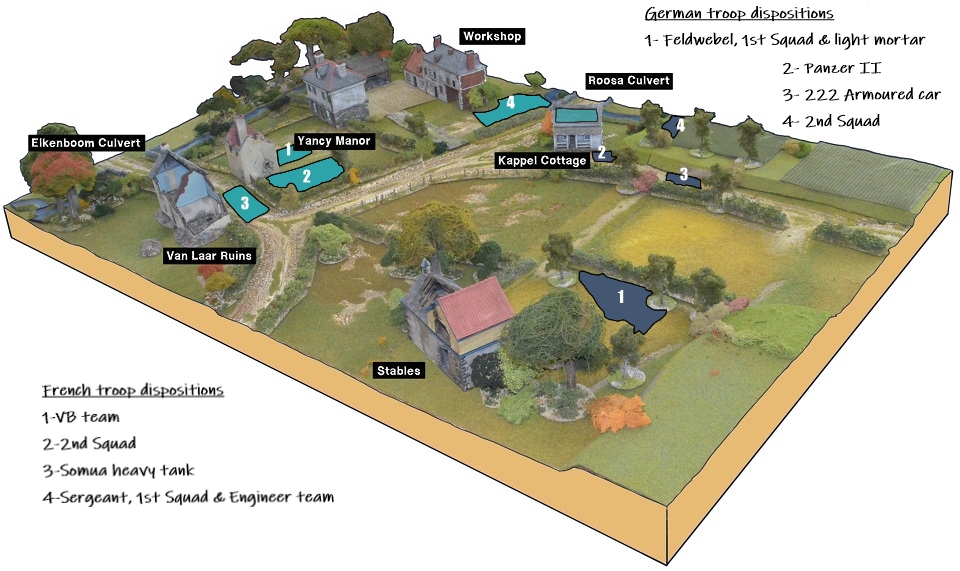
Hello and welcome to game three in this cracking pint-sized campaign. In this battle, the French must destroy both the Roosa and Elkenboom culverts in order to delay the German armoured columns. As per my earlier games, I have taken the liberty to name a few key areas on the battlefield below. This was only done to (hopefully) help the reader follow the action as it unfolds. The previous battles in this campaign can be found here.
Patrol Phase and Plans
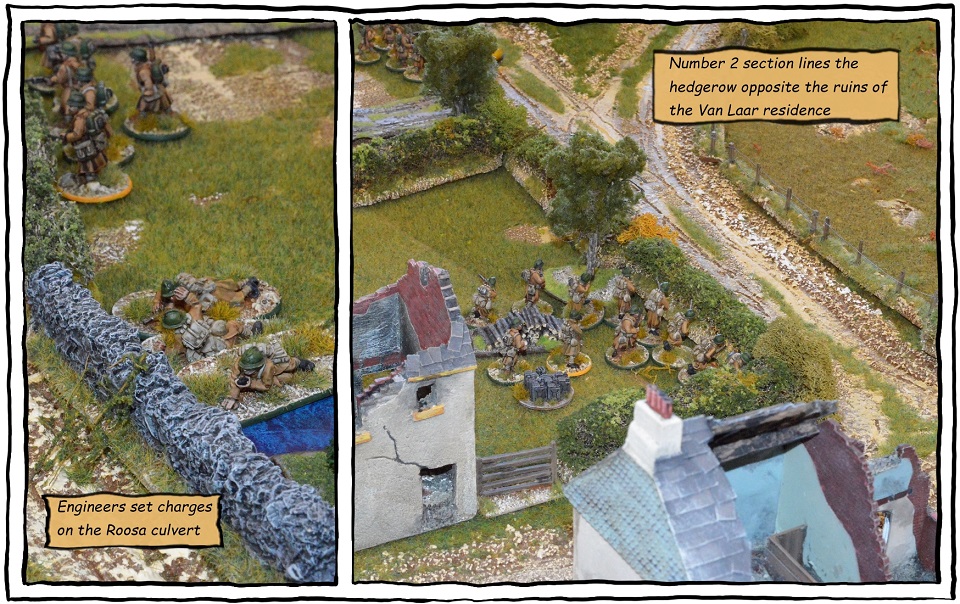
Once again the patrol phase favoured the French commander. Gaining key locations behind Kappel cottage and across the road from the Van Laar ruins. Hopefully, his troops can deploy quickly and take out the Roosa culvert early in the coming battle. His last jump-off point was placed further back, beside the Elkenboom culvert.
French patrols hampered all German attempts to establish any deployment options near the main village. Instead, they found themselves restricted to locations in and around the stable yard. Their final jump off marker was placed behind some scrub on the high ground which runs parallel to the Perbais road.
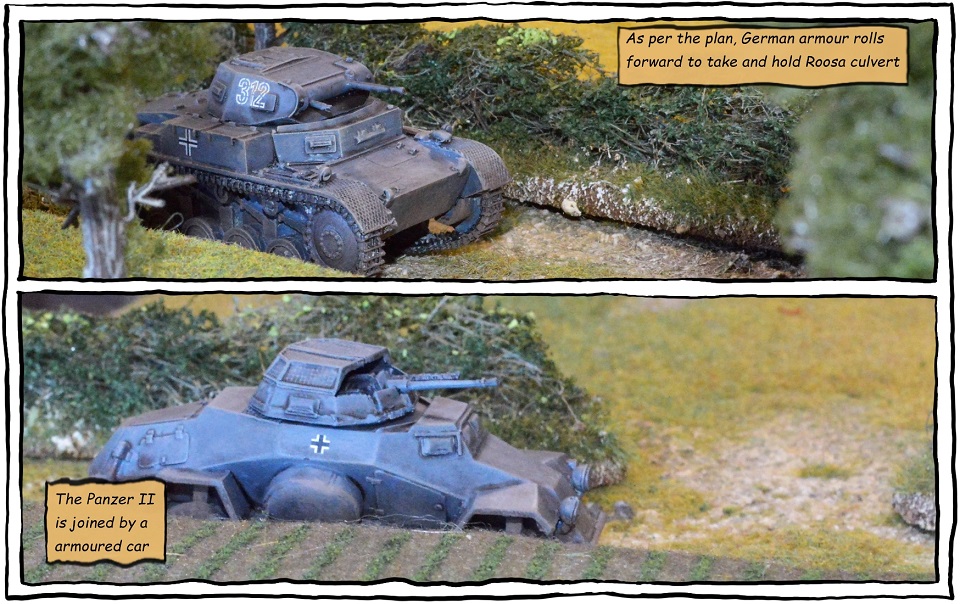
 With the delays suffered at Perbais threatening to throw the timetable of the whole operation out of sync. The plan here is simple, go in hard and fast. To this end, Von Stilhan has moved some light armour assets to the front of his column. Under the cover of an artillery barrage, these vehicles will rush forward and secure the Roosa culvert. Their high H.E capacity along with supporting fire from the attached infantry should break up any French formations looking to counterattack into the village.
 Briefed on the importance of delaying the German armour. The French commander calls for all forces still remaining in the area to come to his support. There are only two roads through Noirmont, both of which pass over large culverts. If these could be destroyed, this would cause a considerable headache for the enemy commander. The linchpin in Lieutenant Florain’s plan comes in the shape of a large (Somua) tank. Hopefully, this imposing machine will keep the Germans at bay long enough for his small team of engineers to the get job done.
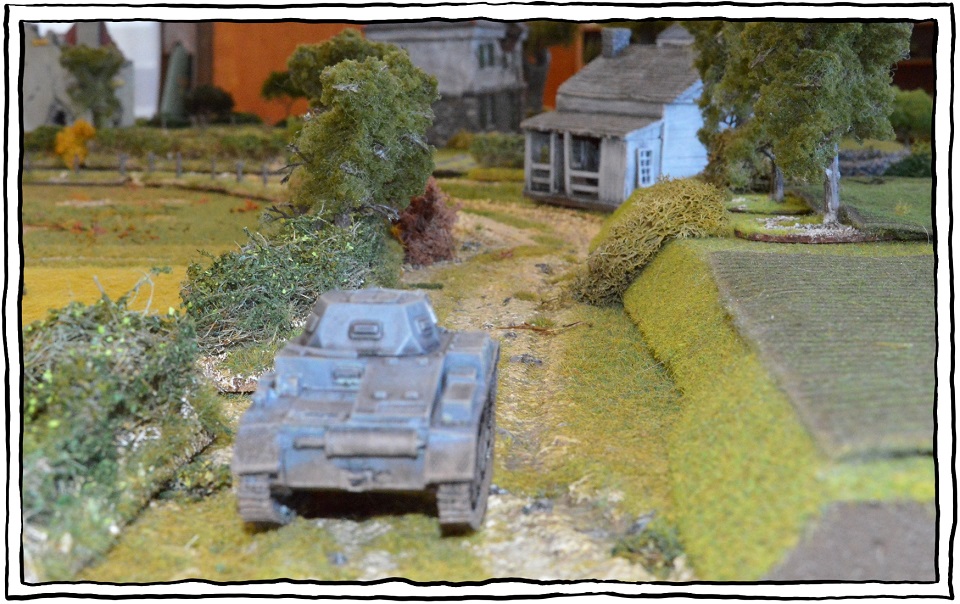
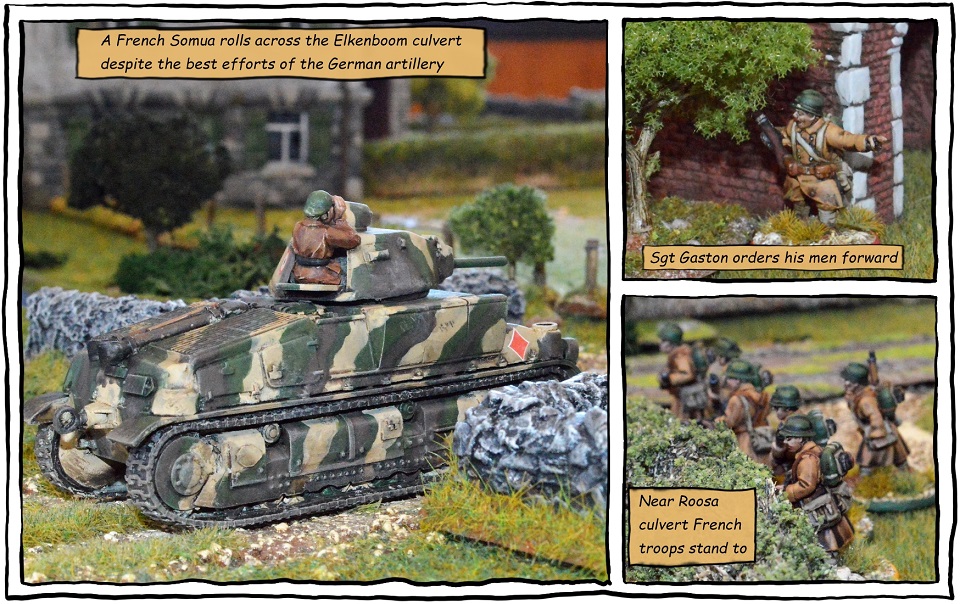
 The German Barrage proves to be sporadic and ineffectual. It fails to prevent the French engineers from preparing to destroy the Roosa culvert.
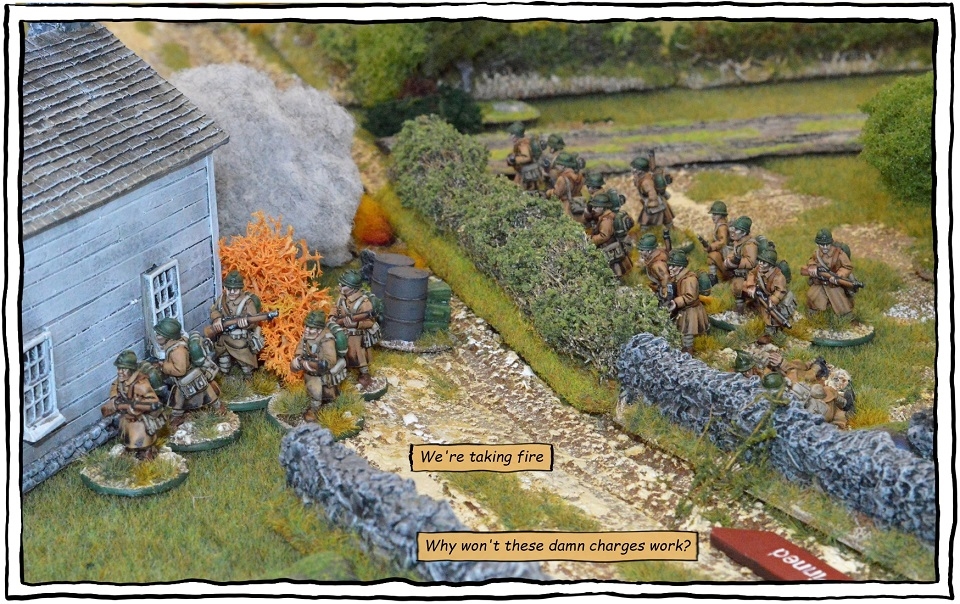
Under the direction of sergeant Gaston, first squad takes position in and around the area of Kappel cottage. As German armour appears along the road from Perbais the engineers are urged to complete their task quickly.
On the opposite side of the village, the Somua rolls into view. Slowly crossing the Elkenboom culvert it makes for the main road. It is here the tank commander plans to engage any German armour brave enough to enter the village from the direction of Perbais.
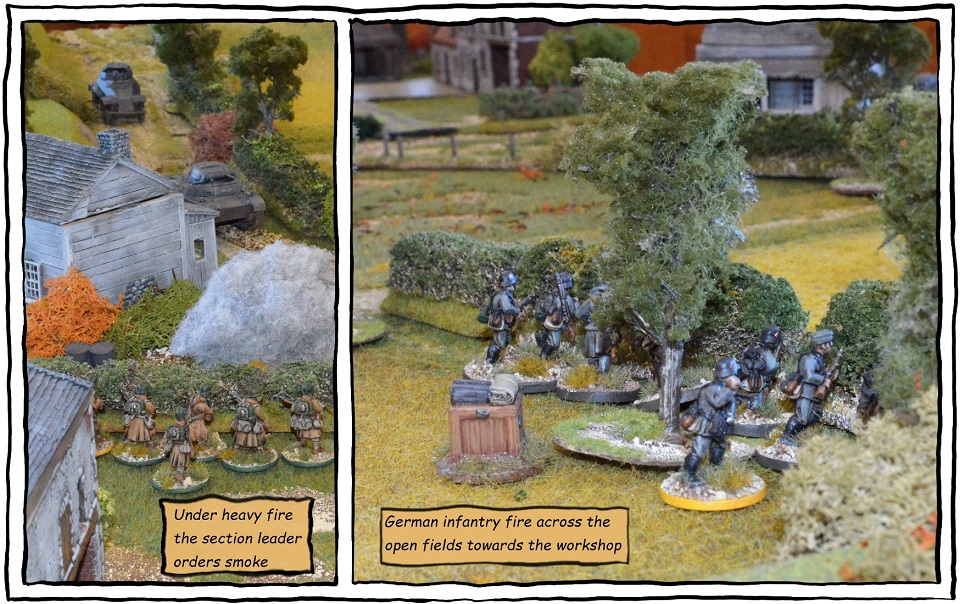
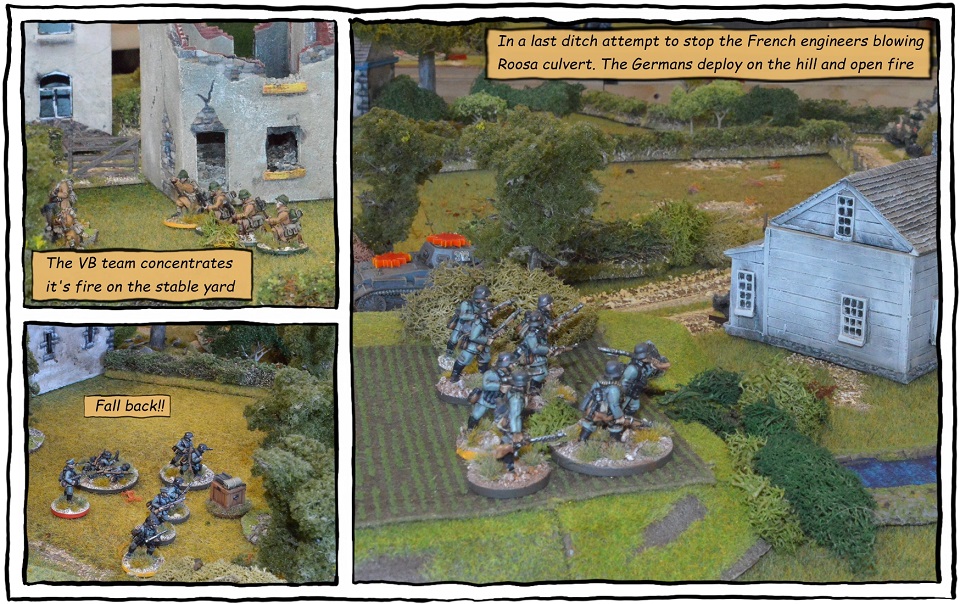
 As the Panzer II moves up the road it opens up on the French squad near the workshop. The German troops stationed in the stable yard also target the same squad. Under heavy fire, the French troops seek some measure of concealment through the use of a smoke grenade.
 Gaining their first chain of command dice the engineers detonate the charges on the Roosa culvert. However, Lady luck is riding with the Germans and not them on this occasion. The charges fail to explode leaving the engineers no option but to repeat the process.
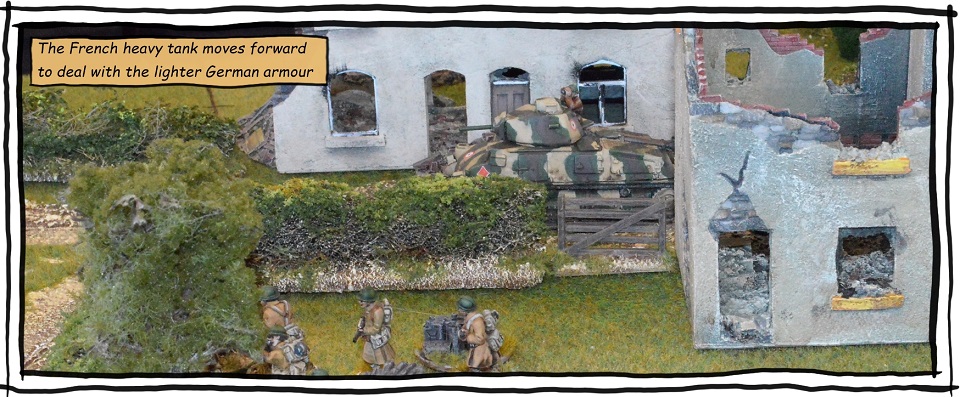
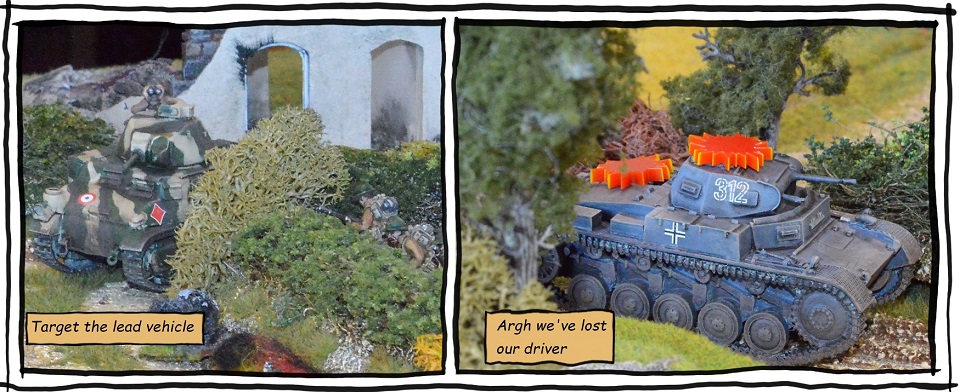
 Just when the French appear to be in real trouble the Somua joins the fight. It quickly targets the troublesome Panzer II. Hit once the light tank pulls back behind the hedge line. However, before it can get too far a second shot hits home. This round penetrates the hull killing the driver and immobilising the vehicle.
The newly deployed VB team also swings into action. Honing in on the enemy troops in the stable yard, their rifle grenades send the Germans running for cover.
Taking stock of the current situation both sides now pause to consider whether to withdraw or continue the fight. While neither side has problems with their force morale. The casualty count is really starting to hurt both armies.
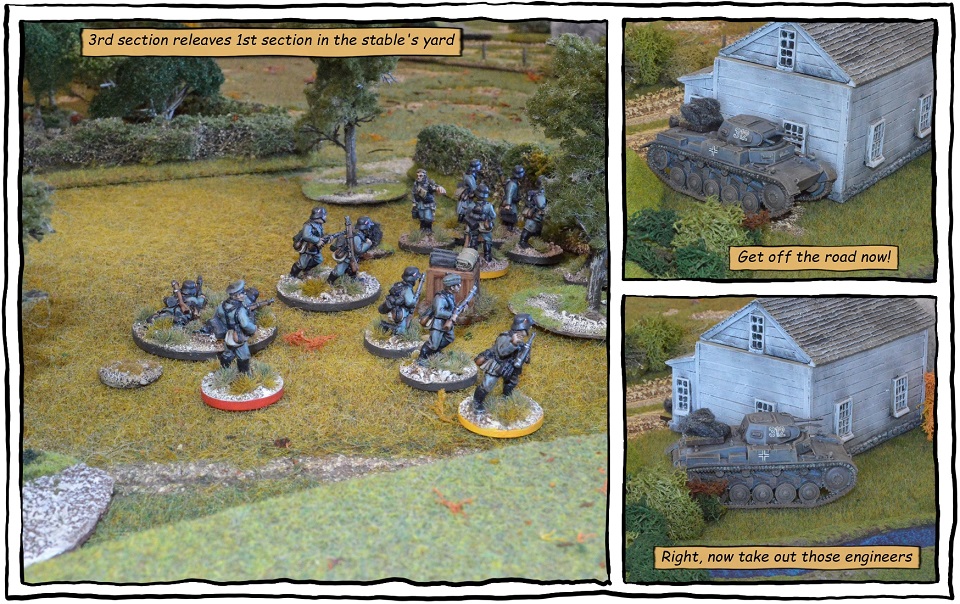
The French commit their last reserve to the fight around the Kappel house. Desperately trying to buy the engineers enough time to blow the first culvert. Noticing the Panzer II is back in action the Somua races to intercept before it can engage the engineers.
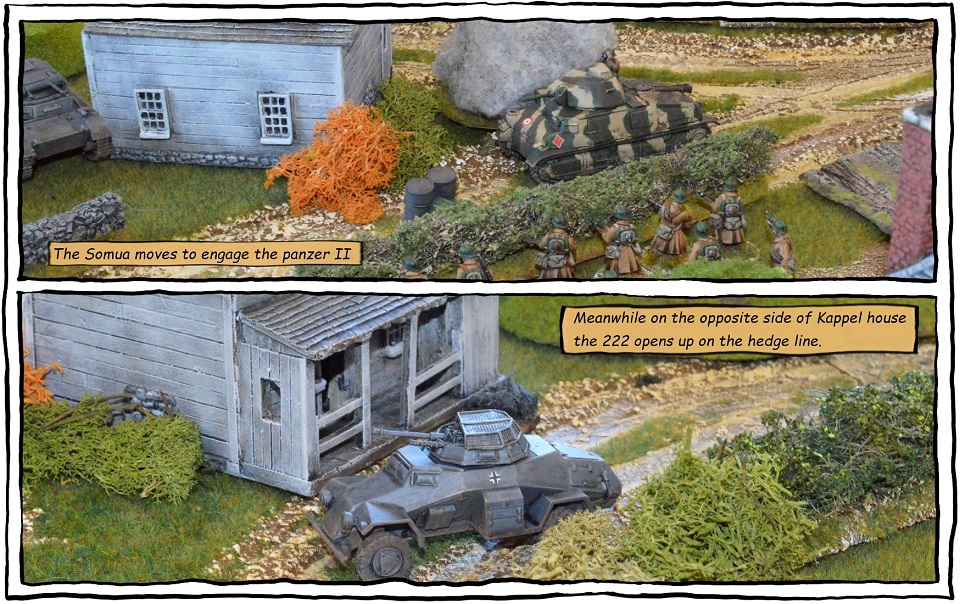
The arrival of the 222 heralds the end of the French resistance. They had just used their one and only chain of command dice to unpin their engineers. Seconds later the armoured car had them ducking for cover yet again. With casualties mounting, no chain of command dice in the pot and the engineers cowering under the culvert it was time for the French to withdraw.
German Loses
Commanders opinion: -2 (down by 1 but no effect)
Men’s opinion: 0 (up by 1 but no effect)
Number one section
- 2 Riflemen dead (from earlier actions)
- 2 Wounded (miss the next game)
- 2 Transferred in from number three section.
Number two section
- 1 Rifleman dead (from earlier actions)
- 2 Riflemen lightly wounded (return to duty)
- 1 Rifleman wounded (miss the next game)
- 1LMG crew dead (from earlier actions)
Number three section
- 2 Riflemen killed in action.
- 2 Riflemen transferred to number one section.
- 1 LMG crew member killed in action.
French Losses
Commander’s opinion: +2 (up by 1 but no effect)
Men’s opinion: -2 (down by 1 but no effect)
Number one section
- 1 Rifleman (team 1) killed in action
- 1 Rifleman (team 1) light wound (return to duty)
- 2 Riflemen (team 2) wounded (miss the next game)
Number two section
- 1 Rifleman (team 1) killed in action.
Number three section
- 2 Riflemen (team 1) light wound (return to duty)
- 2 Riflemen (team 1) killed in action
- 2 Riflemen (team 2) killed in action
- 1 Rifleman (team 2) wounded (miss the next game)
Yet another very enjoyable run through the rules. The French started well enough, with most of their units slipping past the barrage on their first roll. However, failing to set the explosives correctly and detonate the Roosa culvert was a major setback for them. The Germans for their part paid a high price in blood for the win here.