Hello and welcome to the last instalment of our Sicily campaign. I should probably start with an apology to my esteemed opponents Rob and Michael. After all, we did finish this campaign quite some time ago now. I just haven’t found the time to write up the last couple of turns. Truth be told I’m a bit of a Rome candle when it comes to writing up campaigns. It’s a shame really, because my note-taking is almost as bad as my memory.
Carthaginians (Michael)
- 1st Army is forty-three points strong
- 2nd Army is forty-nine points strong
- Two prestige points
Syracusans (Rob)
- 1st army is fifty-one points strong.
- 2nd army is forty-six points strong.
- Zero prestige points
- Spy in play
Pyrrhic (Me)
- 1st army is forty-five points strong.
- 2nd army is forty-eight points strong (both of which are exhausted).
- Seven Prestige points
Turn 10: Initiative and Movement.
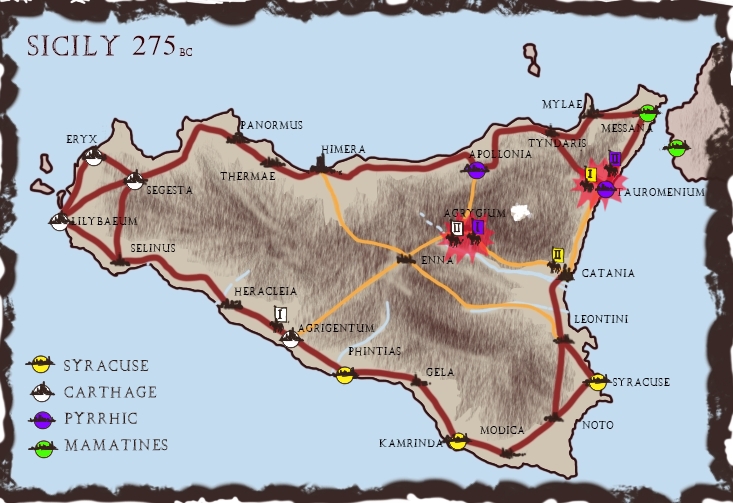
- Michael’s troops engage the remnants of my exhausted army outside Agrygium.
- Welcome reinforcements join the Carthaginians at Agrigentum.
- Syracusan troops appear outside the walls of Tauromenium.
- With no time to escape my small army makes a stand at Agrygium.
- Although outnumbered my troops will not abandon Tauromenium without a fight.
- A blood sacrifice reveals bad omens for Rob’s troops in Catania.
Both of Michael’s armies roll high in the initiative phase and are the first to move on the campaign map. This is bad news for me as my poor exhausted army at Agrygium is attacked yet again. Meanwhile, in Agrigentum Michael spends a prestige point to boost his chances with the recruitment roll. He rolls low but still manages to pick up three army points of fresh troops.
It appears Rob also has his eye on my small stack of prestige points. He moves the larger of his two armies to Tauromenium attacking the troops I had stationed there. Upon reading the entrails of a sacrificed goat the spiritual leader of his second army reports a bad omen. The army will not march this turn (special event) and no fresh recruits come forward to join his cause.
Poor initiative rolls mean I can do little but fight this turn.

Sadly, the mists of time have rolled in and obscured the historical record of both the second battle of Agrygium and the clash and Tauromenium. In short, the narrative that follows will be widely based upon the ramblings of that ancient scholar Procrastinees.
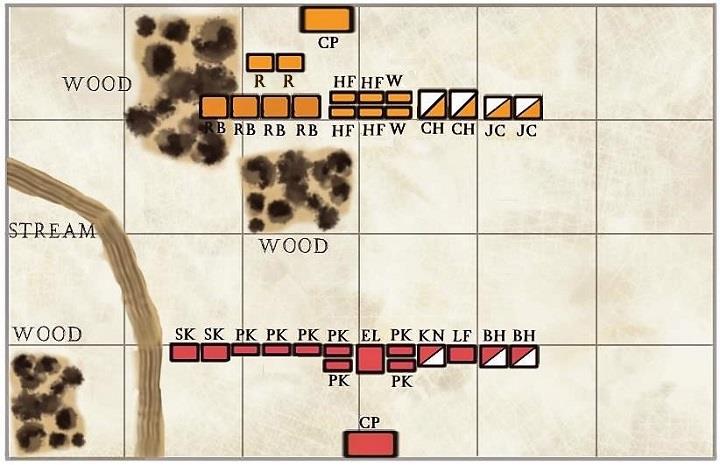
Deployment Map & Unit Key
- SK: Skirmishers (3 pts)
- RB: Rabble (2 pts)
- R: Raiders (4pts)
- W: Warriors (3pts)
- LF: Light Foot (3 pts)
- HF: Heavy Foot (3 pts)
- PK: Pike block (3 pts)
- EL: Elephants (4 pts)
- KN: Knights (4 pts)
- BH: Bad horse (3 pts)
- CH: Chariots (4pts)
- JC: Javelin Cavalry (4 pts)
- CP: Camp (Free)
I used my last point to fortify my camp .
Michael divided his Carthaginian army into three distinct blocks. Light foot on his right, heavy foot in the centre and all of the mounted troops on the left.
The heavy foot and mounted troops skirt the woodlands and advance across the open plain. The warriors and heavy foot are the first to move off with the javelin cavalry and chariots not far behind.
My army advances as one to meet them. Hopefully, I can take advantage of the small gaps between the various divisions in my opponent’s army.
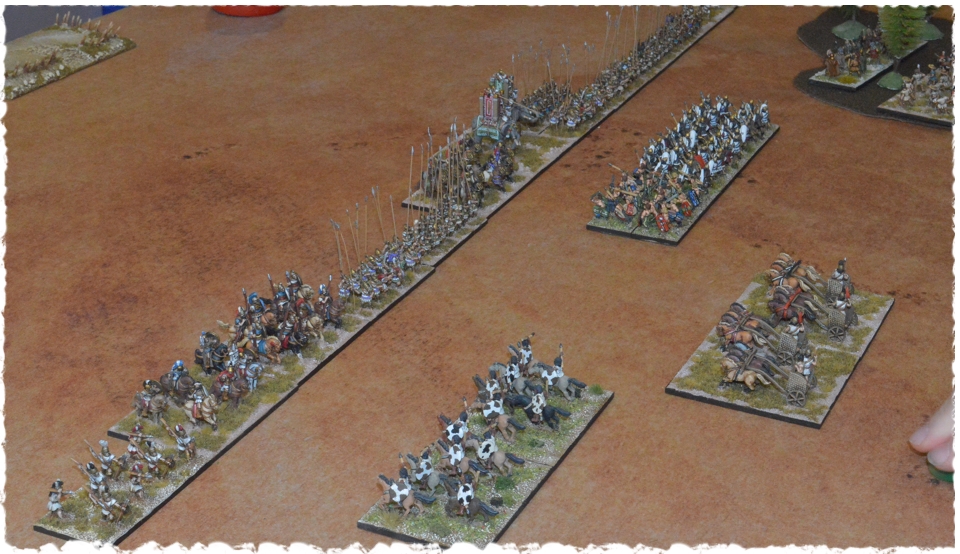
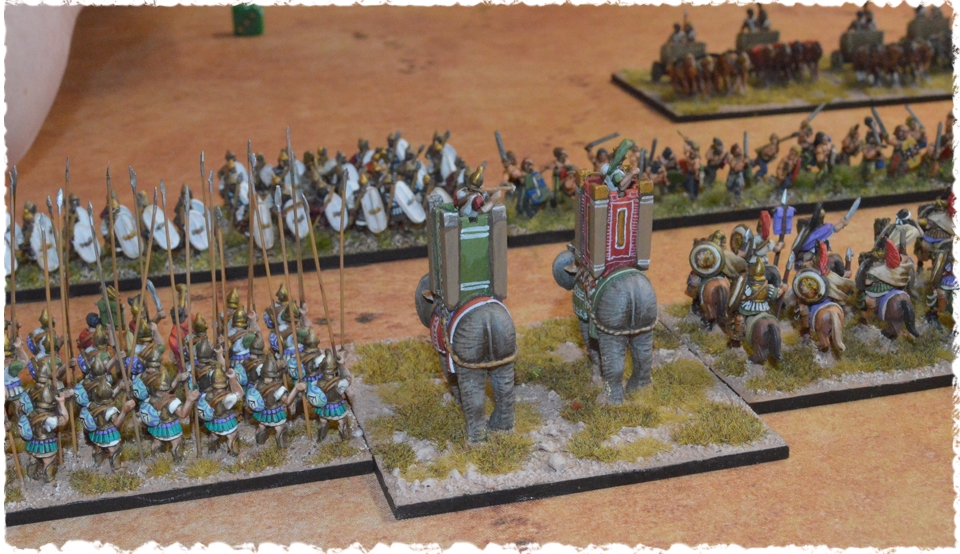
As the enemy foot rushed to adjust their line. My pikes, knights and elephants smash into them. The knights made quick work of a band of warriors on the right. However, Michael’s heavy foot managed to cut their way through a block of my pike-men.
As a result of the initial cut and thrust, holes appear in the battle lines of both armies. It was now a race to see who could exploit these developments the quickest.
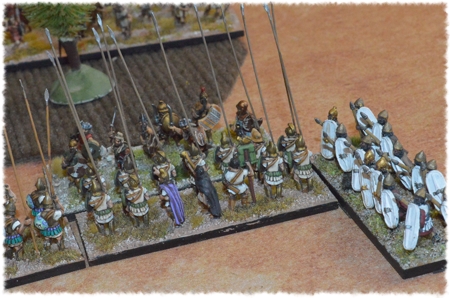
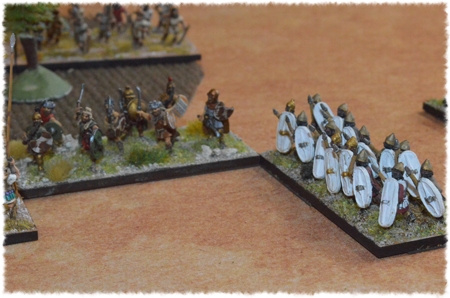
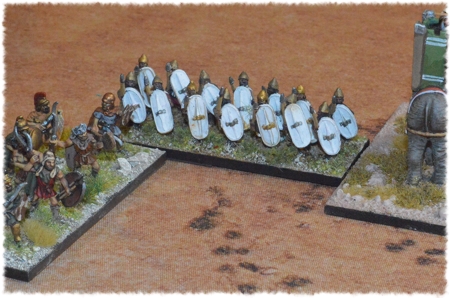
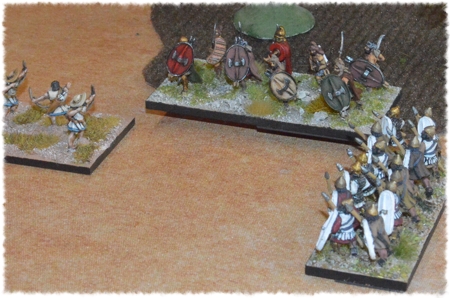
Although my knight general did his best, riding down two stands of warriors it wasn’t enough to win the day. Once Michael’s heavy foot broke into my centre they tore it apart. To which the pike blocks missing from the two pictures above would testify (if they were still alive).
Battle results that transfer to the campaign.
Total battle casualties for the second army of Carthage.
- 2x Warriors (6 points)
- 2x Heavy foot (6 points)
- 12 points lost in total
Michael’s 2nd army is reduced to 46 points, but gains 6 prestige points for the win.
Total battle casualties for the first Pyrrhic army.
- 5x Pike-men (15 points)
- 1x Skirmish stand (3 points)
- 18 points lost in total.
My battered army is reduced down to just 39 points and must retreat to Apollonia.

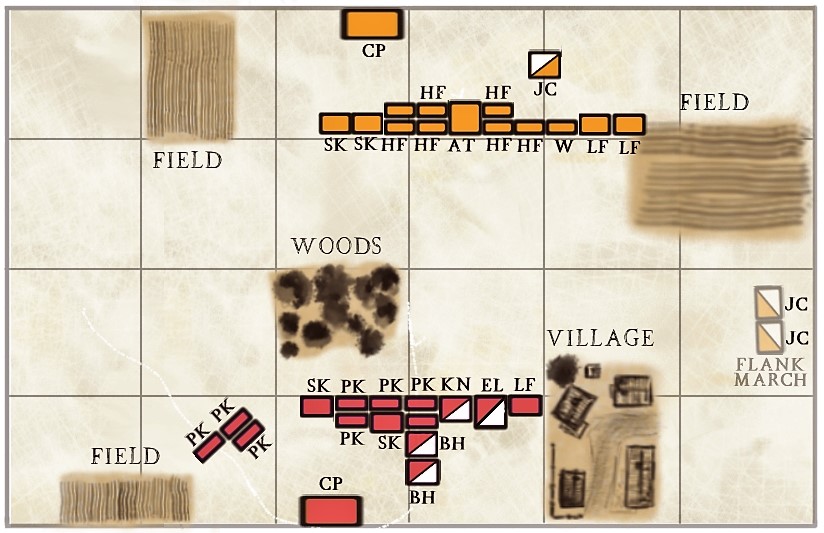
Deployment Map & Unit Key
- SK: Skirmishers (3 pts)
- RB: Rabble (2 pts)
- R: Raiders (4pts)
- W: Warriors (3pts)
- LF: Light Foot (3 pts)
- HF: Heavy Foot (3 pts)
- PK: Pike block (3 pts)
- EL: Elephants (4 pts)
- KN: Knights (4 pts)
- BH: Bad horse (3 pts)
- CH: Chariots (4pts)
- JC: Javelin Cavalry (4 pts)
- CP: Camp (Free)
With no notes and very few photos, this fight is going to be a little tricky to piece together. Deployment-wise Rob seems to have completely outfoxed me by flank-marching his light cavalry in on my right. I was obviously expecting something like this in the more open ground to my left. Hence the three pike blocks between the woods and the field.
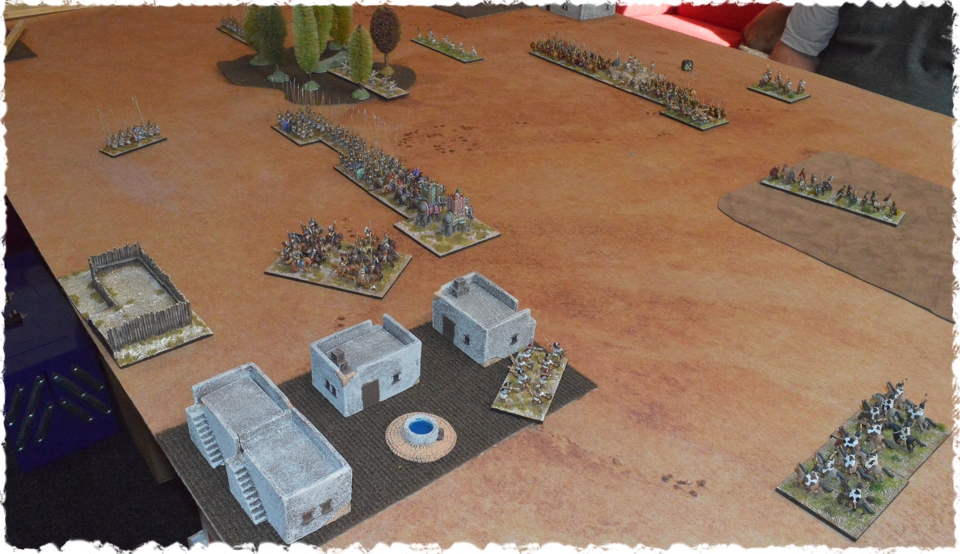
The early turns saw a massive redeployment on my part. Two units of my pike have legged it around the woods and are heading for Rob’s camp. God knows why because when the pips are down they will struggle to do anything. The last block of pike (on the left) has turned around and along with my bad horse is marching to support my right. Both skirmish stands are dispatched into the woods to support the pike-men (on the far side of the woods).
Short on pips Rob only manages to send his skirmishers and light troops forward. Movement-wise the bolt thrower (artillery) deployed in the middle of his heavy foot was proving to be problematic.

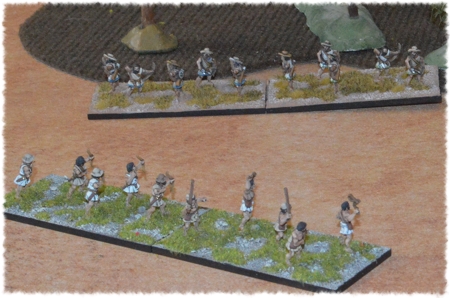
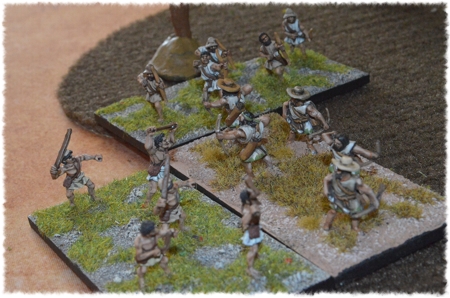

A large group of Rob’s heavy foot led by some warriors rush forward to aid their general (top left). Sadly they arrive just in time to see him fall from his saddle (right). Undeterred they charge into the fray destroying two pike blocks before the enemy troops know what has hit them.
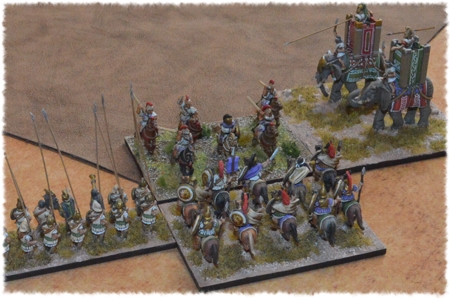
However, the Pyrrhic general recovers quickly. With pips to burn, he turns his knights about and charges headlong into the jubilant band of enemy warriors. As these troops fall beneath the knight’s hooves Rob’s last remaining light foot is also cut down by the Pyrrhic bad horse.
This Breaks the Syracusan army and ends the game.
Battle results that transfer to the campaign.
Total battle casualties for the first army of Syracuse:
- 2x Javelin cavalry* (8 points)
- 2x Light foot (6 points)
- 1x Warriors (3 points)
- Total losses 17 points
The army’s general was in one of the javelin cavalry units. Rob has no prestige points to lose, but his army can only muster 46 points worth of troops now.
Total battle casualties for the second Pyrrhic army:
- 2x Skirmishers (6 points)
- 2x Pike-men (6 points)
- Total losses of 12 points
Exhausted from continual forced marches and fighting. My army drops down to just 45 points. However, I’ve managed to hold onto the last of my prestige points.
Turn 11: Initiative and Movement.
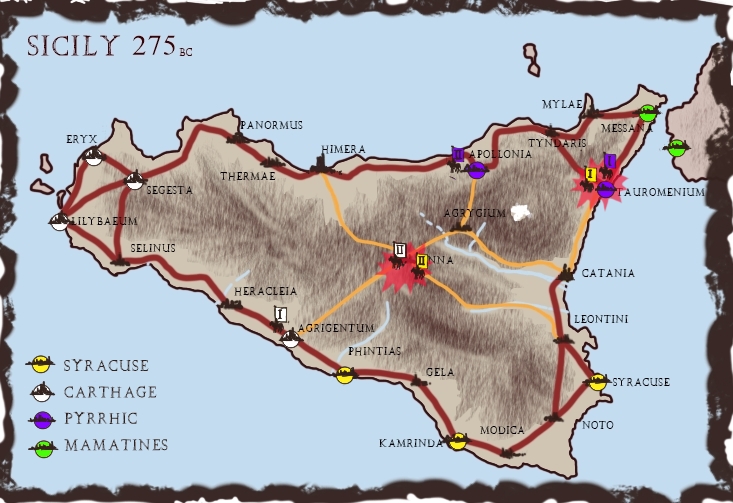
- After regrouping at Leontini Rob’s 2nd army marches on Enna. Thus cutting off the line of supply to the 2nd army of Carthage.
- Rob’s 1st army is dispatched to Tauromenium hoping to achieve what his 2nd army couldn’t.
- Michael’s victorious 2nd army marches to meet the Syracusans and reopen his supply lines at Enna.
- My battered 1st army rests at Apollonia.
- At Tauromenium my 2nd must fight a fresh Syracusan force.
- Bad omens keep Michael’s 1st army in camp at Agrigentum.
Prestige points:
- Rob starts the turn empty-handed but gains two for rolling a couple of sixs in the initiative phase.
- Michael started turn ten with just two points. He gained an extra one in the initiative rolls but spent this on boosting his chances to recruit men in Agrigentum. However, after smashing my Pyrrhic force at Agrygum he heads into turn eleven with a total of eight points.
- I lost six of my seven points to Michael’s second army in turn ten. Some good luck in the initiative phase pulls me back up to three as we hit the tabletop for another round of battles.

Deployment Map & Unit Key
- SK: Skirmishers (3 pts)
- RB: Rabble (2 pts)
- R: Raiders (4pts)
- W: Warriors (3pts)
- LF: Light Foot (3 pts)
- HF: Heavy Foot (3 pts)
- PK: Pike block (3 pts)
- EL: Elephants (4 pts)
- KN: Knights (4 pts)
- BH: Bad horse (3 pts)
- CH: Chariots (4pts)
- JC: Javelin Cavalry (4 pts)
- CP: Camp (Free)
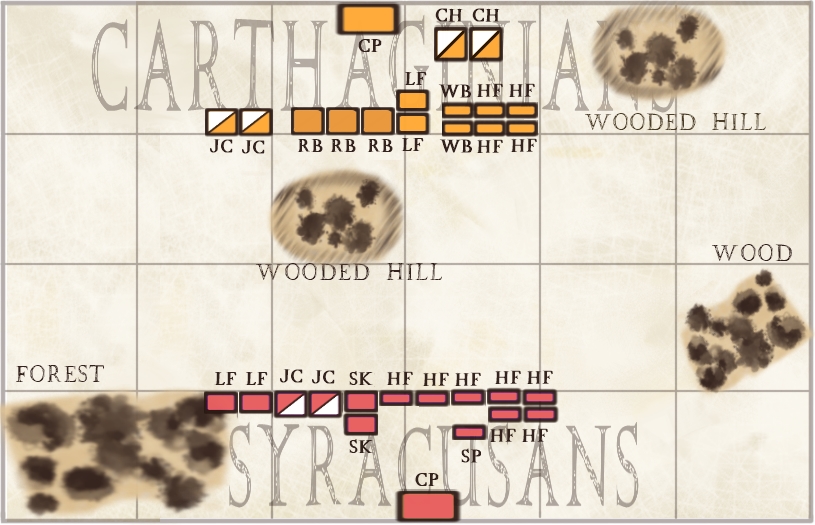
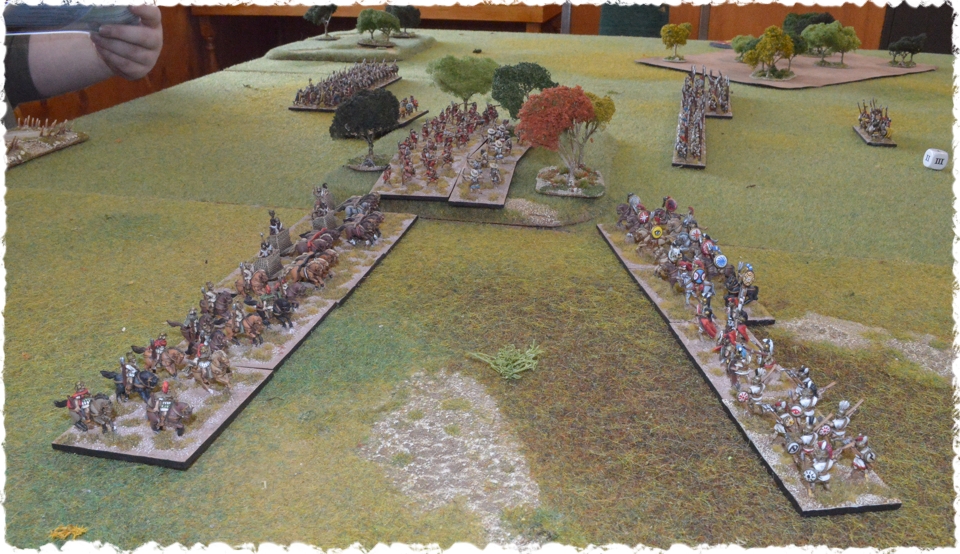
In the opening moves, Rob pushes two elements of skirmishers onto the wooded hill hoping to stall the mass of Carthaginian rabble opposing his centre. With the rabble disappearing into the woods Michael’s cavalry are starting to look isolated. Rob makes a play for them quickly advancing his light foot and Jav Cav.
To counter this turn of events the Carthaginian general moves forward with his chariots. He now holds the advantage on this flank. However, as the chariots thunder around the hill all contact is lost with his heavy infantry.
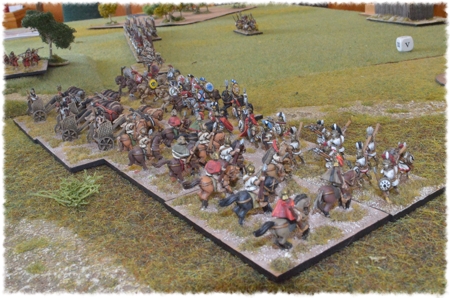
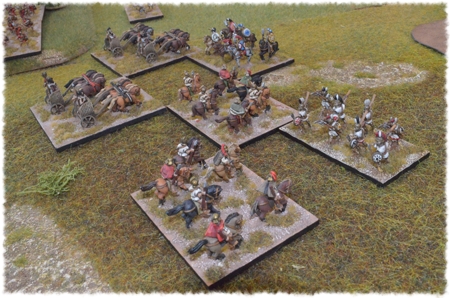
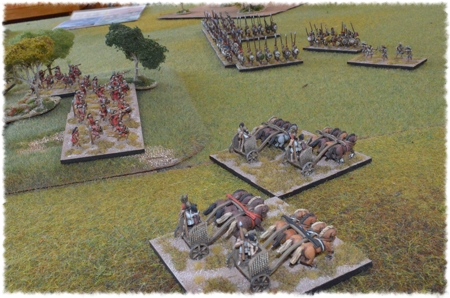
In the ensuing melees, Rob loses three units (1x Jav Cav, 1x light foot and a stand of skirmishers) to Michael’s one (1x Jav Cav).
With the Carthaginian heavy foot (out of command) showing no signs of movement. The Syracusans begin to transfer elements of heavy foot over to support their embattled left. Rob also pulls back the survivors from the first combats to form a new crescent-shaped battle line. Michael sends his chariots into this new formation hoping to maintain his momentum.
This time, however, the dice gods (for the briefest of moments) are on Rob’s side.
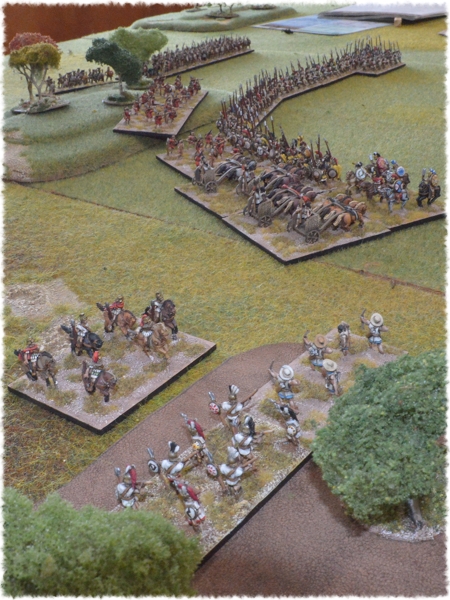
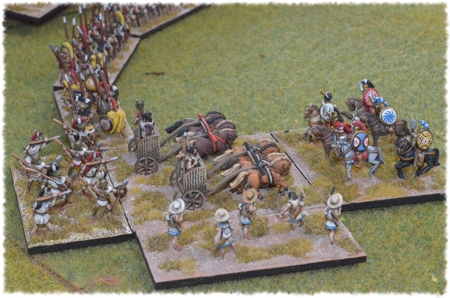
In the second phase of the battle, Rob manages to mob (and dispatch) a lone cavalry unit that strays too close to the woods. His new battle line succeeds in seeing off Michael’s initial charge.
When the dust settles the Carthaginian general finds himself alone amongst the enemy. He is quickly surrounded and the game swings back in favour of the Syracusans.
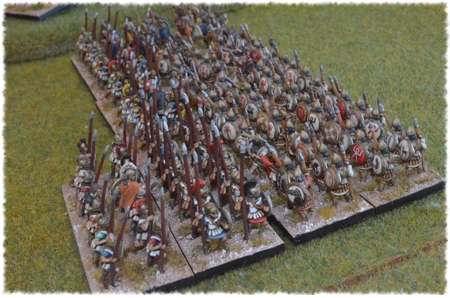
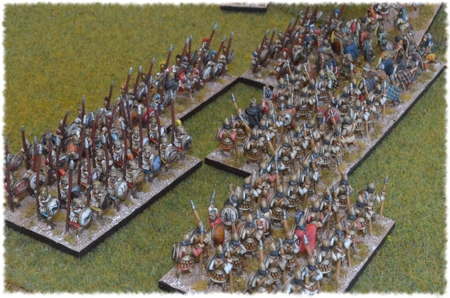
On the opposite of the hill, the heavy infantry come together in a giant pushing contest. Neither side managed to inflict any losses in the initial clash. The Carthaginians have numbers on their side, but command and control issues prevent them from exploiting this advantage.

Battle results that transfer to the campaign.
Total battle casualties for the second army of Syracuse:
- 2x Javelin cavalry (8 points)
- 2x Light foot (6 points)
- 1x Skirmisher (3 points)
- Total losses 17 points
After the battle, the Syracusans can only muster 42 points worth of troops now.
Total battle casualties for the second Carthaginian army:
- 2x Javelin Cavalry (8 points)
- Total losses of 8 points
Michael gains 2 prestige from Rob bringing his total to 10. His army loses 2 army points and as such his force drops to 44 points.

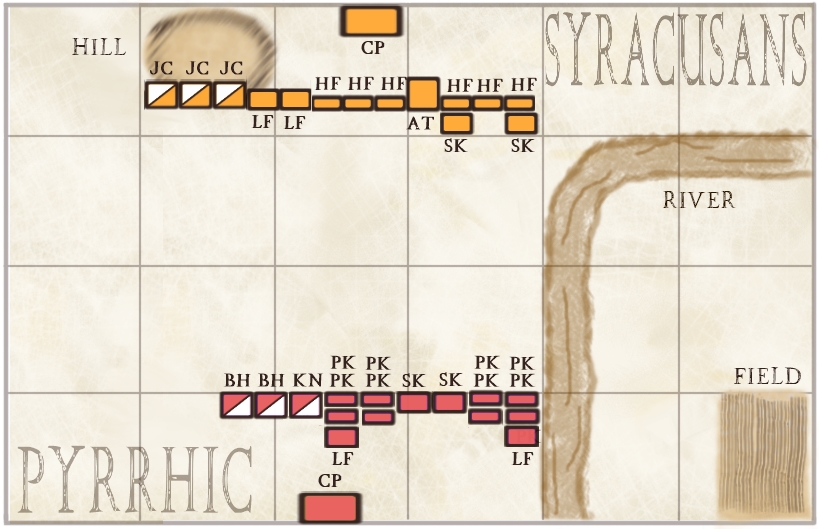
Deployment Map & Unit Key
- SK: Skirmishers (3 pts)
- RB: Rabble (2 pts)
- R: Raiders (4pts)
- W: Warriors (3pts)
- LF: Light Foot (3 pts)
- HF: Heavy Foot (3 pts)
- PK: Pike block (3 pts)
- EL: Elephants (4 pts)
- KN: Knights (4 pts)
- BH: Bad horse (3 pts)
- CH: Chariots (4pts)
- JC: Javelin Cavalry (4 pts)
- CP: Camp (Free)
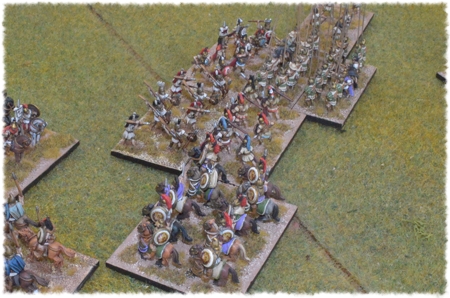
Details on how this battle played out are sketchy at best. I only have a few photos and a list of casualties. It seems as if all of the fighting took place on the open ground away from the river. Here both cavalry arms met in a protracted melee that decided the day.
Right: My knights and bad horse go toe to toe with Rob’s light horse. Killing one group of horsemen and pushing back the other two. In the background, the Syracusan artillery is giving my pike block a hard time.
Below: Rob’s light foot take out mine before lapping around the pike block. They dispatch the rearmost pike unit before they in turn are cut down
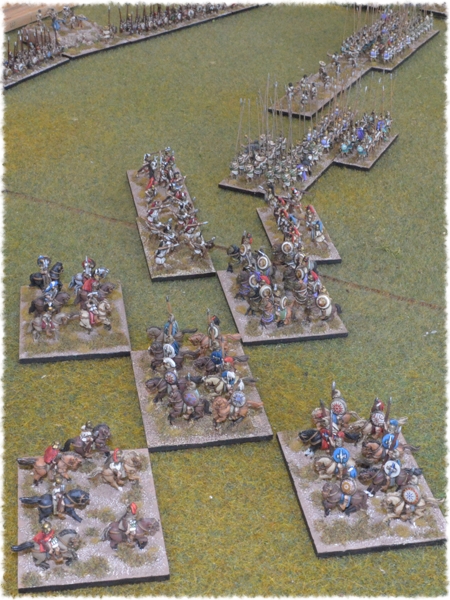
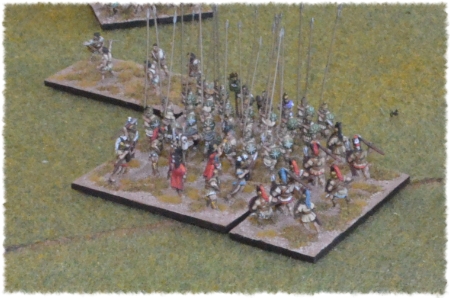
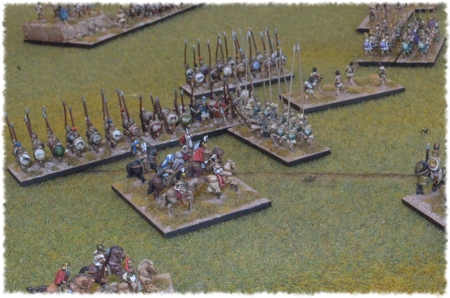
The Syracusan heavy infantry arrive just in time to catch the victorious pike-men in the flank. Rob loses a second unit of javelin cavalry to my bad horse before his general dispatches my knights (and general). This ties the score to fourteen points each. In the next turn, I roll just enough pips to get my bad horse into the flank of Rob’s general. The dice were with me in the combat roll and his general dropped from the saddle ending what would be the last battle of our campaign.
Battle results that transfer to the campaign.
Total battle casualties for the first army of Syracuse:
- 3x Javelin cavalry (12 points)
- 2x Light foot (6 points)
- Total losses 18 points
Heading into turn twelve the Syracusan first army stands at 42 points worth of troops.
Total battle casualties for the first Pyrrhic army:
- 1x Knight general (4 points)
- 2x Pike-men
- 1x Light foot
- Total losses of 13 points
I retain my Prestige but my army drops to just 41 points in strength.
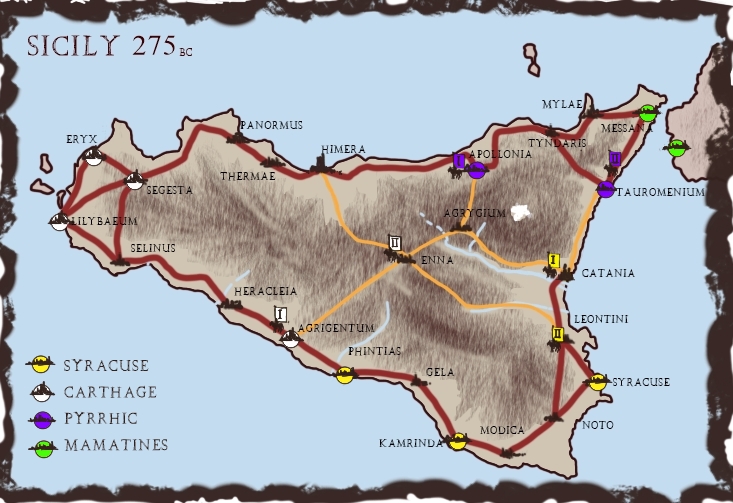
At the end of turn eleven:
Having suffered a string of defeats Rob’s Syracusan armies have fallen back to Catania and Leontini to regroup.
Michael’s second Carthaginian army holds the towns of Enna in the centre of the island. His first army is still busy at Agrigentum recruiting and training fresh troops.
My exhausted second army clings to Tauromenium, while what remains of my first army hides in Apollonia.
Turn 12: Initiative and Movement.

- Exhausted and therefore unable to force march my 1st army can do little. Finishing the campaign at Apollonia.
- Laden with loot Michael orders his 2nd army back to the safe harbour of Himera.
- With nothing to gain by attacking Rob my 2nd army remains at Tauromenium.
- Informed of Michael’s retreat Rob’s 1st army remains in place at Catania.
- Michael’s 1st army continues to hold the cross roads at Agrigentum.
- Rob’s last army at Leontini is to isolated to launch any new actions in the last turn.
There you have it, Michael wins the campaign in fine form with a total of 10 prestige points. I pay the Mamertines the last of my prestige points (3) to take me back to Tarentum. Rob’s Syracusans still retain their heartland but have little else to celebrate (0 points).
Summary and final thoughts:
I think it went rather well. If Rob had remembered to use his spy we could have had a different result. In hindsight, I’m not so sure I would waste so many prestige points building garrisons. Overall, I liked how everybody still had a shot at winning the campaign right up until the end. Some campaign systems I have played in the past have quickly died when one player gets too powerful to beat.
If I was to change anything I would maybe consider the following:
- Rolling 1D6 per prestige point at the end of the campaign to determine everyone’s total victory points.
- The maximum prestige points you could gain for winning a battle would be 3.
- When fighting and beating an army that had no prestige points you would still gain one for the win.
As always, if you have any thoughts or comments please feel free to contact me. Thanks for checking out our campaign.