Dec 2016 Phase I: Complete
With the first stage of my new hobby room now complete I thought I’d post some photos here to catalog my progress. While not comparable to some of the magnificent gaming rooms you see online, I am more than happy with the results thus far, given my small budget and the fact that I’m doing all the building, plastering and painting myself .
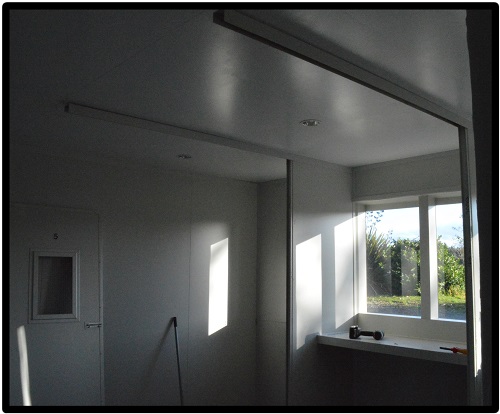
Top Left. Shows the old internal walls in the process of been removed
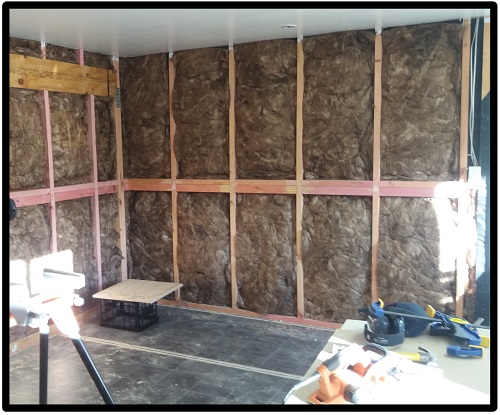
Top Right: With the new windows, external wall and insulation all in place it’s time to start lining the walls.
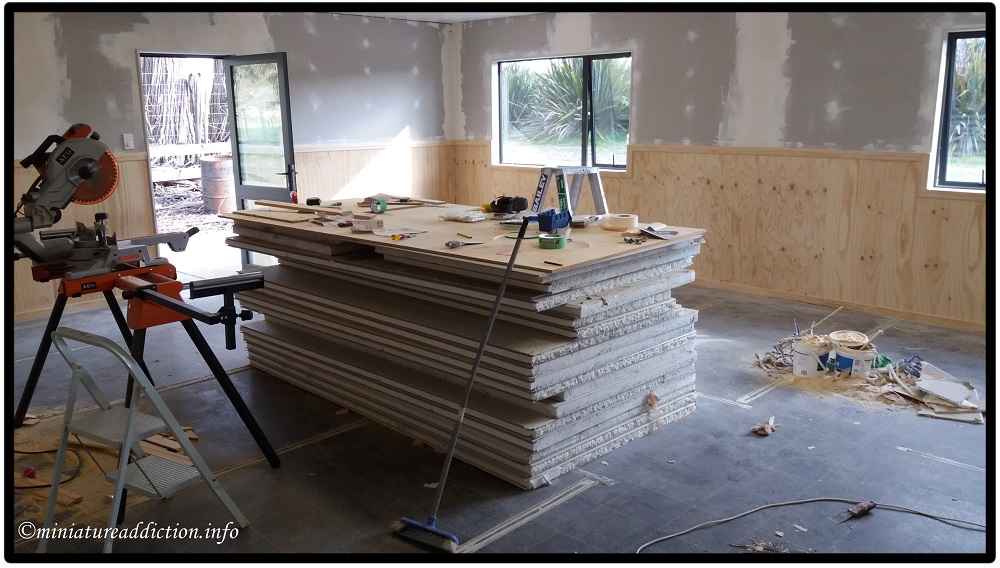
Above: I decided to line the bottom half of the walls with plywood so they would be more resistant to knocks and scrapes from chairs and tables
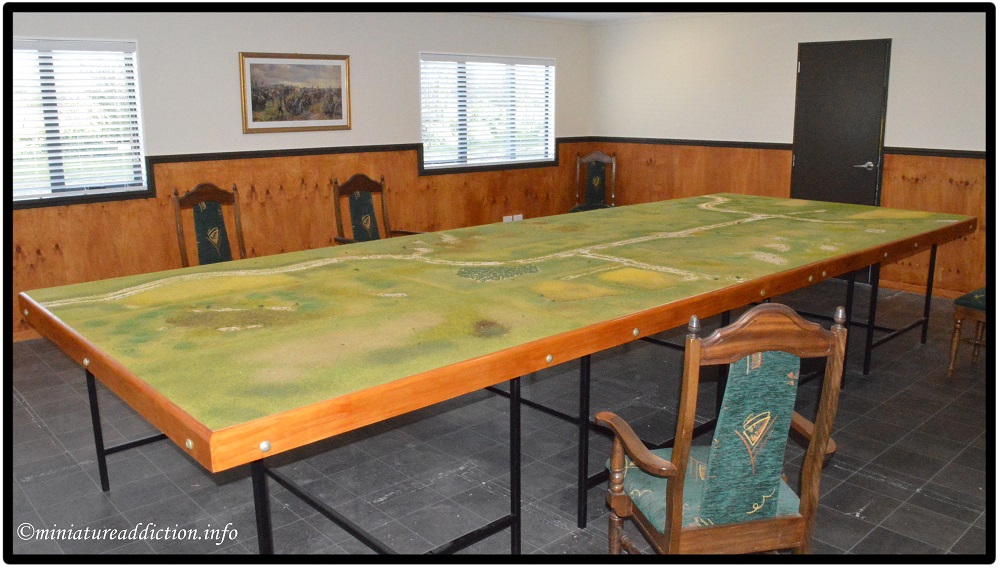
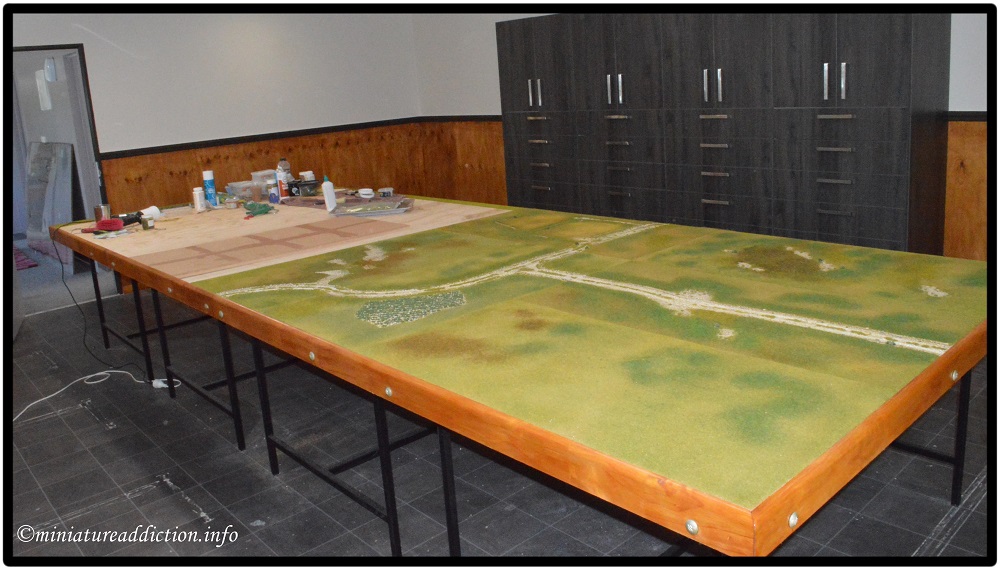
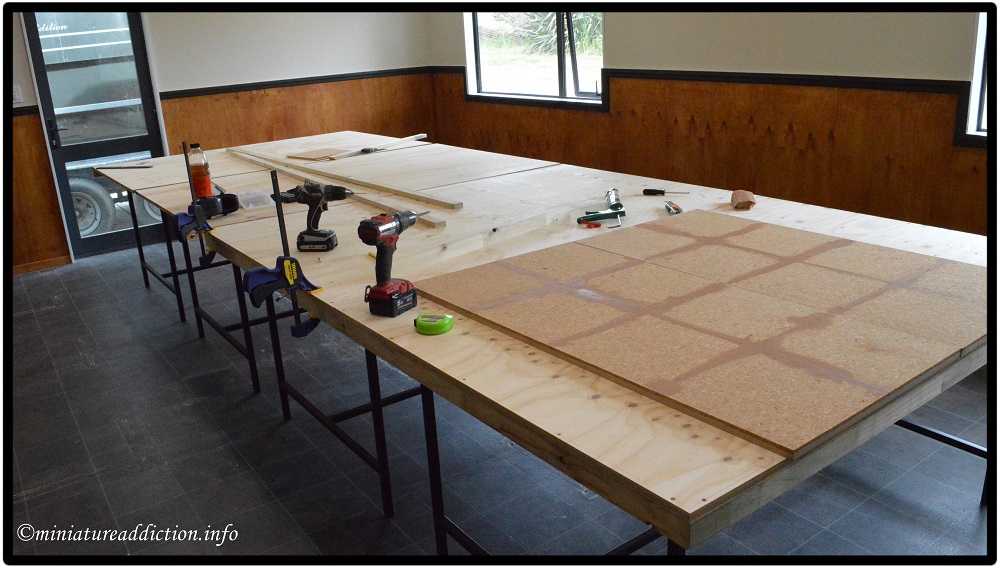
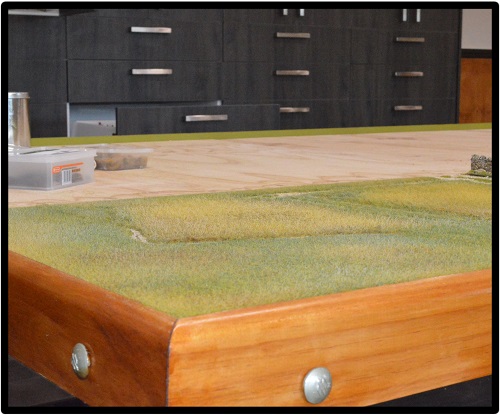
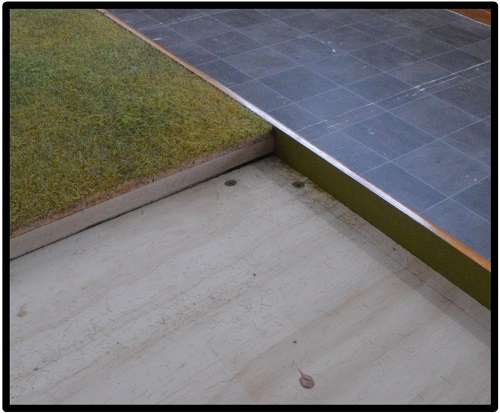
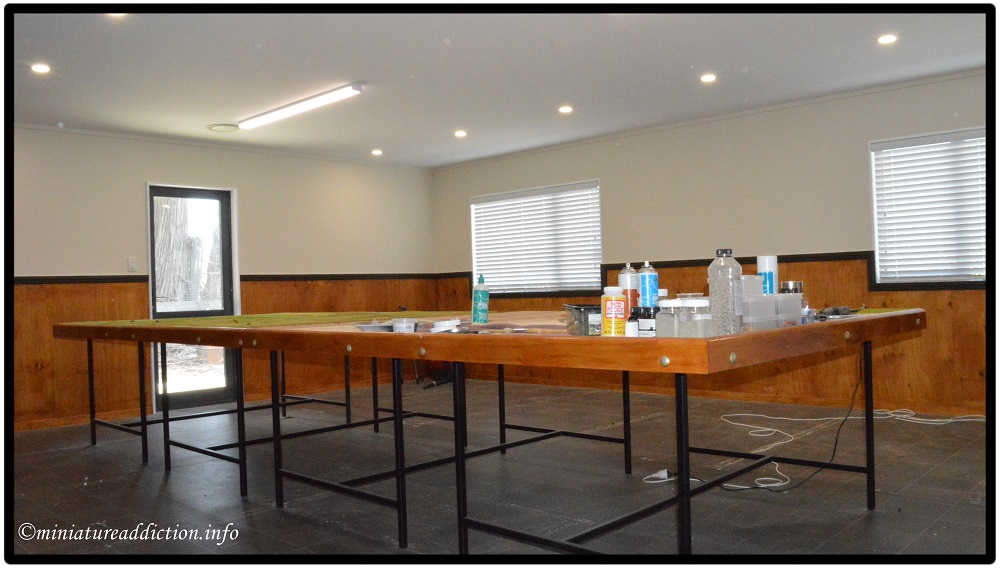
Below: With the ceiling and walls all plastered and painted it was time to start on the tables. I had the four steel table frames made locally. To each of these frames I screwed a 1800/1200mm sheet of 16mm plywood, edged with a 50/25mm bracing board. Stacking all the tables side by side gives me one giant table close to sixteen feet long and six feet wide. To help lock the tables together and to provide a lip for my terrain board to butt up against, a removable facing board was added.
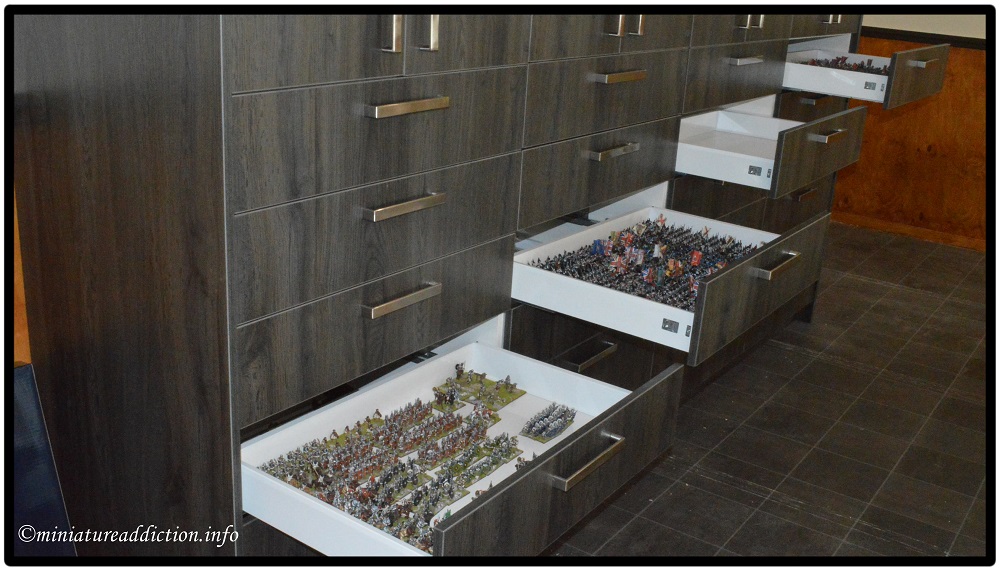
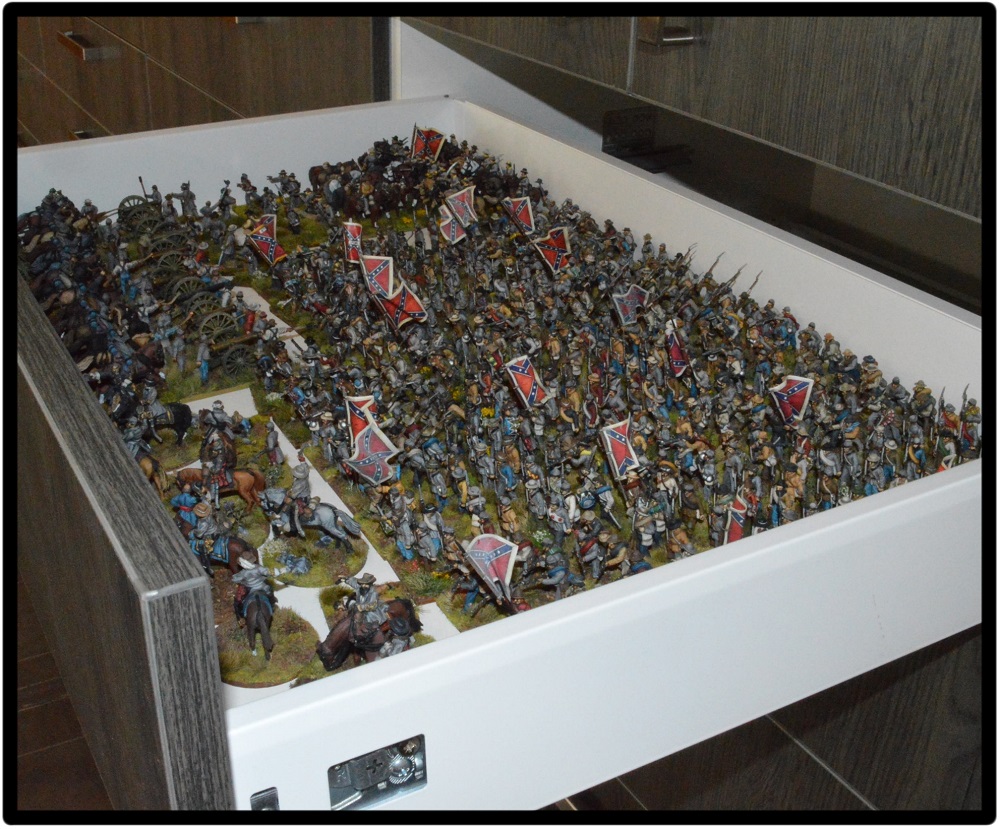
The last few photos show the miniatures cabinet I had made locally. The cabinet is divided into four units each of which contain a large base draw for scenery, four middle troop draws and a top cupboard for building storage. As you can see the room is still pretty stark and along way from finished, but I will post updates to this page from time to time.
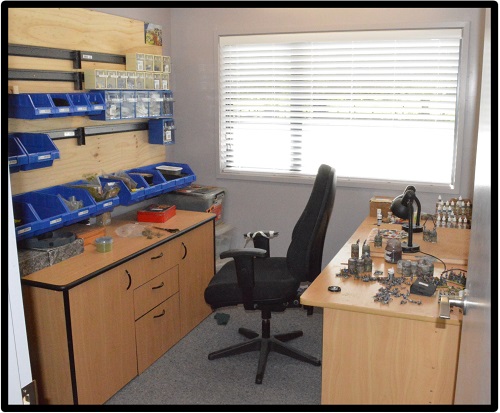
The final photo is a quick look at my adjoining painting room.
May 2017 Phase II: Complete
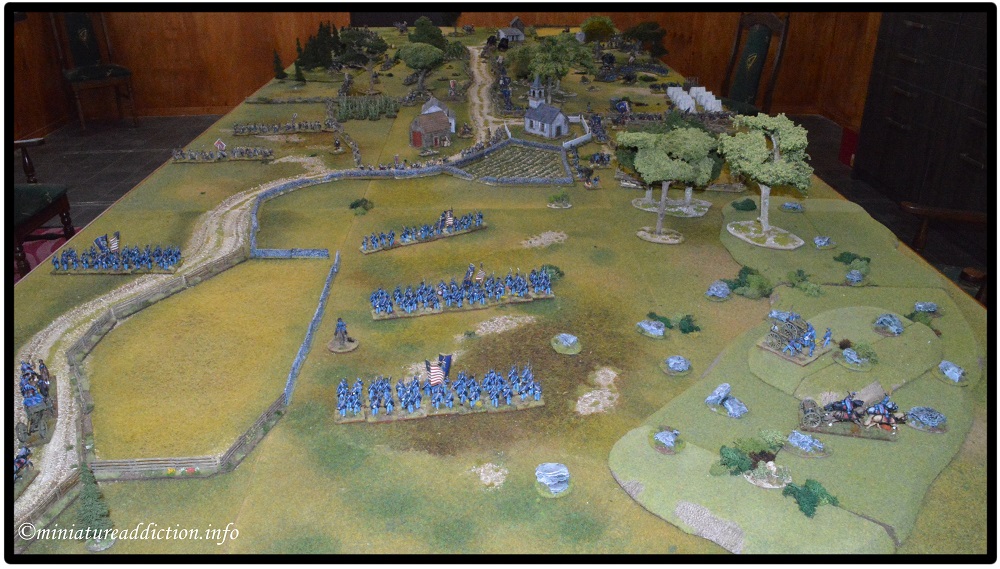
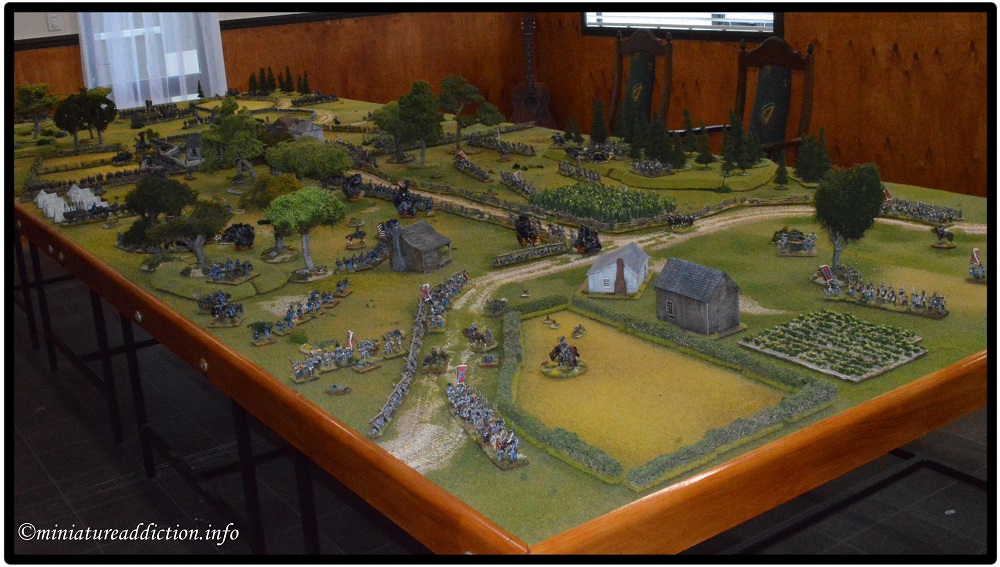
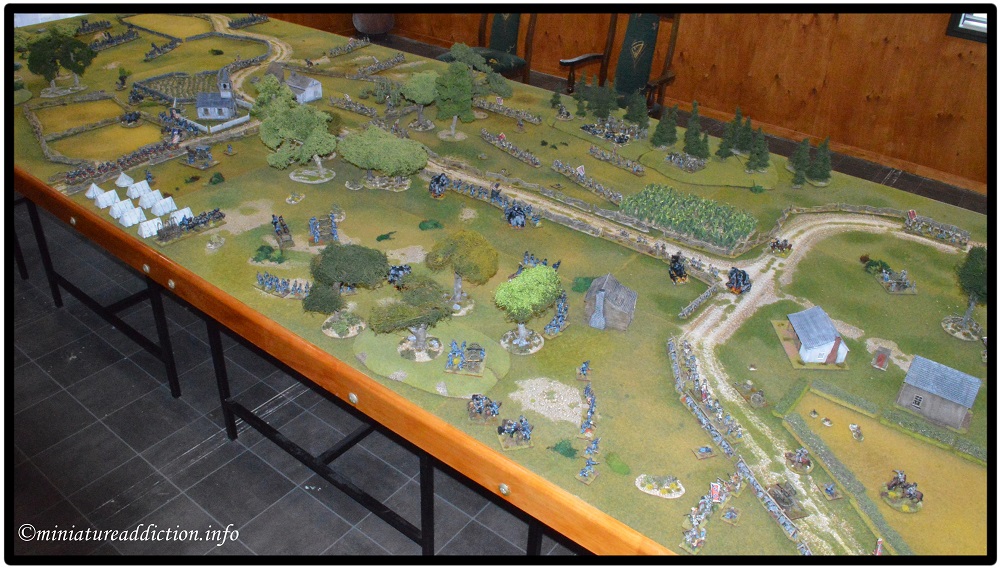
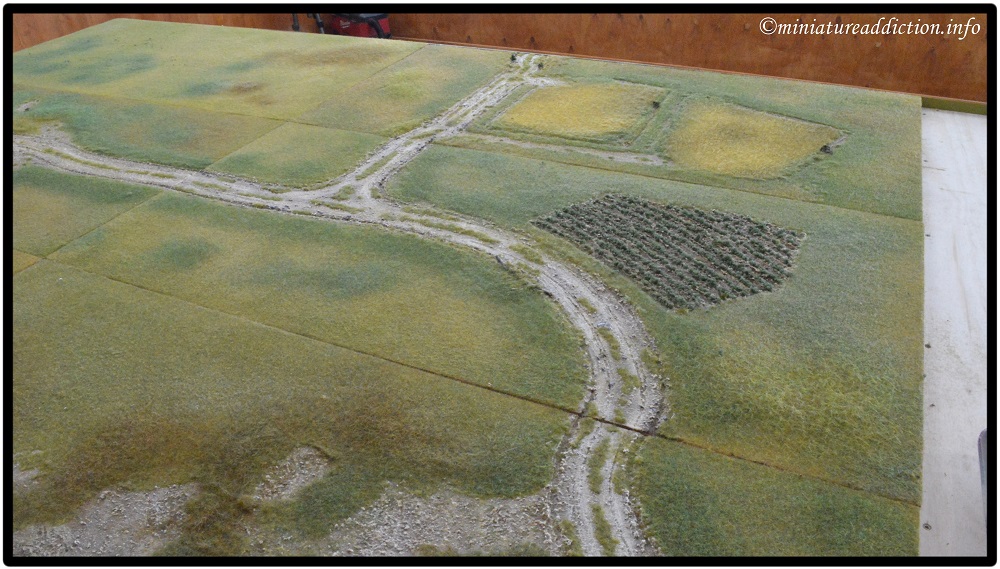
Slowly but surely I’ve been adding bits and pieces to the war room. Some chairs, the odd picture and as you can see in the photos below I’ve finally completed enough terrain boards to cover the whole table. Next on the to-do list will be some river section terrain boards and maybe some sort of trolley for carrying figures on.
