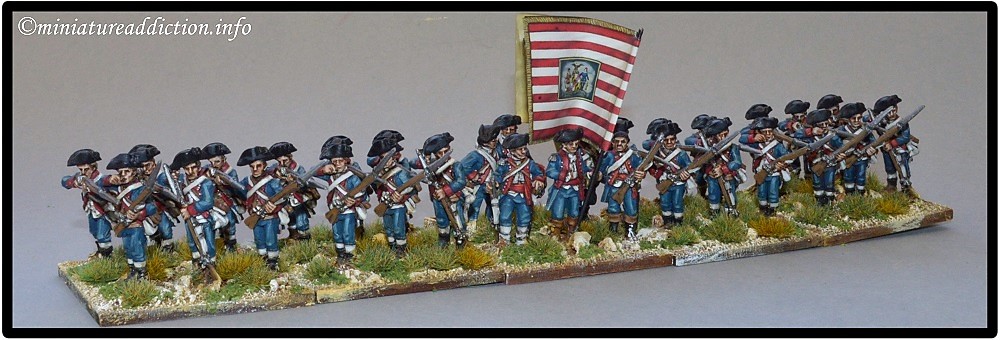
How I go about attaching unit flags
The following is a step by step look at how I go about adding flags to my command stands. In this guide I will be using high quality paper flags purchased from GMB Flags. The glue I generally prefer to use for this sort of operation is Mod Podge (Matte-Mat-Mate). Although similar in appearance to PVA glue, Mod Podge has a couple of advantages over some cheaper white glues. Namely it doesn’t seem to shrink or turn yellow over time. For the sake of completeness I will walk through even the very basics steps in this of the process.
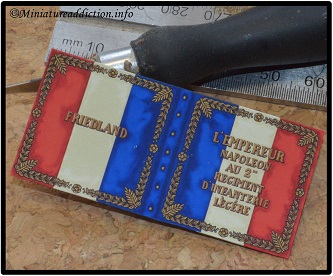
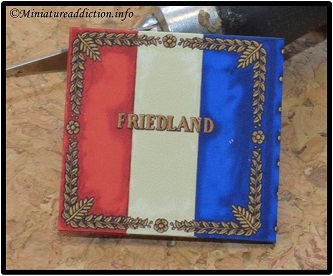
Step 1: Cutting out your flag.
Personally I like to use a sharp blade and a steel straight edge as opposed to scissors here. In fact I keep a couple of blades for my hobby knife aside just for cutting out flags. In the past I’ve struggled to get a good result with a blunt blade or a pair of scissors.
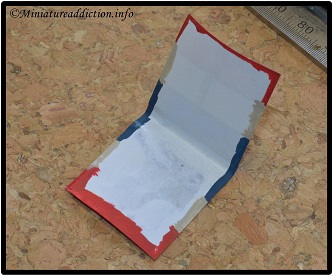
Step 2: Painting the inside flag edges.
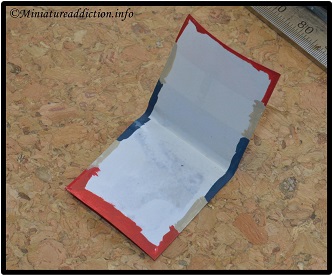
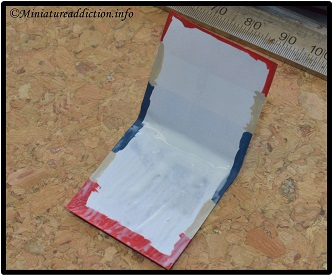
This is a great tip I picked up from the inter net. Here I try to match the flag colours as best I can. Airing on the darker side if anything. This is far easier than trying to paint around the edge of an attached flag. Remember to take care here and paint not only the back of the flag but, also the very edge as well.
Step 3: Soft alignment fold.
Here I have brought the open edges of the flag together. Once I’m happy with their alignment, I gently apply pressure to create a soft fold in the flag.
Step 4: Shaping the fold.
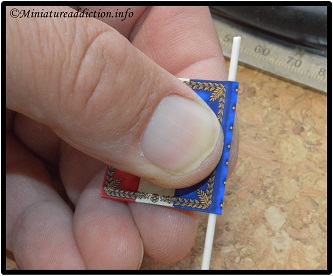
To help ease alignment issues before gluing I like to shape the fold around a make shift rod. In this photo I’m using my thumb and fore finger to shape the flag around the temporary rod.
Step 5: Damping the flag.
Before gluing in place I like to brush the inside of the flag with a damp paint brush. This softens the paper and allows you to shape the flag in more believable ways after gluing. Importantly, you only want to dampen the flag so use very little water here.
Step 6: Glue in place.
Here I prefer to cover only one half of the flag with glue before attaching it to the flag pole. As stated at the top of the page I use Mod Podge for this and apply it at full strength taking care to paint right to the edges of the flag.
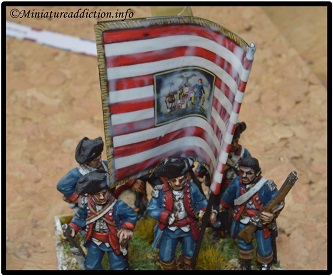
Step 7: Fix in place.
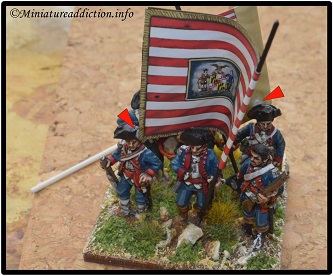
This step is very much a personal preference stage of the proceedings. I like to keep my flags low so they can be anchored to other models on the base. This is purely for durability reasons only. As you can see in the attached photo, red arrows mark where I have managed to glue parts of the flag onto other models for added strength.
Step 8: Final coat before varnishing.
Once the flag has had ample to dry in its final position but, before varnishing. I generally like to give it a last wash with a 50/50 mix of Mod Podge and water. This like the previous step is again designed to add strength to the flag making it more durable on the table top. I do not recommend doing this unless you are 100% confident the glue you are using will age well.
