Introduction
With a Dux Bellorum day planned as a themed club meeting some friends and I have been squeezing in a few evening games to help familiarize ourselves with the finer points of these rules. This after action report covers one such game between Kieran’s Normans and my Vikings. The Norman army was based on the late Roman list while my Vikings are classed as sea raiders in the rule book. The game was played with 28mm figures on a six by four foot table. All figures were mounted on 120mm/60mm bases, with a standard movement unit (1U) equalling 75mm.
Turn 1 Vikings
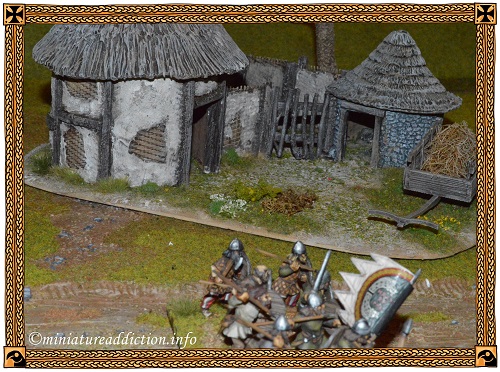
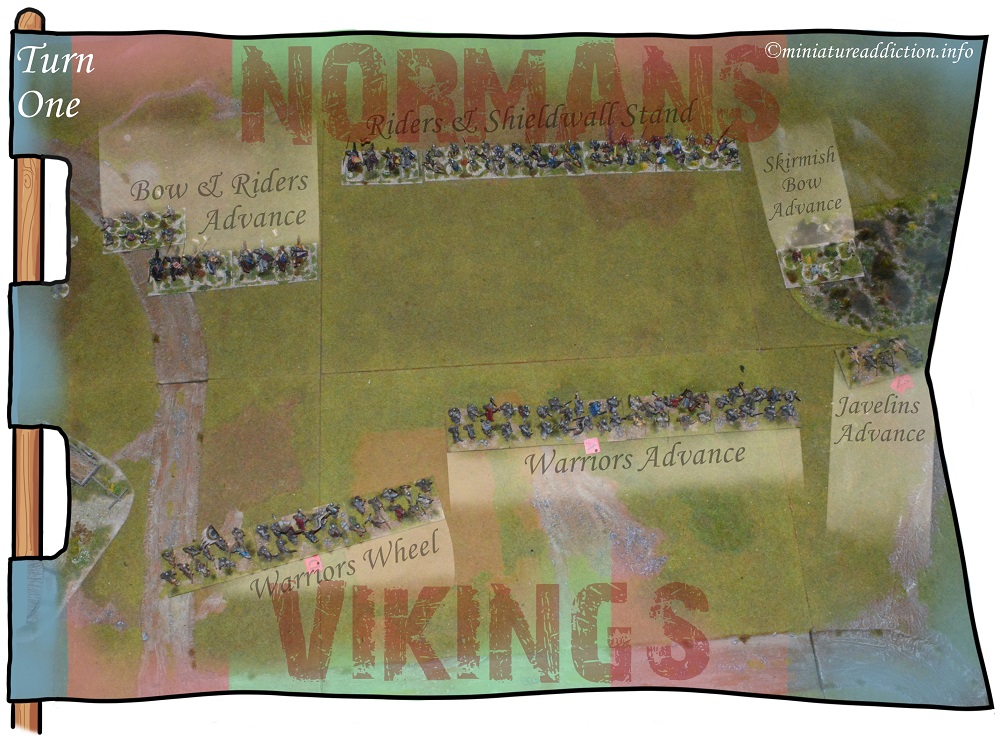
On the right the javelin men rush forward to contest the rough ground with the (bow armed) Norman skirmishers. The main battle line splits in two and moves to engage the enemy cavalry and heavy infantry.
Normans
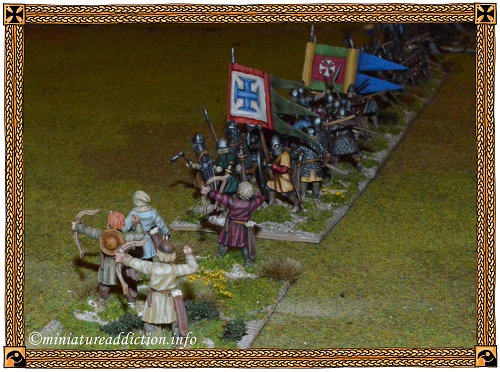
As skirmishers and cavalry push forward on the flanks the centre remains in place as a result of some unlucky bravery rolls (movement tests).
Turn 2
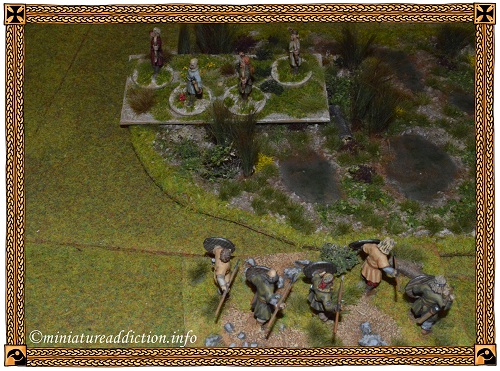
The turn begins with some ineffectual missile fire from both the bow and javelin armed skirmishers on the Vikings right flank. On the left flank the Norman archers also fail to find any weak spots in the Vikings armour.
Norman knights (noble riders) now lead forward two units of imposing horsemen (special rule) ready to charge the Viking general and his retainers on the left flank of the battlefield. Kieran’s fast moving cavalry will gain both the charge and imposing horsemen bonuses for initiating the combat. While the slow moving Viking infantry can do little, but brace themselves against the coming storm.
Viking centre and right flank
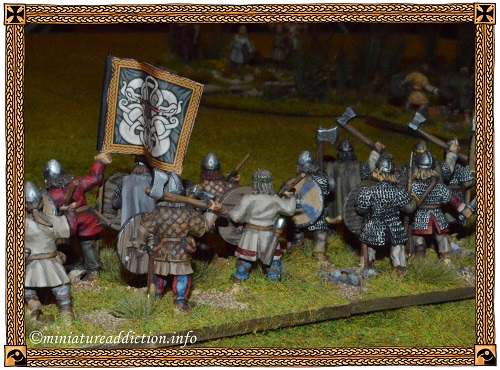
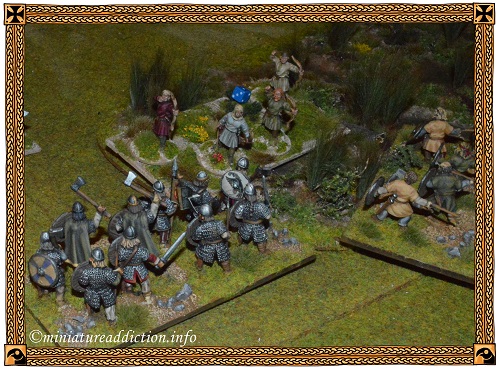
As the main Viking battle line moves slowly forward one band of warriors spontaneously breaks off and charges the Norman skirmishers stationed in the rough ground. Although quickly dispatched by the warriors the bowmen don’t go down without a fight, inflicting a single wound on the war-band before the last man falls.
Turn 3 Vikings
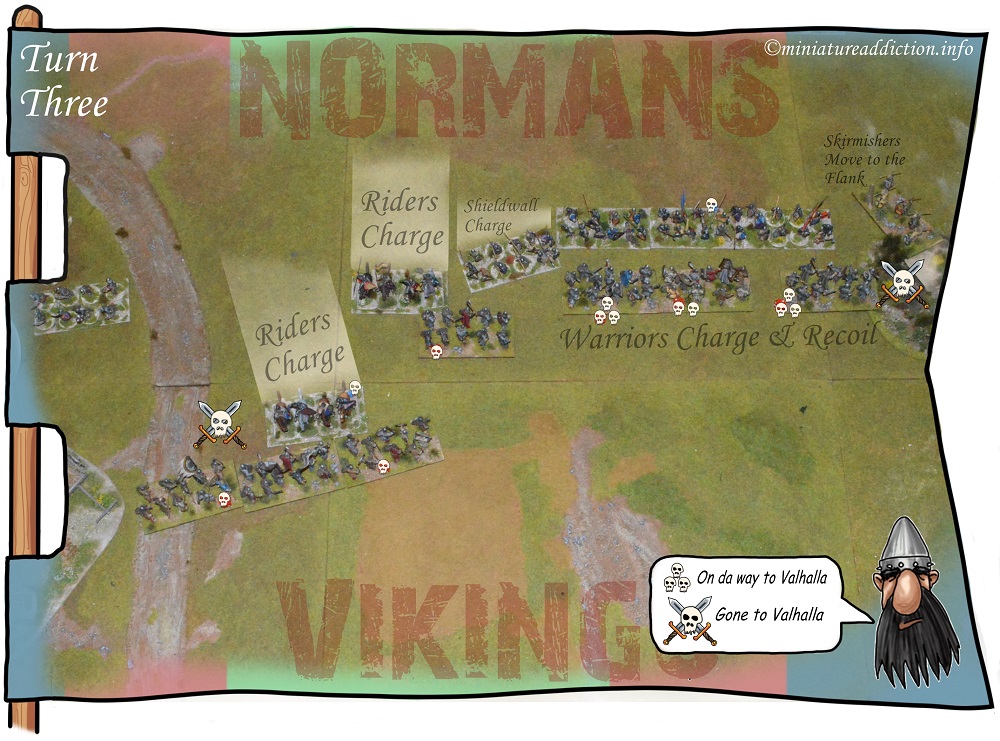
The javelin men now cross the bog on the far right in an effort to get within close range of the Norman heavy infantry. While in the centre the main battle line lunges forward in an uncontrolled charge, but as brutal as this assault is it fails to breakthrough the Norman shield-wall.
Normans
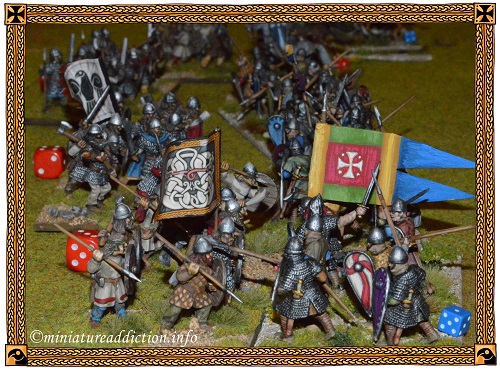
With the heavy infantry more than holding their own on the left flank the Norman General and his cavalry rush forward to engage the Viking left. Despite good odds the horsemen suffer a costly rebuff with little to show for the loss of one unit.
Turn 4
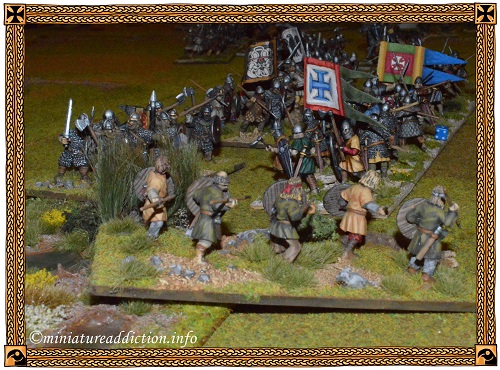
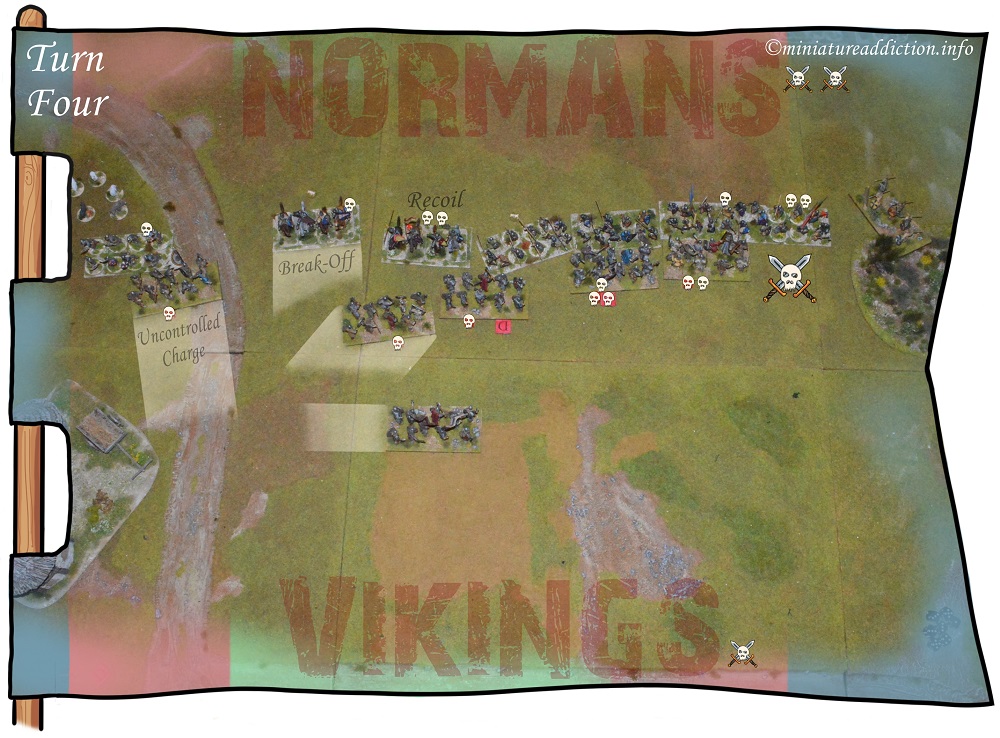
As the Norman cavalry pull back to reform in the centre their heavy infantry manage to cut down a band of noble warriors on the Vikings right flank. With casualties mounting the Viking general moves to a more central position in order to plug any gaps that may appear in his line.
Shrugging off another round of missile fire on the opposite flank more Vikings charge the lone unit of bowmen who staunchly stand their ground.
Turn 5
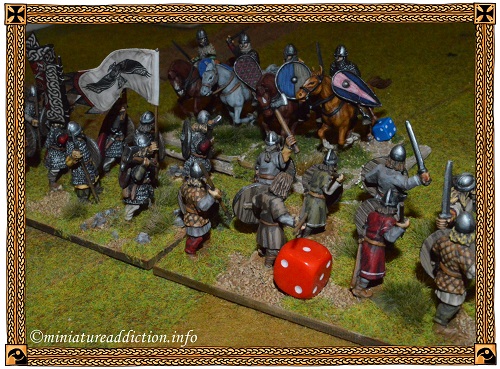
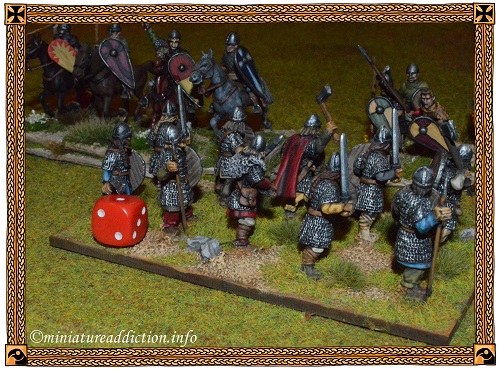
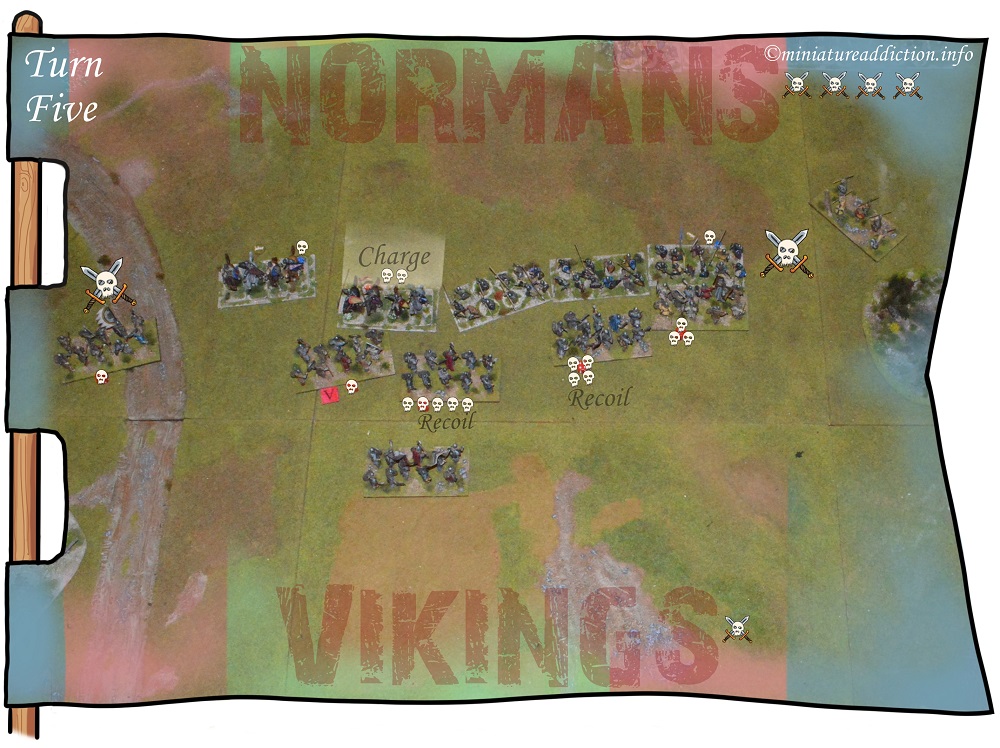
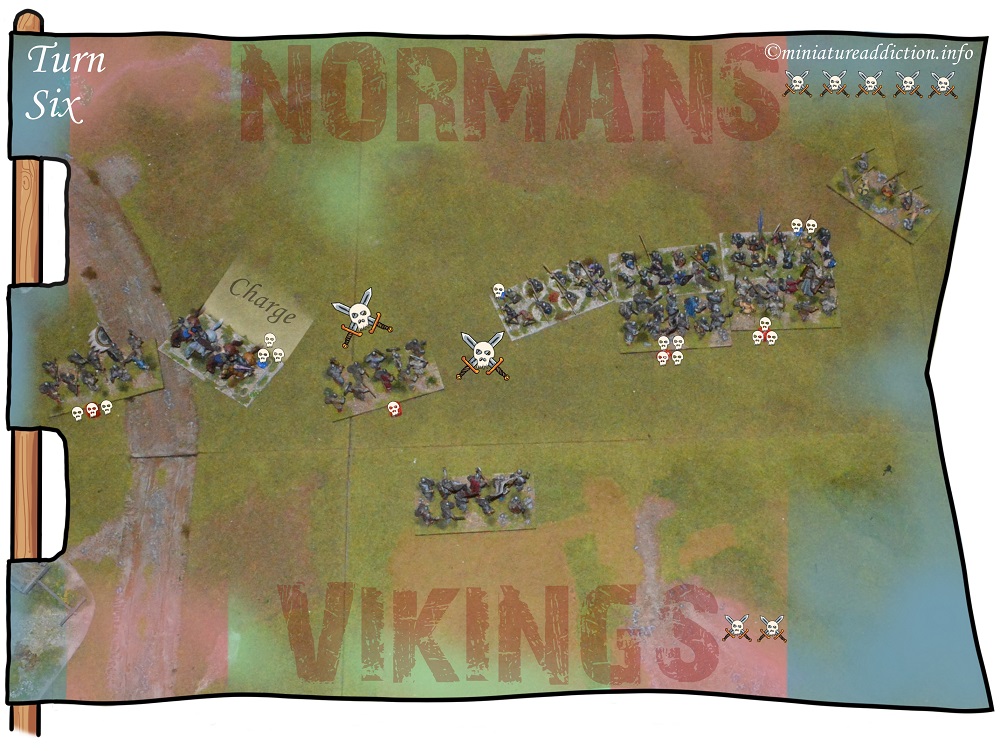
A good round for the Normans in the centre as they manage to inflict a massive amount of wounds on the opposing war-bands. Unfortunately, although close, they can’t quite finish any of these units off, while in contrast the Vikings dispatch both the bowmen and an element of Norman heavy infantry on the opposite flank.
The battle now hangs in the balance and could quite easily go either way. Many of the Viking units are close to collapse while the Norman army is, but one element away from fifty percent loses.
Turn 6
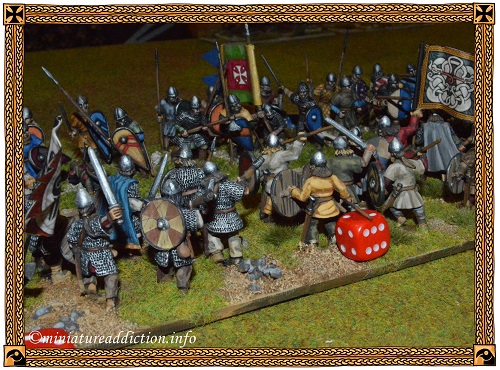
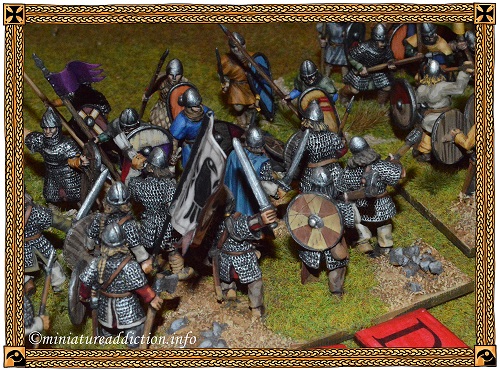
Despite a lack of leadership points the Normans manage to kill another Viking unit in the centre. The heavy infantry hold their own on the right while a spirited cavalry charge on the left, they inflict yet more wounds on the Viking infantry. Alas the Norman general falls mortally wounded in this round of combats which in turn spells the end of the Norman army.
Post-mortem
Another great game, I’m really enjoying these rules at the moment. Having more leadership points than your opponent towards the end of a game made all the difference here. Still it was a very close game and as stated above could have gone either way right up to the last turn.
▲Click the Picture▲
For a close look at the Viking army featured in this battle.
▲Click the Picture▲
To return to the ancients main menu page.
