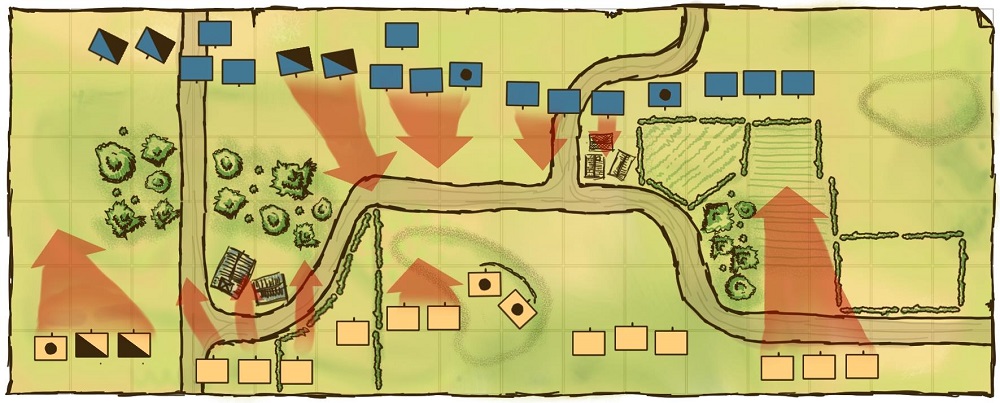
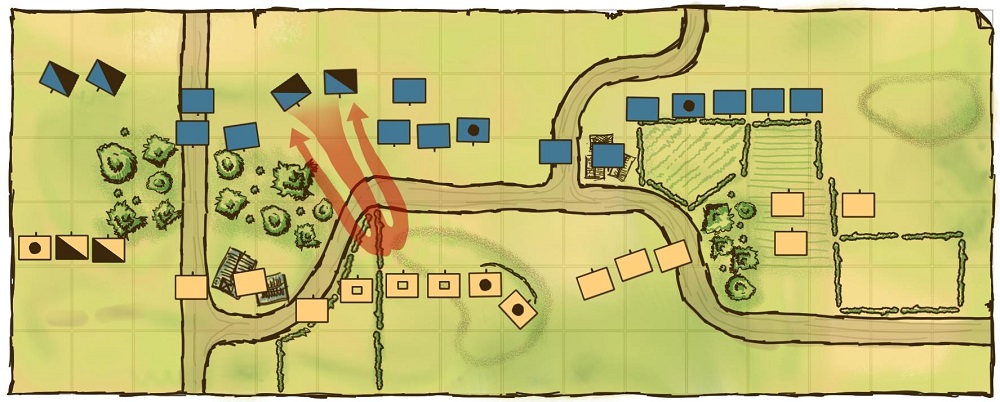
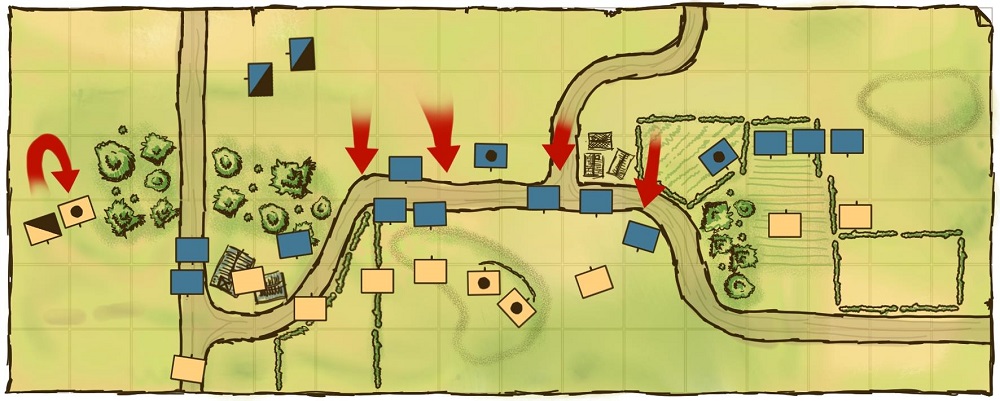
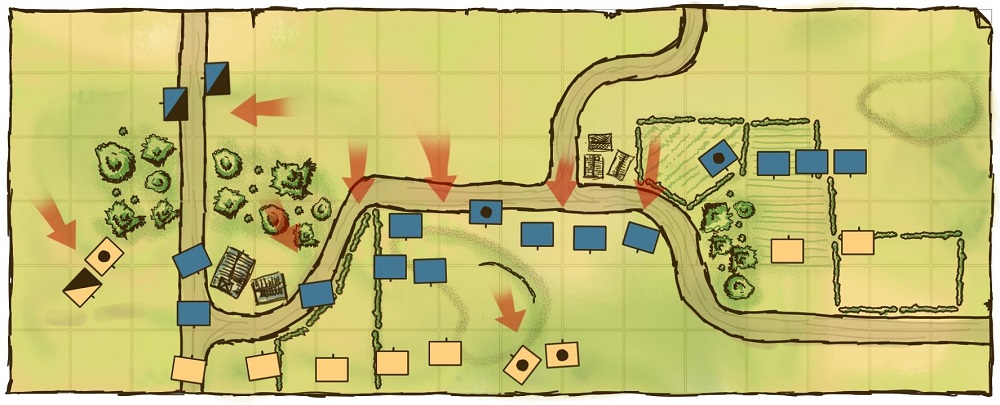
Having finally finished enough Austrian troops to field a decent sized army. It was time to throw them on the table and see what happened. The two forces taking part in this battle were more or less every finished Austrian unit I had, pitted against whatever fell out of the French draw. I’ve added a couple of maps to help make sense of the pictures in this quick AAR.
Map 1 shows the basic deployment. Austrian and French light cavalry brigades face each other on the left flank. In the center the Austrians occupy a strong position on the hill with their Grenadier battalions in the valley below. Three large German battalions form the brigade holding the right flank.
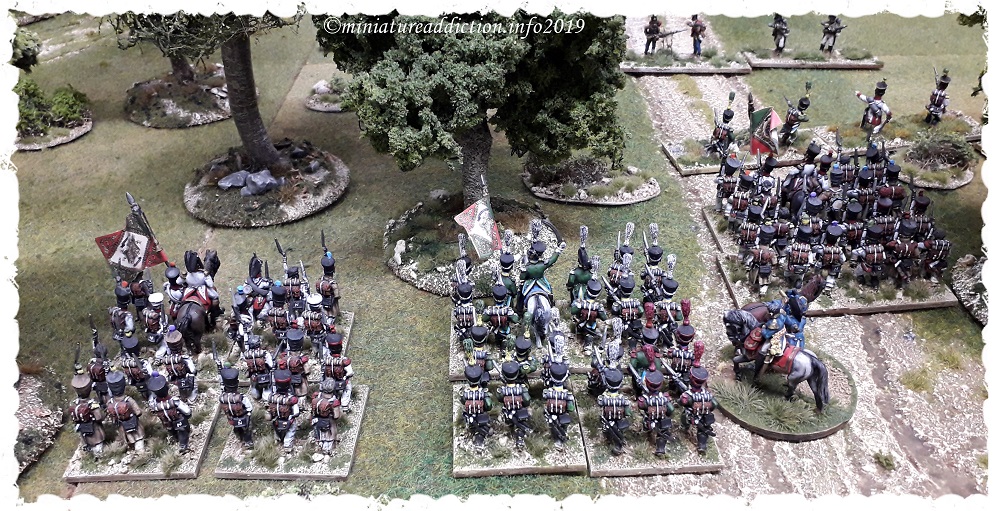
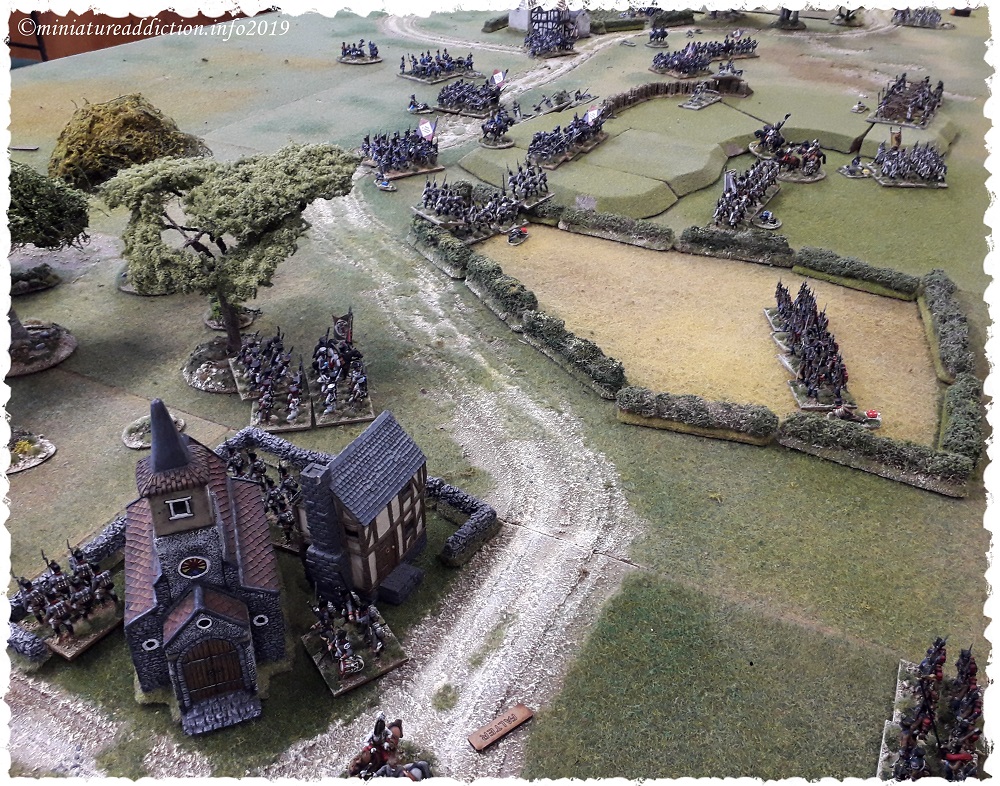
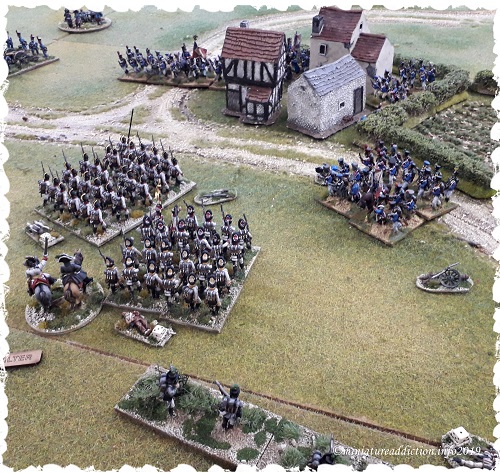
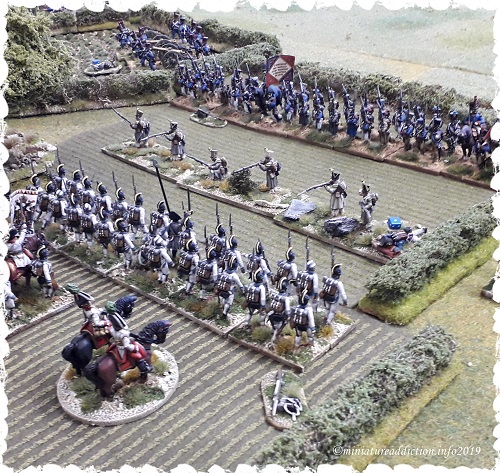
▲Austrian centre▲
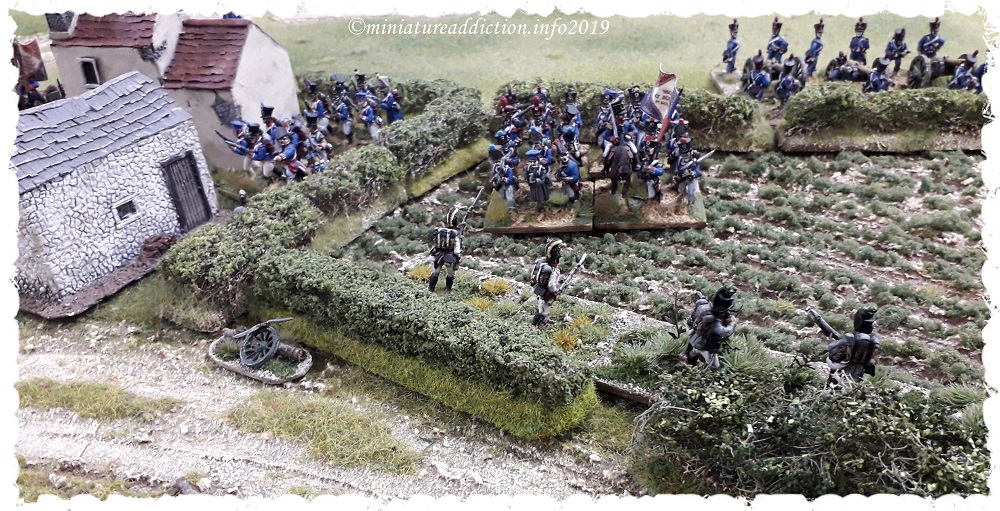
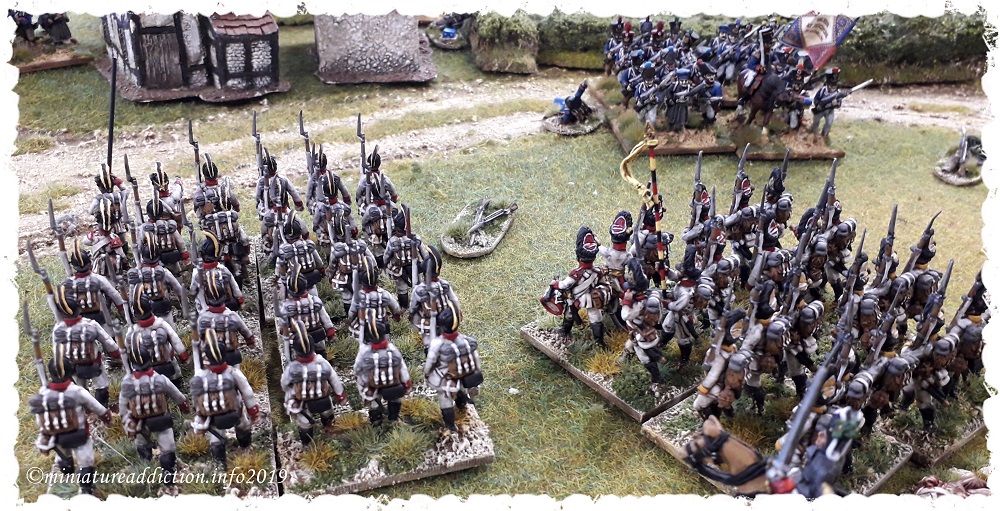
▼Austrian Right Flank▼
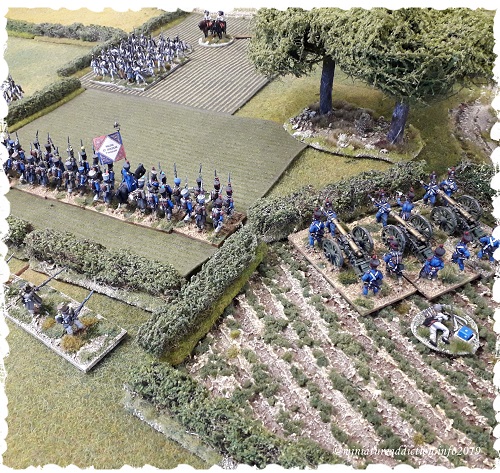
▲French Centre Right▲
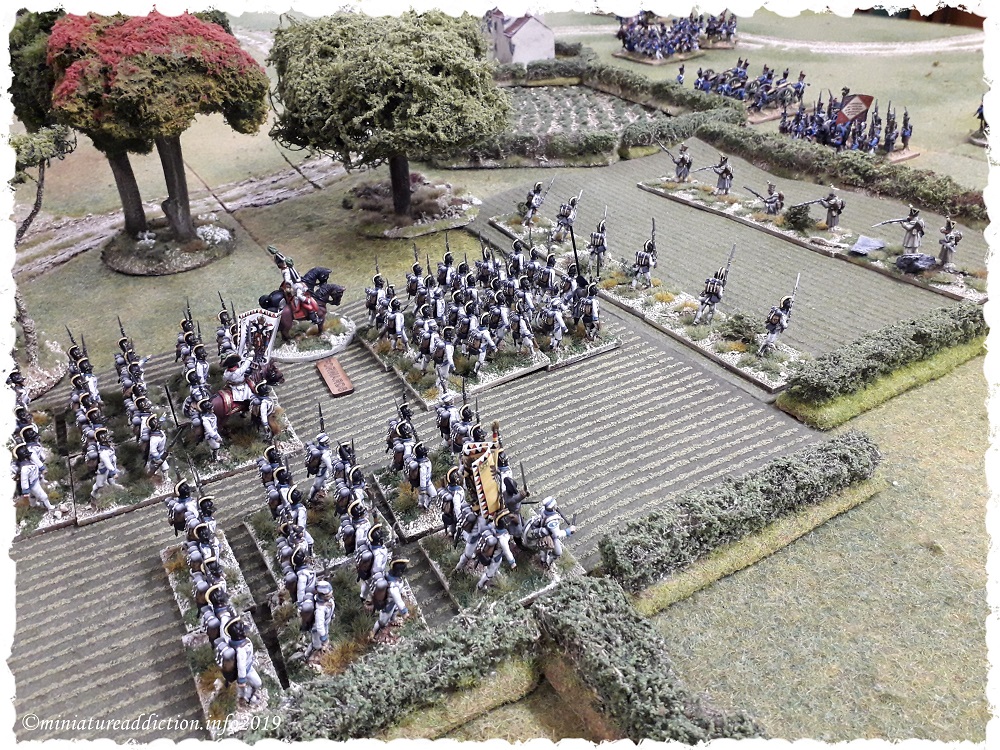
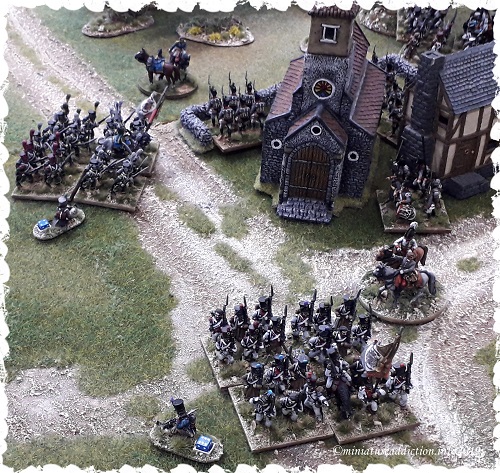
▼ Austrian troops pour into the town on their left flank ▼
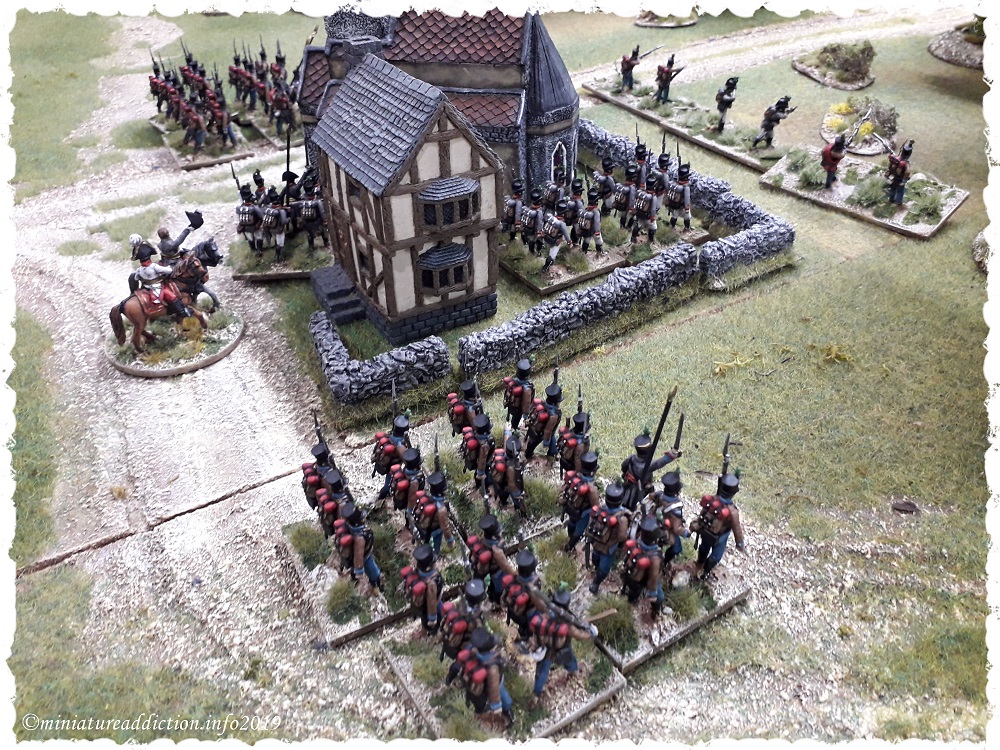
Austrian infantry supported by their cavalry quickly push forward to capture the town on their left flank. The opposing French Light cavalry and Italian infantry brigades remain stationary (Hesitant) for the first two turns, despite re-rolls.
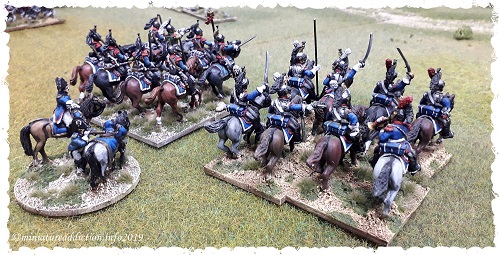
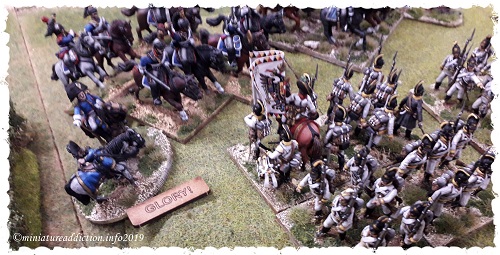
In the center the French heavy cavalry charges the advancing Austrian infantry. Calmly forming square the Germans force the French horsemen to retire. All the while the Austrian guns do their best to pound the French infantry as they move up to support the cavalry attacks
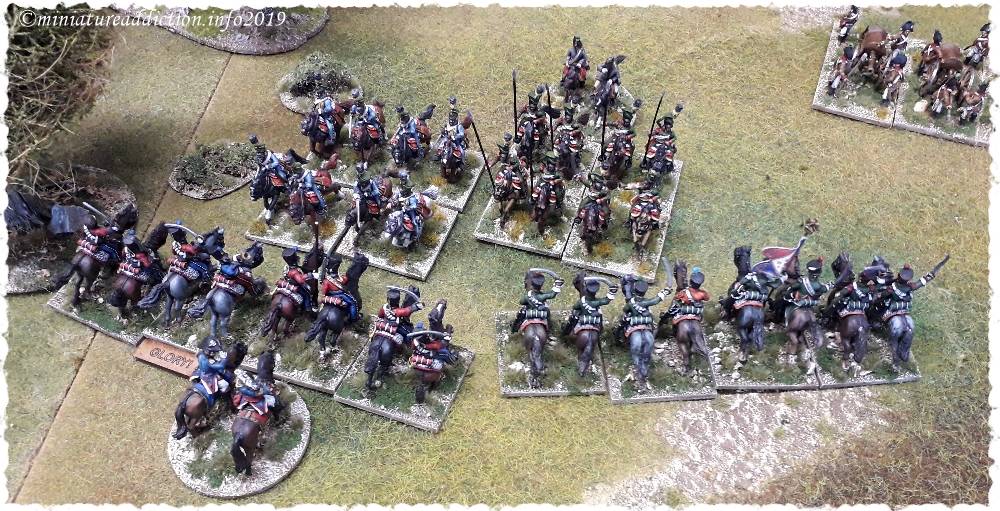
▼ French Cuirassiers begin their assault on the Austrian centre ▼
Highlighting the rules (risks vs rewards)
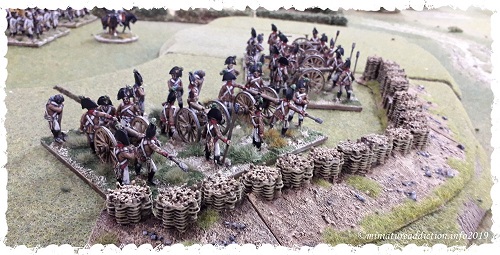
Left: The Austrian artillery (just in arc) fires canister in support of the infantry squares as the French heavy cavalry charges in. Earlier in the command phase these gunners were ordered to double their efforts temporarily increasing there rate of fire for the turn (Assault fire marker). This gives them two extra chances to inflict casualties on a dice roll of 4,5 or 6 (the two yellow dice). There is however, a downside to over working your gun teams. Scores of three or less on the artillery dice after modifiers (the white dice) will cause a fatigue casualty on the gun crew instead of the enemy. This effect doubles when you have your guns on assault fire. The end result here was one casualty for the cavalry and two for the gunners.
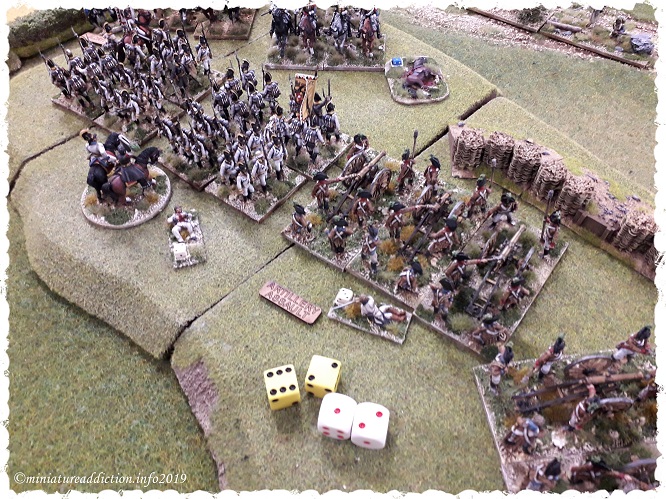
I really like this aspect of the artillery rules. It makes you think twice before taking every opportunity to fire your batteries. Of course you could roll up, unlimber and start blazing away at the enemy skirmish line. However, if you do the maths before rolling the dice. Minus two for moving plus minus two for shooting at skirmishers would mean on a seven or less you will be taking it rather than dishing it out. Much better to set your guns correctly and pick favorable targets.
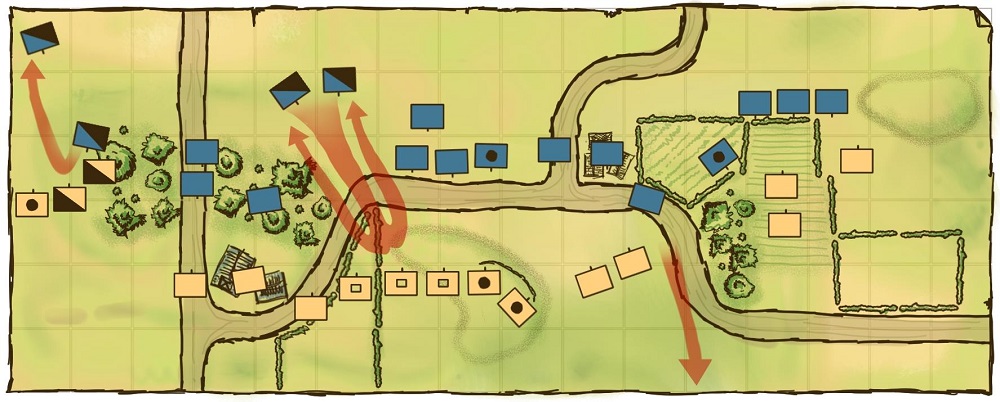
The German grenadier battalions take a hammering from French artillery and skirmishers as they advance on the central village. Mounting casualties become to much for one of battalions to bare, failing its morale check it is forced retreat back towards its own lines.
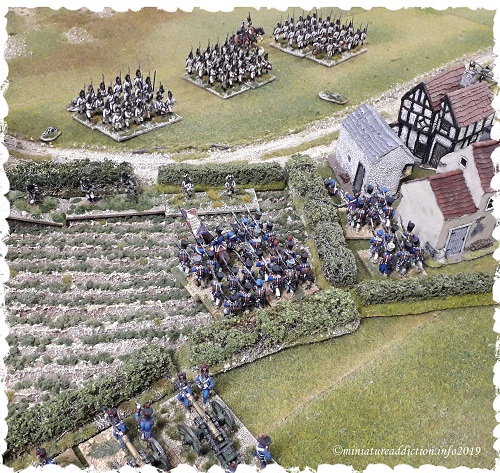
With the Faltering Grenadiers brigade now in retreat the French artillery quickly move to support the left flank. Combining their firepower with that of the battalions deployed in line proves instrumental in breaking up yet another Austrian attack.
While the Austrian infantry struggle to make headway on the right, their light cavalry brigade fairs much better on the left. After just a brief melee they rout their French counterparts forcing them from the field.
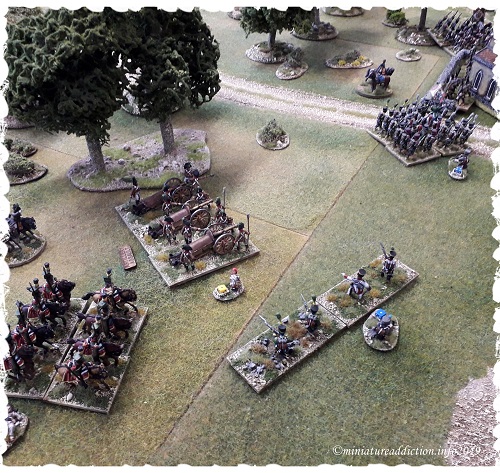
Over powered in the centre the defeated grenadiers quit the field. This in turn forces the Austrian gunners to evacuate their fieldwork’s for fear of being out flanked. The French commander redeploys his Cuirassier regiments in order to neutralize the Austrian light cavalry who were about to start causing problems on the flank. Although the Austrians were still very much in the fight, I decided to call the game here as I was out of time. So ends a most enjoyable run through of rules with my new Austrians.
Hoped you enjoyed the report.
My final thoughts on the game…… I need to order some more Austrians lol.
