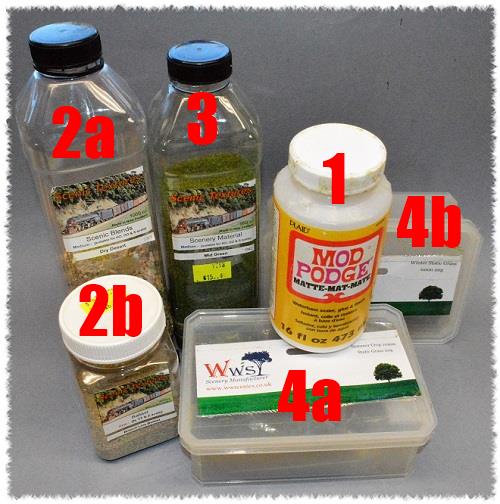
Glue (#1) Despite it’s high cost Mod Podge is my preferred glue when it comes to the bigger jobs like flocking terrain boards or basing armies. Some of the advantages I believe it offers over the cheaper PVA wood glues more than make up for this price difference. Unlike other glues I have tried over the years it doesn’t seem to shrink after drying or turn yellow over time. It also breaks down when soaked in water which makes army re-basing projects much easier.
Grit (#2a & 2b) For a quick and simple ground cover I used a mix of Scenic Textures–Scenic Blends–Dry Desert and Scenic Textures- Ballast- Fine Blend.
Flock (#3) The underlying basic flock used in step nine of this tutorial is also from the Scenic Textures product range. Scenery Materials– Wild Grasses is a fine flock consisting of several different shades of green blended together. In my opinion this works well with the home made grass tufts I add as a final dressing to each base.
Static Grass Tufts (#4a & 4b) 4mm Muddy Grass and Winter Grass from WWS were used in the last step of this guide.
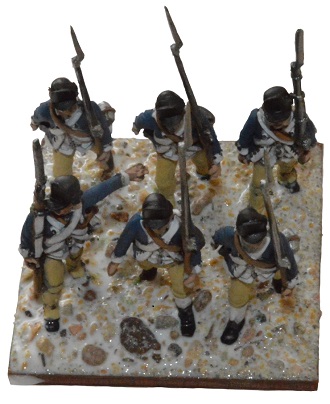
Step 1
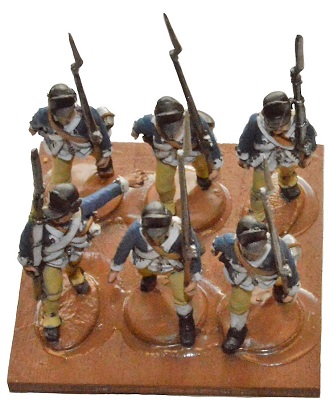
After carefully undercoating the base of each individual model I like to arrange them on a copy of their intended base. Once I’m happy with the look and location of each solider on this secondary stand I can then begin transferring each figure to the undercoated base and glue them into place.
Step 2
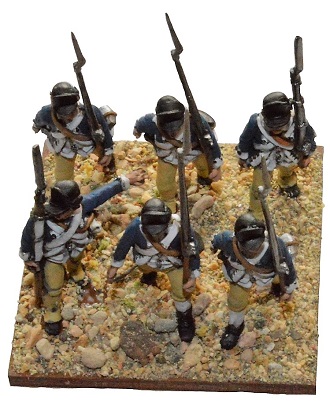
Next a mix of grit and small stones is glued onto the main stand. I recommend using a glue that breaks down in water for these first three steps as this can prove very beneficial if you ever deicide to re-base your troops.
Step 3
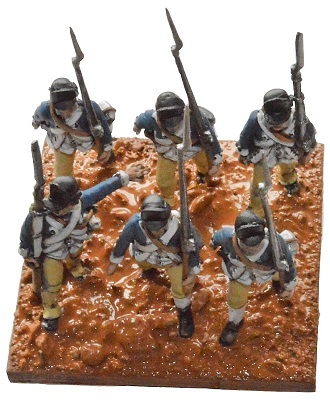
Once the glue holding the stones in place has fully dried it’s time to apply a 50/50 water/glue mix to the base. Once dry this will help strengthen the bond between the grit and wooden base while sealing everything ready for painting. Watering down the glue here makes it easier to apply and also helps it slip between the gaps in the stones.
Step 4
Step 5
Step 6
Step 7
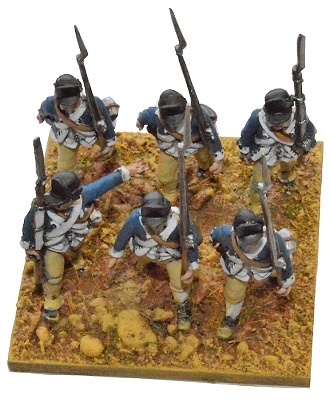
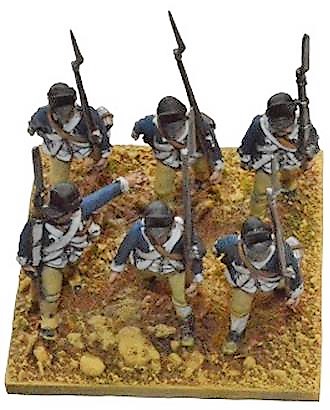
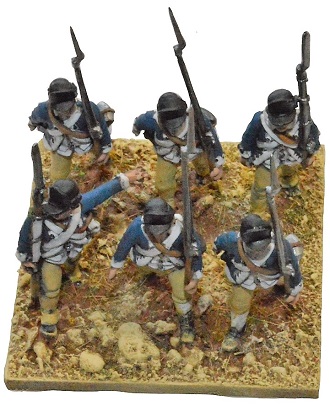
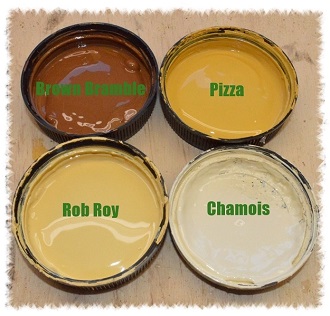
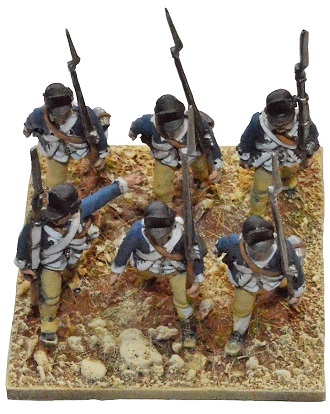
Steps four through to eight are basically a repeated process of dry brushing progressively lighter shades of brown over the top of each other. For the last two of these coats (chamois and white) I tend to focus mostly on the outer edge of each base leaving the middle most parts of the stands slightly darker. Obviously the more shades you use here the smoother the contrast will be. Test pots from your local paint shop can be a very cost effective way of painting a large amount of bases. Pictured to the right are the four colours I now use on all my figure bases and terrain boards.
Test pot colours of household paints
Step 8
Step 9
Step 10
After completing all the dry brushing it pays to go back and check for any large smudges of base colour on the legs of each figure mounted on the base. Now is the time to fix these mishaps before applying any flock.
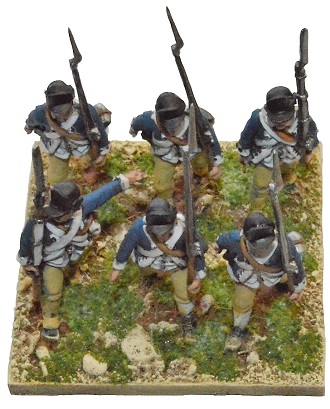
Once I’m happy with the dry brushing its time to glue a few random patches of dark green flock into place. The product pictured here is made by railway scenic’s and is called forest green mix.
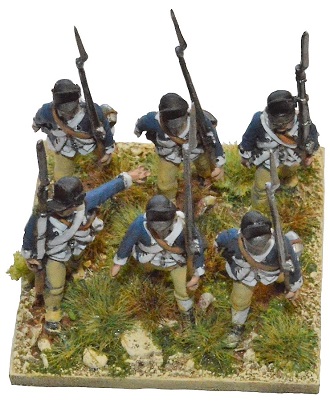
Lastly a two tone mix of home made static grass tufts are strategically added to each stand to complete the look. If you are interested in how I went about making these tufts a short tutorial can be found here.
