
Okay, so this just-played update is going to be a little crazy. If you have been following my painting page you will already be aware that I have been toying with the idea of writing my own Napoleonic rule system. The main reason behind this mad endeavour was that I’ve always wanted to refight Waterloo at a battalion level.
Originally I was looking to use systems like “Shako” or “General d Armee” to achieve this goal. However, after going through the motions I decided that neither of these sets gave me the playing experience I was looking for. Don’t get me wrong, these are both great systems but for one reason or another, they didn’t quite fit the bill.
So in a moment of madness, I decided to write my own. After all, I know what I like, I just need to write it down and get it to work. Easy right? Well no, but I have heard it said that the journey can be more rewarding than the destination.
I should probably point out that I have no plans to inflict these rules on anyone other than myself. In the past, I have played other people’s personal rule projects and while they undoubtedly work well for them. They tended to fall apart pretty quickly when subjected to interactions with players other than the author. It would be naive of me to think my rules would fare any better in this regard.
So if I’m not intending to share them with anyone why am I talking about it here? Well hopefully as I progress with play-testing, army building and terrain collecting they will generate some interesting articles for the site.
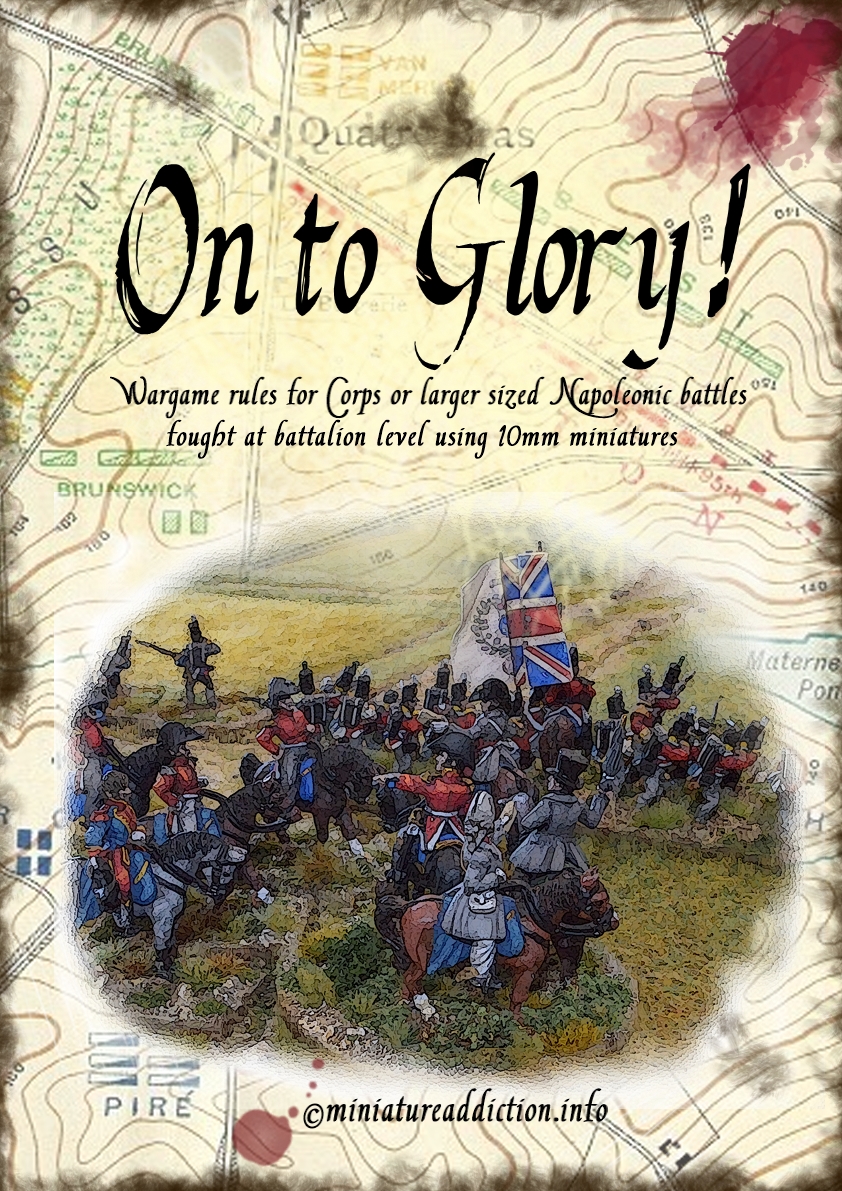
Thus far I have compiled the bulk of the basic rules into a thirty-five-page (large print) rule book complete with a cover, diagrams and two QRF sheets. Below are some photos of an early test game.
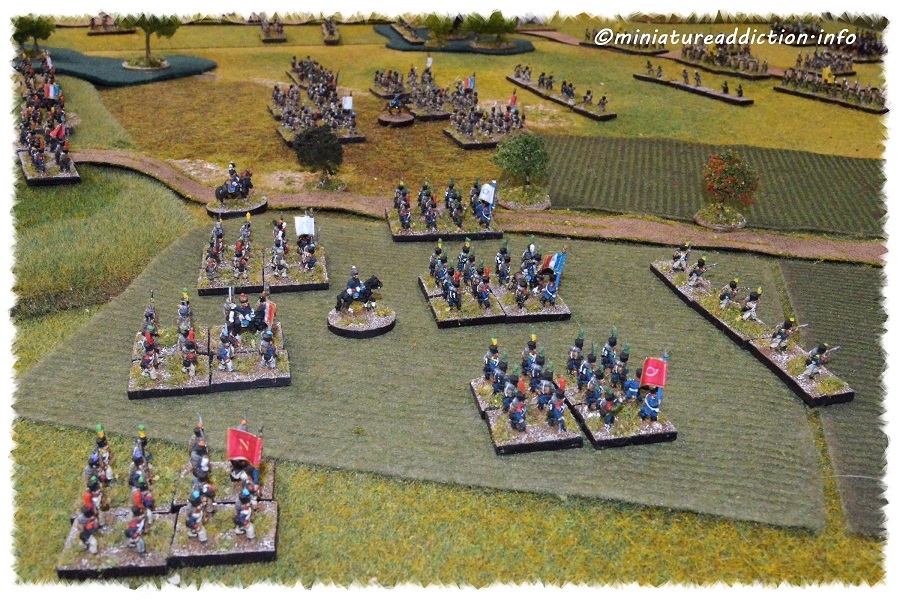
The first iteration of “On to Glory” involved units that were comprised of four or more stands. This was so you could form a line, column or square. However, it quickly dawned on me that these mechanics (formation chargers) would add hours to a battle the size of Waterloo.
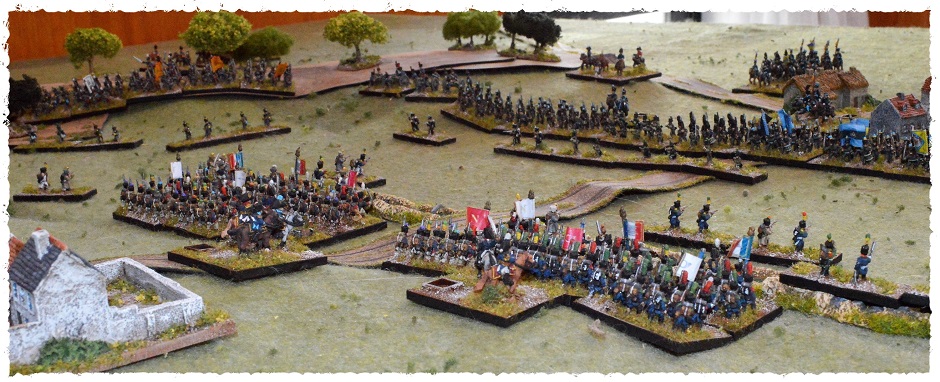
The other downside to units with multiple bases is table space or the lack of it. Pictured above is Foy’s division in an early play-through of the rules with multi-stand battalions. While below is the same division but with each battalion represented by a single element. The same amount of battalions just with a much smaller footprint on the tabletop. I really like the look of all the battalions grouped together in their respective brigades.
Painting wise I have finally finished pretty much every unit that fought at Quatre Bras. I have played through the battle three times now, tweaking my rules after each game.
The first two play-throughs involved a lot of sabot bases as I hadn’t managed to collect all the units involved in the battle yet. These preliminary play-throughs bought about a great culling of many over-complicated rule mechanisms I had packed into the system.
The pictures below are a quick look at my latest run through the Quatre Bras scenario that is featured in the “Shako 2 ” rule book.
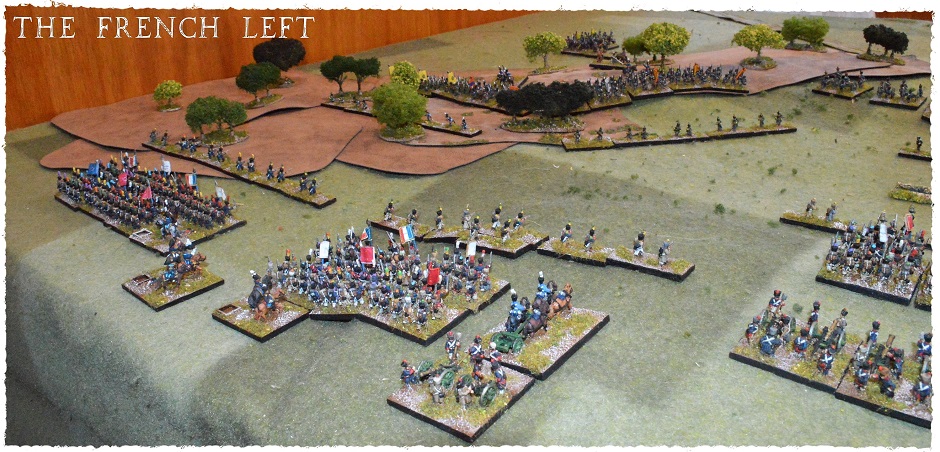
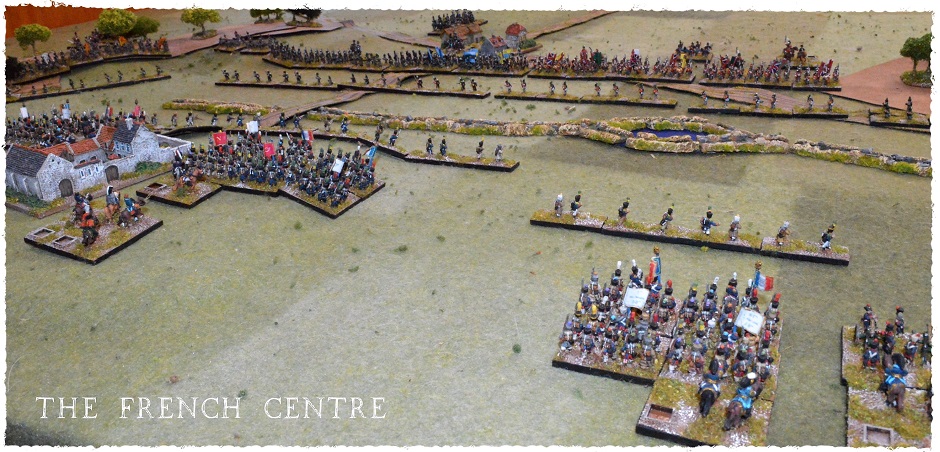
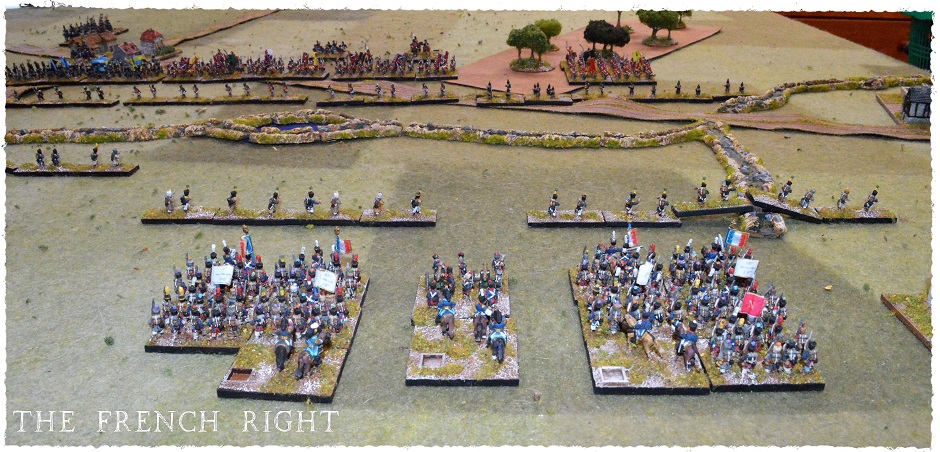
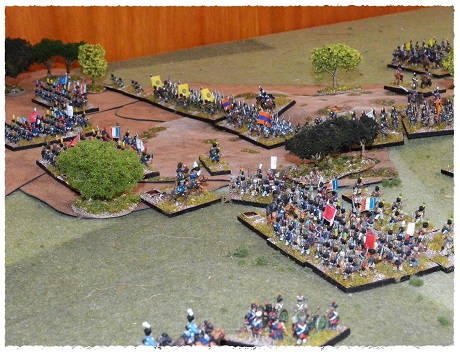
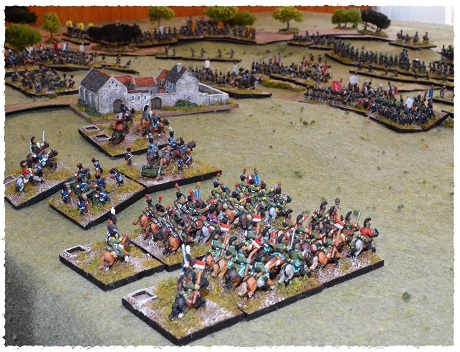
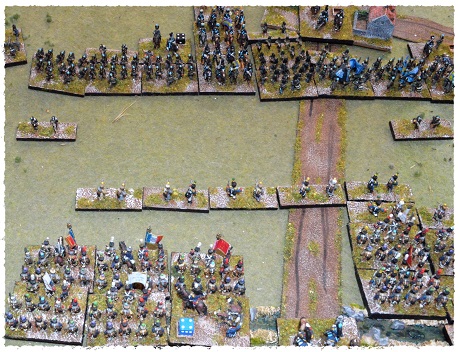
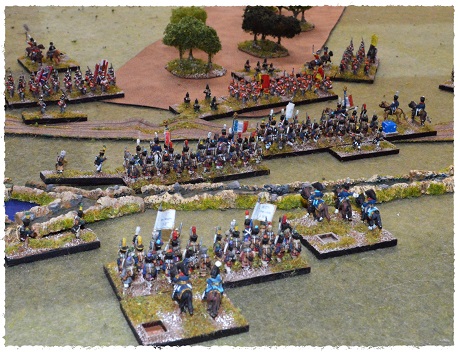
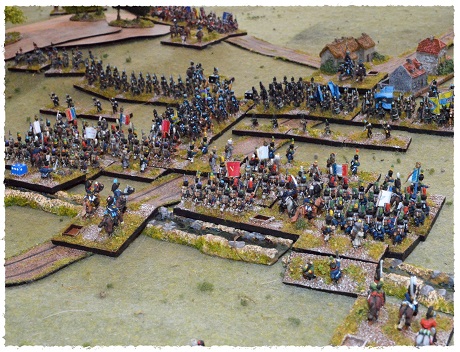
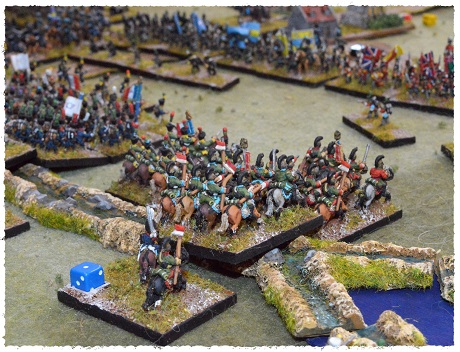
All in all the game went pretty well. Jerome made slow progress on the left with his second brigade repelling a strong counterattack from the Dutch-Belgian first brigade. Foy’s attack in the centre pushed the Brunswickers back in some disorder. The light cavalry (joined later by Kellermanns Cuirassiers) launched repeated charges on the British squares but failed to break them until the very end. Bachelu’s troops ended up crushing Best’s Hanoverian troops stationed in Cherry wood.
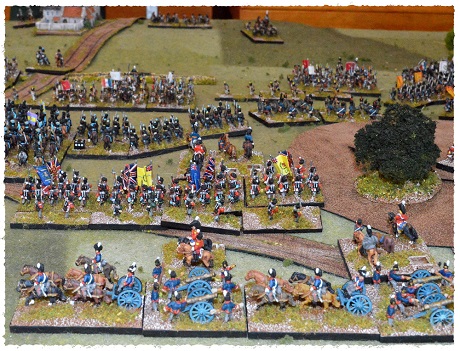
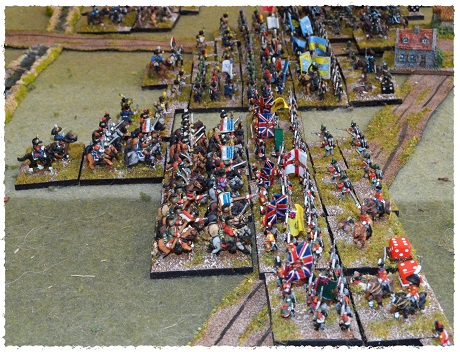
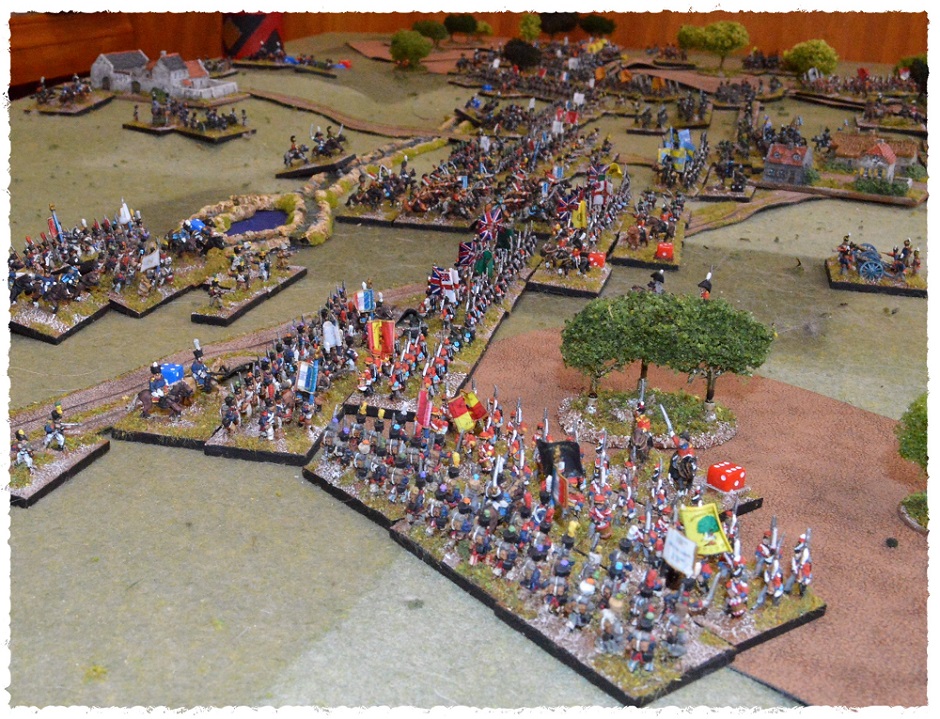
Due to time constraints, I only got to turn nine of twelve. I also fumbled a couple of major rules along the way, but I think the basics are there. After the game, I tweaked the cavalry combat factors and shuffled a couple of musketry modifiers around but that’s about all.
- The game was played on a six-by-four-foot table.
- All combat elements were 40mm wide bases with either a 15mm (skirmishers), 30mm (battalions) or 40mm (cavalry and guns) depth.
- All measurements were in 40mm blocks (MU; movement units)
- The only markers needed are disorder dice on the command stands
- Orders/movement/rally rolls were all via pip dice allocations.
Next time I hope to showcase what figures and terrain I have finished so far.