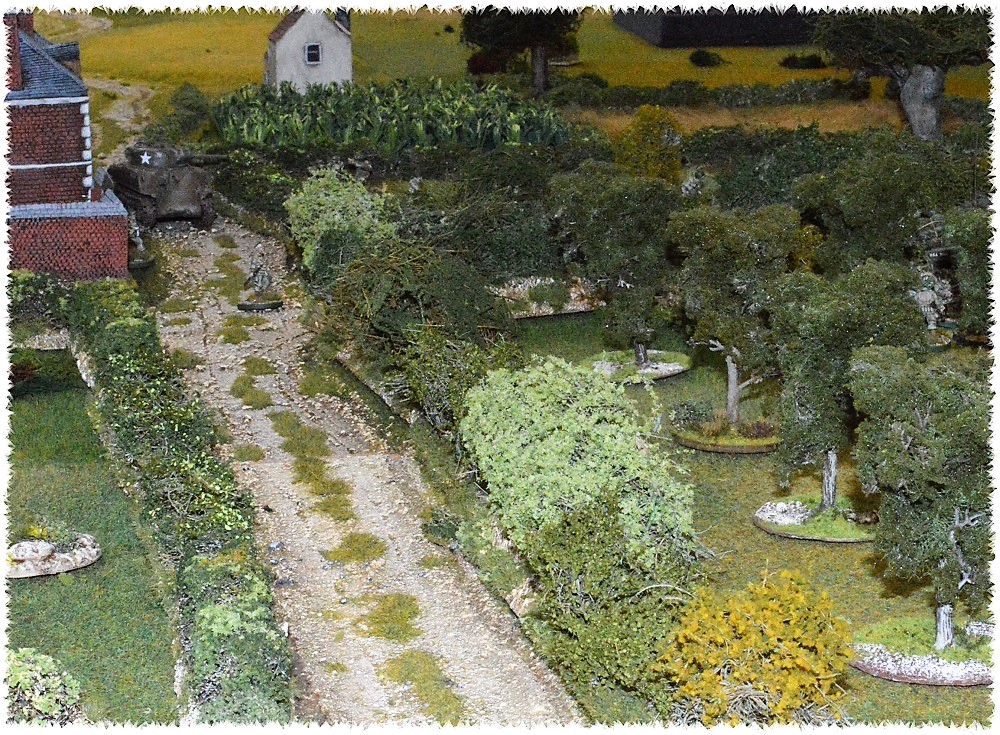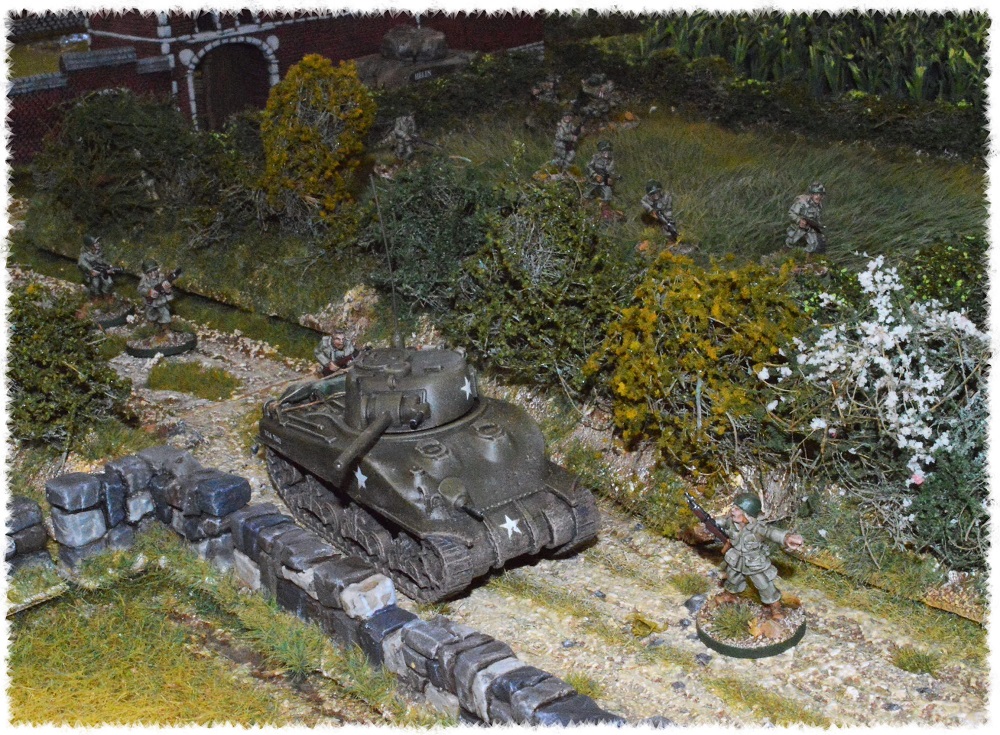
Mark II home cast Stonewalls.

For this update I’ve taken a few photos of my newly painted home made rock walls. A step up from my first attempt at casting walls. I’m really happy with how these ones have turned out. So far I have made master molds for three (different) long straight sections, one short straight and one corner wall section. By cutting into the resin casts while they are still soft and removing the odd top stone I’ve managed to add even more variations to the base molds pictured below.


In the picture below I’ve lined up three different wall sections for comparison. Starting with an old store bought wall (left) followed by an example of my first attempt at making and casting walls (centre) and finally one of the larger MKII wall sections (right).

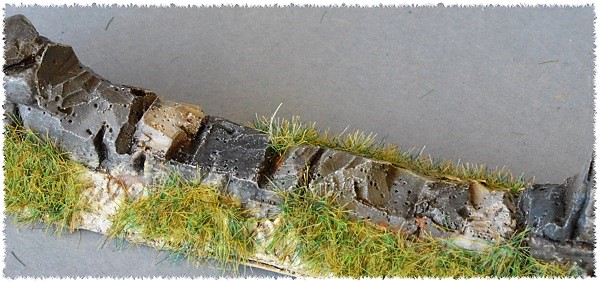
I am still having some issues with air bubbles in the finished castings. These are mainly pin holes that all but disappear after painting. However as you can see in this photo (left) where I have cut away a large section of wall the pitting is a lot worse on the inside. At this stage I’m not really sure how to fix this without investing in a pressurized casting system, which is currently not an option for me.
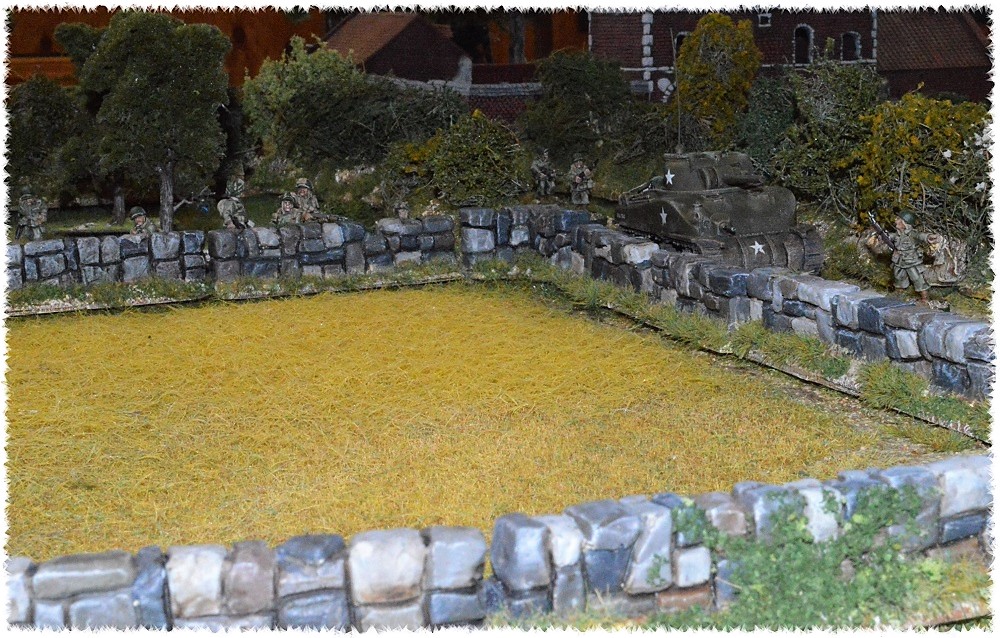
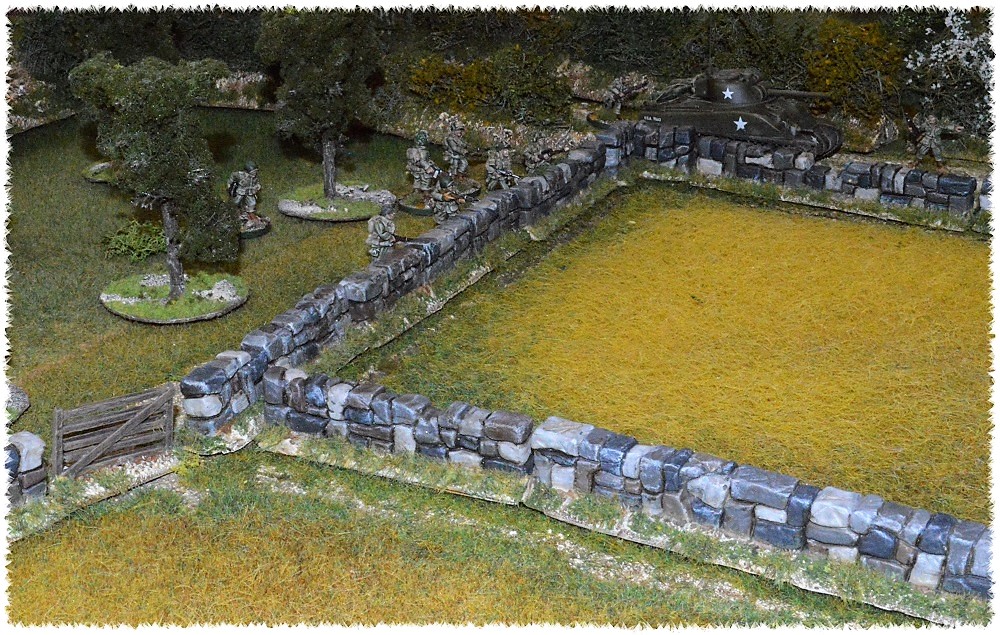
Bocage
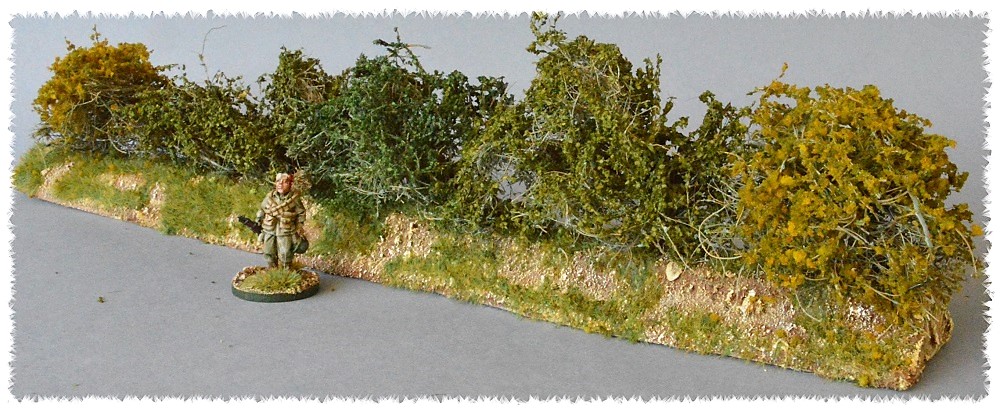
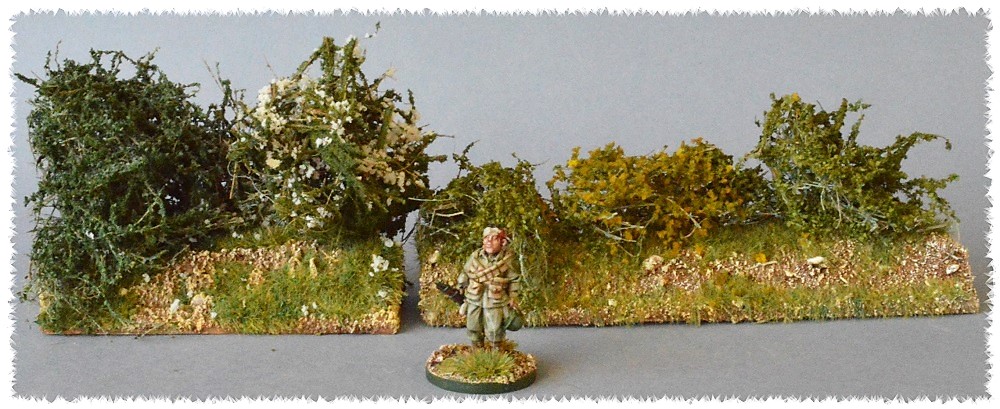
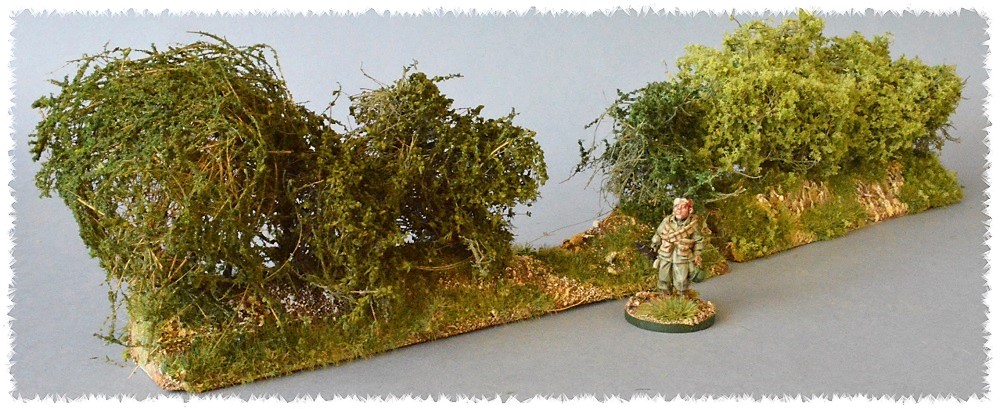
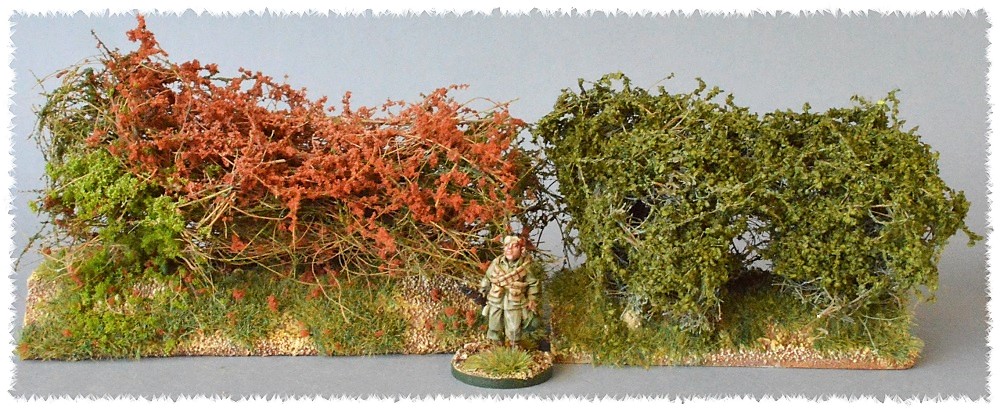
With a second WWII army now on the painting blocks I decided it would be a good idea to make some WWII themed terrain pieces to compliment my new stone walls. Something that limits line of sight while also providing a little extra cover from the deadly firepower of long range weapons from this era. Some bocage seemed like a good place to start as I quite like the Normandy campaign and it would be a good fit for both my US Paras and French armies. So far I have completed about eight feet of bocage and plan to slowly add more over the new year.
