Carthaginians vs Neo Assyrians
Here are some photos of a couple of games I’ve managed to play over the last month or two. Although I’ve played quite a few other games I seldom remember to take pictures when playing someone else. After finishing off some Scythian light horse stands I managed to have enough Assyrians to field a decent fighting force. These stacked up against the mighty Carthaginians who had just beaten my Republic Romans twice in the past week.
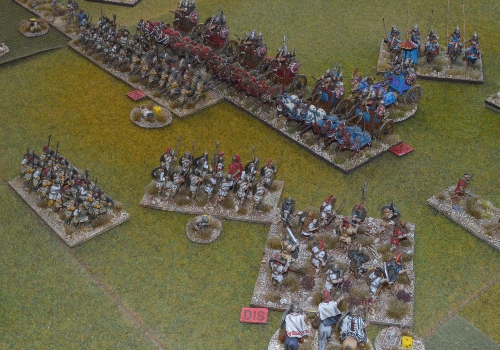
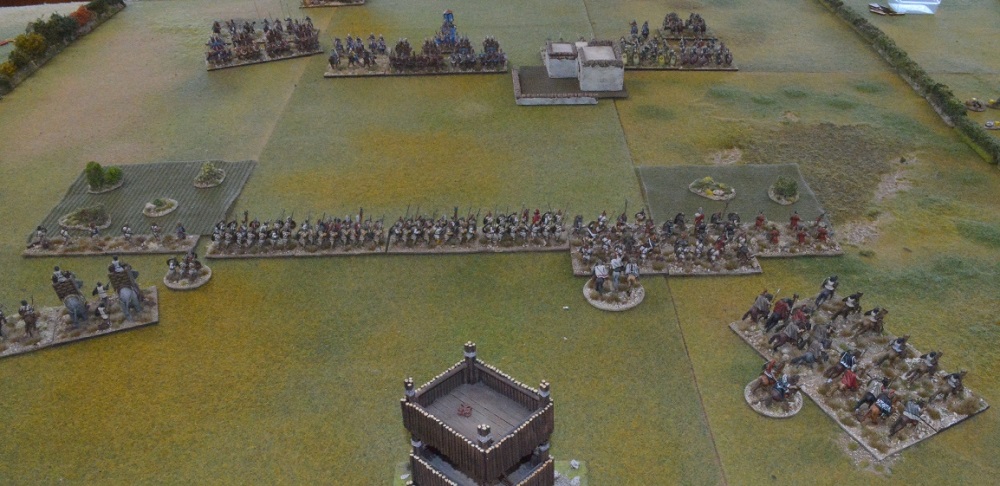
Carthaginians deploy their cavalry on the flanks with the bulk of their heavy infantry positioned between two patches of difficult ground.
![JP Ass vs Carth22](https://miniatureaddiction.info/wp-content/uploads/2020/04/JP-Ass-vs-Carth22.jpg)
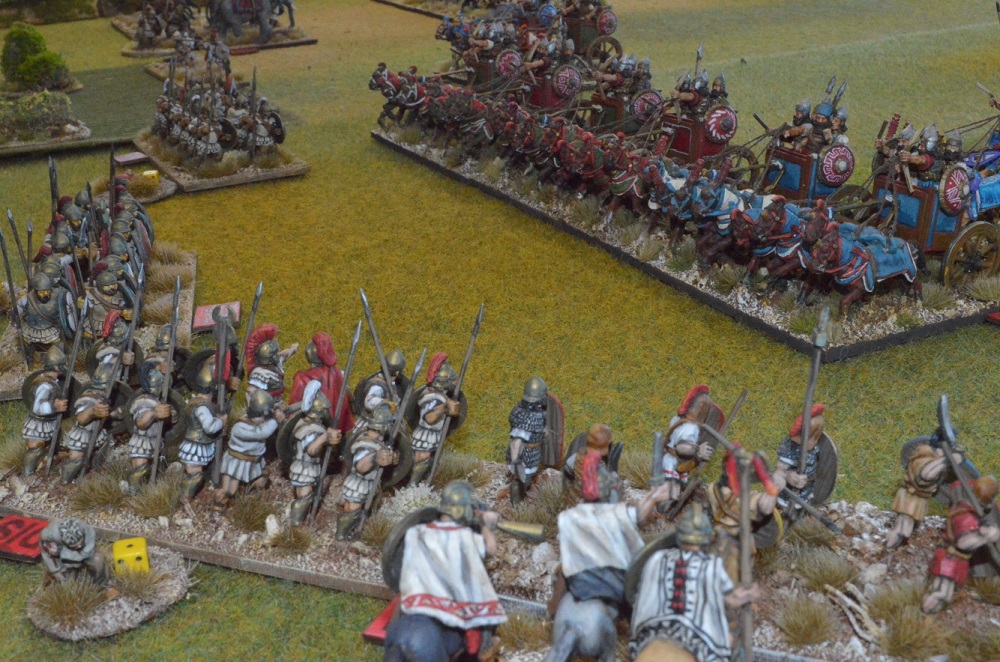
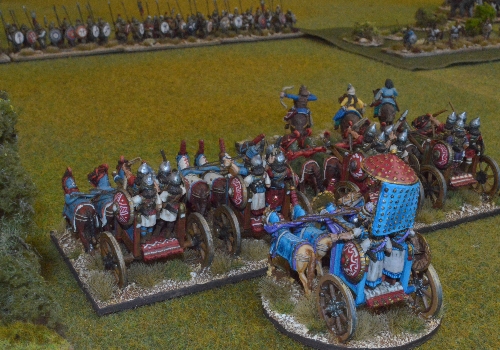
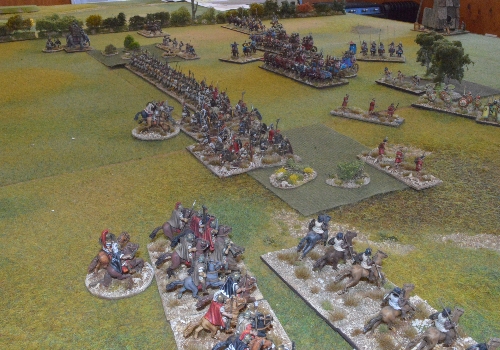
Assyrian four horse heavy chariots advance.
![JP Ass vs Carth15](https://miniatureaddiction.info/wp-content/uploads/2020/04/JP-Ass-vs-Carth15.jpg)
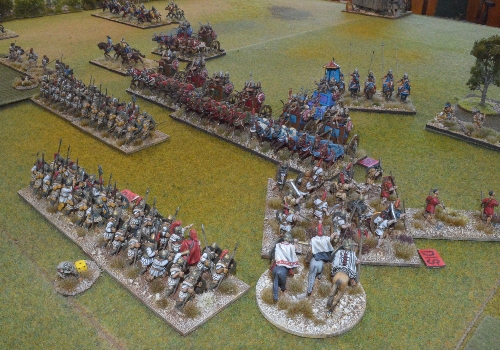
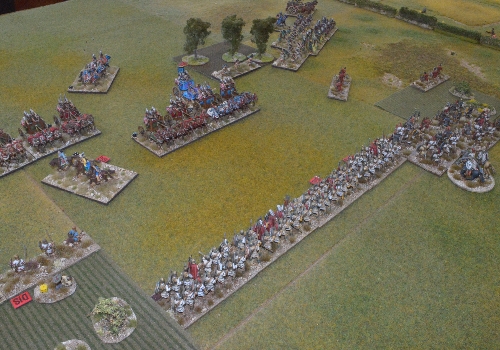
Carthaginians make their move on the right flank
![JP Ass vs Carth14](https://miniatureaddiction.info/wp-content/uploads/2020/04/JP-Ass-vs-Carth14.jpg)
![JP Ass vs Carth21](https://miniatureaddiction.info/wp-content/uploads/2020/04/JP-Ass-vs-Carth21.jpg)
The King joins the main attack.
![JP Ass vs Carth13](https://miniatureaddiction.info/wp-content/uploads/2020/04/JP-Ass-vs-Carth13.jpg)
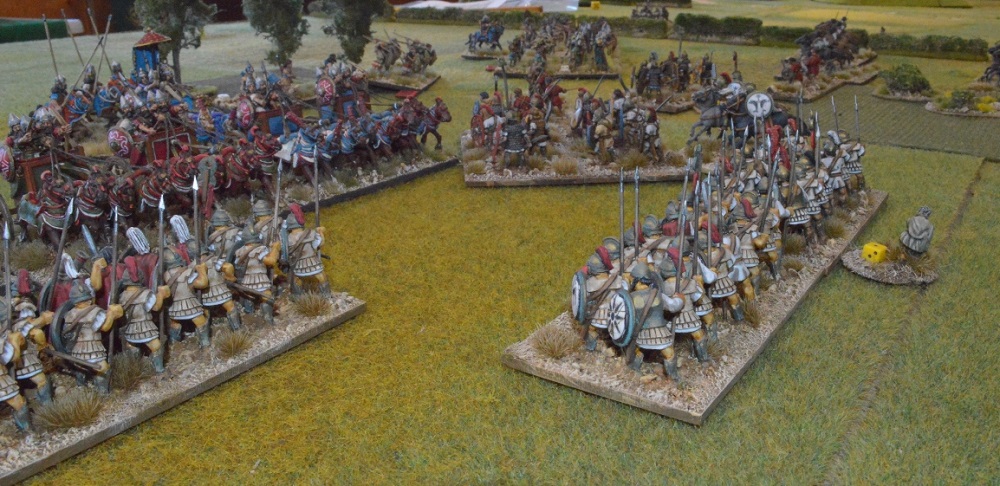
Both leaders enter the fray.
![JP Ass vs Carth11](https://miniatureaddiction.info/wp-content/uploads/2020/04/JP-Ass-vs-Carth11.jpg)
![JP Ass vs Carth23](https://miniatureaddiction.info/wp-content/uploads/2020/04/JP-Ass-vs-Carth23.jpg)
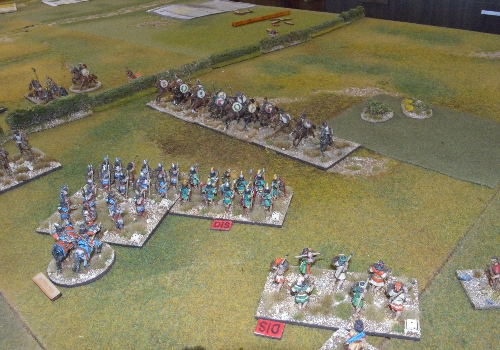
Numidian cavalry harass the Assyrian infantry
![JP Ass vs Carth16](https://miniatureaddiction.info/wp-content/uploads/2020/04/JP-Ass-vs-Carth16.jpg)
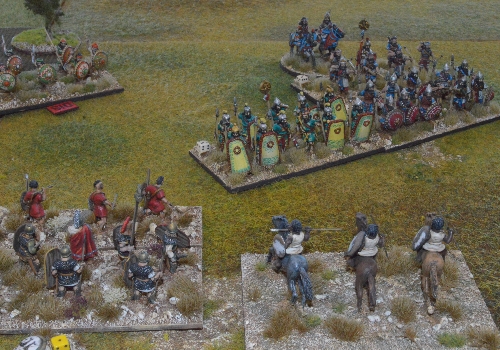
Although weakened the Assyrians stand their ground
![JP Ass vs Carth19](https://miniatureaddiction.info/wp-content/uploads/2020/04/JP-Ass-vs-Carth19.jpg)
Heavy chariots engage heavy infantry
![JP Ass vs Carth20](https://miniatureaddiction.info/wp-content/uploads/2020/04/JP-Ass-vs-Carth20.jpg)
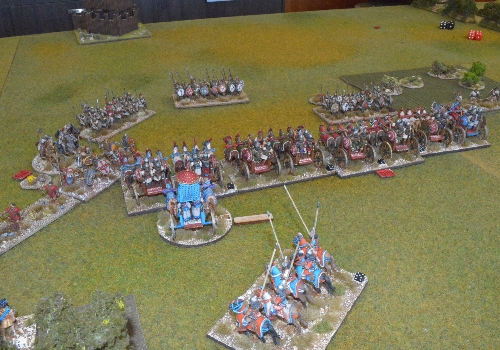
The latter finally break ending the battle.
![JP Ass vs Carth17](https://miniatureaddiction.info/wp-content/uploads/2020/04/JP-Ass-vs-Carth17.jpg)
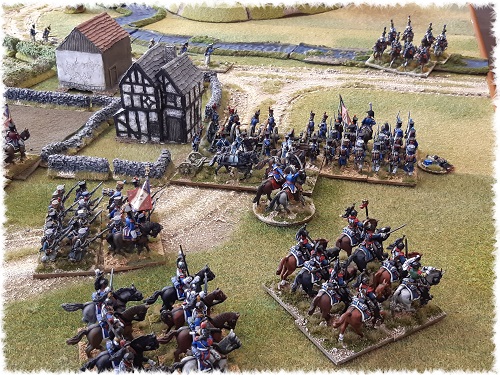
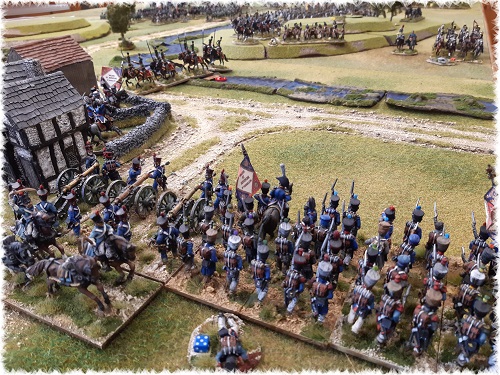
Austrians vs French
![Hold the river 1](https://miniatureaddiction.info/wp-content/uploads/2019/11/Hold-the-river-1.jpg)
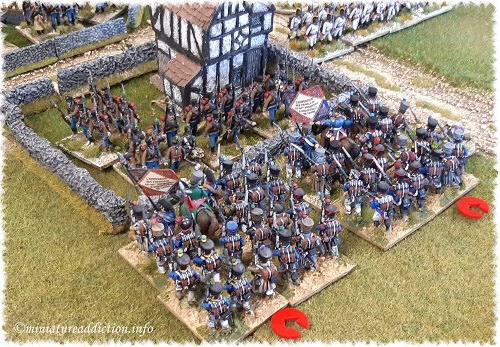
Crossing the river
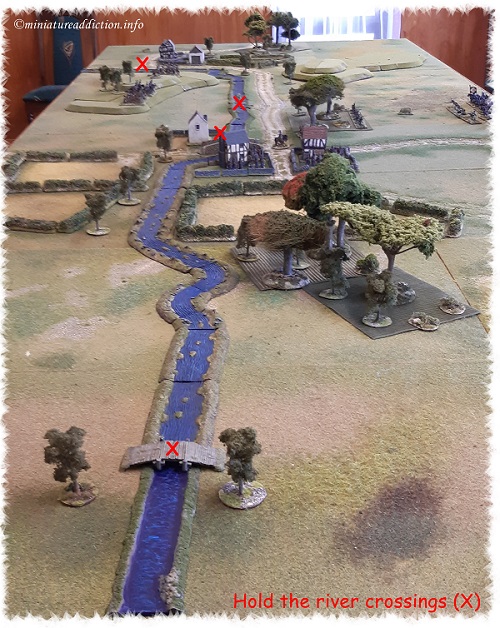
After finishing another Austrian infantry battalion, I decided to put the army through its paces in a small solo game. The Austrian’s started the battle with one infantry brigade holding the main bridge and central town section. A second brigade of light cavalry was deployed on the hills to the west of the town watching the river crossings. The French began the battle with just one infantry division deployed in front of the town.
![Hold the river 2](https://miniatureaddiction.info/wp-content/uploads/2019/11/Hold-the-river-2.jpg)
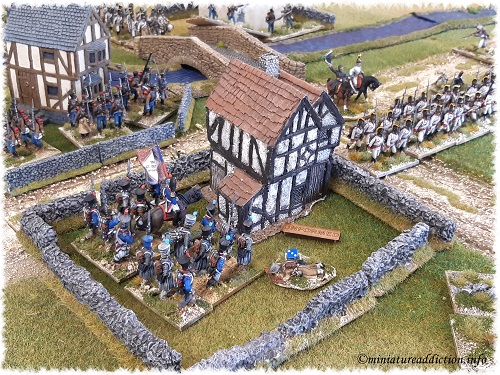
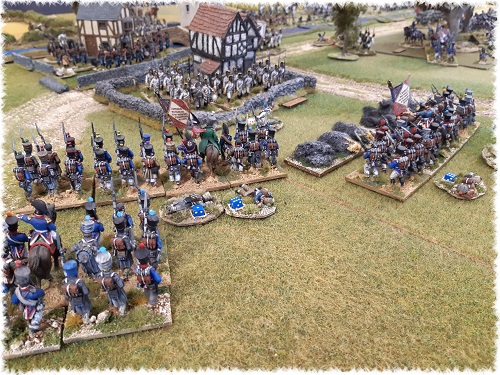
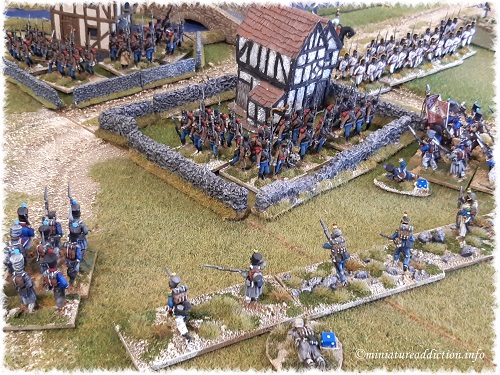
The Battle begins with French infantry making repeated attempts to evicted the Austrians from the central town.
![Hold the river 3](https://miniatureaddiction.info/wp-content/uploads/2019/11/Hold-the-river-3.jpg)
![Hold the river 5](https://miniatureaddiction.info/wp-content/uploads/2019/11/Hold-the-river-5.jpg)
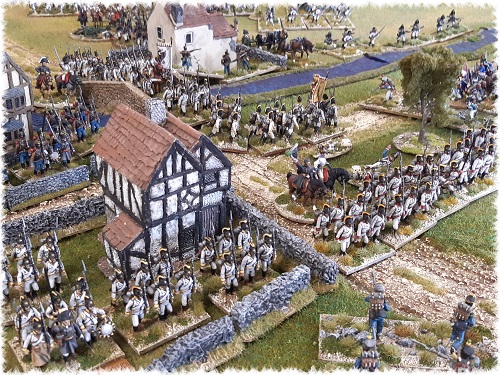
▲They pay a high price, but eventually break into the town▲
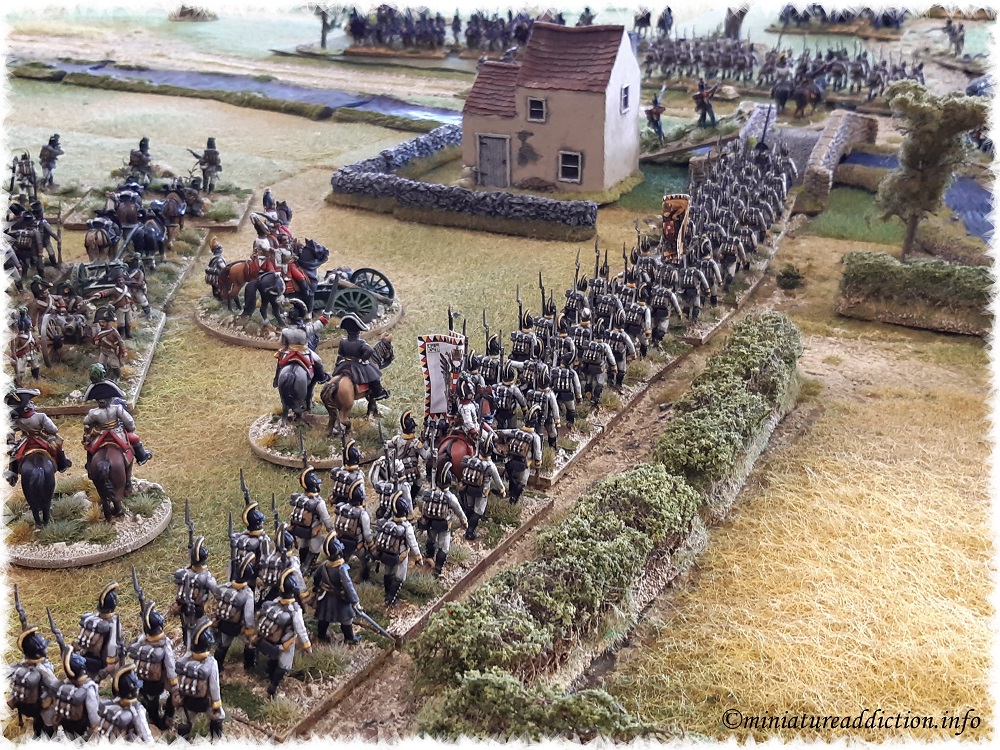
▼Only to be forced out again by Austrian reinforcements▼
![Hold the river 4](https://miniatureaddiction.info/wp-content/uploads/2019/11/Hold-the-river-4.jpg)
![Hold the river 6](https://miniatureaddiction.info/wp-content/uploads/2019/11/Hold-the-river-6.jpg)
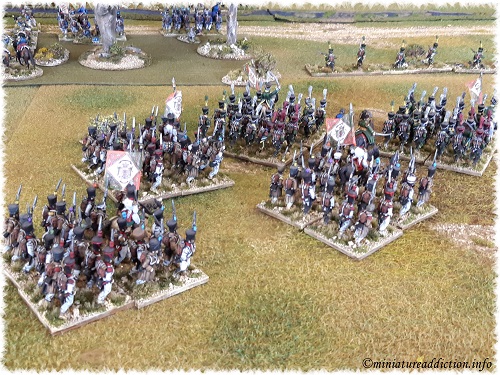
▼The French also receive major reinforcements and probe the river west of the town for crossing points▼
![Hold the river 7](https://miniatureaddiction.info/wp-content/uploads/2019/11/Hold-the-river-7.jpg)
![Hold the river 8](https://miniatureaddiction.info/wp-content/uploads/2019/11/Hold-the-river-8.jpg)
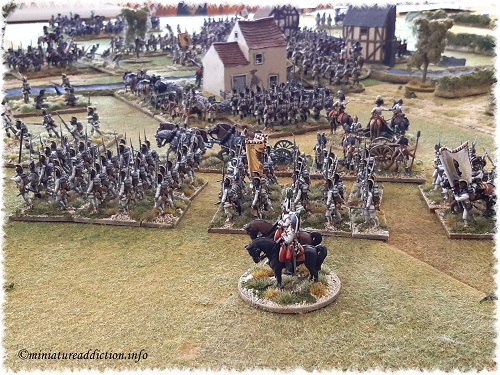
▼The Austrian commander moves quickly to counter the new French threat▼
![Hold the river 9](https://miniatureaddiction.info/wp-content/uploads/2019/11/Hold-the-river-9.jpg)
![Hold the river 10](https://miniatureaddiction.info/wp-content/uploads/2019/11/Hold-the-river-10.jpg)
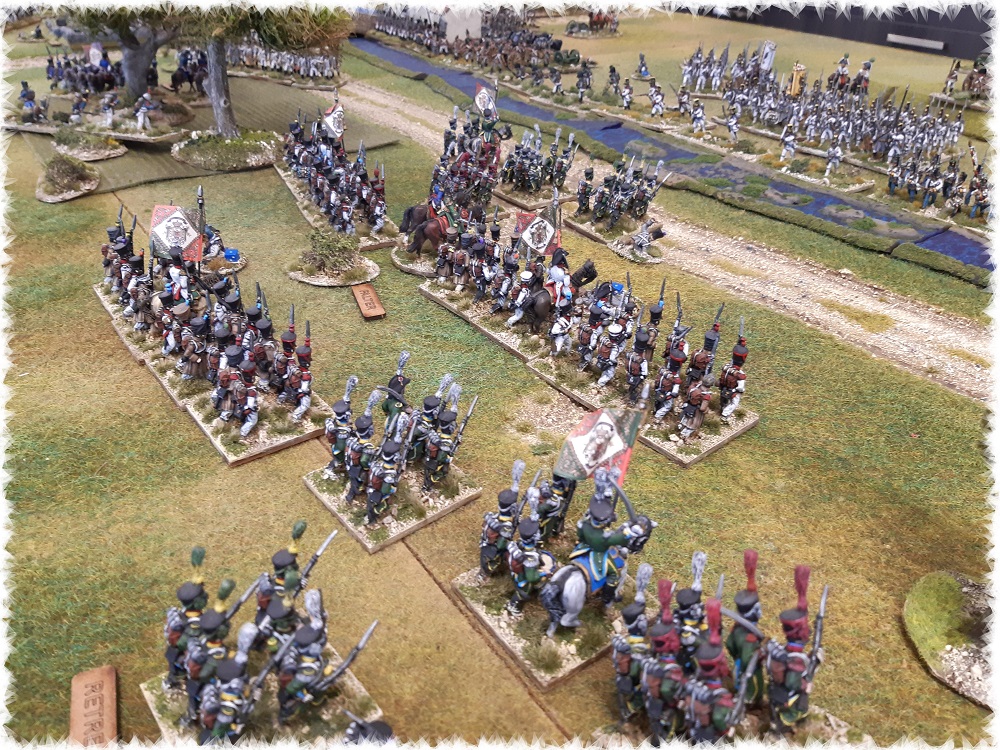
▼The Italian division tries to force a bridge head in the centre of the line▼
![Hold the river 11](https://miniatureaddiction.info/wp-content/uploads/2019/11/Hold-the-river-11.jpg)
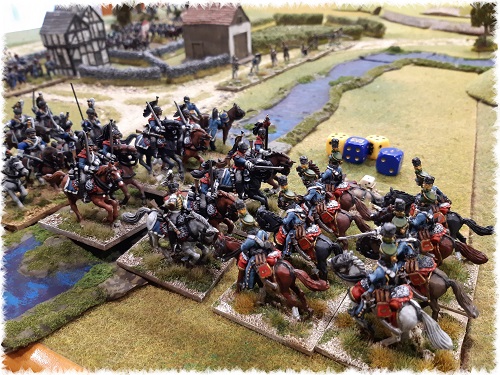
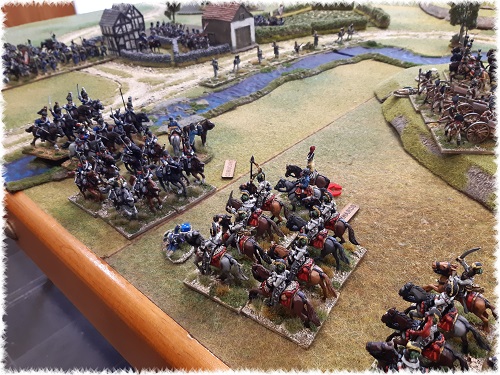
▼The Austrian heavy cavalry is needed to stabilize their left flank▼
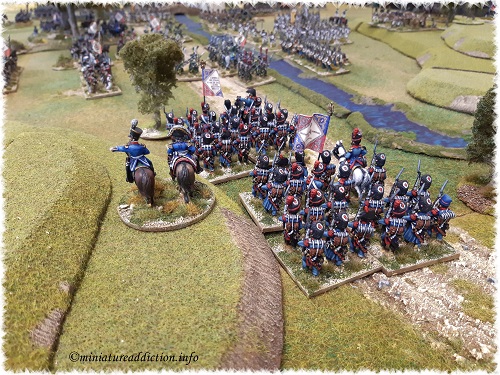
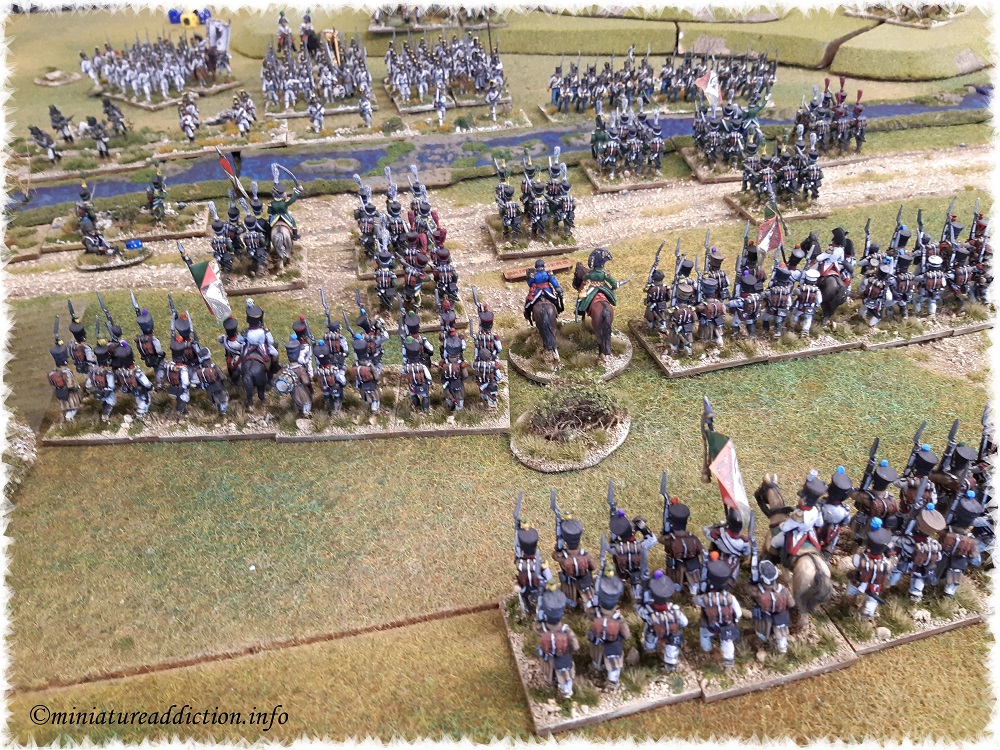
▼French grenadiers move to support the Italians▼
![Hold the river 12](https://miniatureaddiction.info/wp-content/uploads/2019/11/Hold-the-river-12.jpg)
![Hold the river 13](https://miniatureaddiction.info/wp-content/uploads/2019/11/Hold-the-river-13.jpg)
▼With the lost of their heavy cavalry and each infantry attack rebuffed with heavy losses the French call off the attack▼
![Hold the river 14](https://miniatureaddiction.info/wp-content/uploads/2019/11/Hold-the-river-14.jpg)
![Hold the river 16](https://miniatureaddiction.info/wp-content/uploads/2019/11/Hold-the-river-16.jpg)
![Hold the river 15](https://miniatureaddiction.info/wp-content/uploads/2019/11/Hold-the-river-15.jpg)