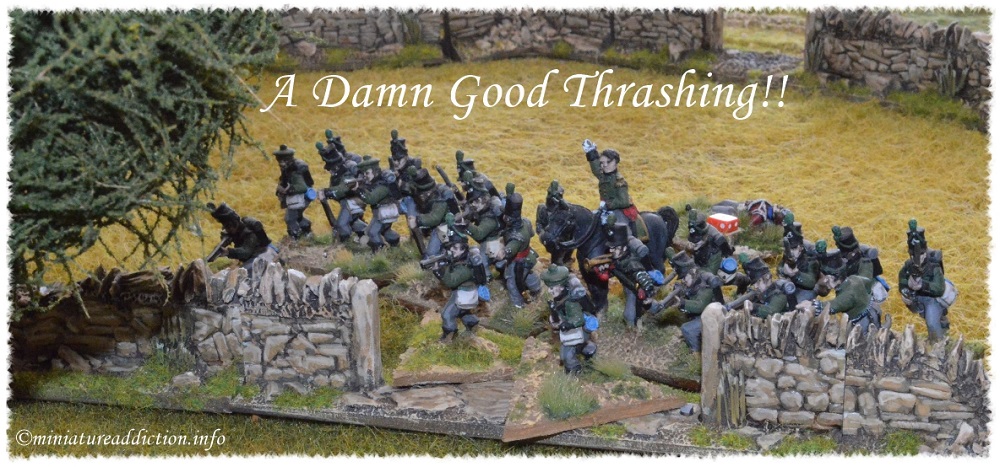
Here’s a quick look at the first outing on the new games table I’ve been slowly building over the past few months. Although still three modular boards shy of reaching its full potential this twelve by six foot game still looked the business. Song of Drums and Shakos Large Battles was the chosen rule system for this peninsular based Napoleonic pick up game. My esteemed opponent was a local lad, who despite being new to the rules dealt me (as the title suggests) a damn good thrashing. This was both the first and last game of the year for me, but with the new table now up and running next year is looking a lot more promising. I won’t go into to much detail game wise here, as I only managed to snap a couple of mid game photos.
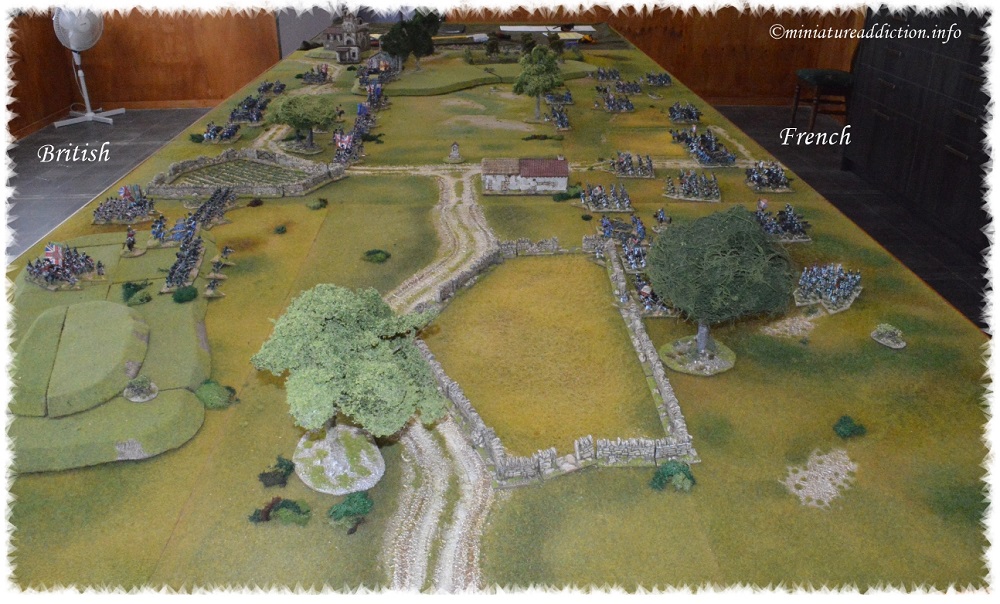
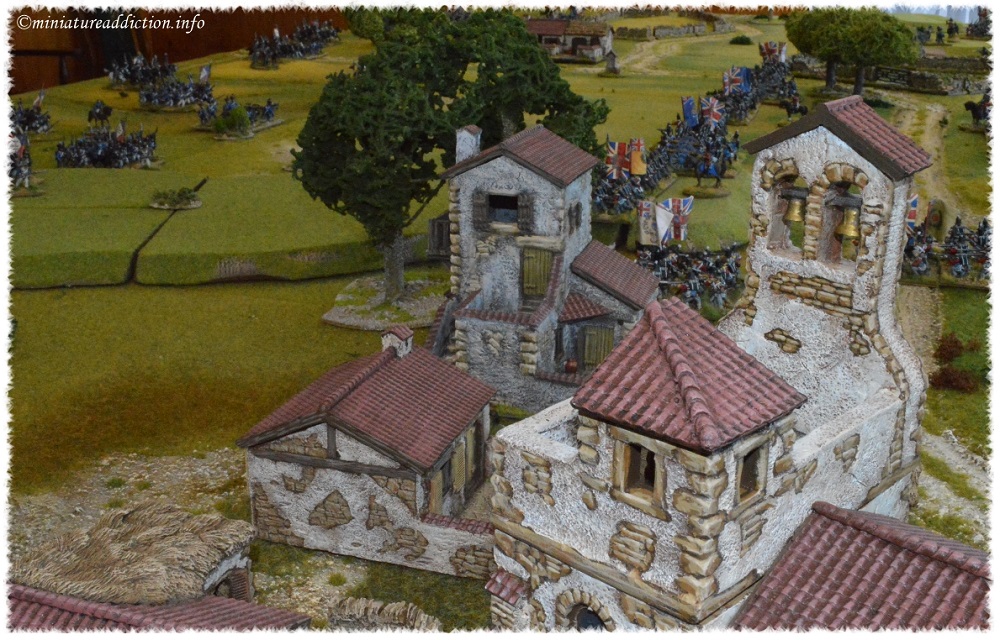
Looking down the British lines from across the town
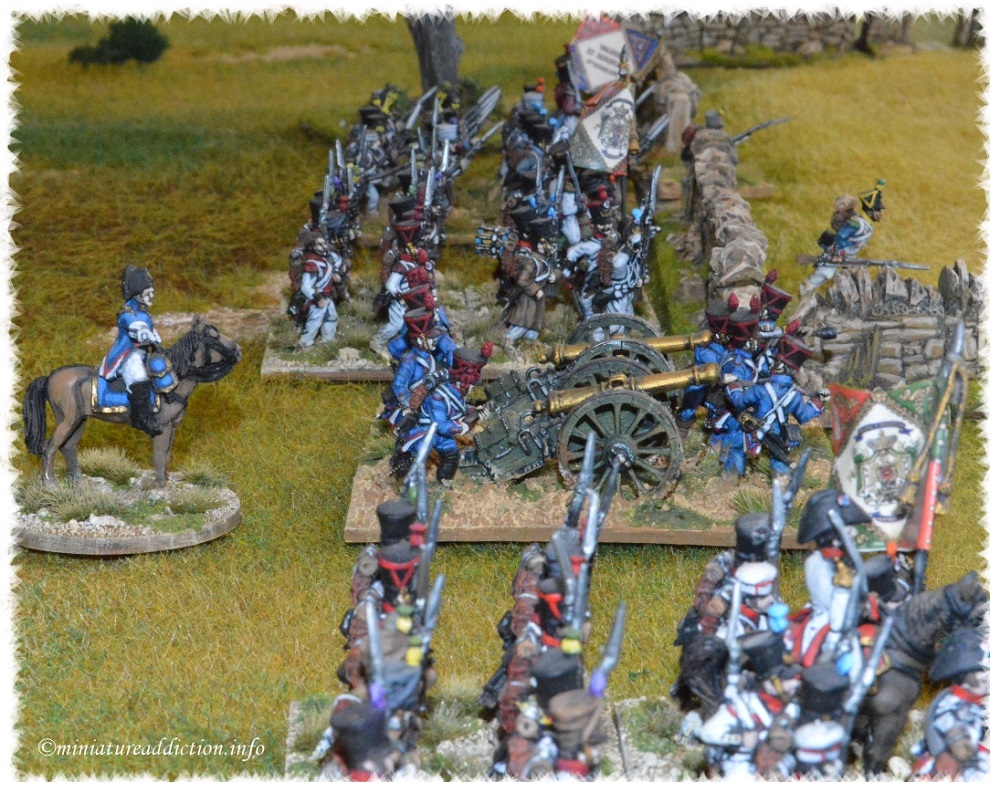
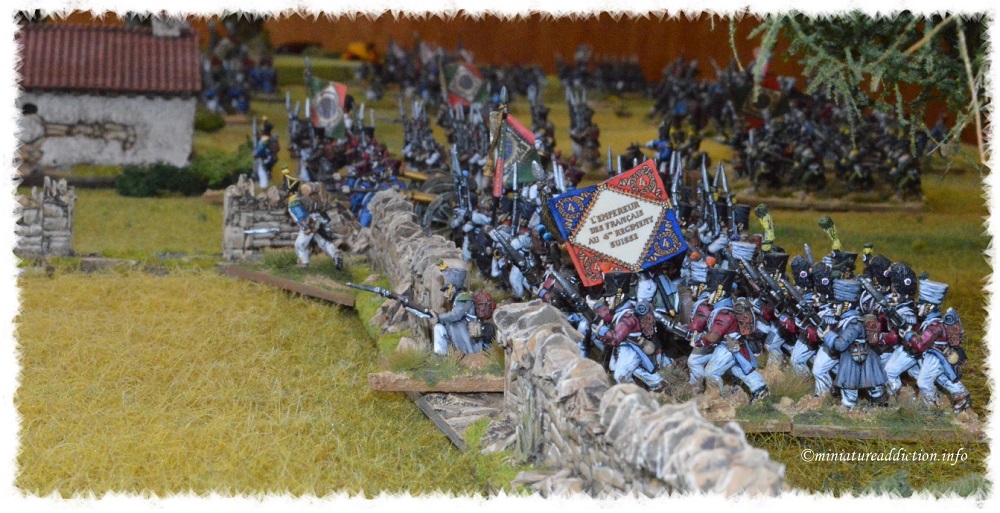
On the French left the Swiss advance into the Hay field.
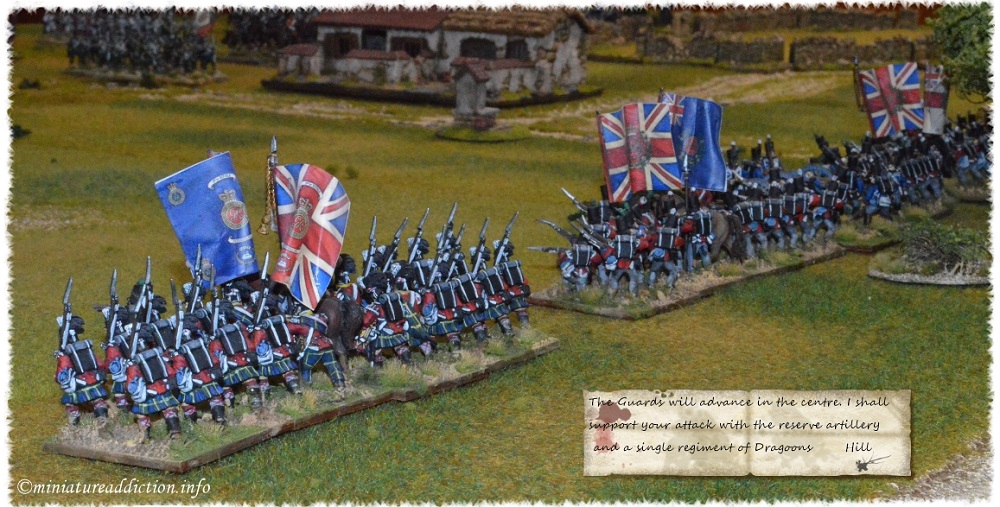
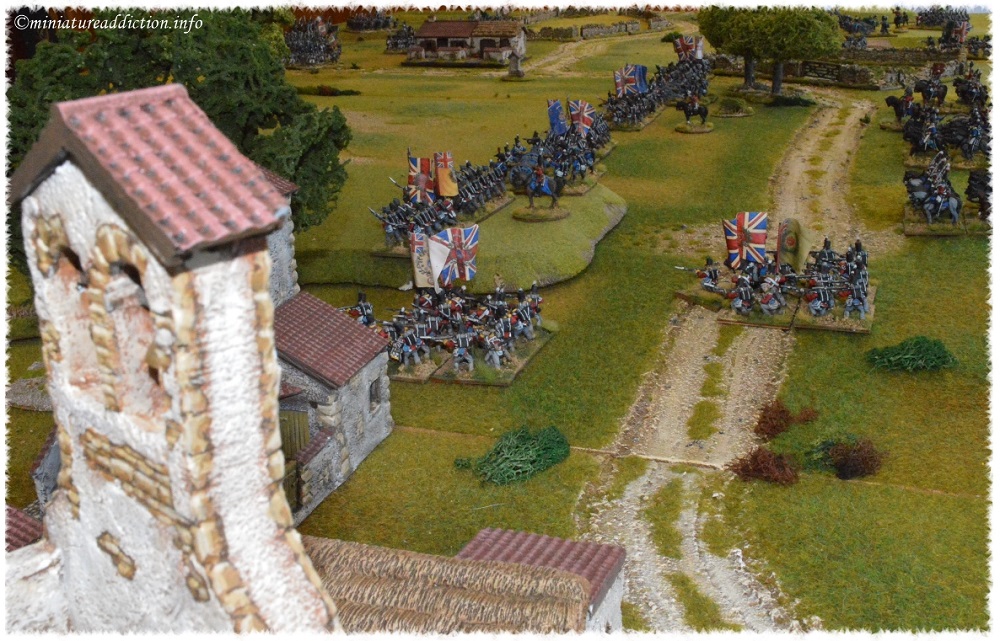
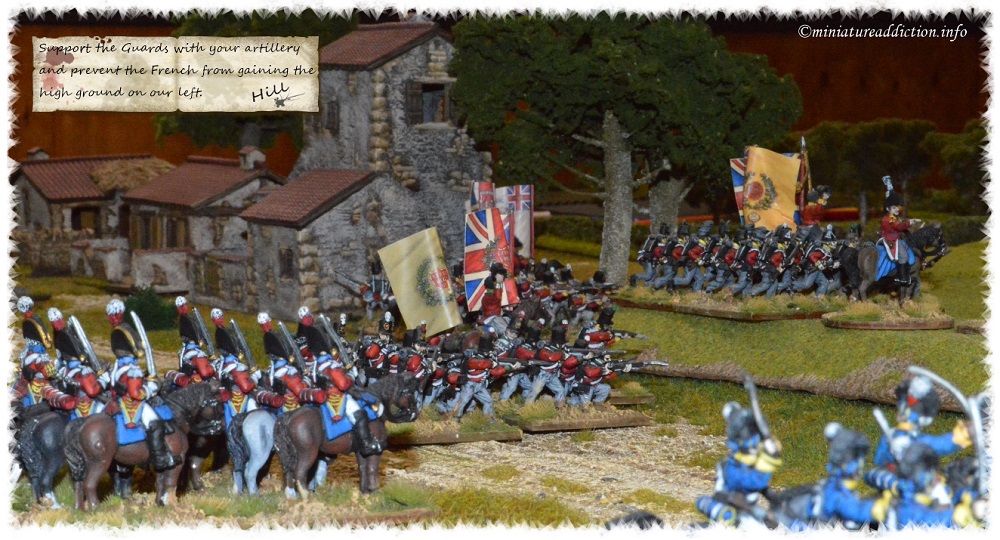
A battery of nine pounders and three guard battalions prepare to engage the French centre.
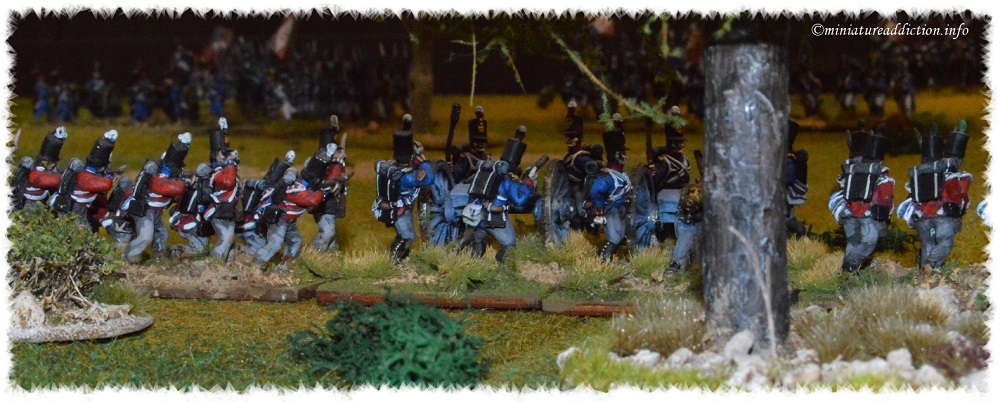
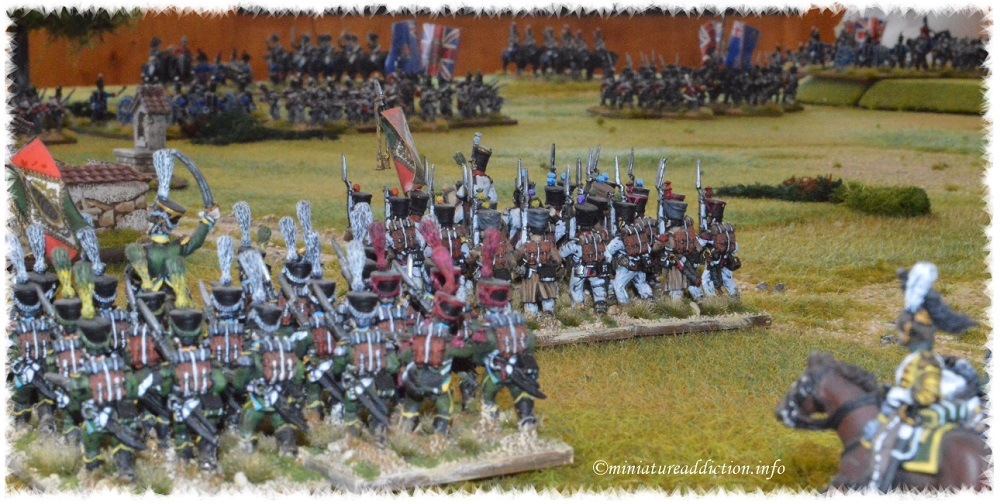
British infantry move to take the high ground while the reserve cavalry await their orders.
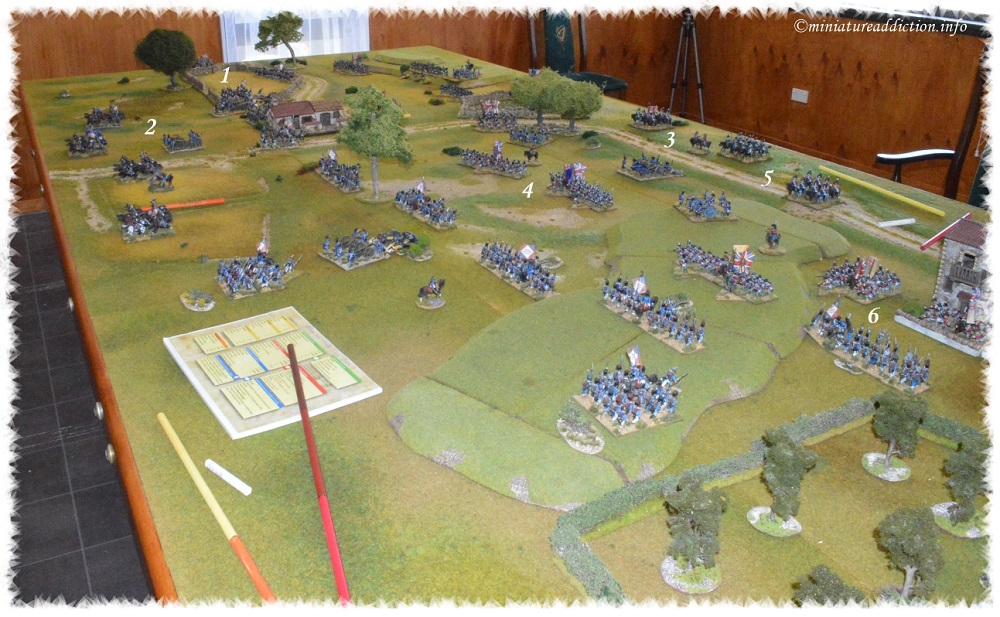
The French high water mark …..(turn two, oh dear)
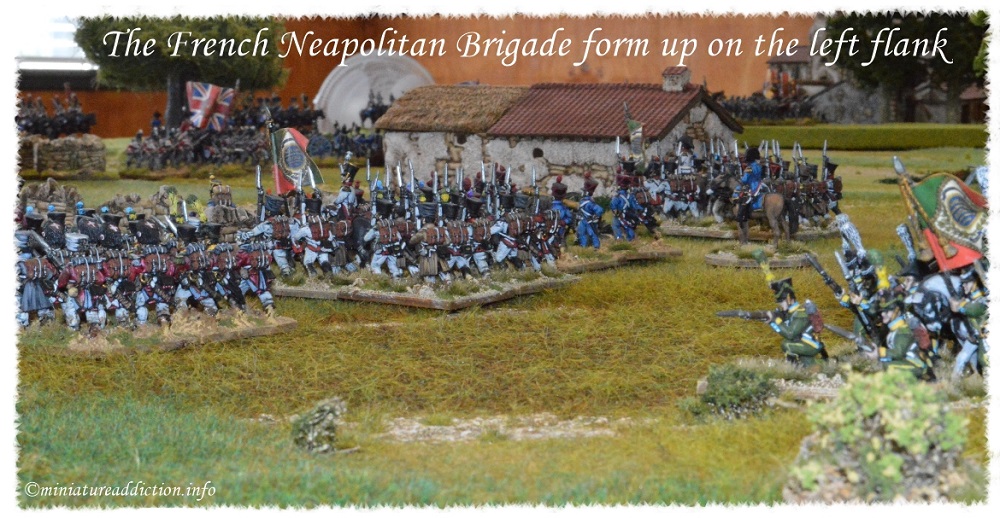
1) Elements of the French Neapolitan’s Brigade move forward to occupy the hay field. One light battalion is sent around the field to attack the open flank. 2) The medium foot artillery is dispatched from the reserve to join the Neapolitan’s brigade. This battery was intended to support the French centre which was about to come under intense pressure from the guards brigade. 3) The reserve battery is sent to assist the main attack in the centre. 4) Despite heavy fire from the French artillery the guards push forward. 5) One regiment of dragoons is sent to stabilize the British left flank 6) The French enjoy some success on their right, driving one British battalion off the hill and back into the town in a somewhat disordered state.
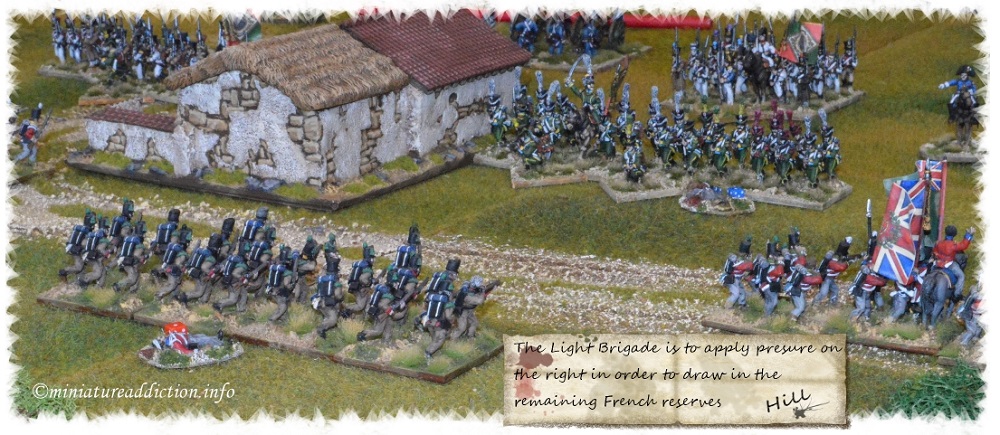
Guards come close to breaking the French centre.
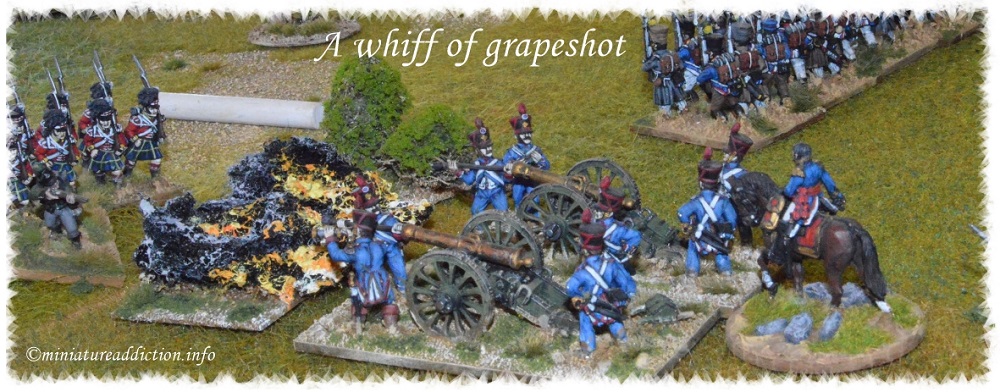
At great cost the French finally drive off the British guards. However, their reserve cavalry is now a spent force and both French flanks are in serious trouble. To make matters worse for the French the remaining guard units (covered by three foot batteries) reform and together with a fresh regiment of Dragoons renew their attack on the depleted French centre.
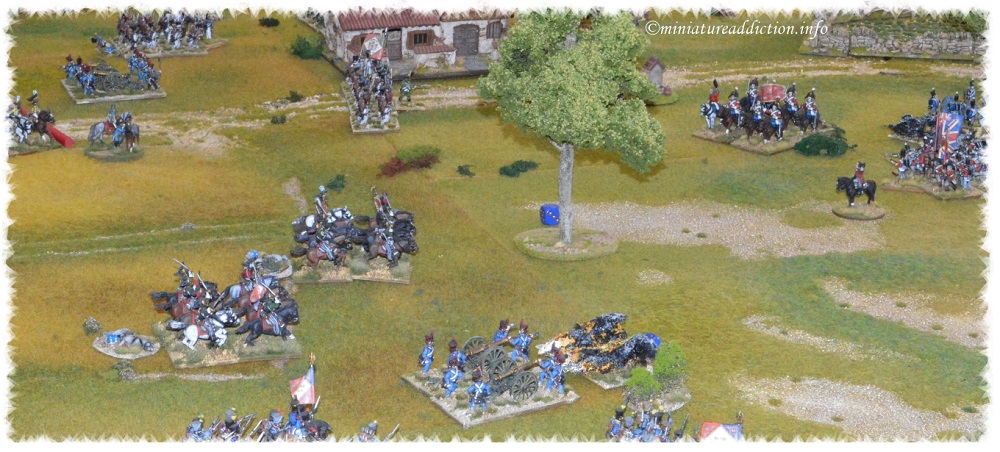
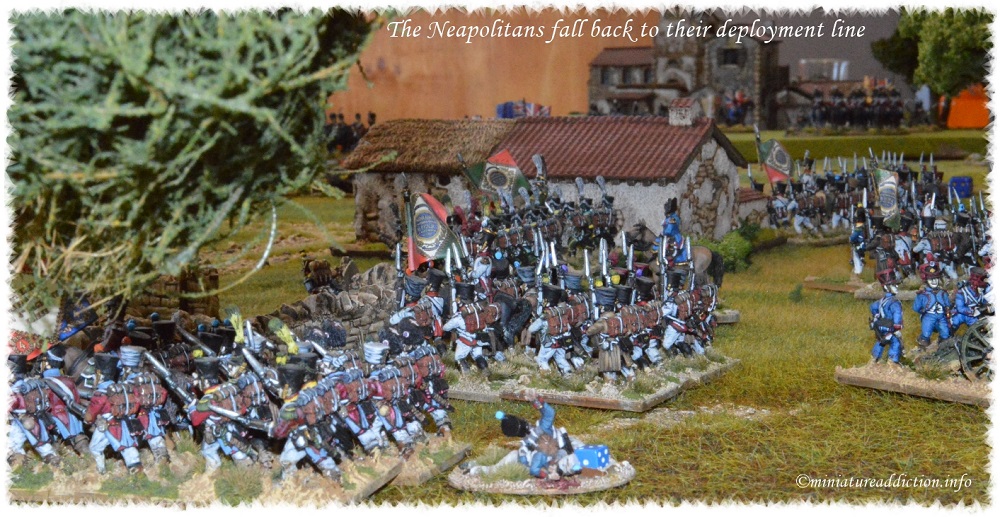
The 95th take the hay field.
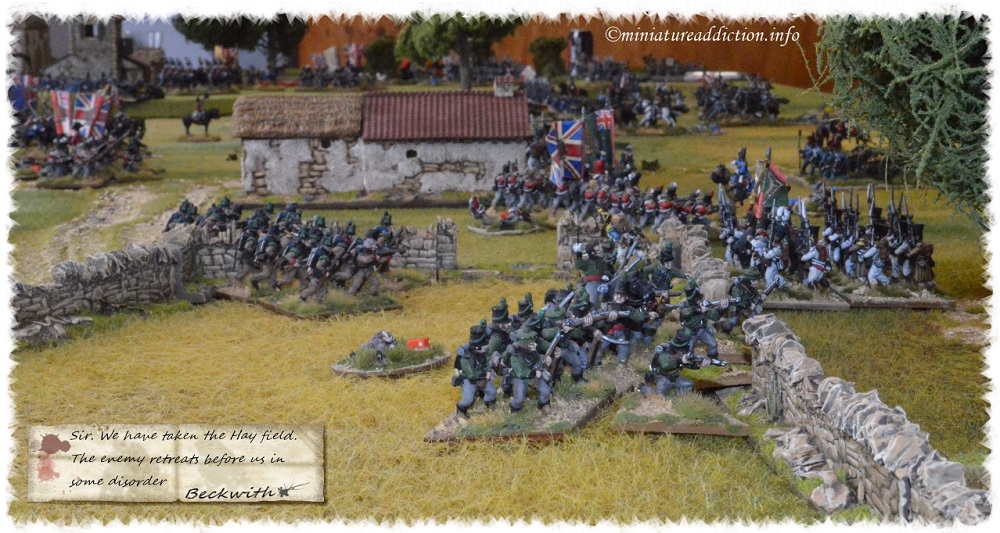
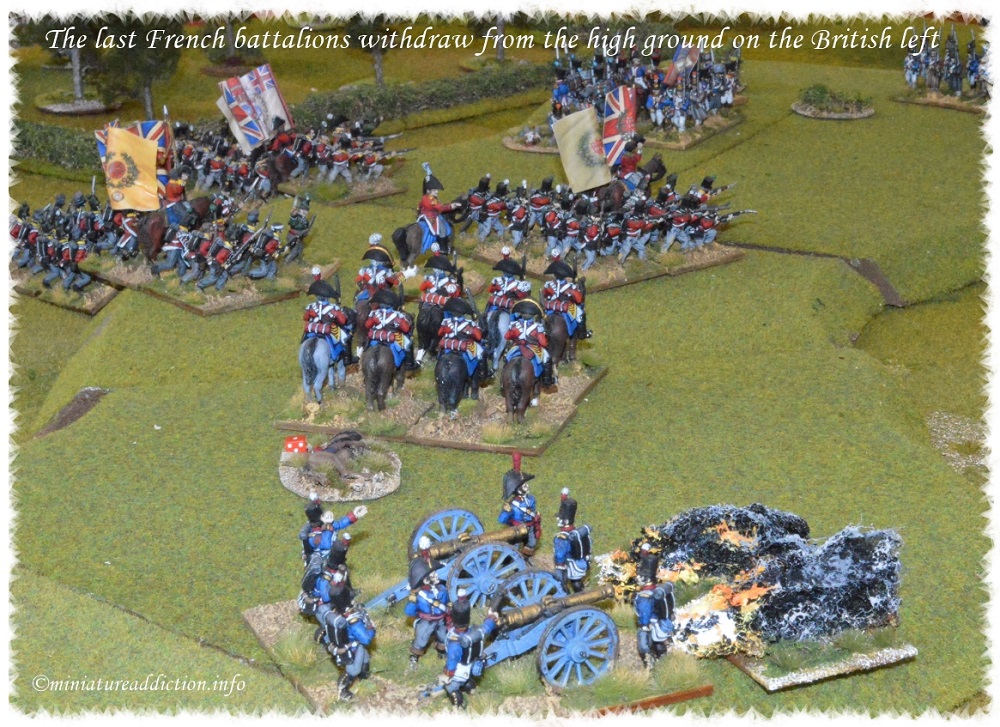
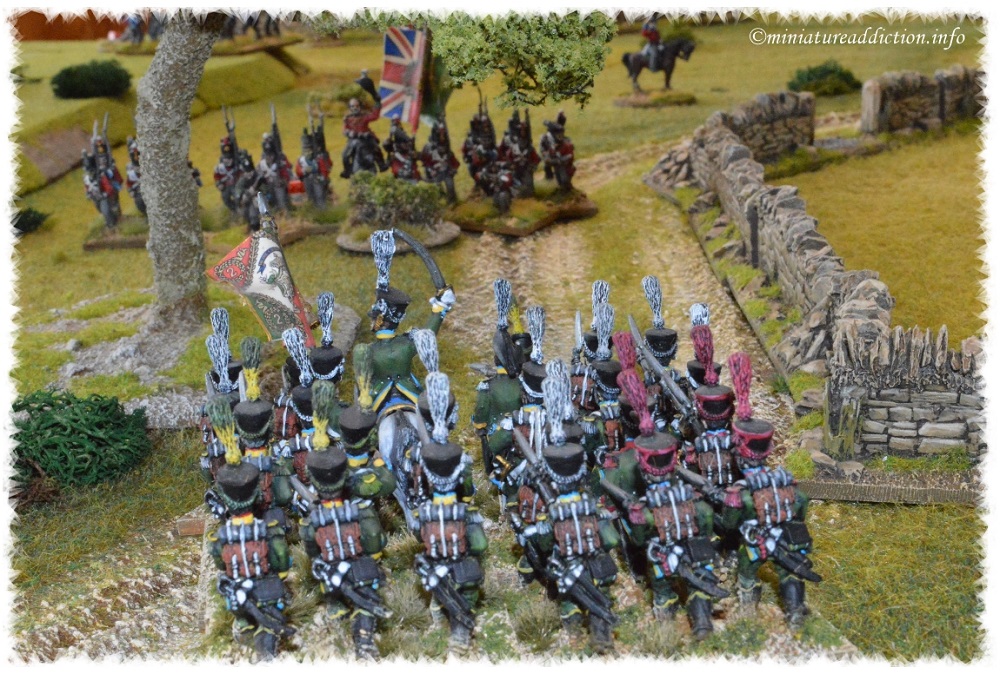
The French flank attack…. to little to late
Left
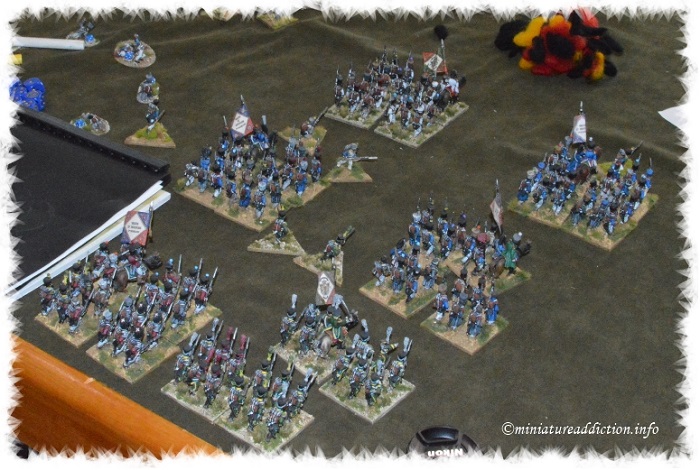
The casualty table tells it all really. Six French battalions hors de combat for the loss of one British guard battalion (out of picture) and a couple of skirmish company’s. It wasn’t a total white wash for the French army though as most of the remaining British units were sporting various levels of disorder.
Below
Click the picture below to return to the main page or any of the listed dates to view past just played pages
