Washington’s Army
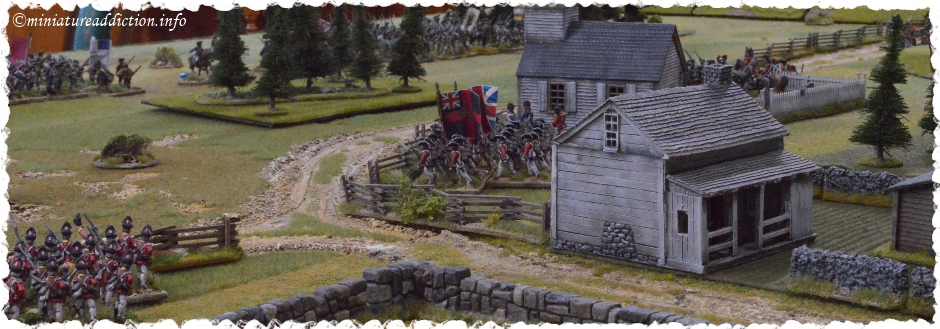
The following battle was played on an eight by five foot table with 28mm figures using the rule set Washington’s army. This system has a very interesting pre-game setup procedure. In W.A each player attempts to gain some early advantages in all or any of nine different categories. This is done by secretly dedicating a limited number of dice rolls (from a pool of sixty) to each category. The more you out score your opponent in any given category the bigger the advantage you will win. For example in this battle the British out scored the Americans by three points in the fifth category, “supplies”. Resulting in the following narrative, ” Edwards has purloined two wagons from the enemy. The opponent must award three low on ammo markers to his army, while you can award five extra ammunition markers to your own army’.
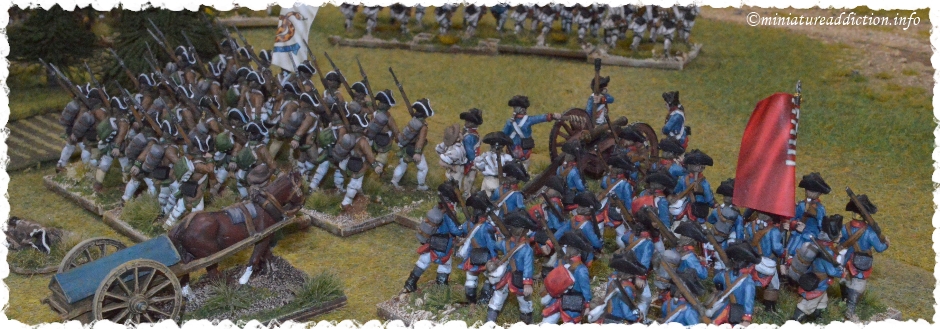
Continental deployment left to right
3rd Brigade: Hartley’s regiment marches up the northern road while a unit of Pennsylvanian Militia enter the farmstead (objective location). The last two units of this brigade are the 2nd Maryland and a single six pounder gun. Both of which stand ready to advance on the other side of the farm buildings. A second unit of rifle armed militia together with regiments of the 5th and 7th Pennsylvania, constitute the next brigade. On the left the 1st brigade contains the continental’s second artillery piece along with the 2nd Pennsylvania, a small French detachment and the last militia unit.
British deployment
The converged British light and grenadier regiments along with Minnegerode’s Hessian troops form up on the left. In the centre were stationed the remaining infantry regiments, Von Donop’s Hessians, the 46th and 64th regiments along with two pieces of artillery. Covering the right was the 16th dragoons. Note, both the 64th and 46th regiments were forced off the table and into the reserve after the defenders late/loss rolls were made.
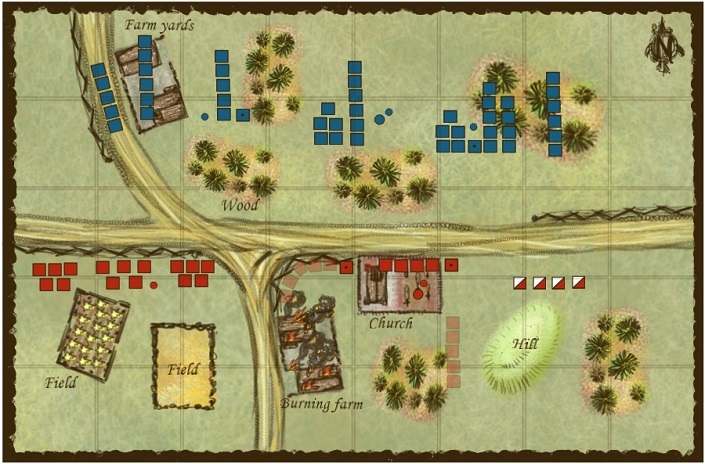
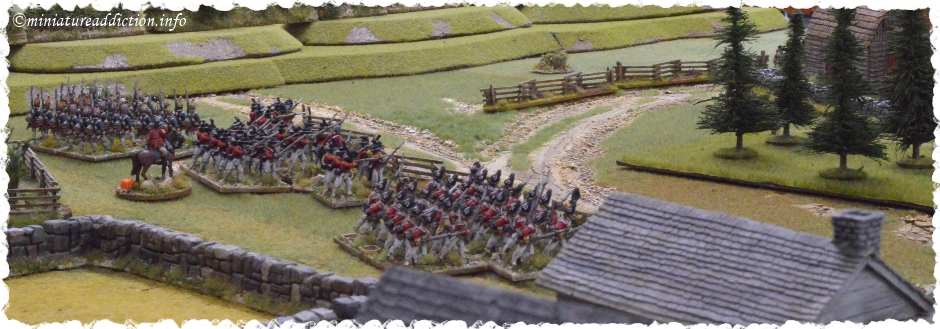
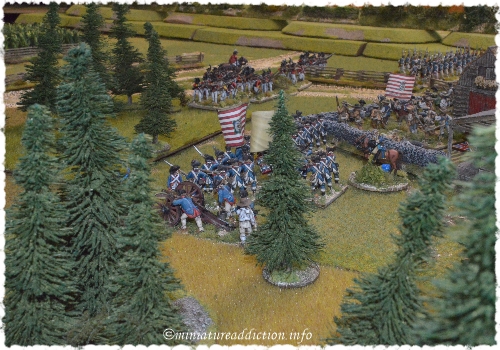
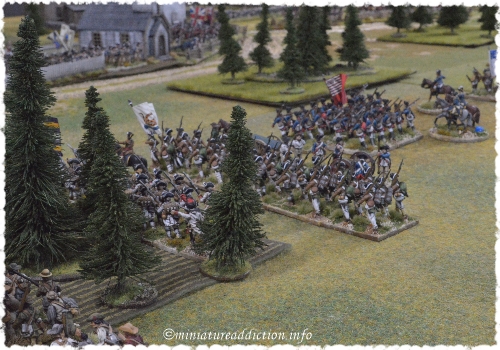
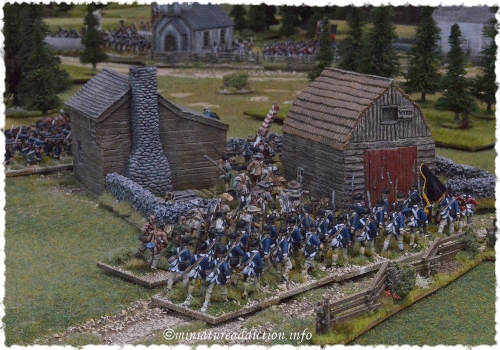
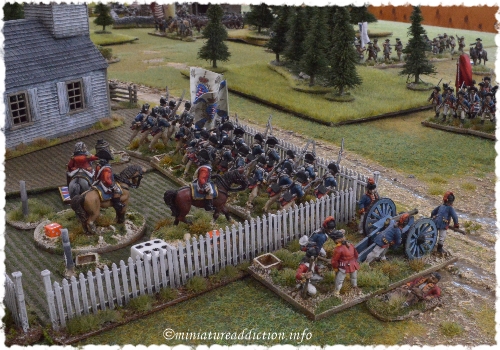
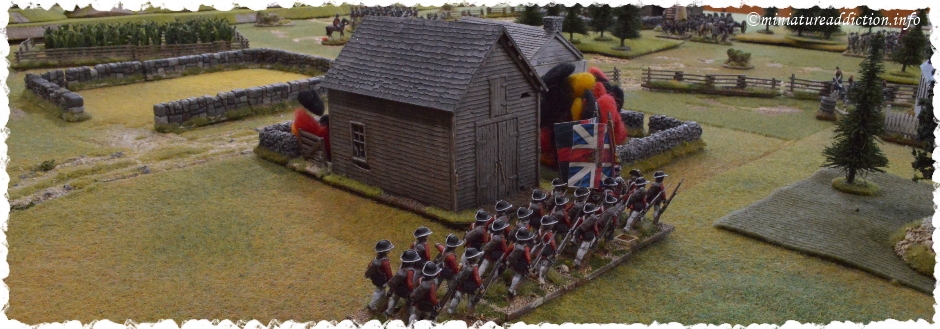
Despite losing the initial setup rolls, which forced the British to become the defenders. They did very well with their event rolls, gaining extra ammo and seven out of nine flanking points needed before the game even began. The Continental’s also won some events which resulted in one farmstead being set a blaze and two British infantry stands being dispatched on another mission.
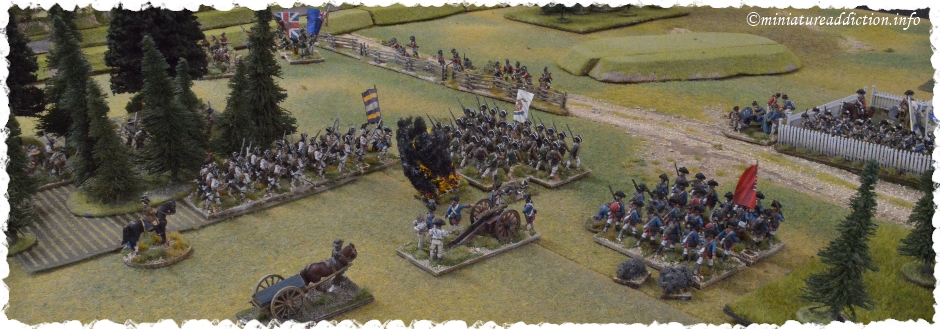
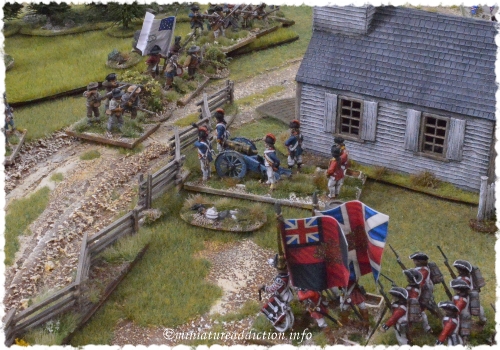
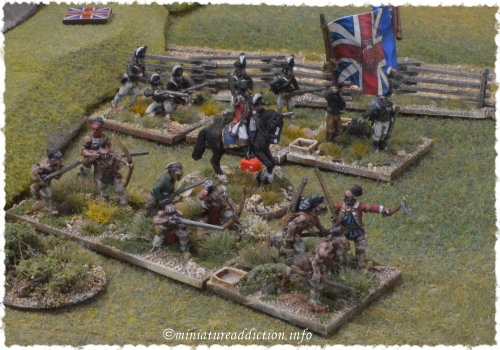
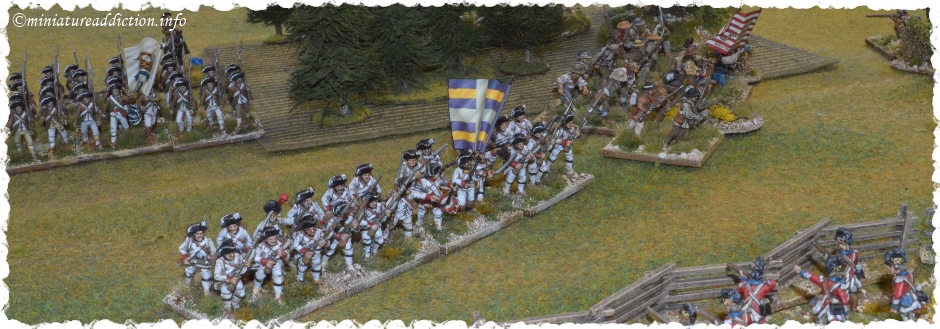
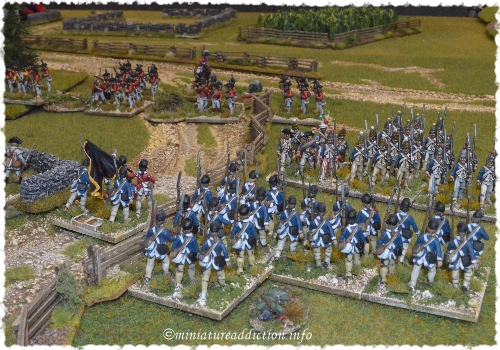
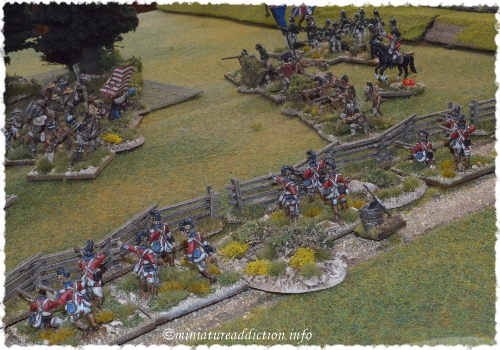
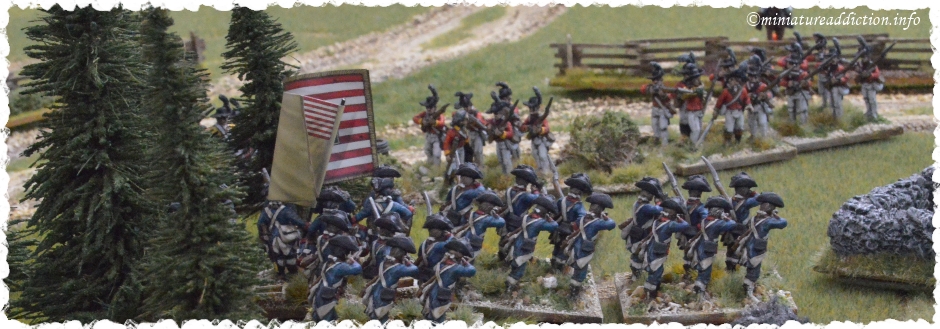
On the left the continental troops fall back before the veteran British regiments. In the centre Von Donop’s lone regiment holds fast in the church yard. The 16th Dragoons are chased off by the French just as the Queen’s ranges together with some Indians appear on their flank (objective location). The continental cavalry having failed to beat the British to a total of nine flanking points are now moved into the American’s reserve.
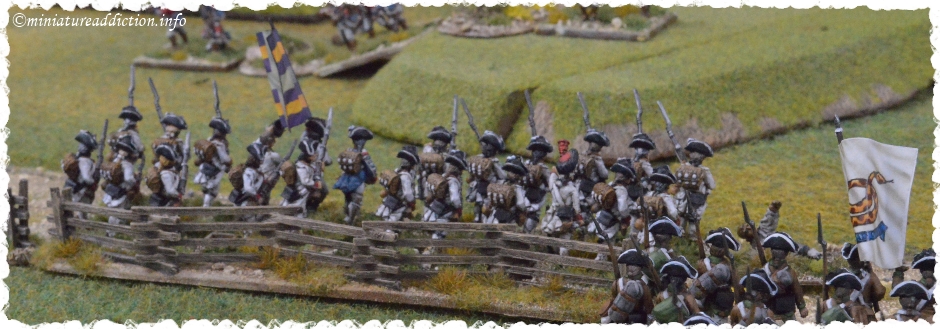
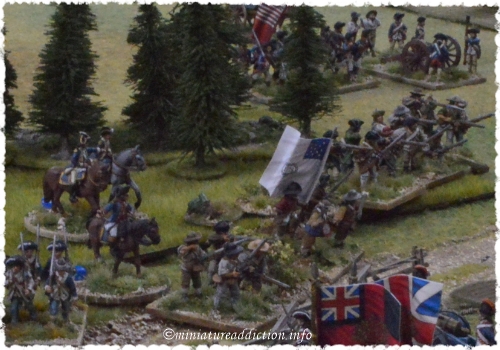
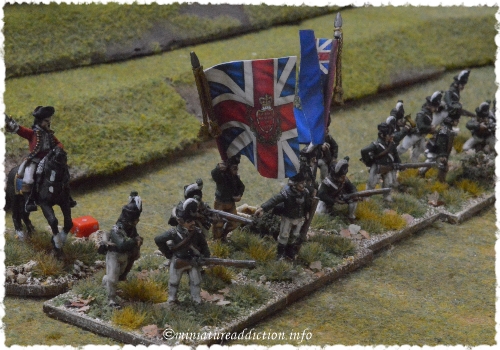
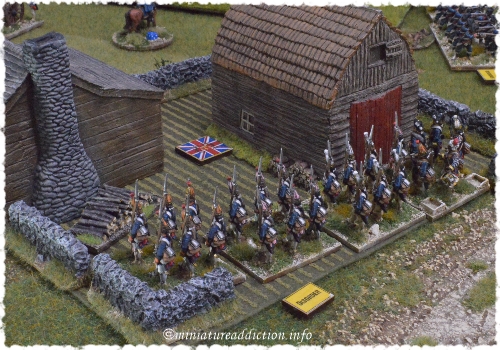
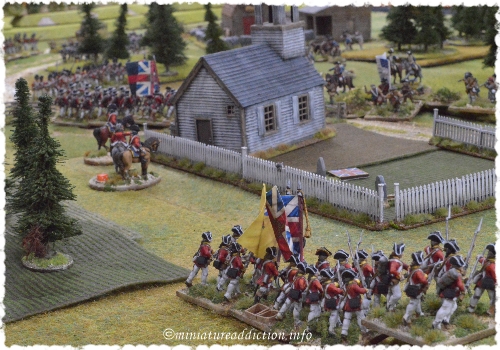
As the game clock hits zero both continental flanks are in the process of falling apart. Although, they did manage to force Von Donop’s troops out of the church yard (objective location) two more regiments arrived to take their place. With two of the three objectives in British hands and the Americans suffering the majority of casualties it was an easy win for the crown.