
Lately, most of my hobby time has been focused on WWII-related stuff. Since discovering Warwick Kinrade’s Battlegroup rules I have been busy bulking out my 28mm French and German forces. However, with the lads making noises about another GdA game I sat down and flicked through Dave Brown’s excellent rule book once again. In the back of the book, I rediscovered a scenario for Albuera. This is one of my favourite battles of the Peninsula campaign. Dave’s scenario covers the first stage of Soult’s attack on the right flank of Beresford’s Angol-Spanish army. A larger scenario, which covers the whole battlefield can be found in the Shako supplement On to Glory. What follows below is neither one nor the other but something in between.
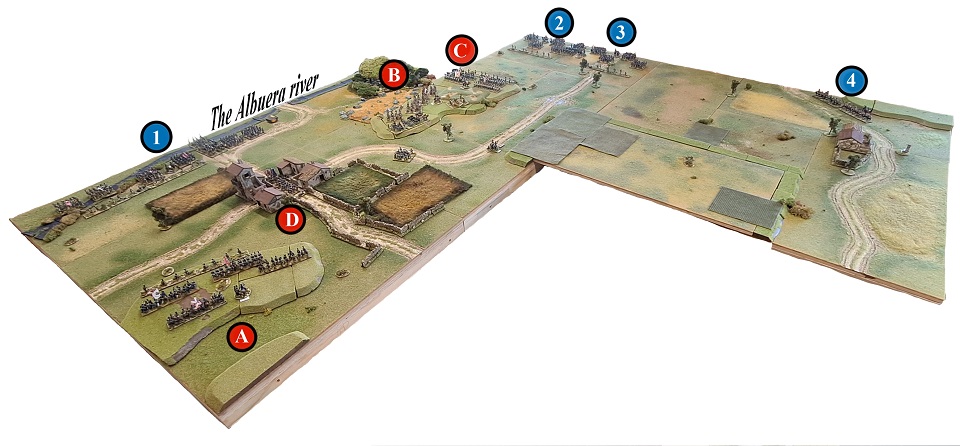
Initial set up and special rules:
We tweaked the rules for firing solid-shot for this game. Reducing the overhead firing gap from 12″ to 9″. We also allowed artillery to fire (solid shot only) through friendly skirmishers that were stationed over 9″ from the guns and any enemy units.
Both of the Allied independent units could be issued limited orders. The Portuguese battery could be ordered to assault fire, while the garrison could be given the skirmisher tasking order. However, ADC re-rolls were not permitted for these units. If issued an order they must pass a brigade command test. A failed test cancelled the order but did not leave the unit hesitant.
Lastly, no brigade was permitted to benefit from the forwards order for two consecutive turns running.
French:
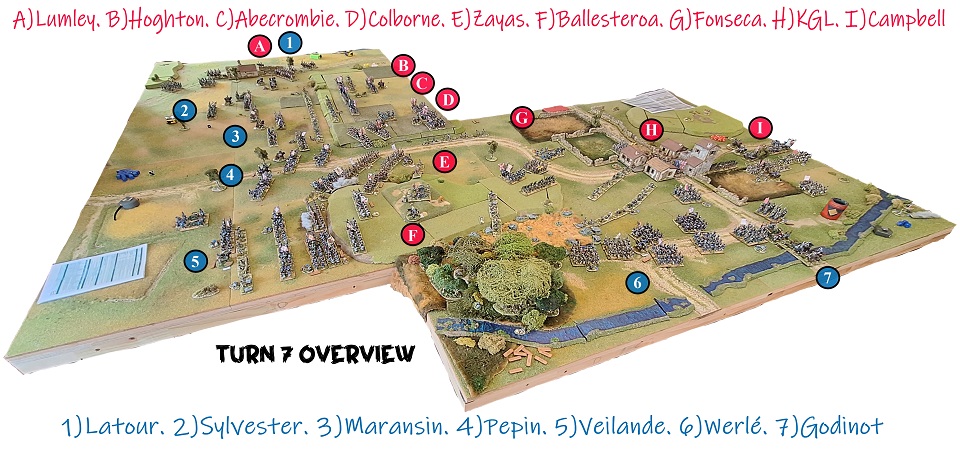
(1) Godinot’s (Me) infantry brigade: 3x Line battalions, 3x Light battalions, 6x skirmish stands & 1x horse battery. Deployed 12 inches in from the table edge.
(2&3) Girard’s infantry division (Rob): Veilande’s infantry brigade: 4x Regular line battalions, 4x skirmish stands & 1x foot battery. Pepin’s infantry brigade: 4x Regular line battalions & 4x skirmish stands.
(4) Latour-Maubourg’s cavalry brigade (Peter): 1x Dragoon (campaign) regiment & 1x Chasseur (campaign) regiment. Note these should be the Vistula Lancers and Hussars, but I don’t have the models for those regiments.
For a PDF covering the French deployment, special rules and reinforcement details click the button.
Anglo-Spanish army:
(A) Campbell’s Portuguese infantry brigade (Josh): 4x regular line battalions & 4x skirmish stands.
(B) Zaya’s Spanish infantry Brigade (Michael): 4x reservists line battalions, 3x skirmish stands & 1x foot battery.
(C) Ballesteros’s Spanish infantry Brigade (Michael): 4x regular line battalions & 4x skirmish stands.
(D) Independent (fixed) garrison (Josh): KGL regular line battalion from Alten’s Brigade. Independent Portuguese foot artillery (to the right of Albuera).
For a PDF covering the Anglo army’s deployment, special rules and reinforcements click the button below.
Truns one to Five:
The Fighting around Albuera.
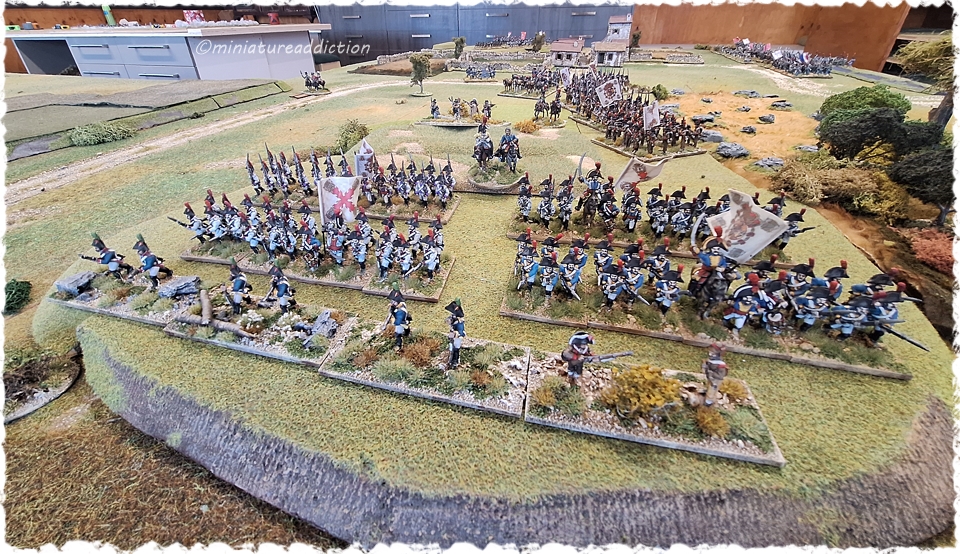
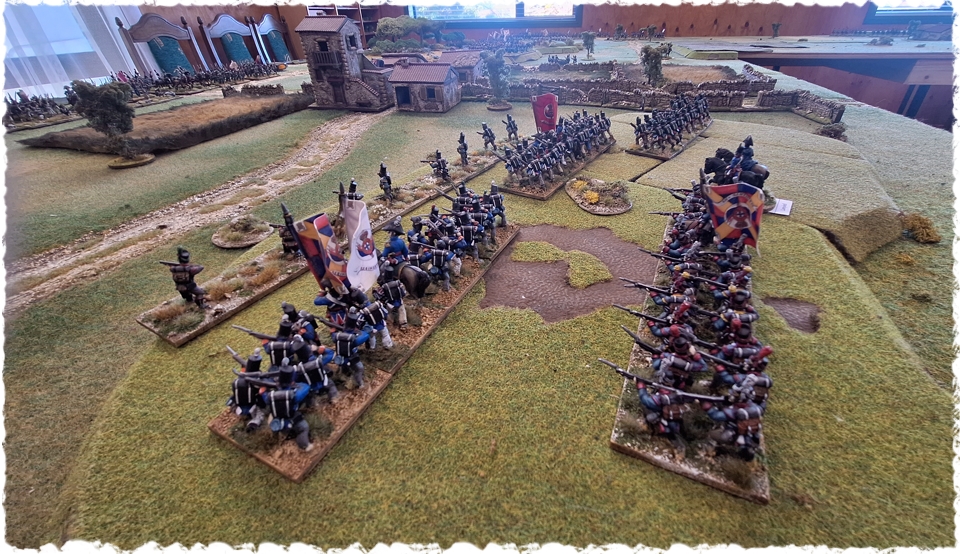
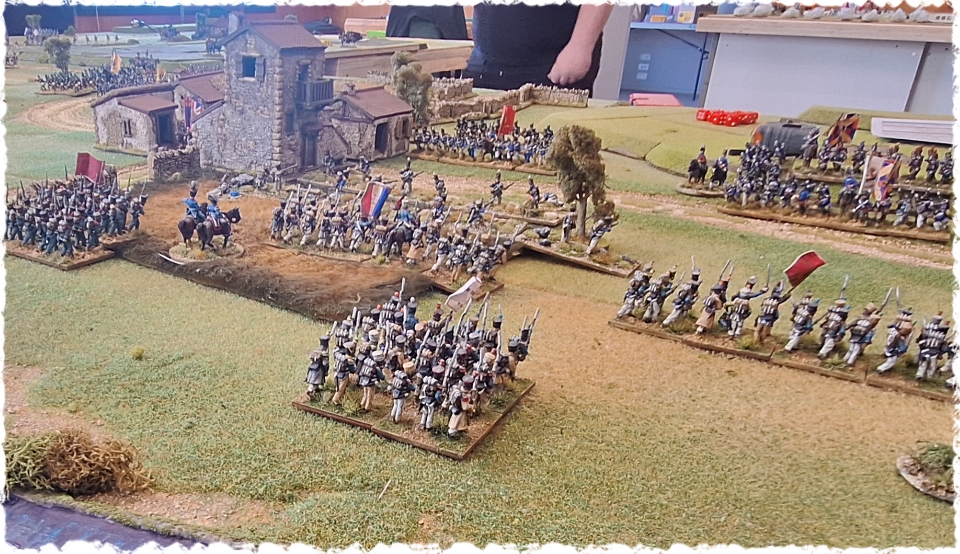
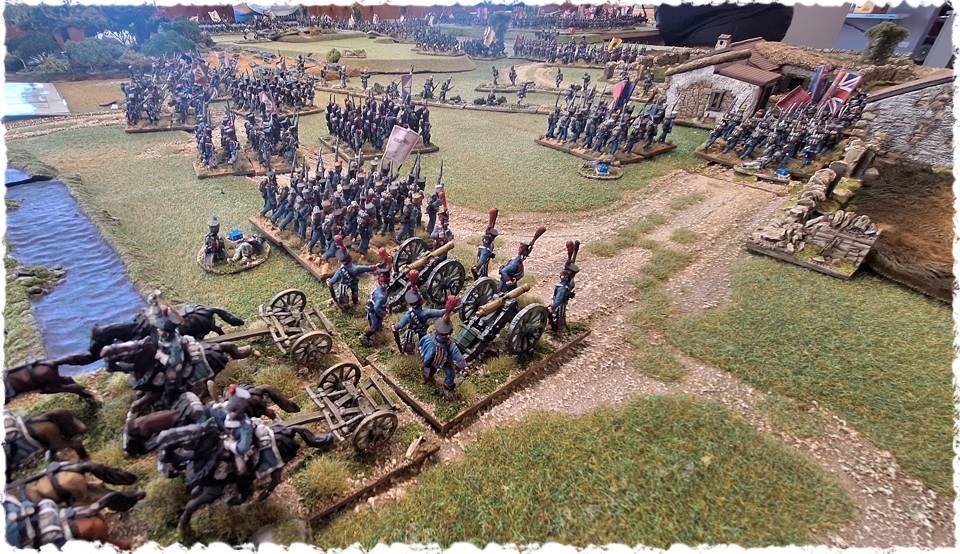
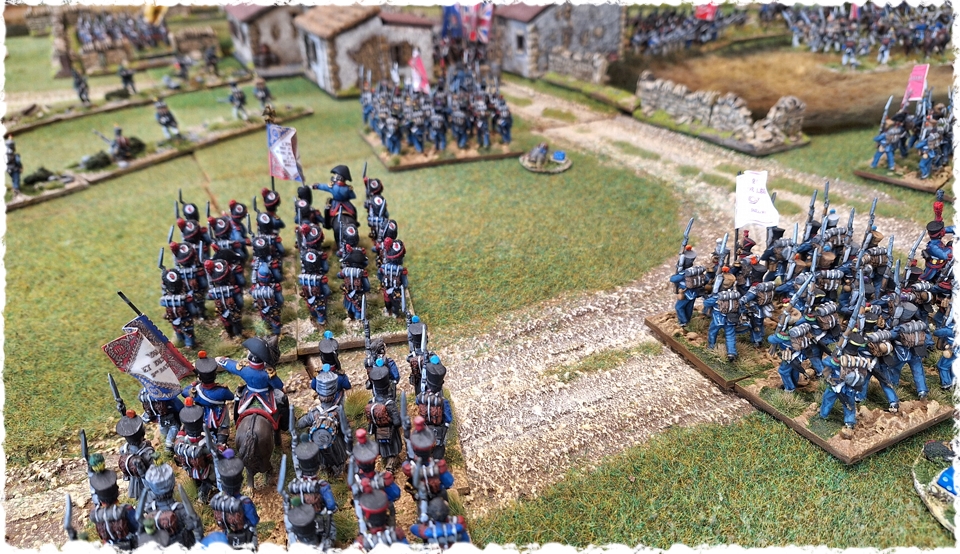
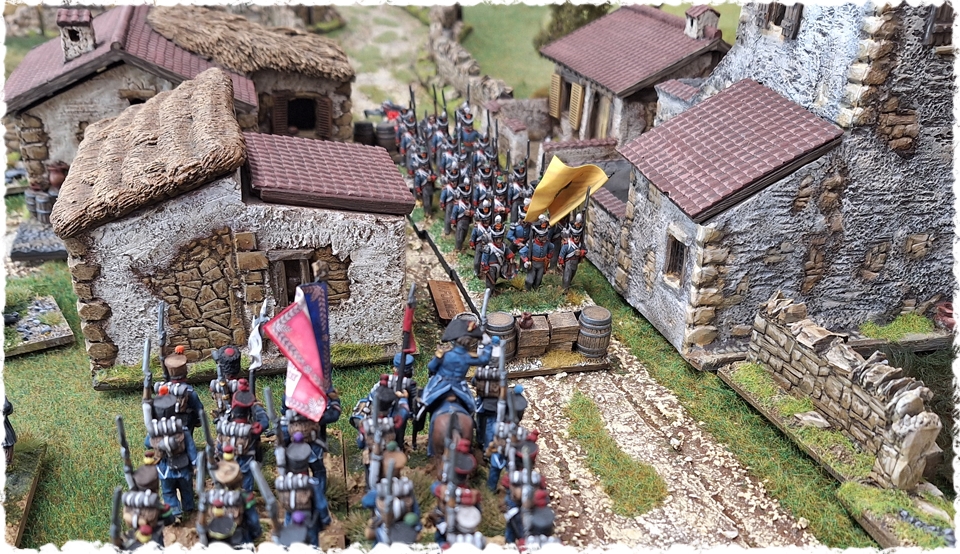
Having been given command of Godinot’s infantry brigade I was duly tasked with taking the town and containing Campbell’s brigade. Quickly deploying my horse battery I began shelling the troops stationed within Albuera. Under the cover of this fire, I sent my skirmish line forward followed closely by the infantry deployed in assault columns.
Josh also sent his skirmish line forward to counter my voltigeurs. His main strength remained on the hill as Campbell had failed his command roll this turn. With his troops stuck outside the required support distance of the village I ordered an (infantry) assault. However, despite ADC rerolls my troops also refused to advance (hesitant for both turns two and three).
Turn three saw Josh’s second Portuguese brigade join the artillery battery stationed on the right of Albuera. This battery along with the KGL had been hammering my lead column for the first two turns of the game. With casualties mounting, I decided to pull the battalion out of the line (retreat). However, due to my brigade’s continued hesitant status, this all went horribly wrong for me. Instead of relieving the battalion’s suffering, I was forced to add to it (rolling extra casualty dice for being hesitant). Thus by turn four, I was yet to assault the village and my six battalions were now facing nine.
Meanwhile on the opposite side of the woods.
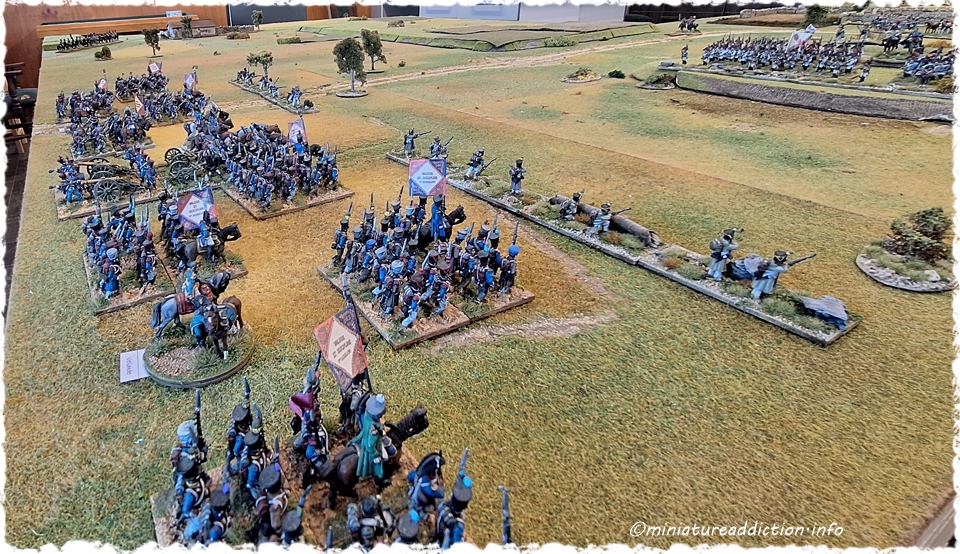
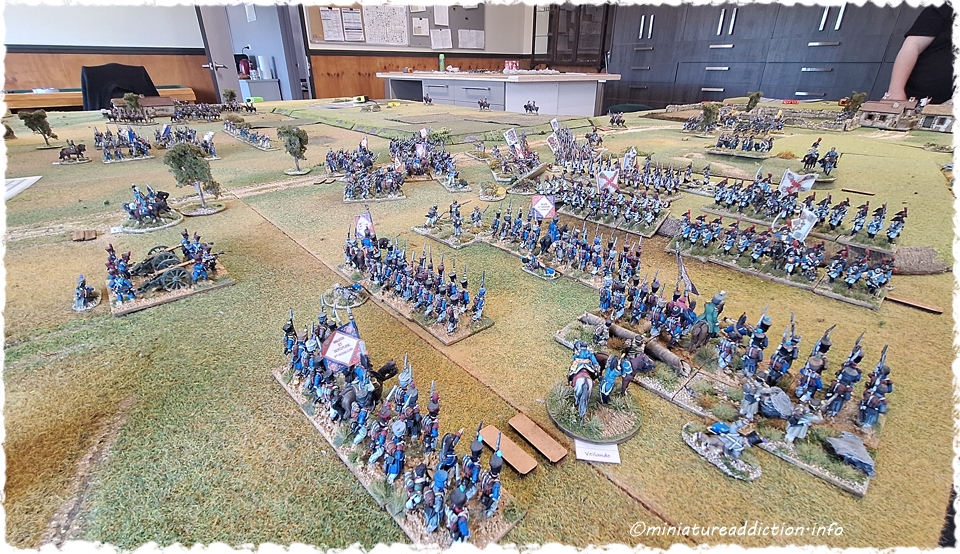
Rob (the French C-in-C) launched Veilande and Pepin’s infantry brigades forward hoping to catch Michael’s Spanish before they could redeploy to meet him. The French cavalry was also ordered forward but misread their orders and remained stationary for one turn. Peter (new to GdA) joined the game on turn three. Taking command of the French cavalry just as three enemy cavalry regiments galloped into view. He was also given Gazan’s division which marched onto the table between Girard’s infantry division and the French cavalry. Maransin’s brigade arrived as ordered but Sylvester’s troops were delayed (hesitant for two turns) and didn’t show up until turn five.
The fight for the Spanish hill
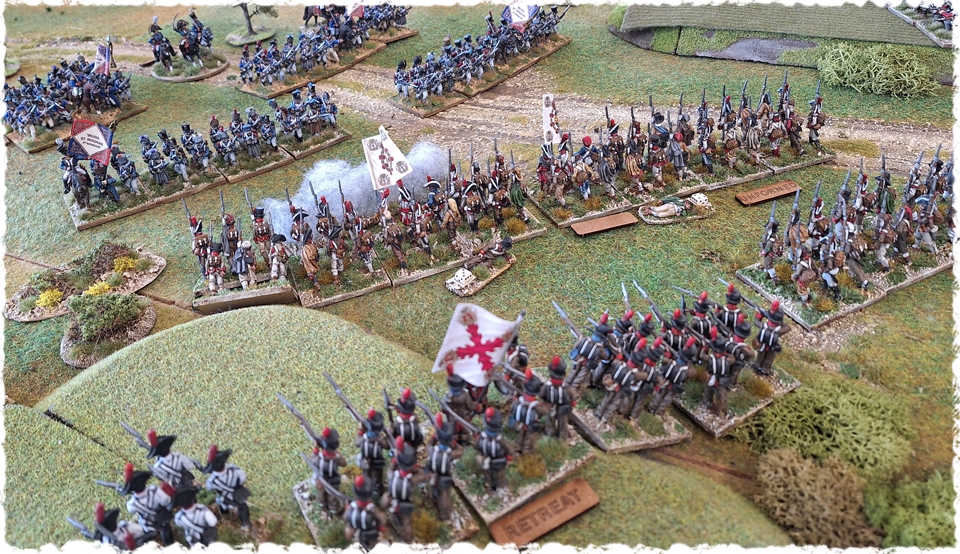
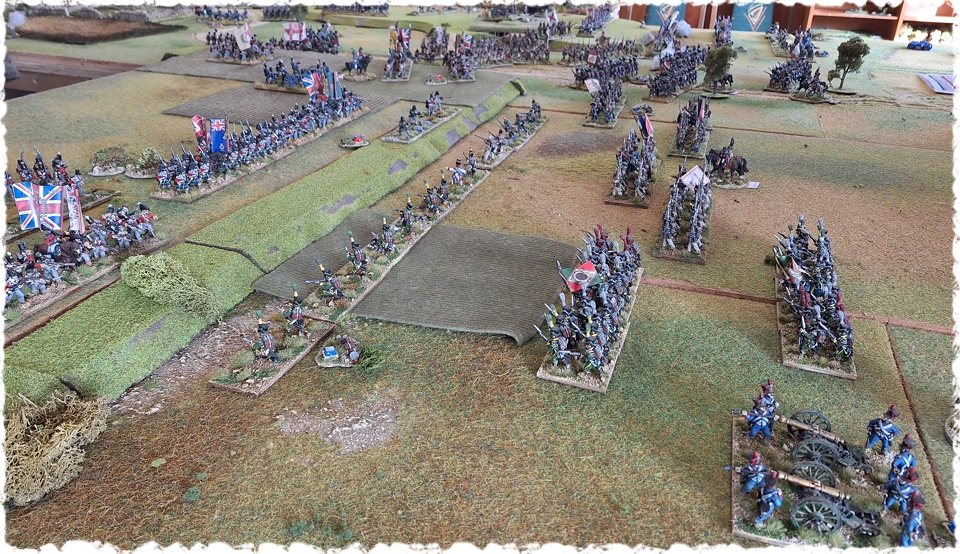
The conflict in this area was very intense with Michael aggressively marching the Spanish down the hill to meet the French. Rob’s first volleys along with his supporting artillery fire punished the overconfident Spanish. As the leading Spanish battalions fell into disorder Michael ordered his first line to perform a staged withdrawal. Incrementally replacing gaps in his line with fresh battalions from the rear. A tactic I had tried unsuccessfully earlier in front of Albuera.
Witnessing disorder spread through the Spanish ranks, Rob decided it was time to fix bayonets and charge. It seemed to all that one good push here could prove ruinous for Ballesteros’s formations. Unfortunately, Veilande failed his command roll (even with an ADC), and went hesitant. His troops steadfastly refusing to close with the enemy. More bad dice saw Veilande’s supporting battery expend the better part of their available ammunition.
Turns six and seven:
Turns 8 and 9:
Turns 10 and 11:
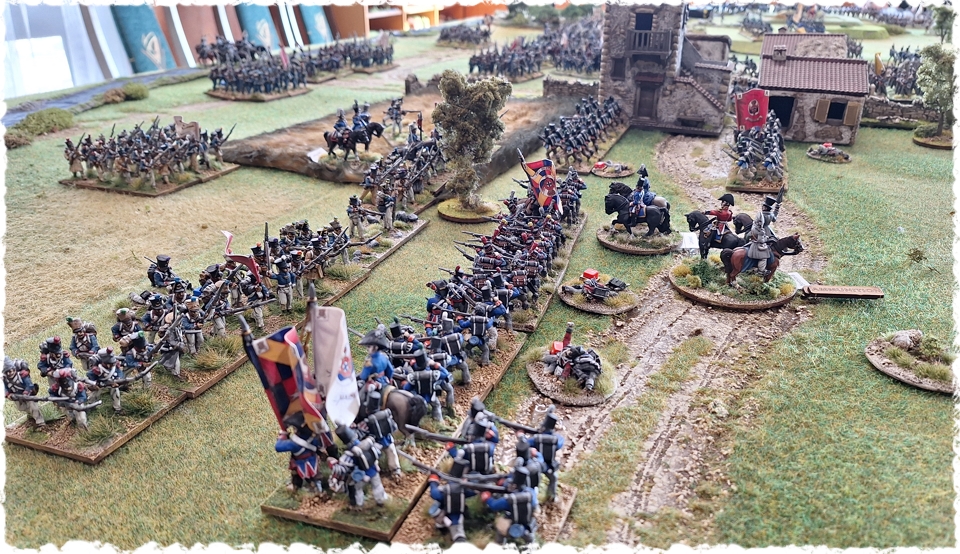
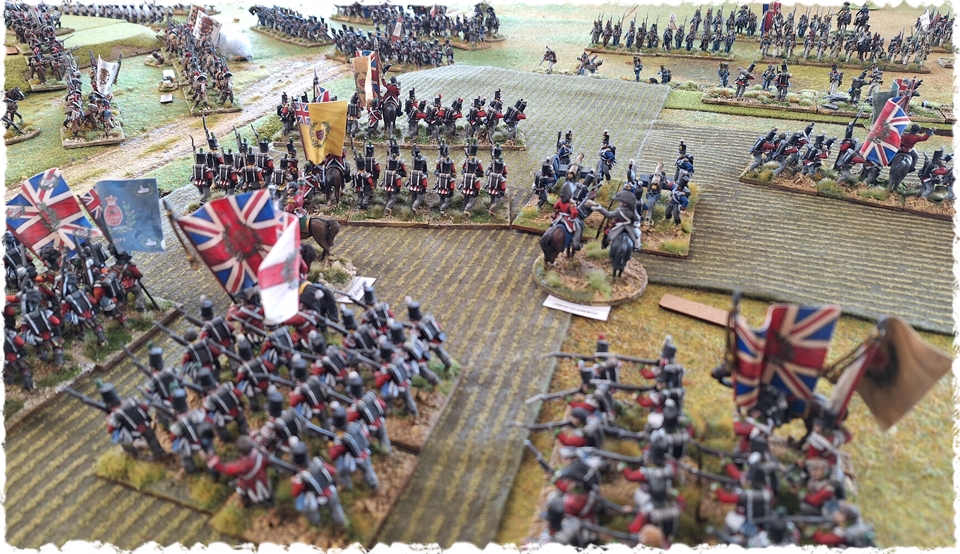
On the far side of Albuera Campbell’s Portuguese were locked in a deadly musketry battle with Godinot’s men. Straying too close to the action Campbell is cut down and his brigade begins to falter. Luckily Beresford is at hand. Riding down the line calling “Stand with me” he single-handedly rallies the Portuguese and they quickly return the fight.
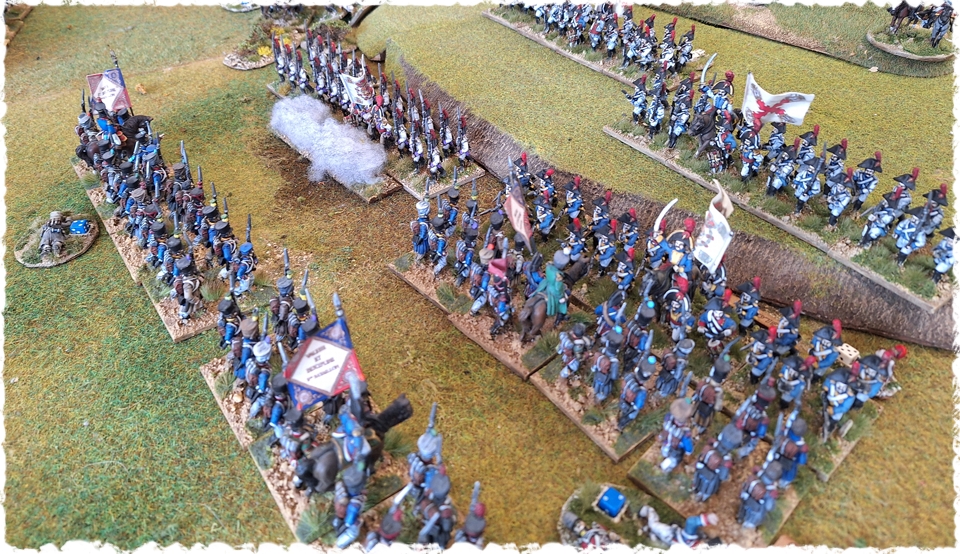
To the left of the woods Rob as of yet, has been unable to resupply Veilande’s foot guns. Resolving to settle the matter with the bayonet rather than the ball he launches his second charge of the game. However, a well-timed Spanish volley sends the French packing yet again. Covering this retreat Veilande’s gunners expend the last of their ammunition. Limbering up their empty guns they quit the field faltering the brigade.
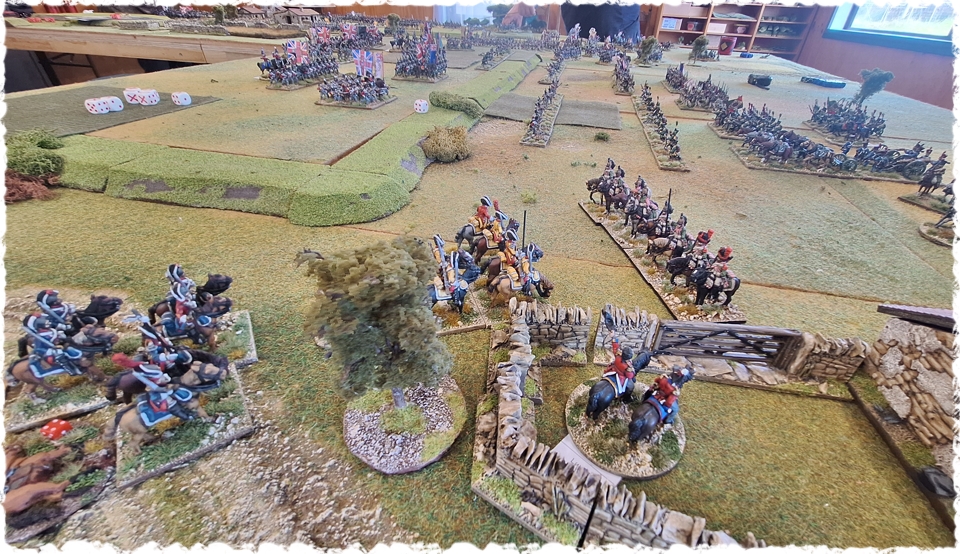
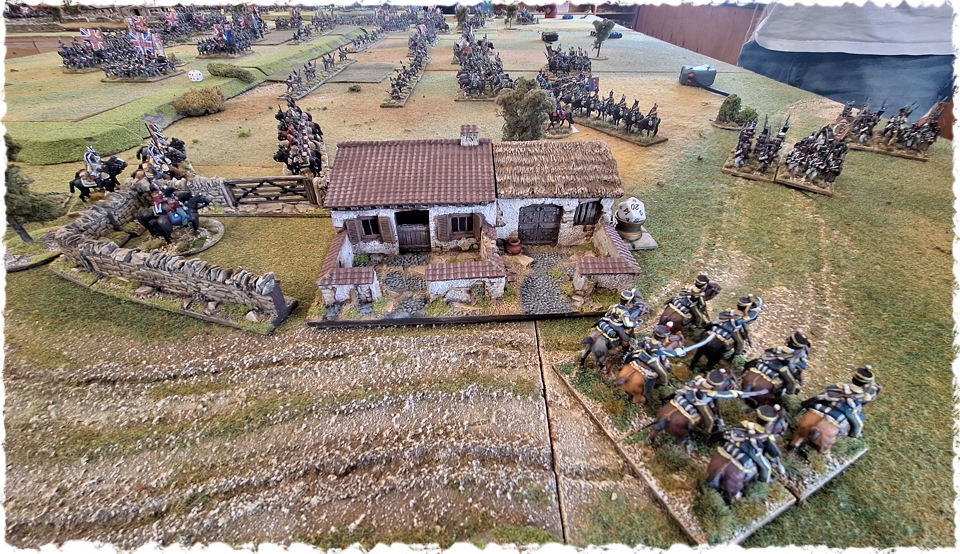
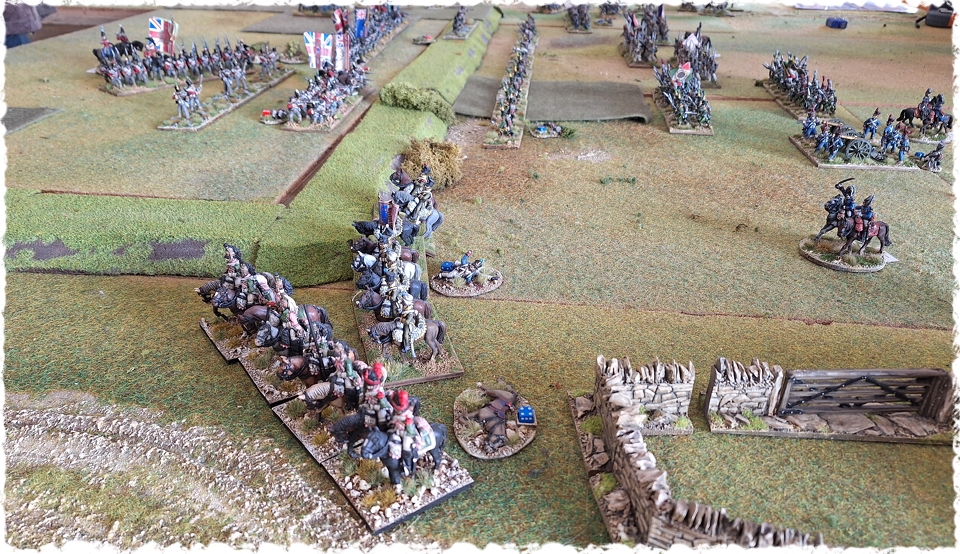
At the far end of the battlefield, Latour’s cavalry crest the ridge line looking to wreak havoc on the open flank of the British position.
Turn twelve:
Originally I Had planned for the game to end randomly sometime after turn twelve (between zero and three turns). However, the day was getting late so it was decided to call the game at turn twelve. I can’t recall who one the initiative for this round, but I do remember the turn starting badly for the French.
Rob’s faltering brigade rolled poorly in the command phase (wavering). His retreating battalion and skirmish line quit the field. While the remaining battalions all took extra casualties.
Once again Beresford appeared on the scene, the right man at the right moment, “Now’s your time Ballesteros Now’s your time”. The Spanish troops unloaded their muskets into the wavering French battalions. Presenting their bayonets they charged down the hill completely routing Veilande’s brigade.
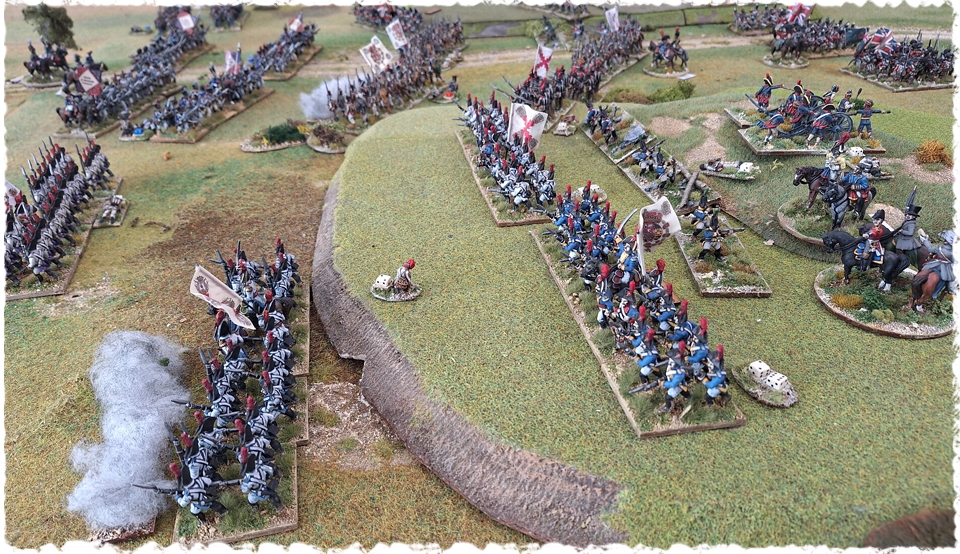
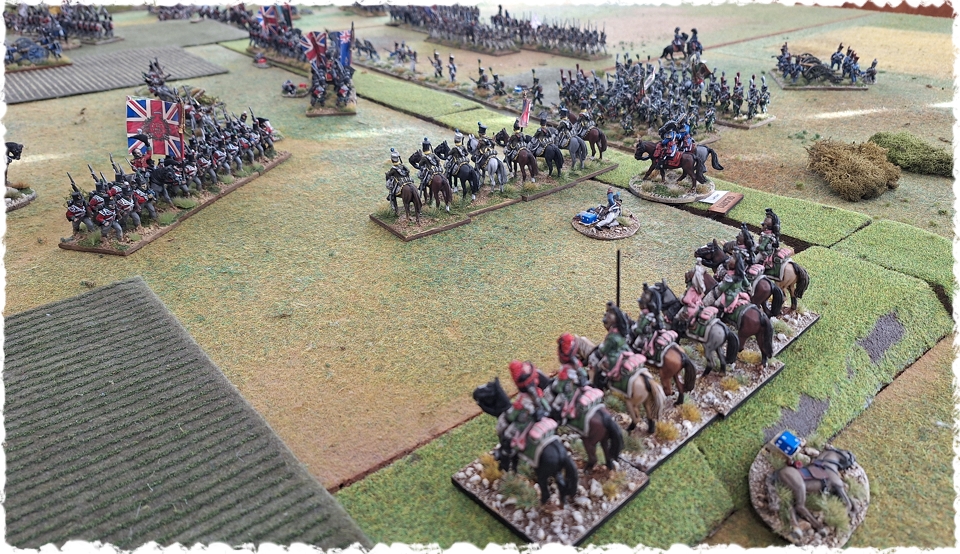
While the Spanish celebrated their victory Peter’s cavalry came thundering up the hill smashing into the surprised British infantry before them. Sadly I completely mishandled this combat. Although the French routed the British line they should have then been given the option to charge on. This could have proven fatal for Hoghton’s brigade and indeed the British right flank. So apologies Peter I messed up there.
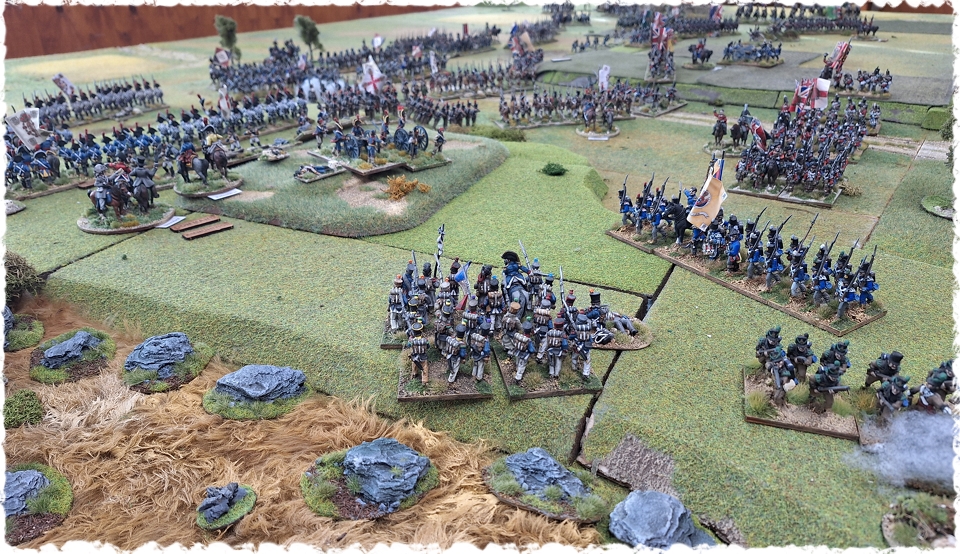
At the end of the day, the French had destroyed five Allied units for two victory points. Broken the cavalry brigade and faltered two Allied brigades for three more victory points. This gave them a total of five victory points.
The Allied army also scored two victory points for five units destroyed. One for routing Veilande’s brigade. Three victory points for holding the village, the Spanish hill and the British ridge line. One last point was gained for a faltering enemy brigade.
Thus a seven to five minor victory to the British. Well done Michael and Josh. A great day’s gaming, thanks to all for making it so.