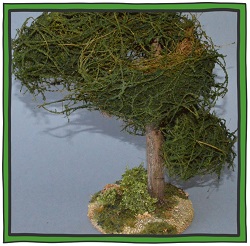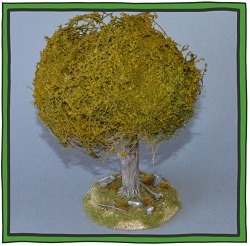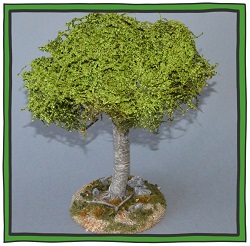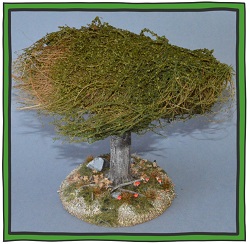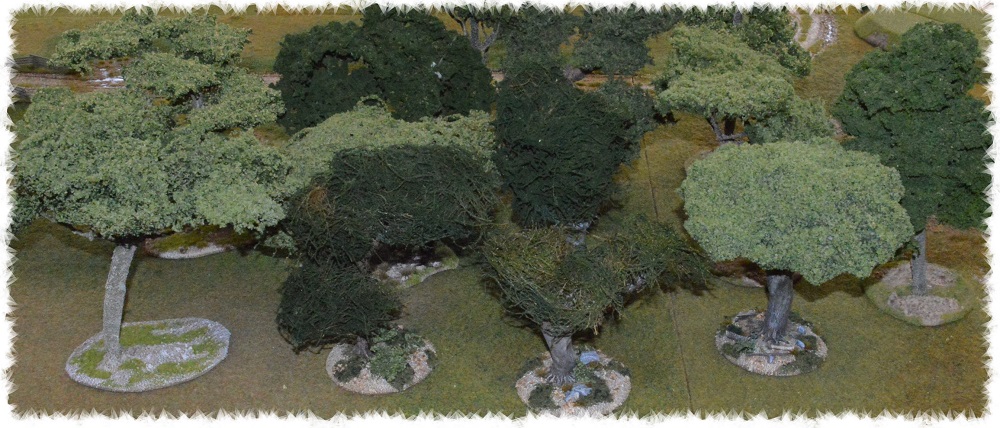
A big part of my personal war-gaming philosophy has always been about the over all esthetic of any given game. For me there is something about scores of well painted figures deployed across a table with nice terrain that really makes for an enjoyable days gaming. After all, great looking figures (in my opinion) deserve a great looking battlefield. Otherwise it would seem to me kind of pointless to spend countless hours researching uniforms, painting and painstakingly basing tons of figures only to push them around on a rather plain looking table? To this end I’ve dedicated a fair amount of my hobby budget (time and money) to collecting decent looking terrain. One thing that’s proven hard to find has always been suitably sized trees for my 28mm games. All of my store bought trees to date work well for 15mm games, but to my eye seem to be a tad on the small side for my 28mm figures.
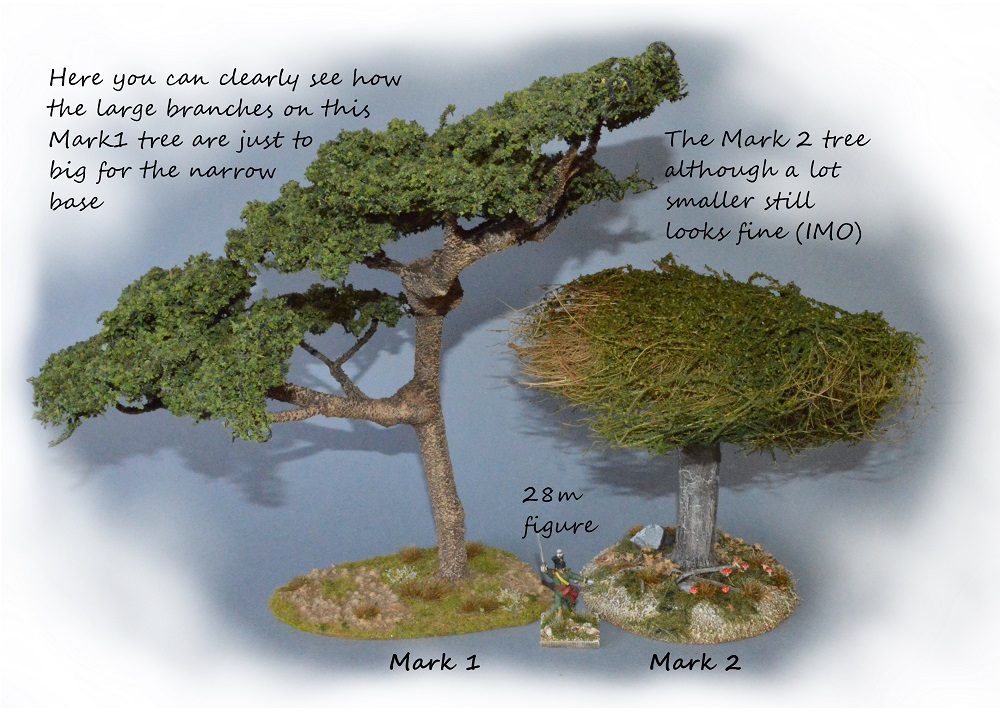
So in order to fill this hole in my scenery cupboard I’ve decided to have a go at making my own. What follows is a step by step look on how I went about this. Hopefully you might find one or two of the ideas presented here useful in your own tree making adventures. Before we get started I should point out that this is my second attempt at tree construction. My first bach (which can be viewed here LINK) had a couple of basic flaws which I have taken steps to rectify in this second roll of the dice.

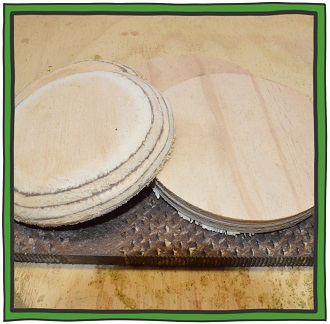
▲ Picture 1 ▲
▲ Picture 2 ▲
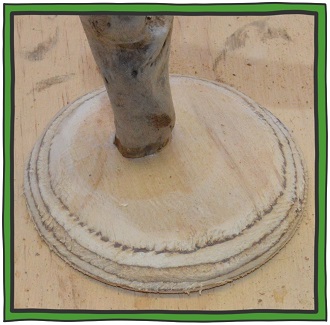
▲ Picture 3 ▲
One of the main problems with my first lot of home made trees was their small base size. Prone to falling over at the slightest provocation these top heavy monsters proved to be a bit of a pain at times.To solve this issue I’ve reduced the spread of the tree branches and increased both the base size and thickness. A hole-saw from my work tool kit (picture one) was used to cut 100mm round bases from 12mm plywood. With the help of a corse wood rasp and a vice I then rounded off the edges of each base (picture two). The trunk, which is a cut down piece of drift wood is then pinned in place with a kebab stick (picture three).
Tip: To eliminate the hole in the middle of each base (from the hole-saws pilot bit) I used the off cut from the first base as a guide. Screwing this to my next piece of plywood I could remove the pilot bit from the hole-saw as the off cuts hole now guided the drill (picture 1).
▲ Picture 4 ▲
▲ Picture 5 ▲
▲ Picture 6 ▲
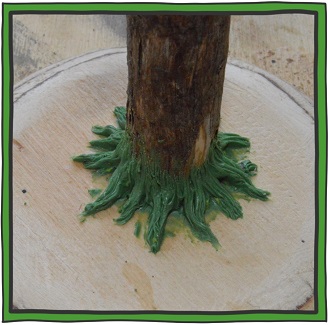
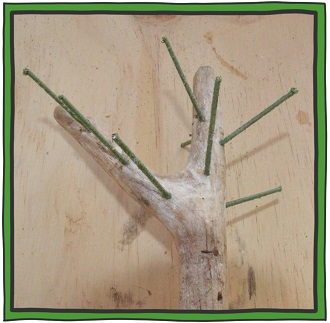
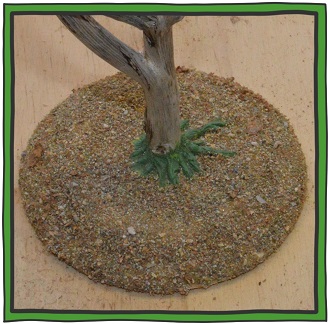
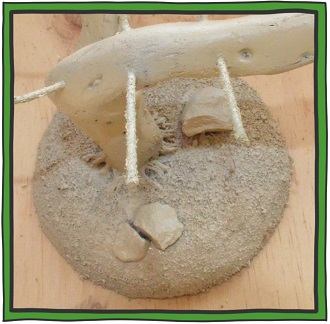
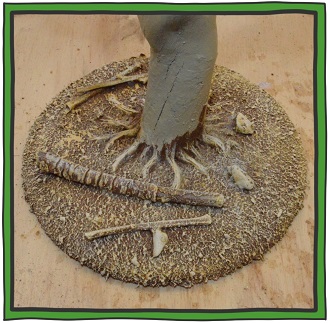
Green stuff was used here in picture 4 to sculpt a simple root system on each of the trees. This was surprisingly easy to do and added so much to the final look of each tree. Next several small holes were drilled at random intervals around the top half of the tree trunks. Into these holes 40/50mm pieces of florist wire were attached (picture 5) to support the canopy. Once the green stuff had cured (picture 6) I painted the base with a generous amount of P.V.A glue then sprinkled grit over the base to add texture.
Tip: If you have never worked with green stuff before I found that by smearing a little Vaseline petroleum jelly on your sculpting tools from time to time it helps stop the green stuff sticking to them.
▲ Picture 7 ▲
▲ Picture 8 ▲
▲ Picture 9 ▲
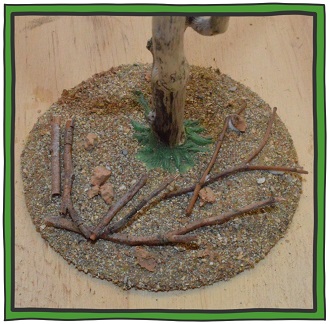
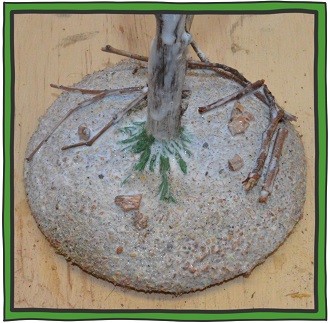
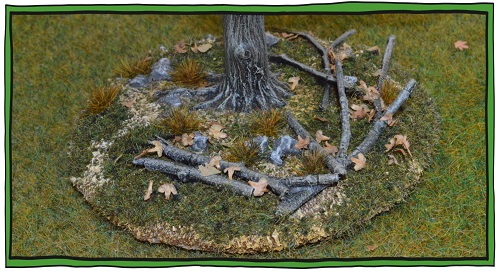
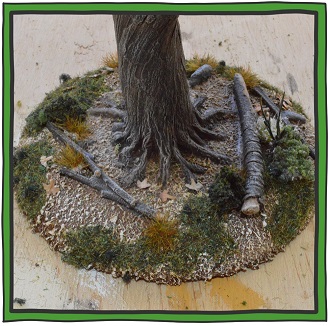
Some character was then added to each base in the form of broken branches and small rocks (picture 7) after which the whole model was painted with a fifty fifty mixture of water and PVA wood glue (picture 8). Once dry the glue will help bond and seal the different materials on each stand. Lastly as a final prep before painting (picture 9) an enamel spray undercoat was applied to the whole model.
▼ Picture 10 ▼
▼ Picture 11 ▼
▼ Picture 12 ▼
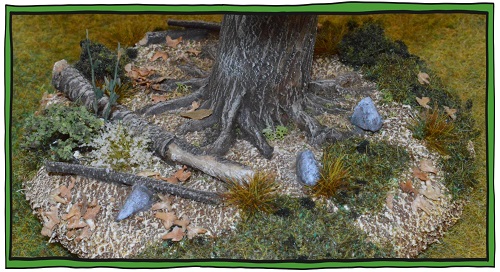
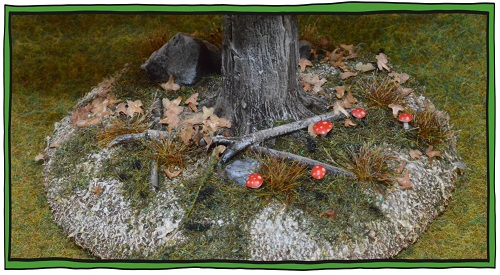
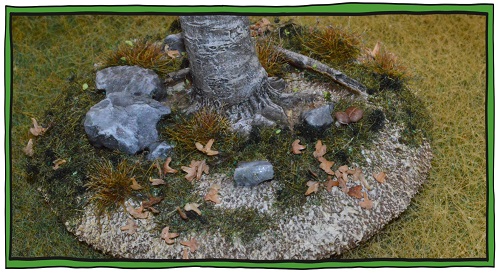
▲Examples of finished bases▼
Painting
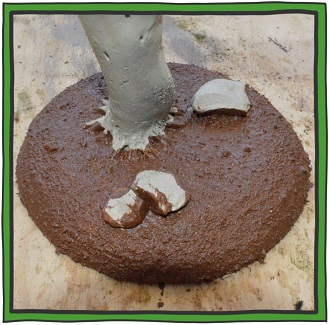
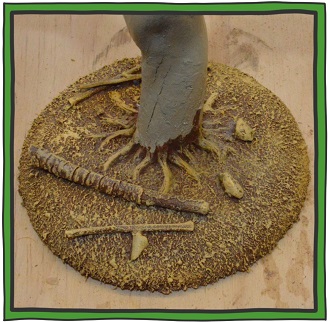
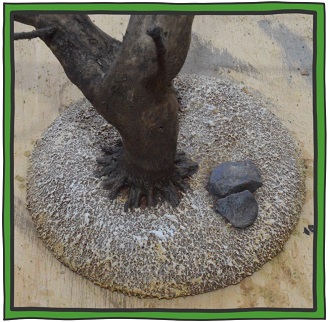
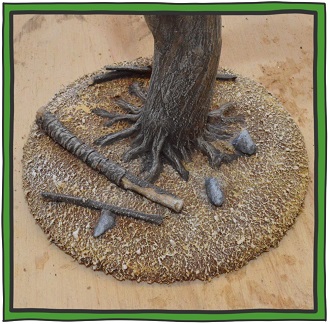
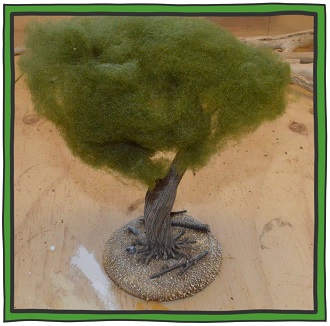
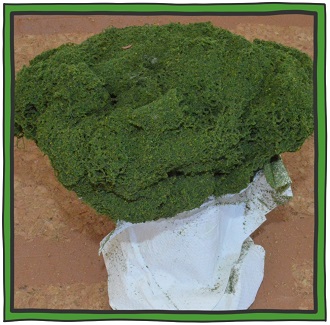
Sample pots of house paint (picture right) were used to colour the ground on each base. After undercoating with Brown bramble (picture 10) the bases were given successive dry brushes of Pizza, Rob Roy, Chamois (picture 11) before a final light dry brush of white to finish (picture 12). Next the tree trunk, roots and broken branches scattered around the base of the tree were undercoated dark brown (picture 13), while dark grey was applied to any large rocks on each base. A similar process of dry brushing was then used to add depth to the individual pieces of each base (picture 14). The tree canopy is now glued in place ready for flocking. Here (picture 15) I have used a Woodland Scenics product (which I now can’t recall the name of) but, on other examples I went with coconut husk from the local garden center.

▲ Picture 13 ▲
▲ Picture 14 ▲
▲ Picture 15 ▲
▲Picture 16▲
▲Picture 17▲
▲Picture 18▲
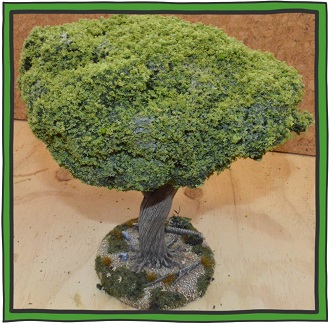
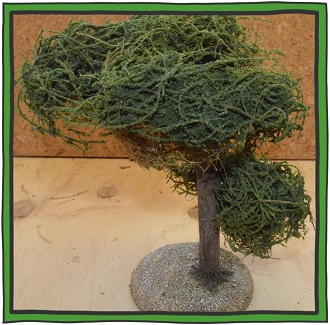
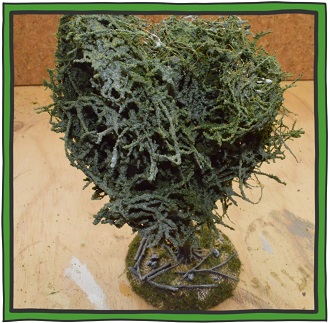
Taking care to cover the base and tree trunk with a paper towel (picture 16) spray adhesive was then used to hold the first coat of dark green flock in place. In photo17 a second coat of spray has been added before dusting the canopy with a light coloured flock.. The same method detailed in the last two photos was used on the tree in picture 18 only the base for the foliage is coconut husk not scenic wool.
Tip: After a bit of messing around I found a better way to sort out the tree canopy’s. Place a small amount of coconut husk on the tree and trim into shape. Remove the coconut husk from the tree trunk and flock to taste. Once dry the flocked canopy can then be glued back into place on the tree trunk.
▲Picture 19▲
▲Picture 20▲
▲Picture 21▲
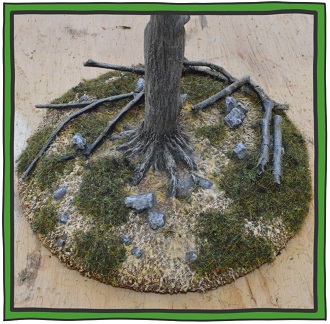
Once all the tree canopies have been fixed in place and have had time to dry I turned my attention to finishing the bases. Picture 19 shows 4mm flock (WWS Muddy grass) glued in random patches to each base before some variety was then added to the ground cover (picture 20) in the form of some home made grass tuffs. Lastly as a final sealer I sprayed the tree canopy with a 50/50 Mod Podge Matte-Mat-Mate and water mixture (which is still wet in picture 21).
▼Finished Trees▼
