Introduction
In the past I have always used store bought tufts when basing my armies, but over the years I’ve found myself re-basing more and more figures as my taste in rule sets has changed over time. The end result is that all the (some what pricey) store bought tufts are lost every time the old stands are stripped of their figures. So in a bid to save some money I started watching a few you tube videos on how to go about making your own tufts. The two main ways to achieve this is to use either a flock box or a static grass applicator. The flock box seems to do a great job all be it in small bites and with what looks to be a fairly messy process. Another draw back to this method (for me) would be that the flock box is a bit of a one trick pony (making tufts and that’s it). From what I’ve seem a similar result can be achieved in larger quantities with the static grass applicator I currently use to flock my terrain boards.

Set Up
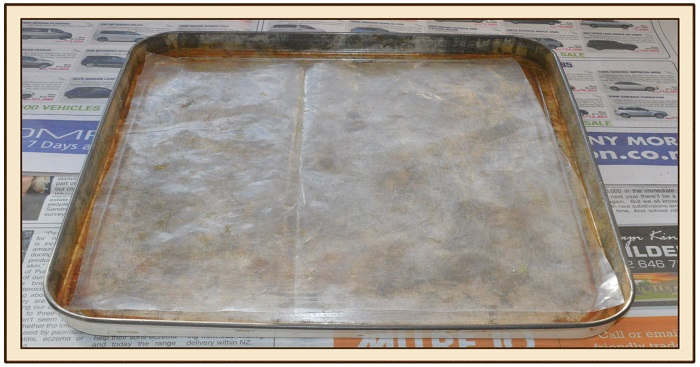
Here I have placed a sheet of clear plastic into a steel cake tin lid. Baking paper will also work here, personally I used the sheet my store bought tufts were supplied on. The few web videos I watched basically recommended PVA glue to hold the static grass in place on the base sheet. Carpet tackifier and static grass manufacturers own adhesive are also mentioned in the videos I viewed.
Although these will all work fine, in this guide I have used Woodland Scenics Foam Tack which in IMO tends to be softer and more pliable than PVA when fully cured.
Apply Glue.
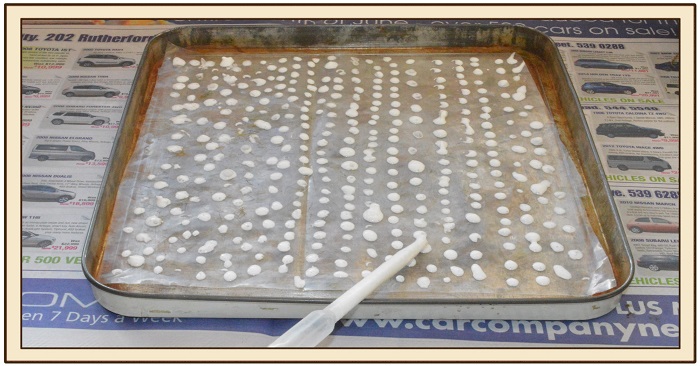
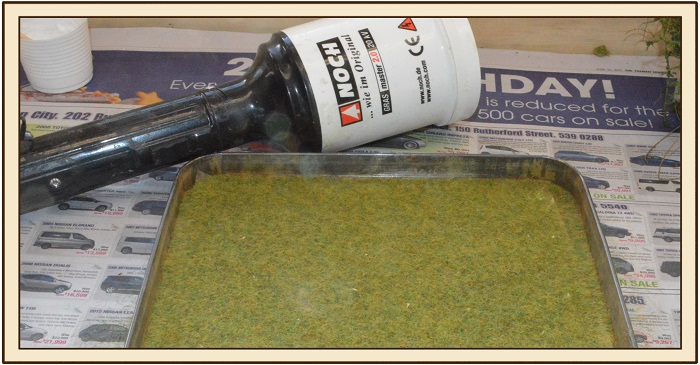
After placing the plastic base sheet in a steel cake tin lid I set about covering the sheet in as many dots of foam tack glue as possible. With a sheet this size I can make three hundred plus tufts each time. The earth clip of the fully loaded static grass applicator is then clipped to the cake lid before any grass is applied to the sheet.
First Flocking
Pictured left is the plastic sheet after the first layer of 4mm static grass has been applied with a Noch static grass applicator. For this example I used a 4mm static grass from WSS called muddy grass. This size grass in small to medium sized tufts works well for 28mm figures.
Remove excess flock
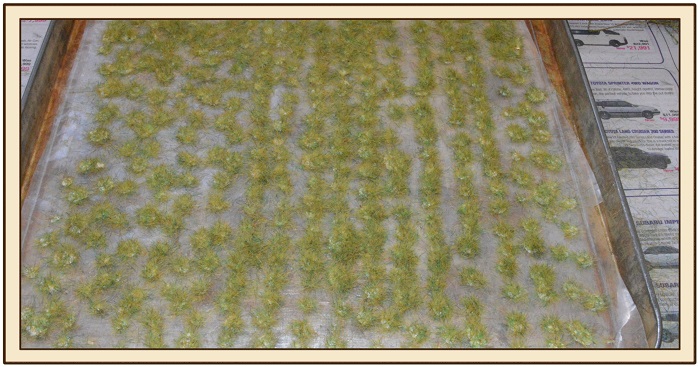
After applying a generous amount of flock I carefully lift the plastic sheet out of the cake tin lid and gently shake off the excess static grass. This is where some web videos finish, however as you apply flock to the sheet it tends to pile up upon its self and only a small amount actually seats into the glue.
Close up
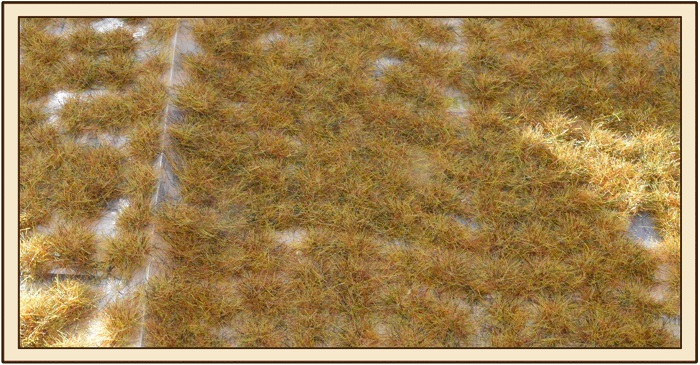
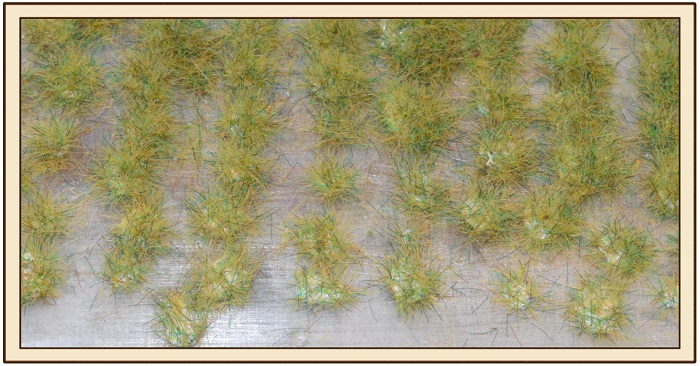
Here you can clearly see this effect and although a fair amount of flock has stuck in place there is still a large amount of the white glue showing through the patches of grass..
Second flocking
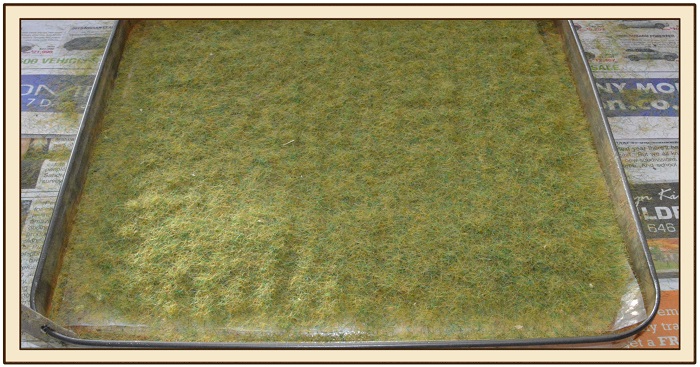
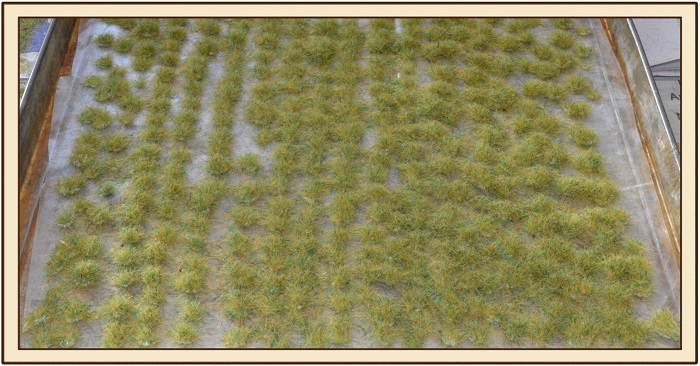
This picture was taken after a second heavy coating of static grass was applied to the plastic sheet. Despite this new coating of flock you can now start to see clear lines on the sheet where the tufts are, as more static grass builds up on the dots of foam tack
Rinse and repeat
Once again I gently lifted the sheet out of the cake tin lid and slowly shook off all the excess flock. This process is then repeated two more times in order to build up as much static grass as possible on each of the foam tack dots..
Final result
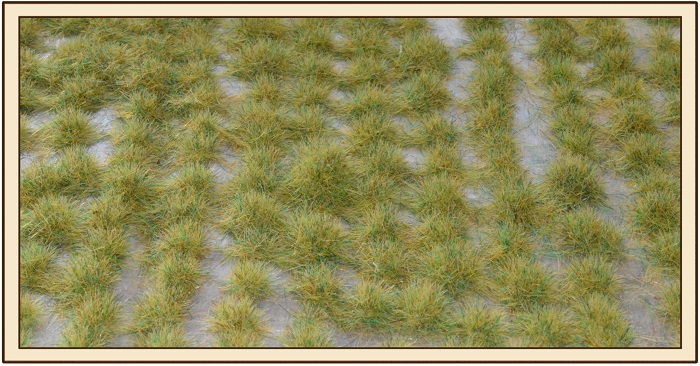
Pictured to the right is a close up of the final tufts after four applications of static grass. When compared to the first close up picture taken after just one application of static grass there is now no more white glue showing and in general the tufts are much fuller in their appearance.
